

Been taking a look at free panels the other day... and decided to set up a web server and then try different Hosting panels.
To start we have to have Debian installed, without a graphical interface.
Set IP address:
rokitoh@redorbita:~# nano /etc/network/interfaceswe add at the end:
auto eth0
iface eth0 inet static

address 192.168.1.120

netmask 255.255.255.0

gateway 192.168.1..233
To save Ctrl + O
to leave Ctrl + X
The gateway is the DNS server, which we installed in previous manuals. See DNS server manual
We edit resolv.conf
The file needs to be configured to resolve server names on the Internet.
rokitoh@redorbita:~# nano /etc/resolv.confand we add:
domain red-orbita.com

nameserver 192.168.1.233  #Servidor DNS
To save Ctrl + O
to leave Ctrl + X
We edit /etc/hosts
He hosts file of a computer is used by the operating system to keep the correspondence between Internet domains and IP addresses
rokitoh@redorbita:~# nano /etc/hostswe add:
192.168.1.120 red-orbita.com wwwTo save Ctrl + O
to leave Ctrl + X
We go to our DNS server to configure it.
rokitoh@redorbita:~# cd /etc/bindWe configure the zones
rokitoh@redorbita:~# nano redorbita.comand we add:
www IN A 192.168.1.120To save Ctrl + O
to leave Ctrl + X
we start the DNS server
rokitoh@redorbita:~# /etc/init.d/bind9 restartWe start installing the necessary packages:
rokitoh@redorbita:~# apt-get install apache2 apache2-mpm-prefork php5 libapache2-mod-php5 php5-gd php5-ps php5-cli php-pear php5-gd libapache2-mod-chroot debootstrapWe cage Apache
We create the directories:
rokitoh@redorbita:~# mkdir -p /home/rokitoh/var/chroot/etc
rokitoh@redorbita:~# mkdir -p /home/rokitoh/var/chroot/var/www
rokitoh@redorbita:~# mkdir -p /home/rokitoh/var/chroot/var/run
mkdir -p /home/rokitoh/var/chroot/usr/share/zoneinfo/Europe/
We create the chroot cage:
rokitoh@redorbita:~# debootstrap lenny /home/rokitoh/var/chroot http://ftp.fr.debian.org/debian(Patience, it takes a while)
We copy the important files inside the cage:
rokitoh@redorbita:~# cp -a /etc/resolv.conf  /home/rokitoh/var/chroot/etc/

rokitoh@redorbita:~# cp -a /etc/hosts /home/rokitoh/var/chroot/etc/

rokitoh@redorbita:~# cp -a /etc/mime.types /home/rokitoh/var/chroot/etc/

rokitoh@redorbita:~# cp -a /usr/share/zoneinfo/Europe/Madrid /home/rokitoh/var/chroot/usr/share/zoneinfo/Europe/

rokitoh@redorbita:~# cp -a /etc/adjtime /home/rokitoh/var/chroot/etc/
We install apache2 inside the cage
rokitoh@redorbita:~# chroot /home/rokitoh/var/chroot apt-get update

rokitoh@redorbita:~# chroot /home/rokitoh/var/chroot apt-get install apache2.2-common apache2-utils
We need to copy the "pidfile" of apache. Once copied that "pidfile" It will have to be linked outside the cage. This way we will ensure that it is accessible from both sites.
rokitoh@redorbita:~# mv /var/run/apache2.pid /home/rokitoh/var/chroot/var/run/apache2.pid

lrokitoh@redorbita:~# n -s /home/rokitoh/var/chroot/var/run/apache2.pid /var/run/apache2.pid
Note:
Starting with Apache version 2.2.10, it is no longer necessary to use libapache2-mod-chroot (or mod-chroot-common) to cage this service. In fact, that old module causes a conflict that you can see in the Apache logs in the form of [alert] (2)No such file or directory: Can’t chdir to . The solution is very simple, we delete/purge the two mentioned packages, remove the file /etc/apache2/mods-enabled/mod_chroot.load and restart apache (/etc/init.d/apache2 restart)
Configure Apache
rokitoh@redorbita:~# nano /etc/apache2/sites-available/defaultDocumentRoot /home/rokitoh/var/chroot/var/
RedirectMatch ^/$ /www/
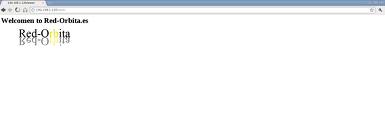
We open a browser and access the web server, in my case: http://192.168.1.120
and we can see that it redirects us to the folder /www inside our user's personal folder /home/rokitoh
Add php5 support
rokitoh@redorbita:~# chroot /home/rokitoh/var/chroot/ apt-get install php5-commonNext we are going to add a line to the directory apache2.conf to be able to have PHP service on the web server. To do this, we execute the following command in a terminal:
rokitoh@redorbita:~# echo “DirectoryIndex index.html index.cgi index.pl index.php index.xhtml index.shtml” >> /home/rokitoh/var/chroot/etc/apache2/apache2.confTo verify that this line has been added to the file we can execute:
rokitoh@redorbita:~# cat /home/rokitoh/var/chroot/etc/apache2/apache2.confand at the end of the line we can observe the line.
We check if we really have a php service, for this we are going to create a file called: compatible.php
rokitoh@redorbita:~# nano /home/rokitoh/var/chroot/var/www/compatible.phpIn the file we put the following code:
<?php phpinfo(); ?>To save Ctrl + O
to leave Ctrl + X
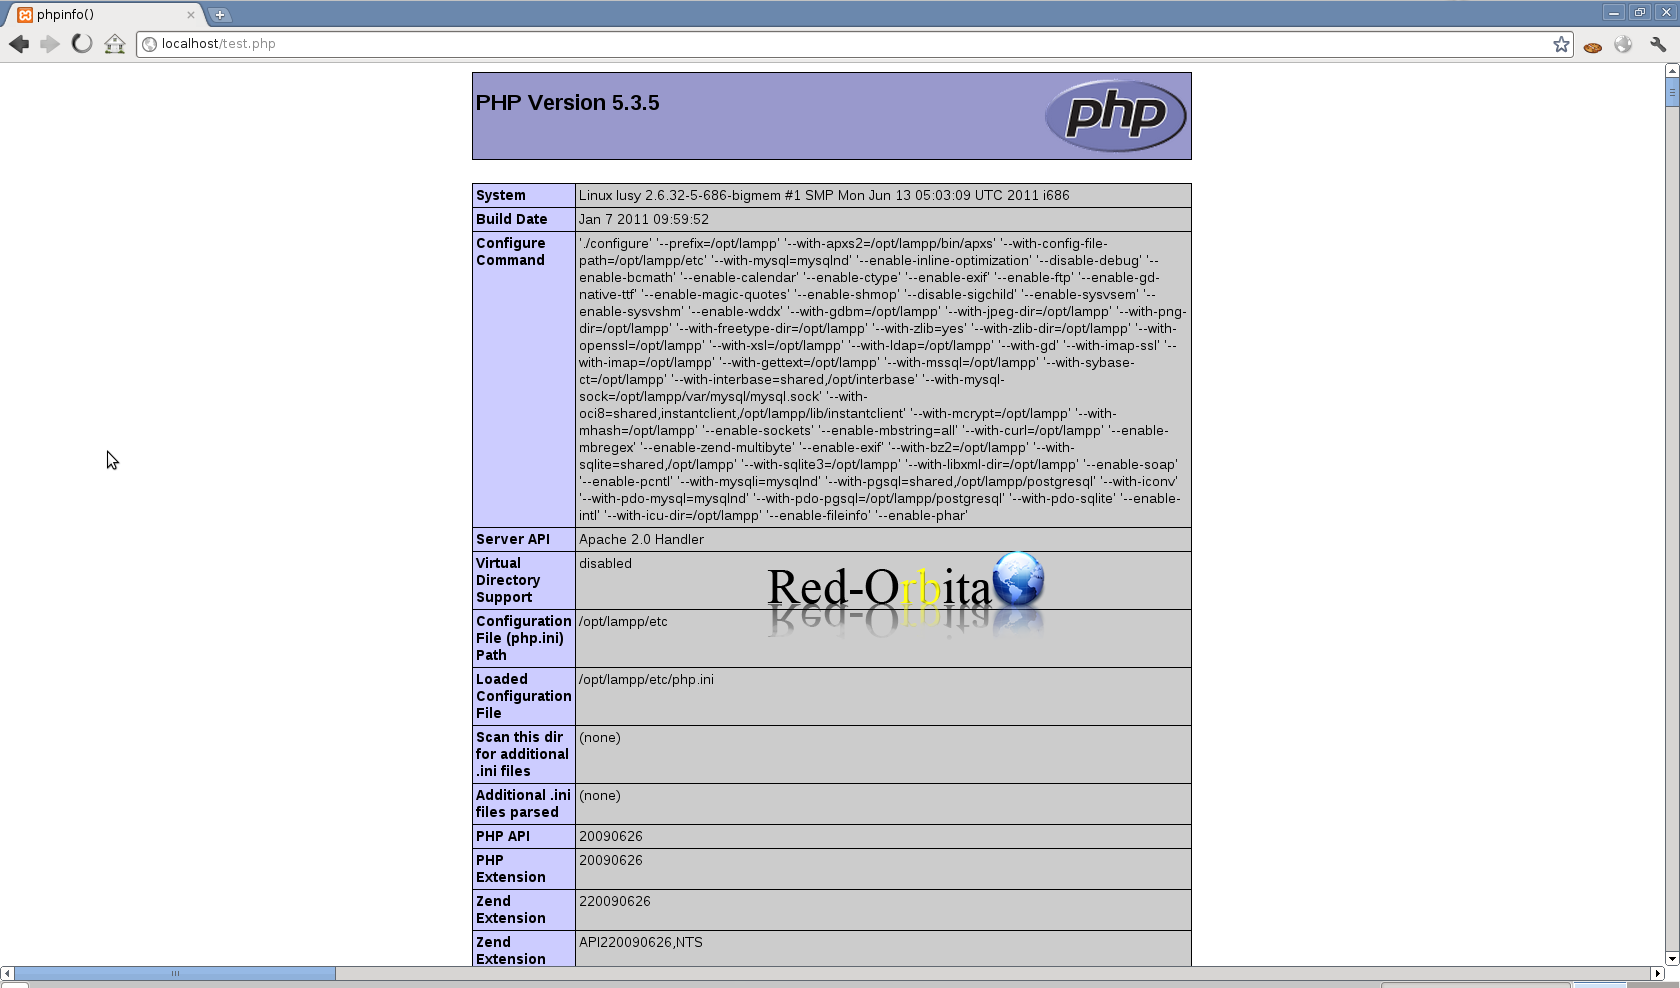
We open a browser and access the saved file: http://192.168.1.120/www/compatible.php
If everything has gone well, it will show us a screen like this:
Install MySQL
rokitoh@redorbita:~# apt-get install mysql-server-5.0 mysql-client-5.0 php5-mysqlDebian will open a window with the mysql-server configuration to set a password.
We stop the service:
rokitoh@redorbita:~# /etc/init.d/mysql stopWe move the pidfile folder and the mysql socket and link
rokitoh@redorbita:~# mv /var/run/mysqld /home/rokitoh/var/chroot/var/run/mysqld

rokitoh@redorbita:~# ln -s /home/rokitoh/var/chroot/var/run/mysqld /var/run/mysqld
We start the mysql service:
rokitoh@redorbita:~# /etc/init.d/mysql startInstall phpmyadmin
phpMyAdmin is a tool written in PHP with the intention of handling the administration of MySQL through web pages, using the Internet. Currently you can create and delete Databases, create, delete and alter tables, delete, edit and add fields, execute any SQL statement, manage keys in fields, manage privileges, export data in various formats and is available in 50 languages. It is available under the GPL license.
to install it:
rokitoh@redorbita:~# apt-get install phpmyadminWe copy the bug hook to our web server:
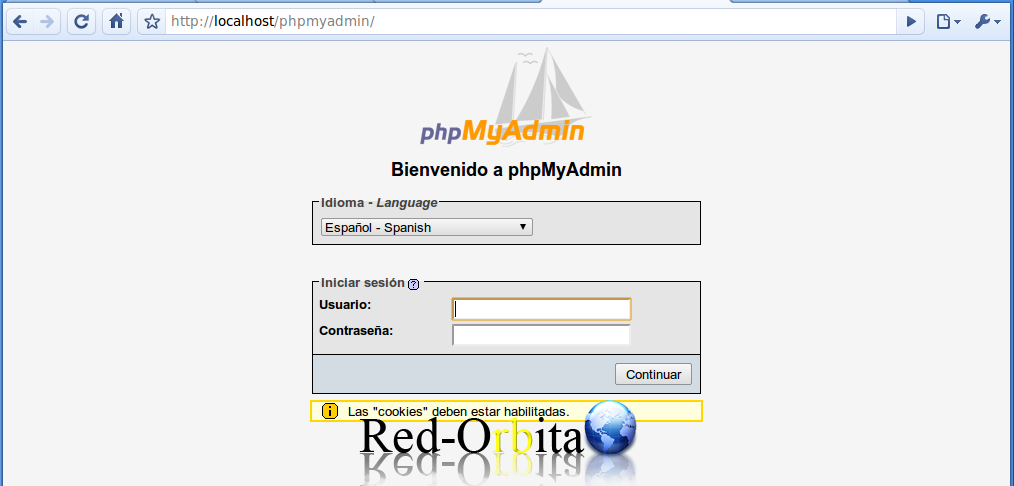
rokitoh@redorbita:~# cp -a /usr/share/phpmyadmin /home/rokitoh/var/chroot/var/wwwWe open a browser and enter the URL, in my case: http://192.168.1.120/www/phpmyadmin/
and if everything went well, we will have to see a screen like this to log in
Install phpsysinfo
phpSysInfo It is an open source PHP script that installs the server and provides a detailed report on its software and hardware. In this report you will find data on:
- Basic system information.
- Hardware information.
- Network information.
- Information about network and memory usage.
To install it:
rokitoh@redorbita:~# apt-get install phpsysinfoWe copy the file:
rokitoh@redorbita:~# cp -a /var/ww/phpsysinfo /home/rokitoh/var/chroot/var/wwwWe open the browser again and access it to see if it is installed perfectly: http://192.168.1.120/www/phpsysinfo/index.php?disp=dynamic
If you look at it in the upper right corner, you have 2 options to modify the language and appearance. change it to your liking.
Install SFTP
SSH File Transfer Protocol (also known as SFTP either Yescure File Ttransfer Qrotocol) is a network protocol that provides the functionality necessary for the transfer and manipulation of files over a reliable data stream. It is commonly used with SSHto provide data security, although it can be used with other security protocols. Therefore, security is not provided directly by the SFTP protocol, but by SSH or the protocol that is used for this purpose.
we install openssh
rokitoh@redorbita:~# apt-get install openssh-server openssh-client
We are going to create a group in which we will add all the users that we want to cage
rokitoh@redorbita:~# groupadd chrootWe create the user:
rokitoh@redorbita:~# useradd -g chroot s /bin/false -d /home/rokitoh/var/chroot/var/www rokitohWe define a password for the created user:
passwd rokitoh

Introduzca la nueva contraseña de UNIX:

Vuelva a introducir la nueva contraseña de UNIX:
To configure a restricted SFTP server one should use the directives ForceCommand and ChrootDirectory in the configuration file sshd_config, which is located in /etc/ssh/sshd_config.
rokitoh@redorbita:~# nano /etc/ssh/sshd_configWe go to the line:
#Subsystem sftp /usr/local/openssh/libexec/sftp-serverand we modify it to:
Subsystem sftp internal-sftpWe also search and modify these lines:
LoginGraceTime 30

PermitRootLogin no
The service can be restricted to users or groups of users, so if caging is required user1 We use the Match directive as follows:
UsePAM yes

Match user rokitoh

ChrootDirectory /home/rokitoh/var/chroot/var/www

ForceCommand internal-sftp
For group caging chroot It is done in a similar way (this way all the users we have created will appear in the root directory):
Match group chroot

ChrootDirectory /home/rokitoh/var/chroot/var/www

ForceCommand internal-sftp
In the next chapter we will see how to integrate the GNUPanel control panel...and we will give Apache a little more security.
Sources:
http://www.esdebian.org/wiki/enjaulado-sftp
http://www.esdebian.org/wiki/apache2-modchroot-soporte-php5-mysql
http://www.forat.info/2008/03/05/como-montar-un-servidor-web-con-linux-debian/
Comments