

OpenMediaVault is a GNU/Linux distribution based on Debian designed to easily convert a computer into a storage server. It is another alternative to FreeNAS
The minimum requirements are ridiculous: 1GByte of disk space and another GByte of RAM, although with less RAM it also works perfectly.
Once downloaded, we burn it to a CD-ROM and start with it.
We will see that the installation is very simple.
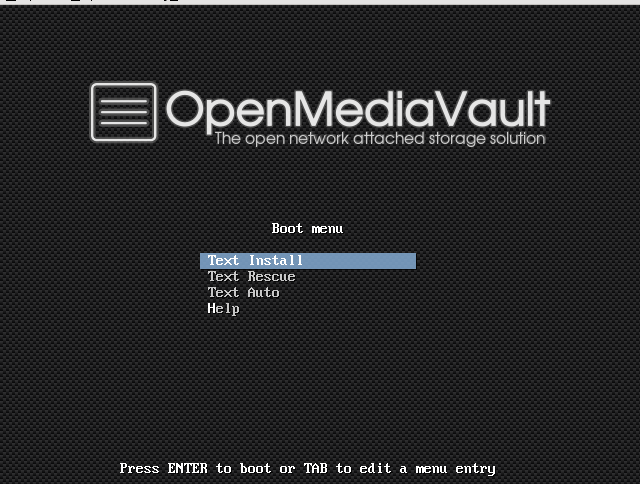
We click on Text Install.
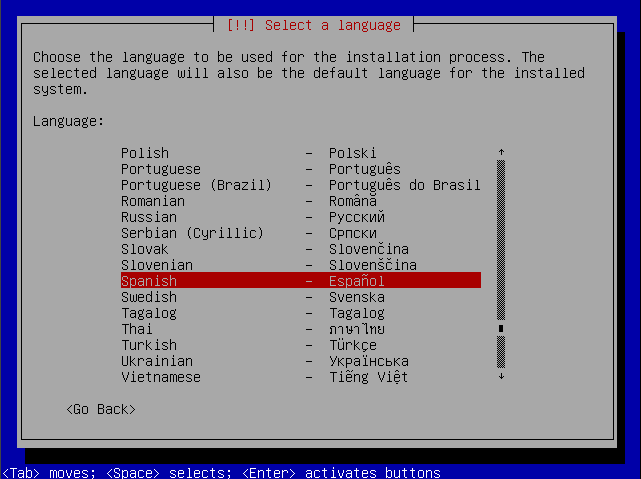
We select the language
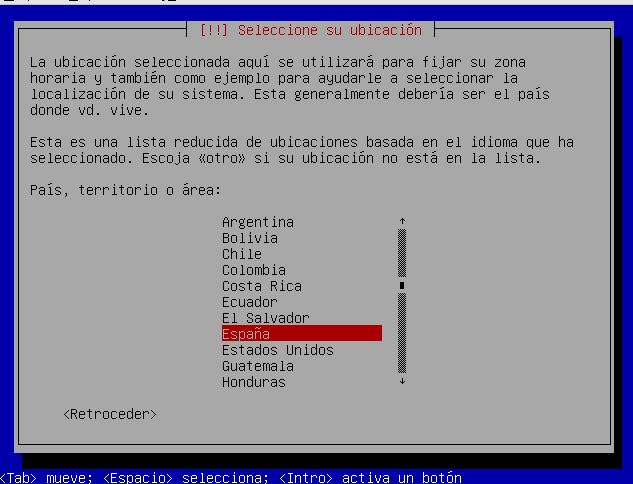
We select our area. in my case Spain
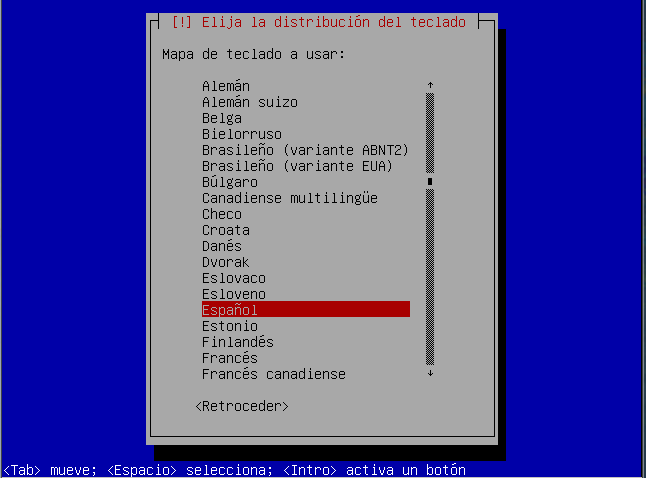
Let's choose the keyboard layout.
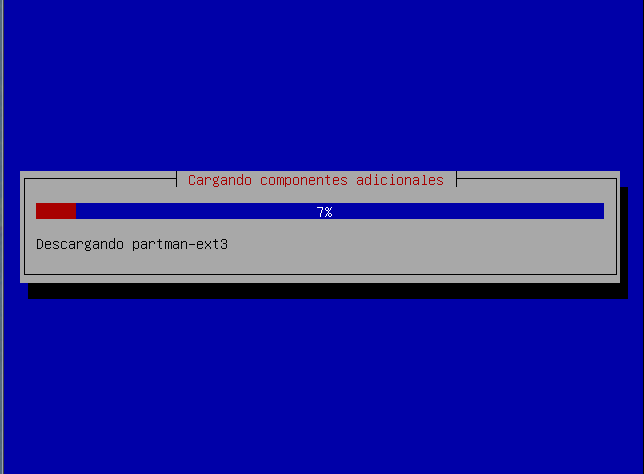
Start loading the components.
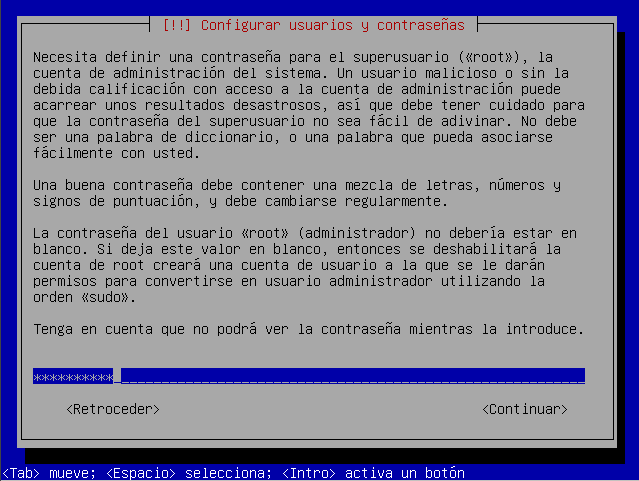
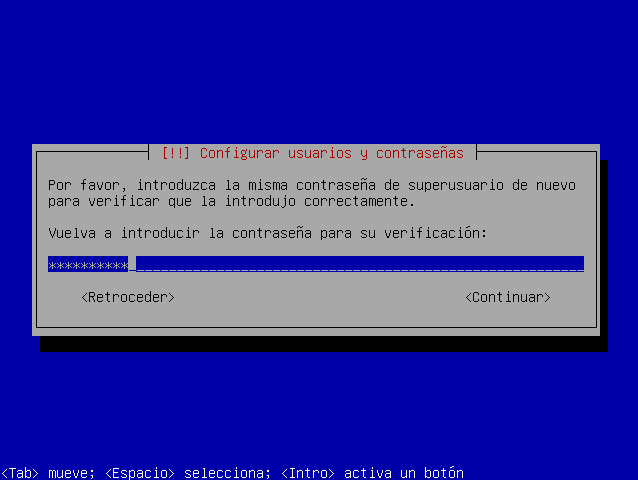
We assign a password to the root user.
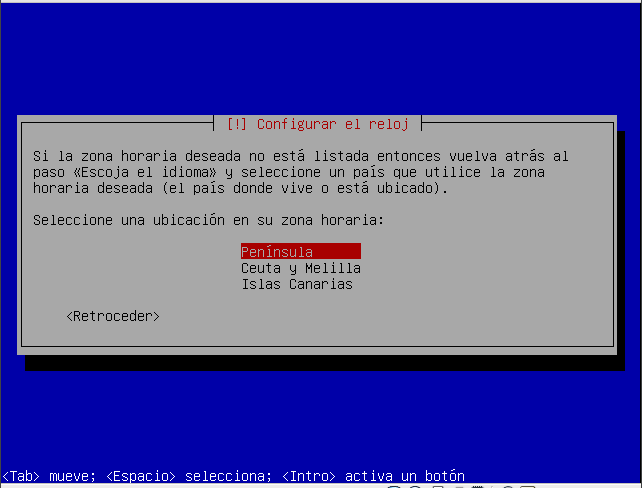
We select our time zone.
As we can see, it directly partitions the disk. We indicate that we want to write the changes.
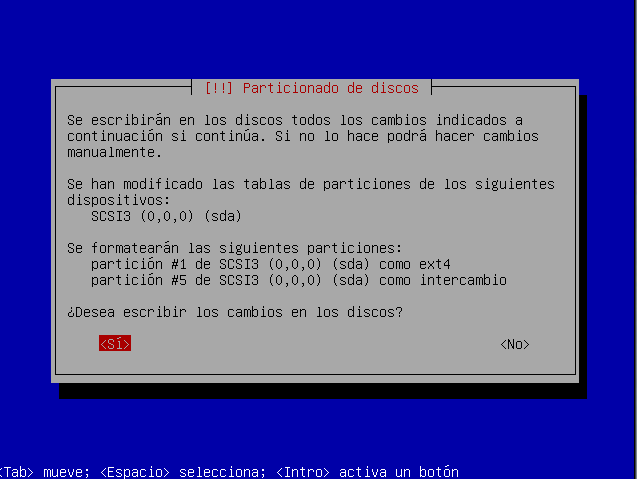
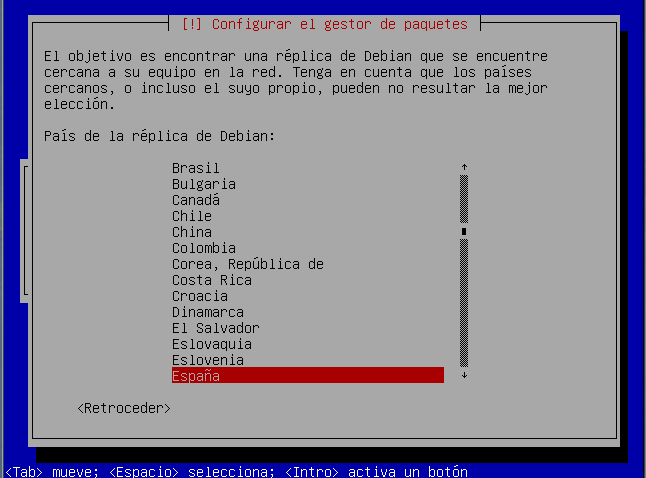
We configure the nearest package manager.
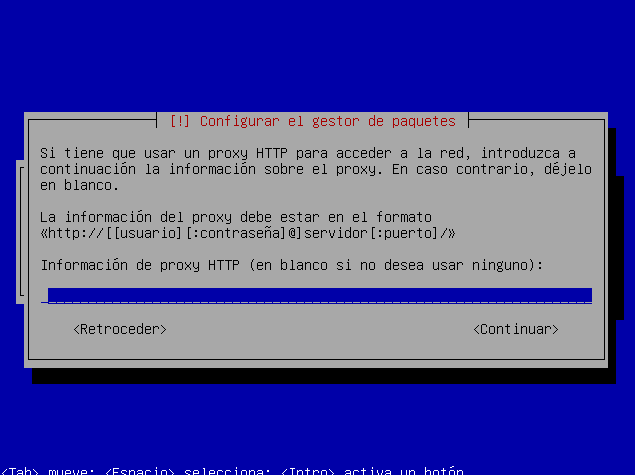
If we use a proxy, we add it.
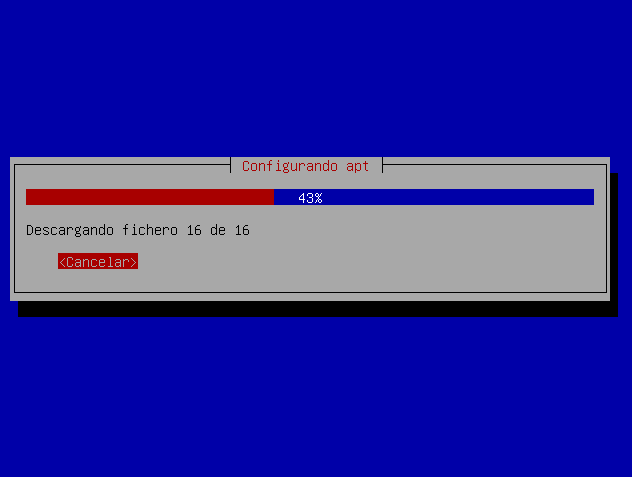
Configure the repositories and install the required packages.
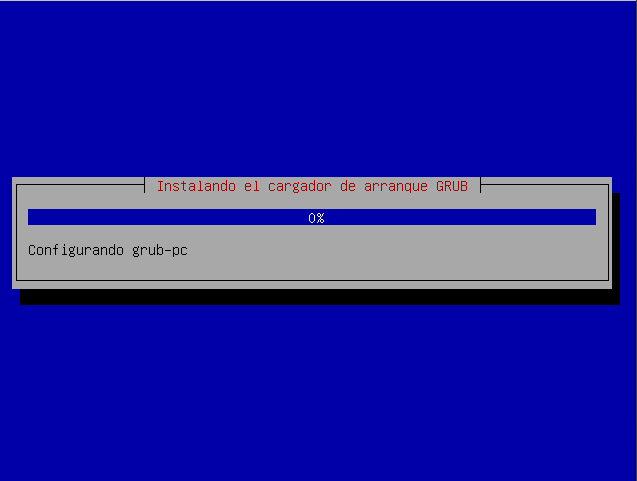
Configure GRUB.
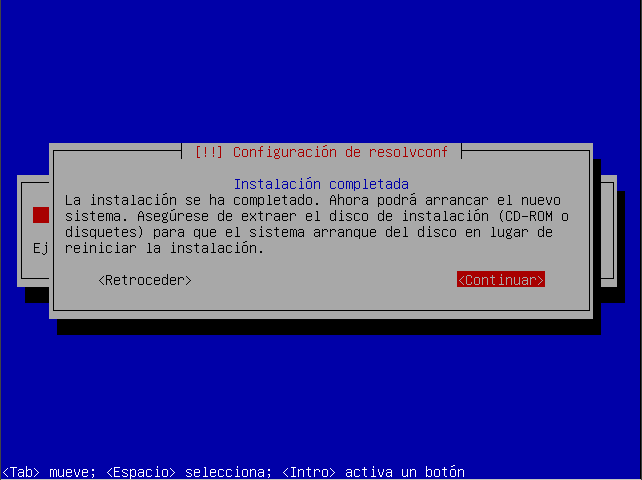
We finish the installation! we continue.
Once our OpenMediaVault starts, we start with root to configure the IP address.
vi /etc/network/interfacesand we add the following:
auto eth0

iface eth0 inet static

address 192.168.1.120

address 255.255.255.0

gateway 192.168.1.1
we restart
root@openmediavault:~# /etc/init.d/networking restart

Reconfiguring network interfaces…done
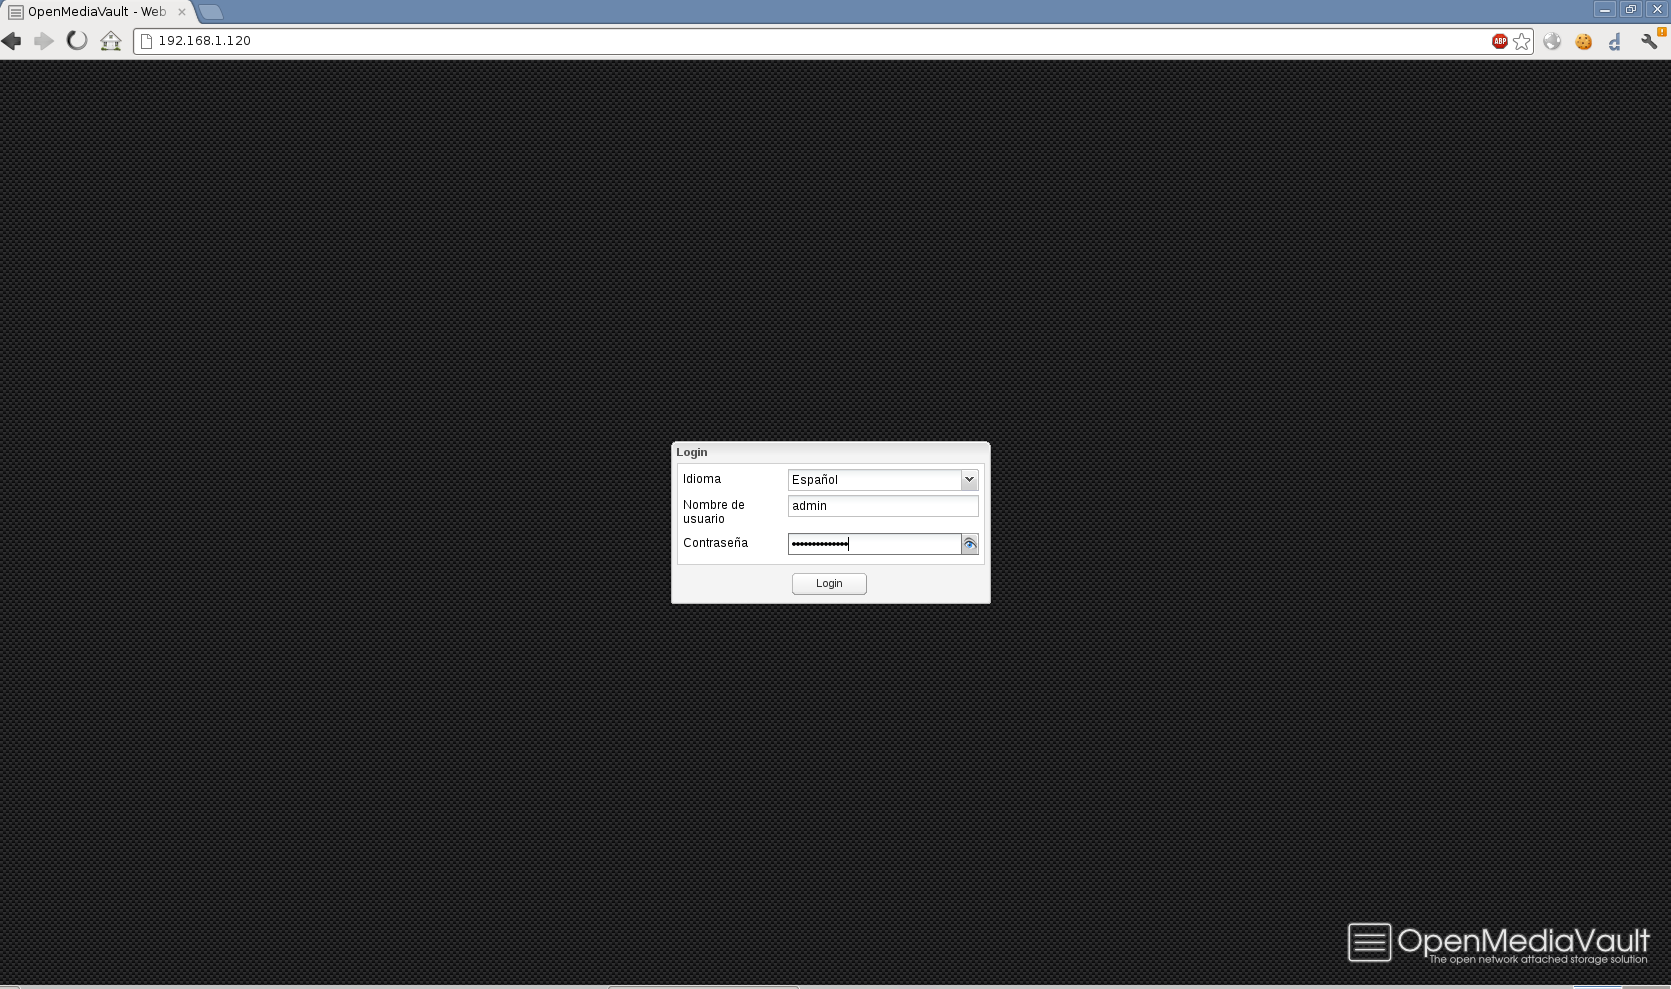
Through our browser we access the web graphical interface.
Upon accessing we find a panel in which we select the language and enter the username and password.
By default the username and password are: admin – openmediavault
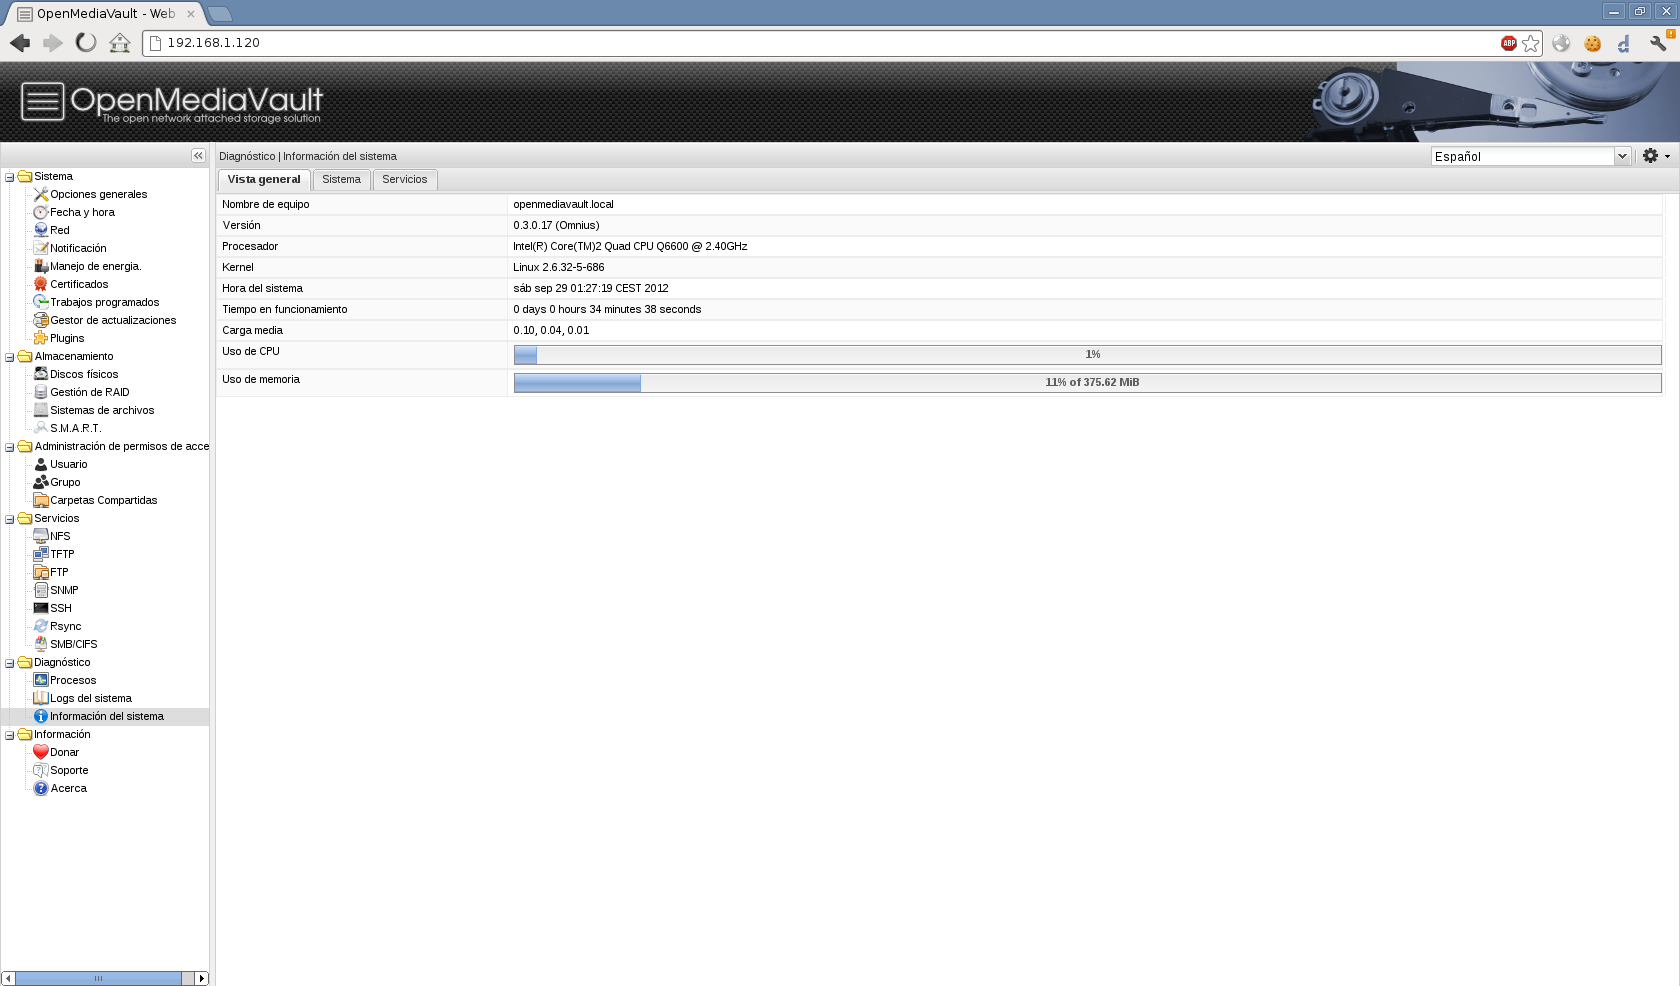
Once we have logged in, it shows us the graphical interface with the various sections where we can configure and manage our NAS server.
This is the end of this manual. As soon as I have time I will upload another one about its configuration and administration.
Regards, rokitoh
:wq!
Comments