

Previously we had shown how install OpenMediaVault. Now let's see how to configure it.
System.
In the system we can find all the options to configure our server. such as Date/Time, Access Password. Etc.
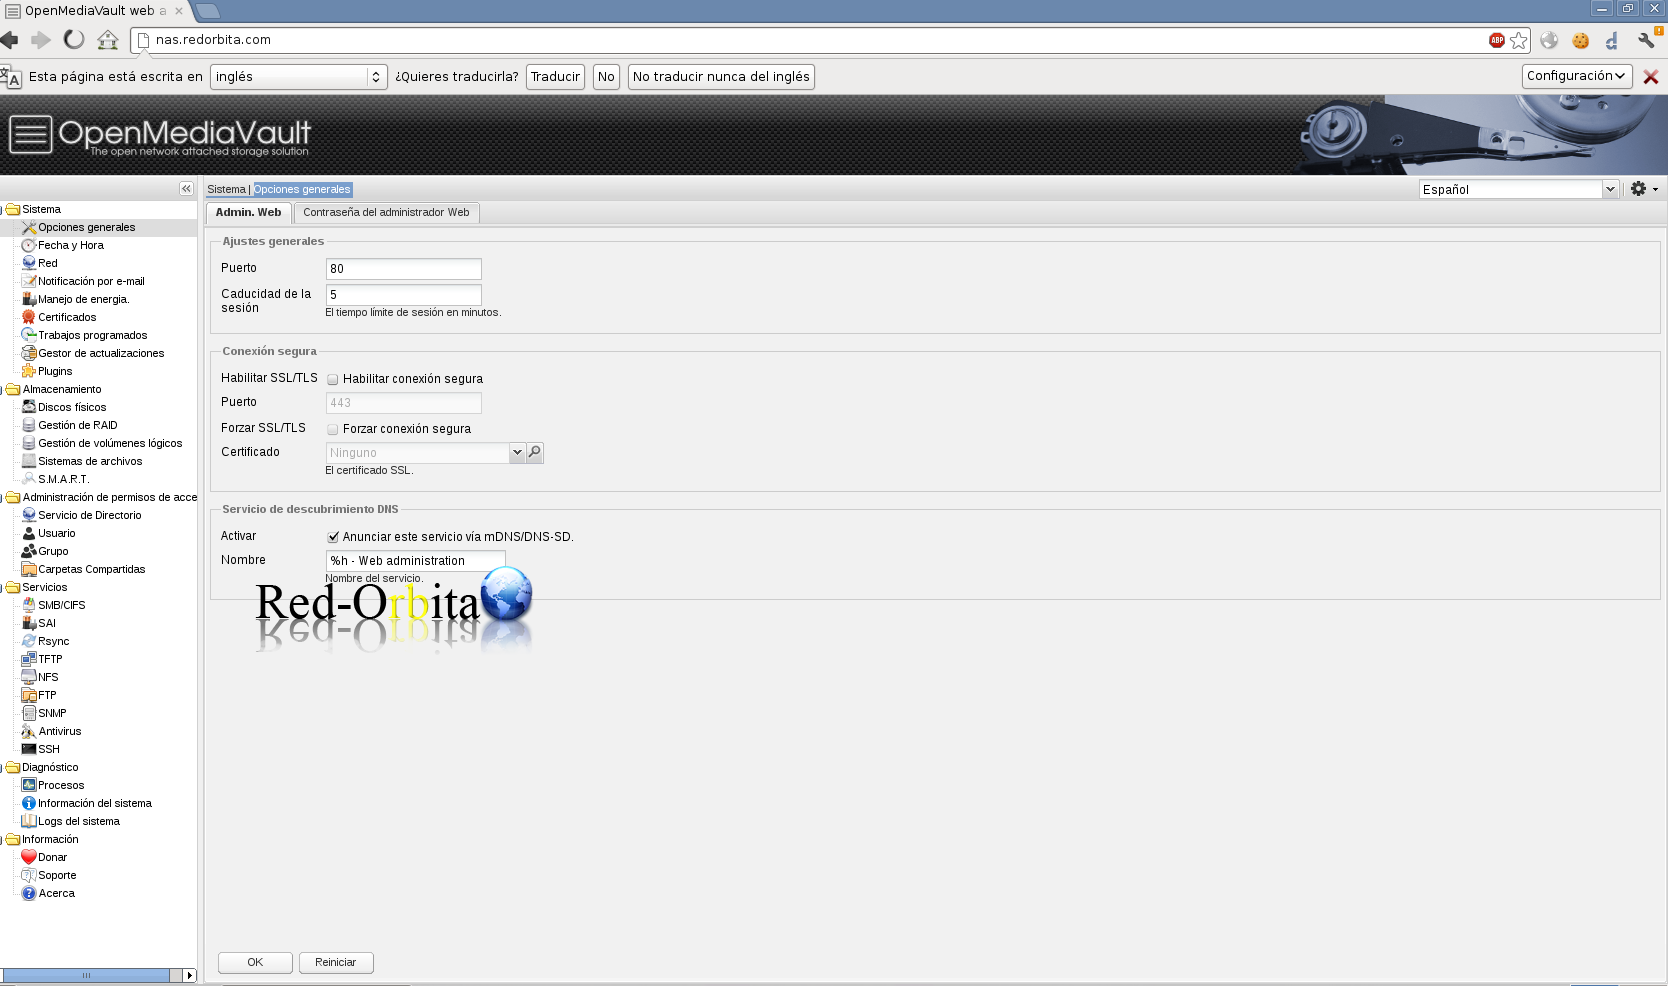
The first option we have is: General options, in which we can configure Port to access the web interface, number of sessions and it gives us the possibility of enabling the HTTPS browsing option.
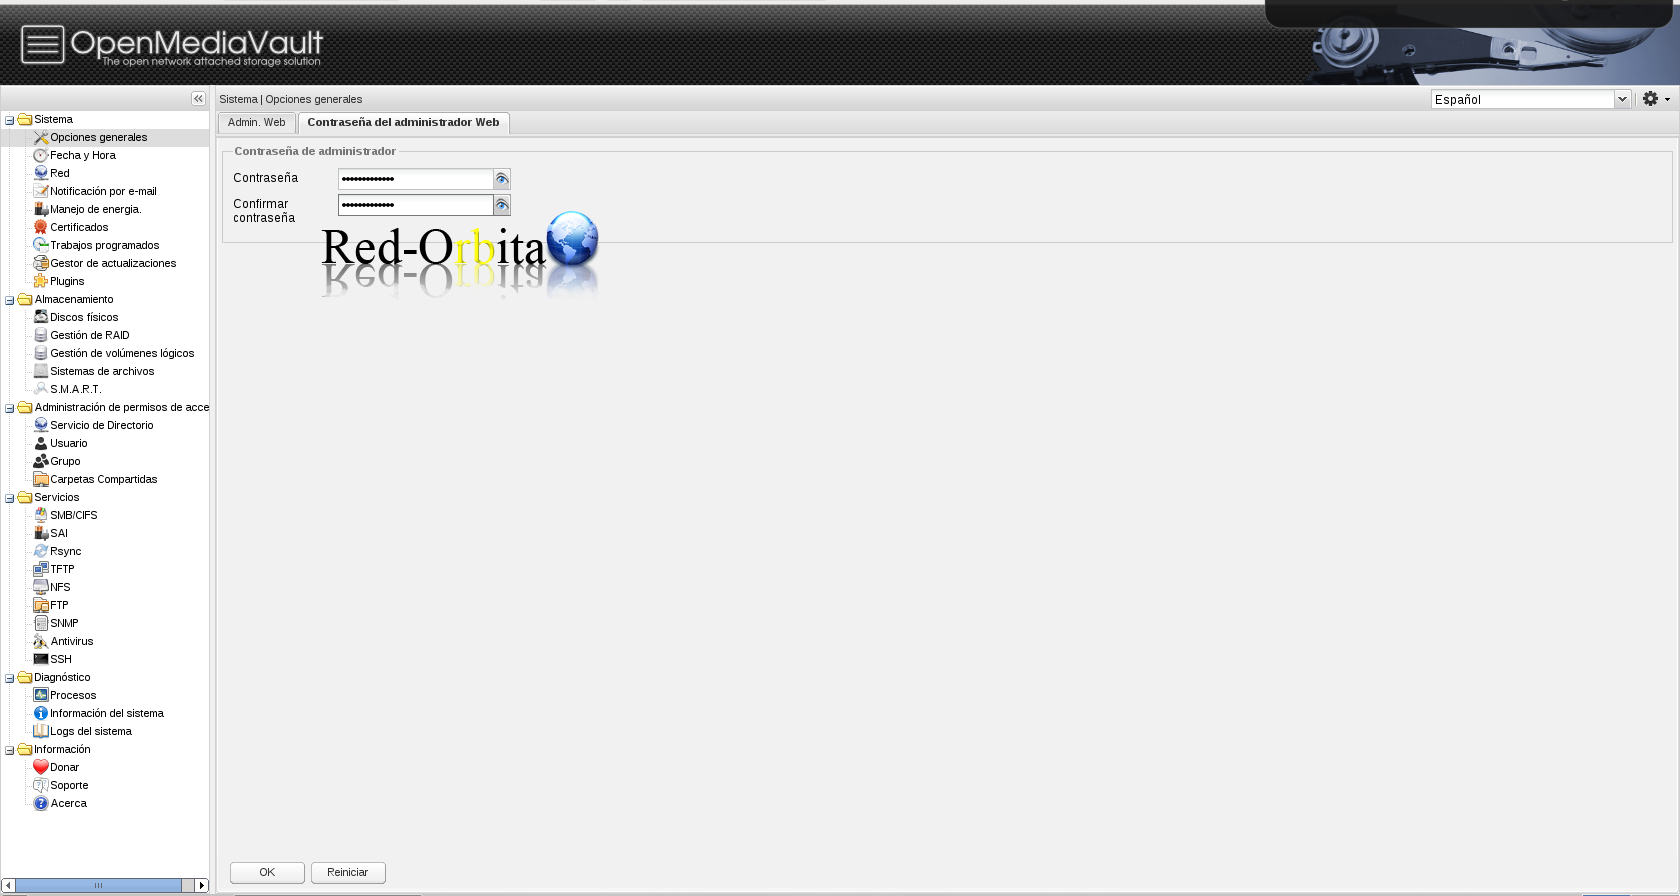
If we go to the Password tab of the Web Administrator, it gives us the possibility of changing the password of the Admin user.
Date and Time
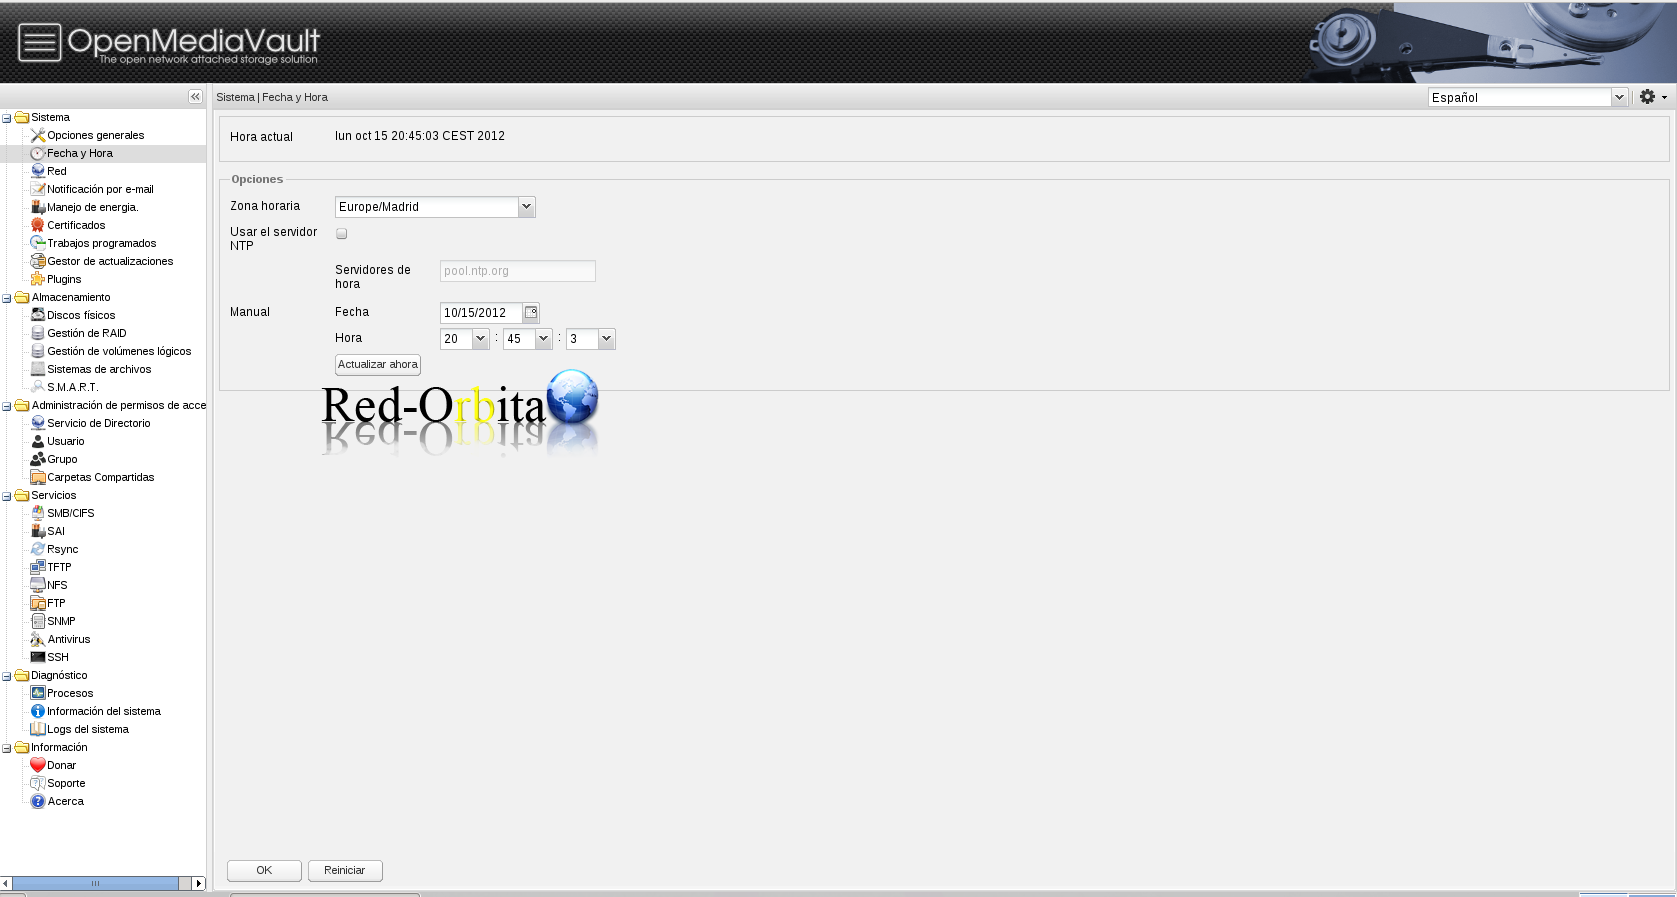
In Date and Time, as its name indicates, we can change the date and time of the server, despite the redundancy.
It also gives us the possibility of assigning an NTP server if we have one.
GRID
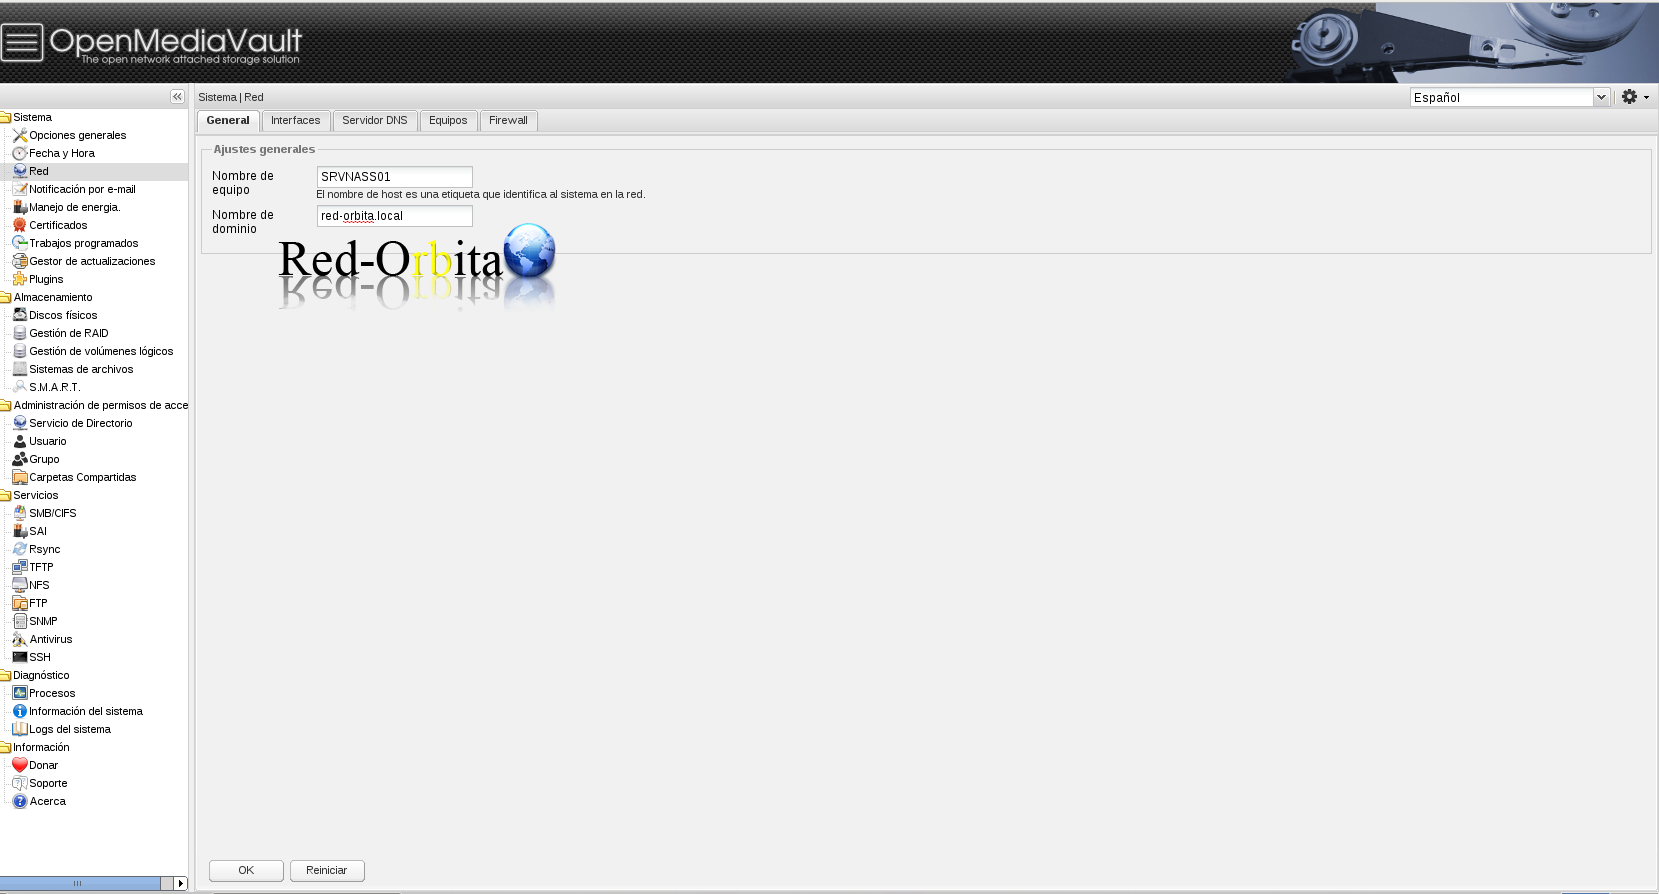
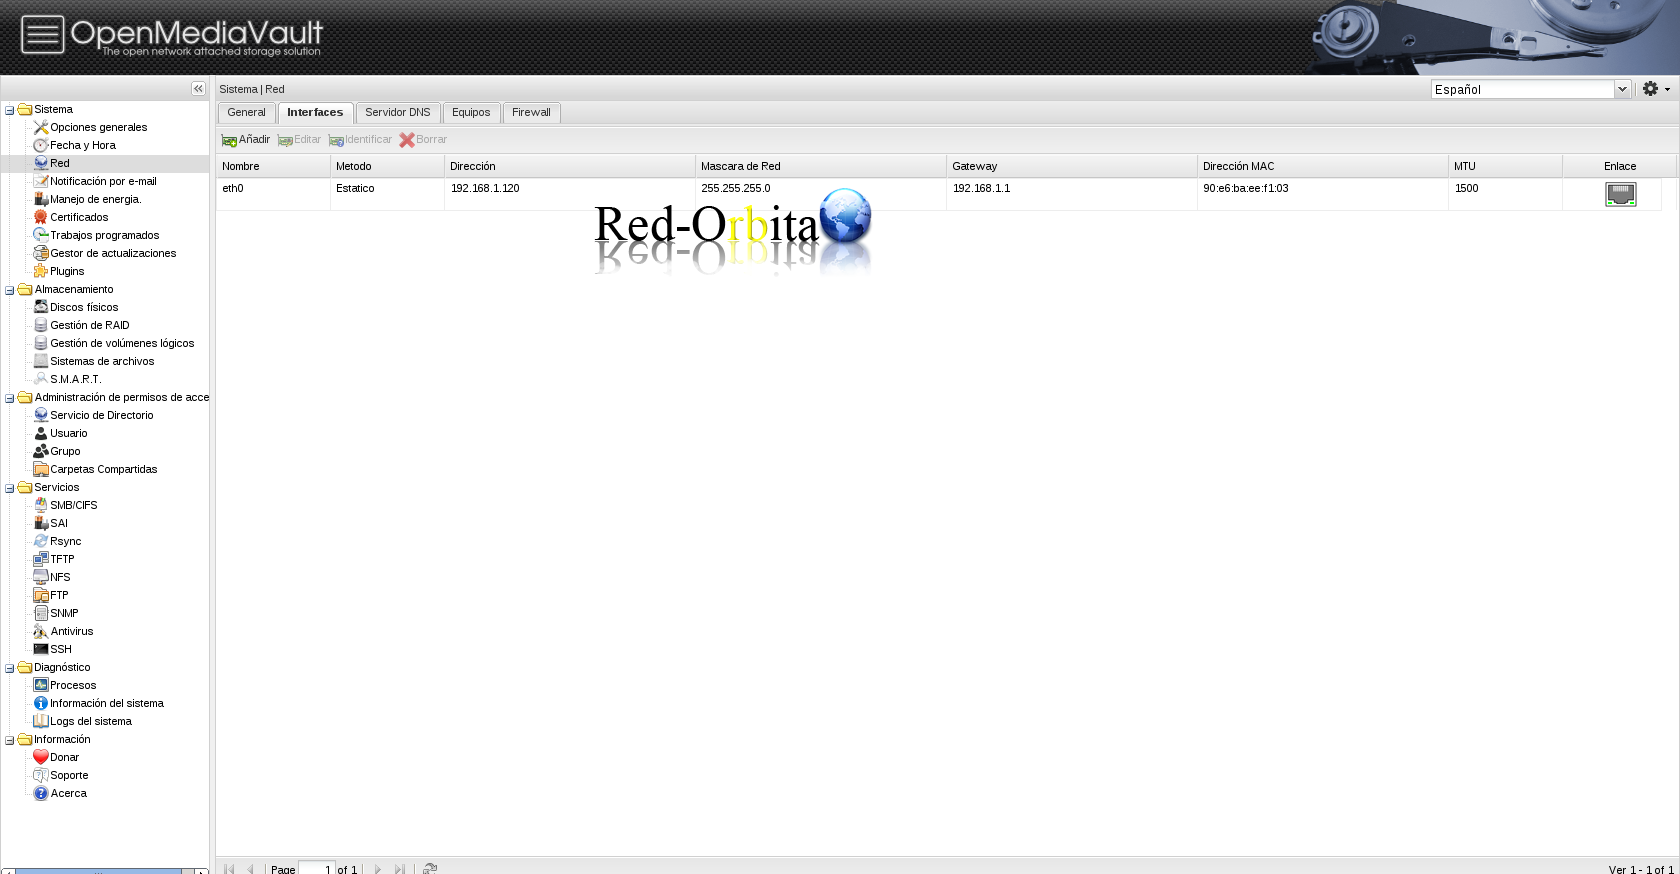
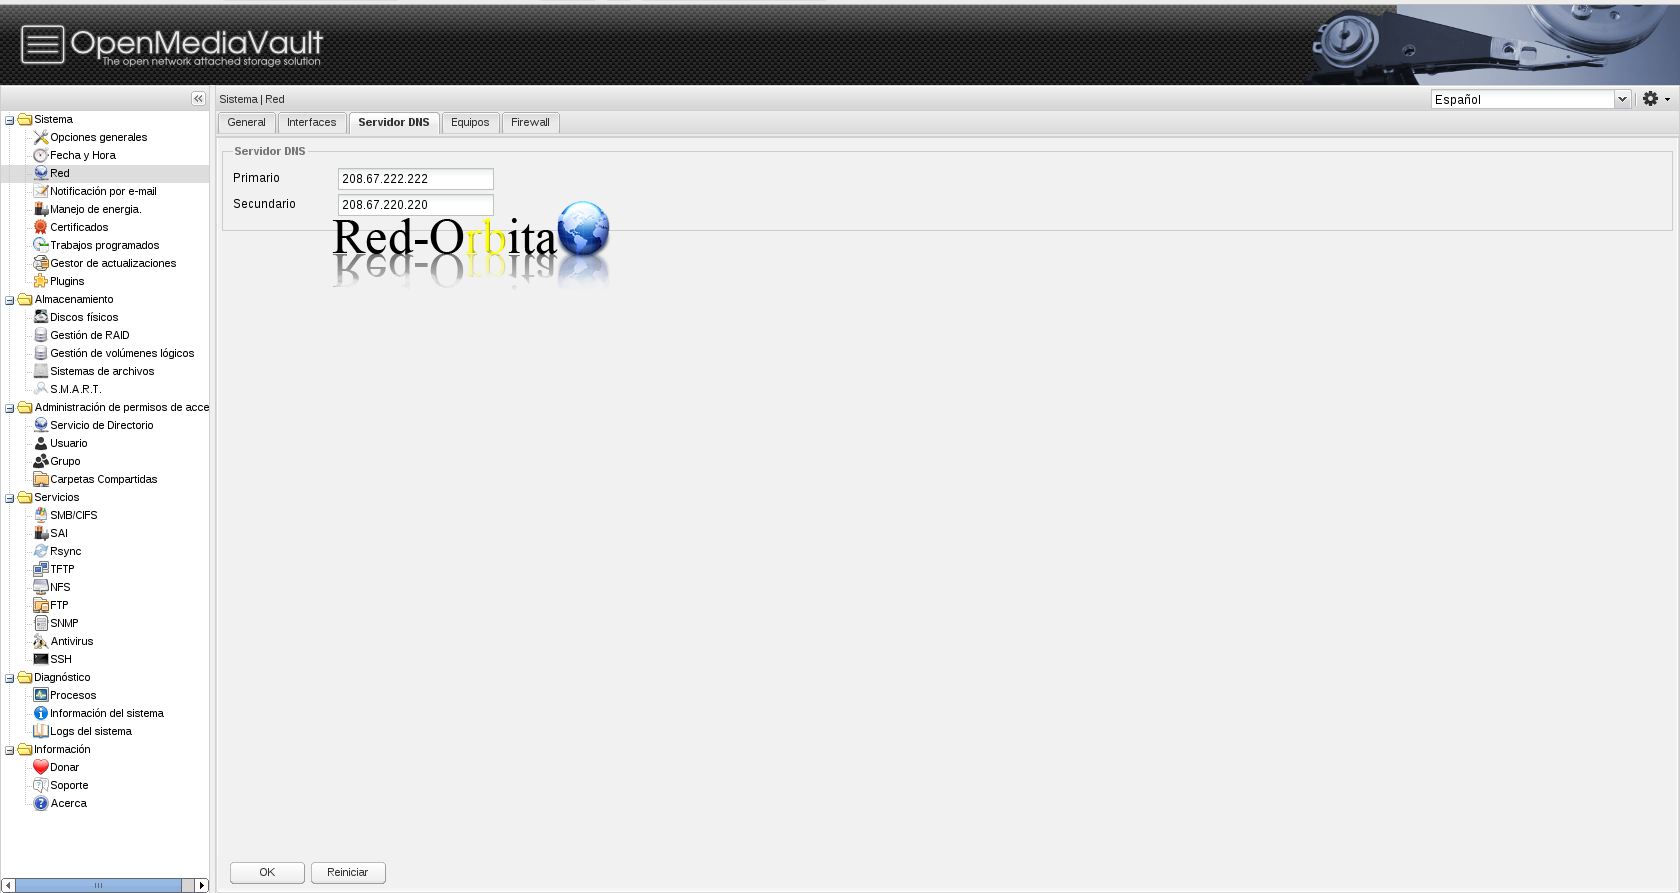
In it we can change the server name and domain, Add, Edit, Delete or modify network interfaces, configure DNS server Access Control and Firewall.
Server Name and Domain.
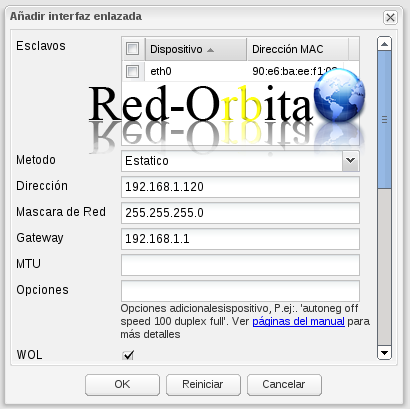
We click Add and configure the network interface.
DNS
Teams
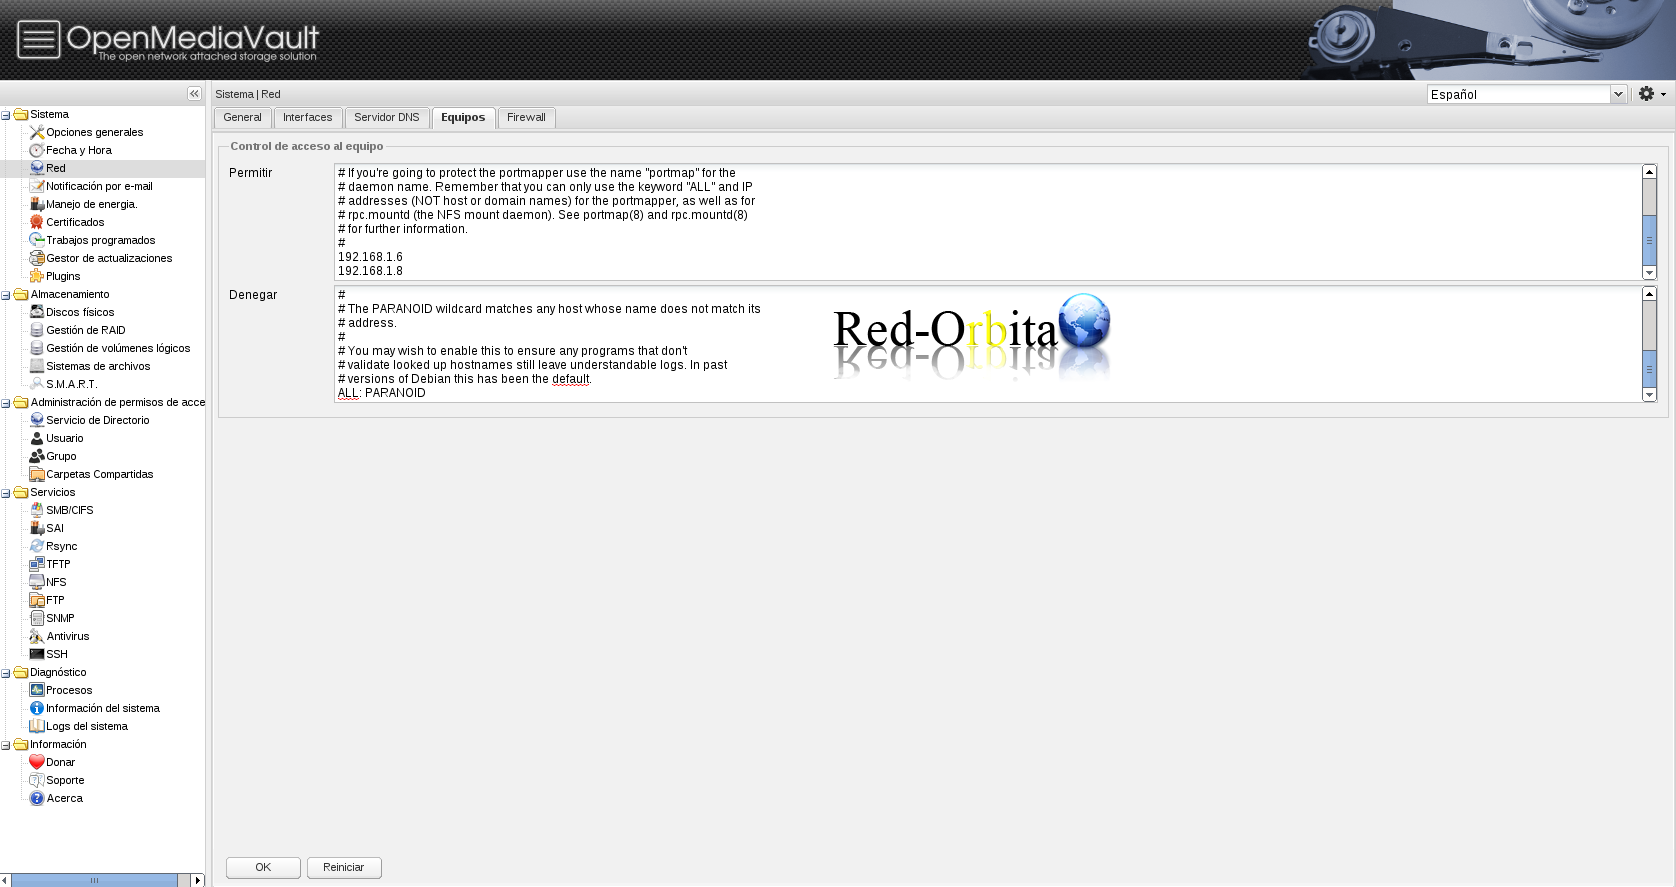
Here we control the IPS addresses that can access via NFS
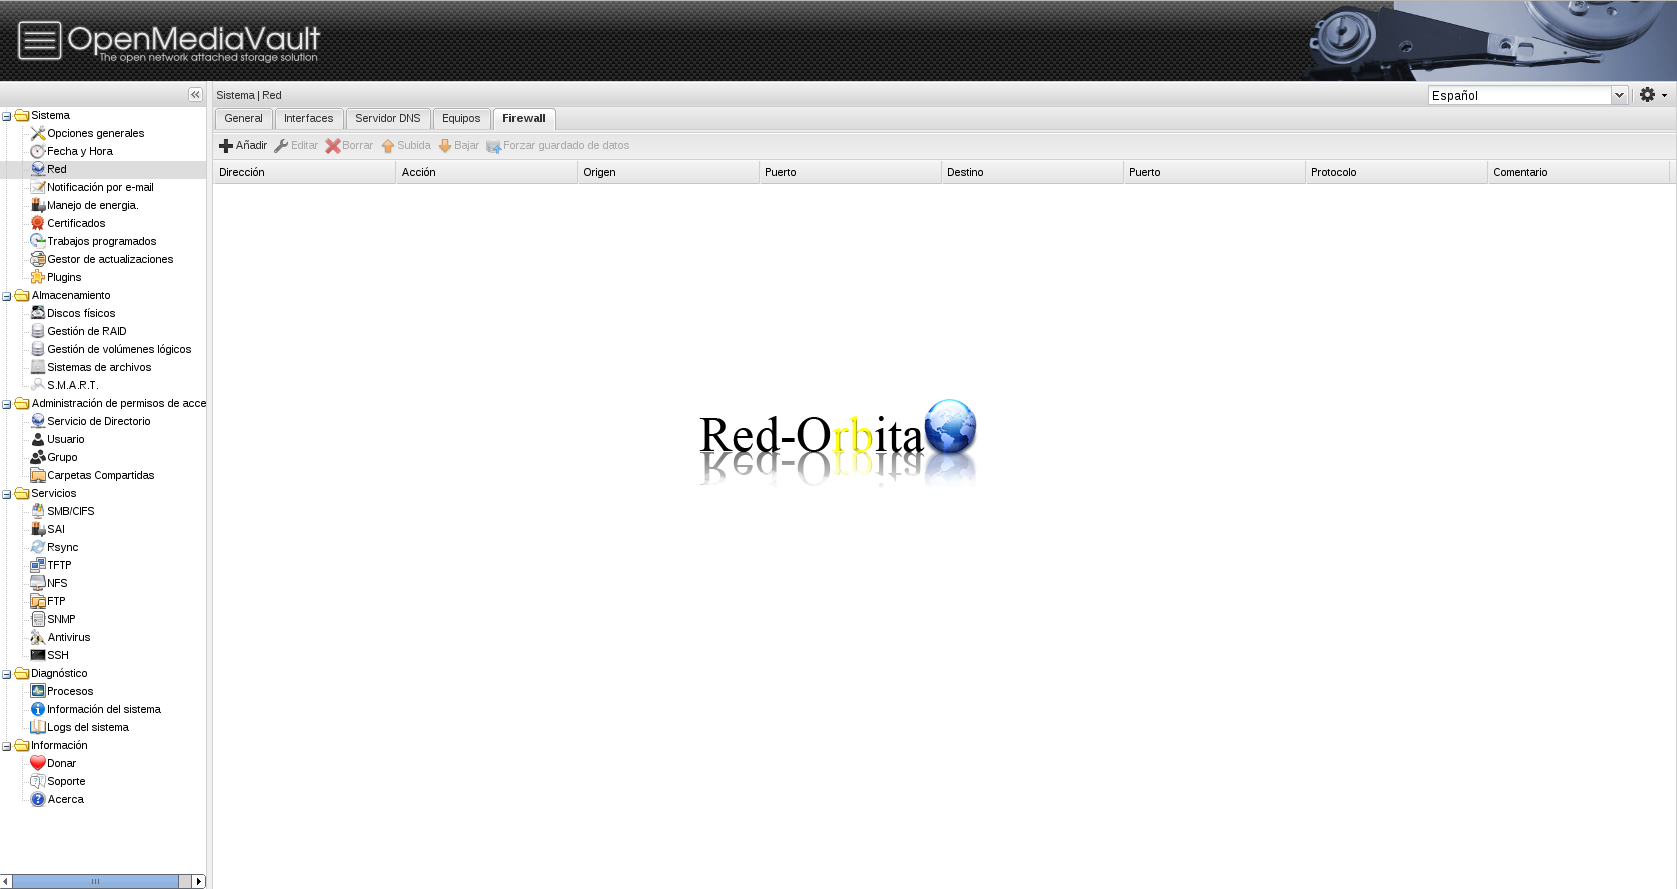
Firewall
Here... well there is nothing to explain...
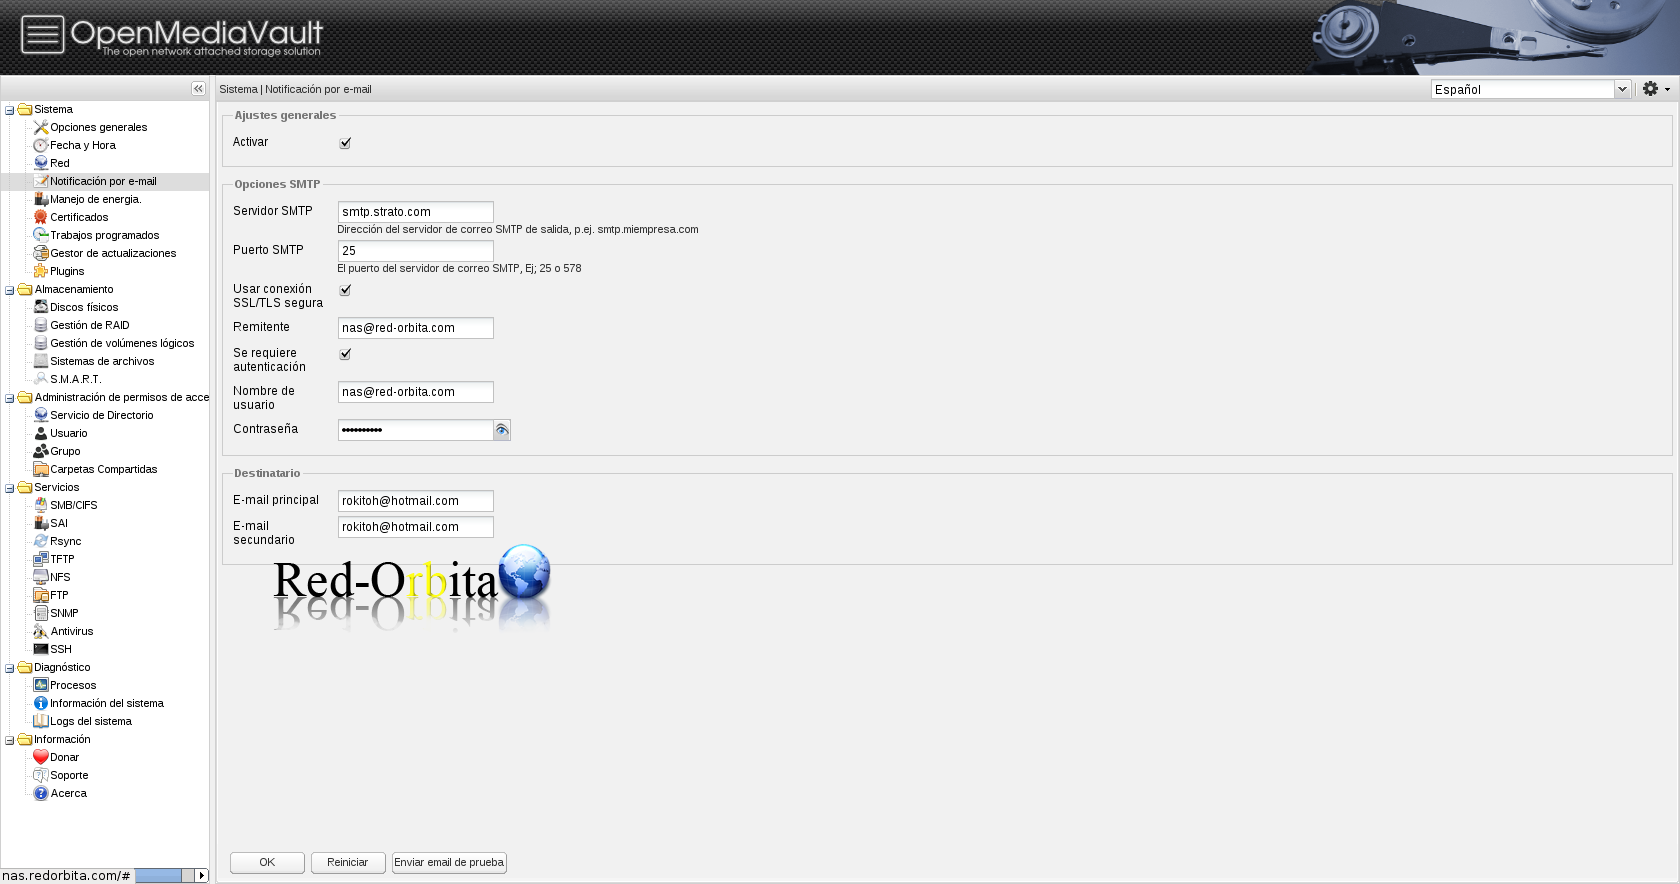
Notificación por e-mail
Here we configure the email so that we receive server notices, updates and lots of nonsense that fills your email...
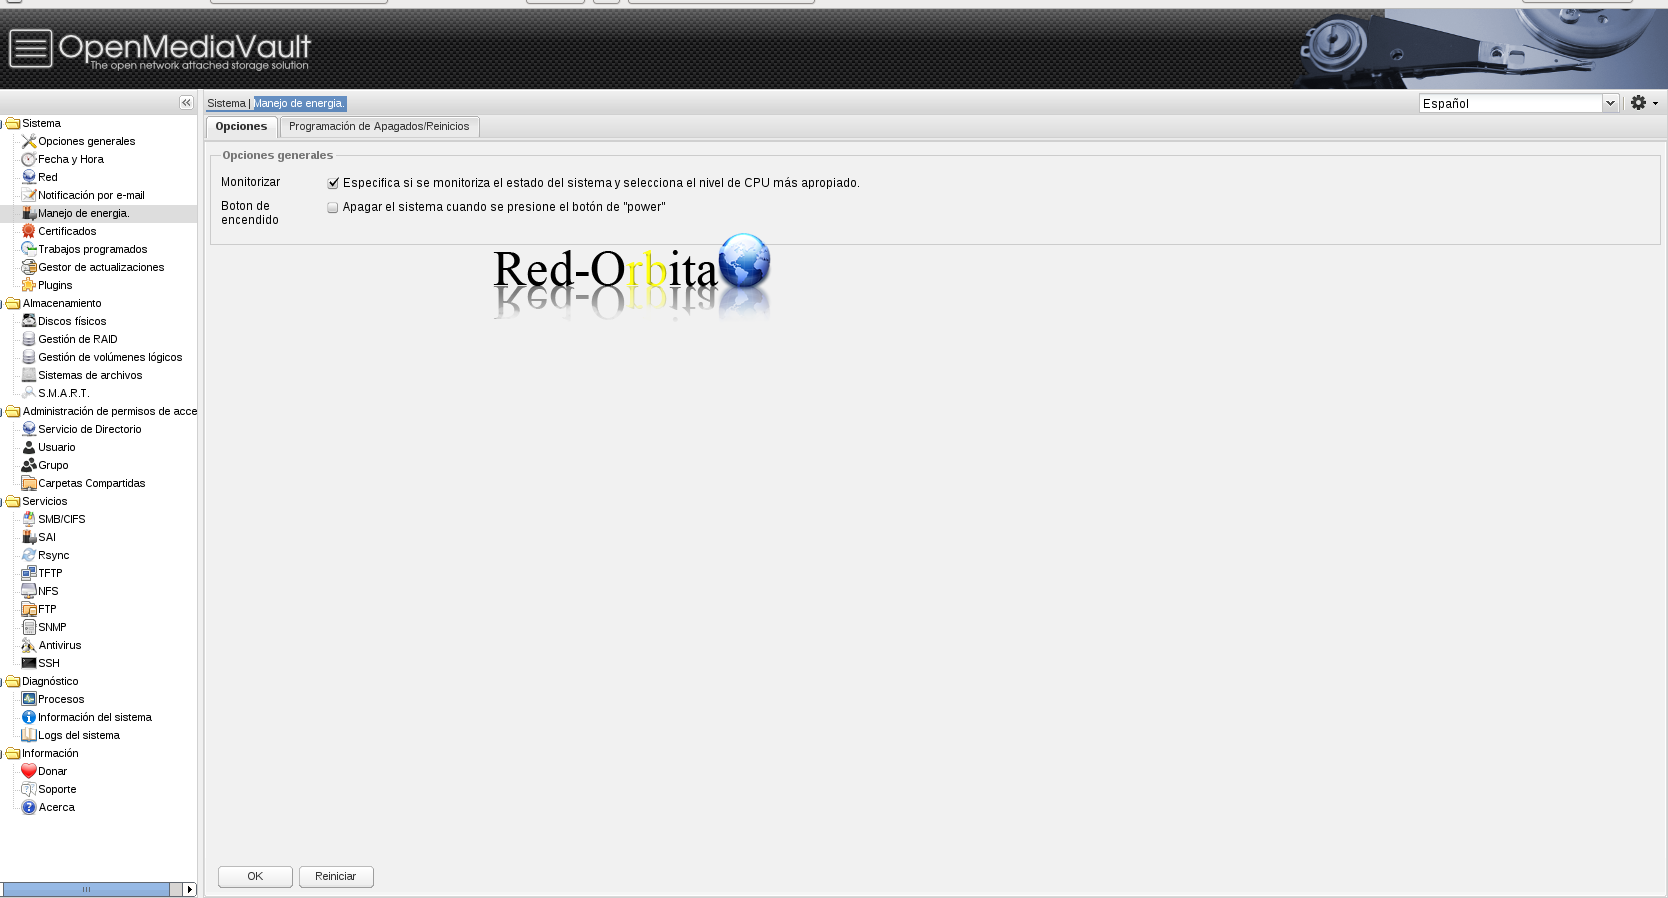
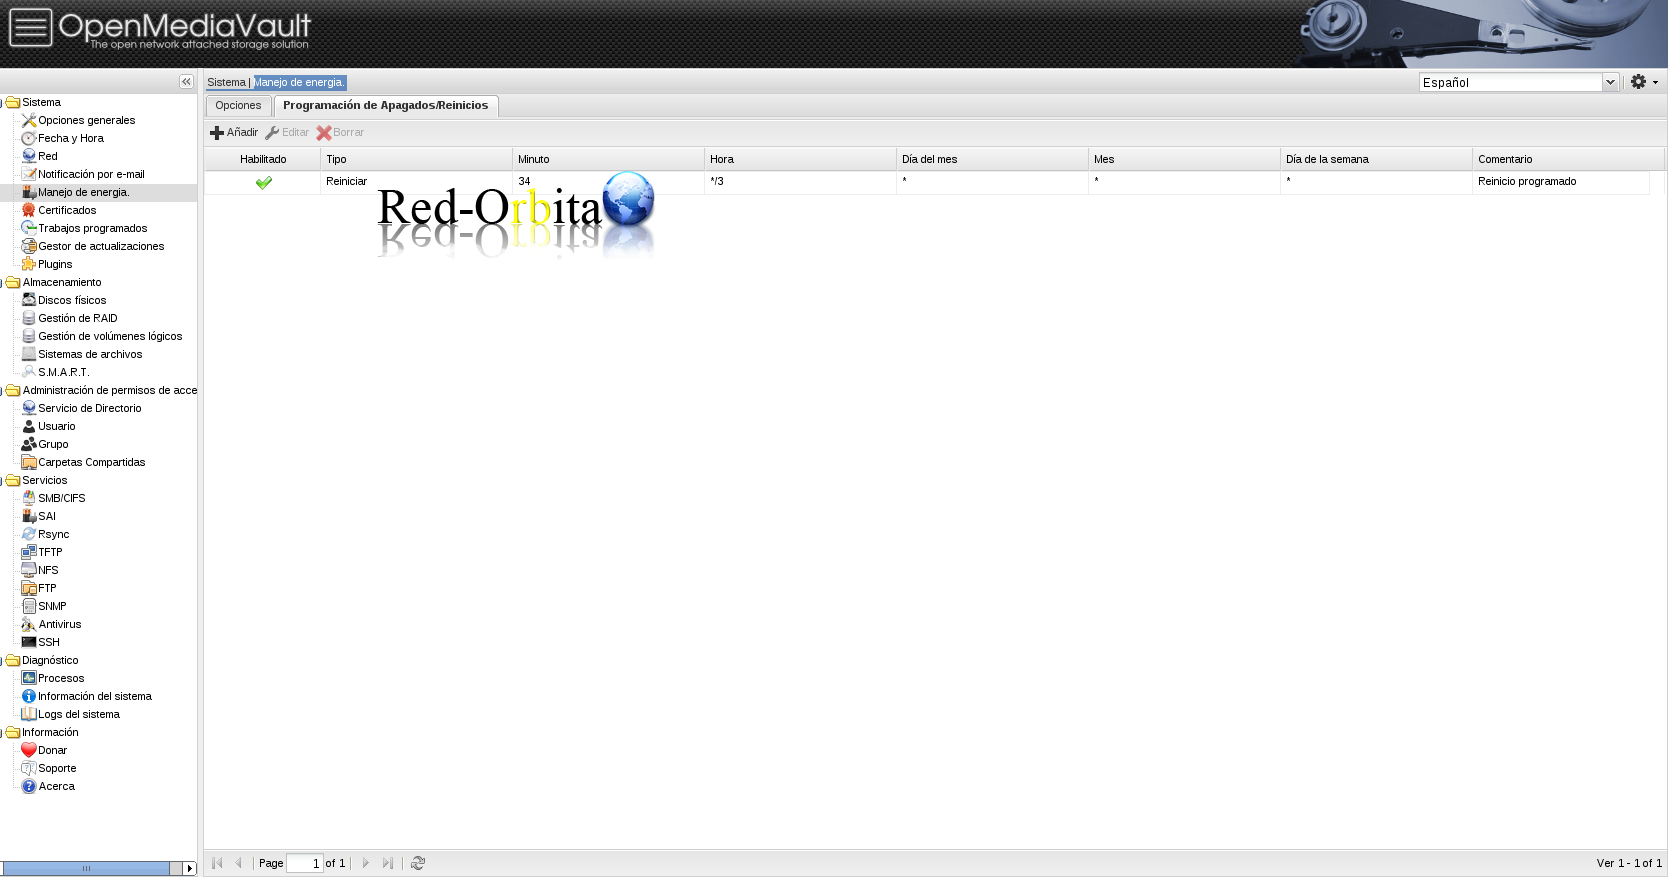
Energy management.
Here we monitor the CPU and we can schedule reboots
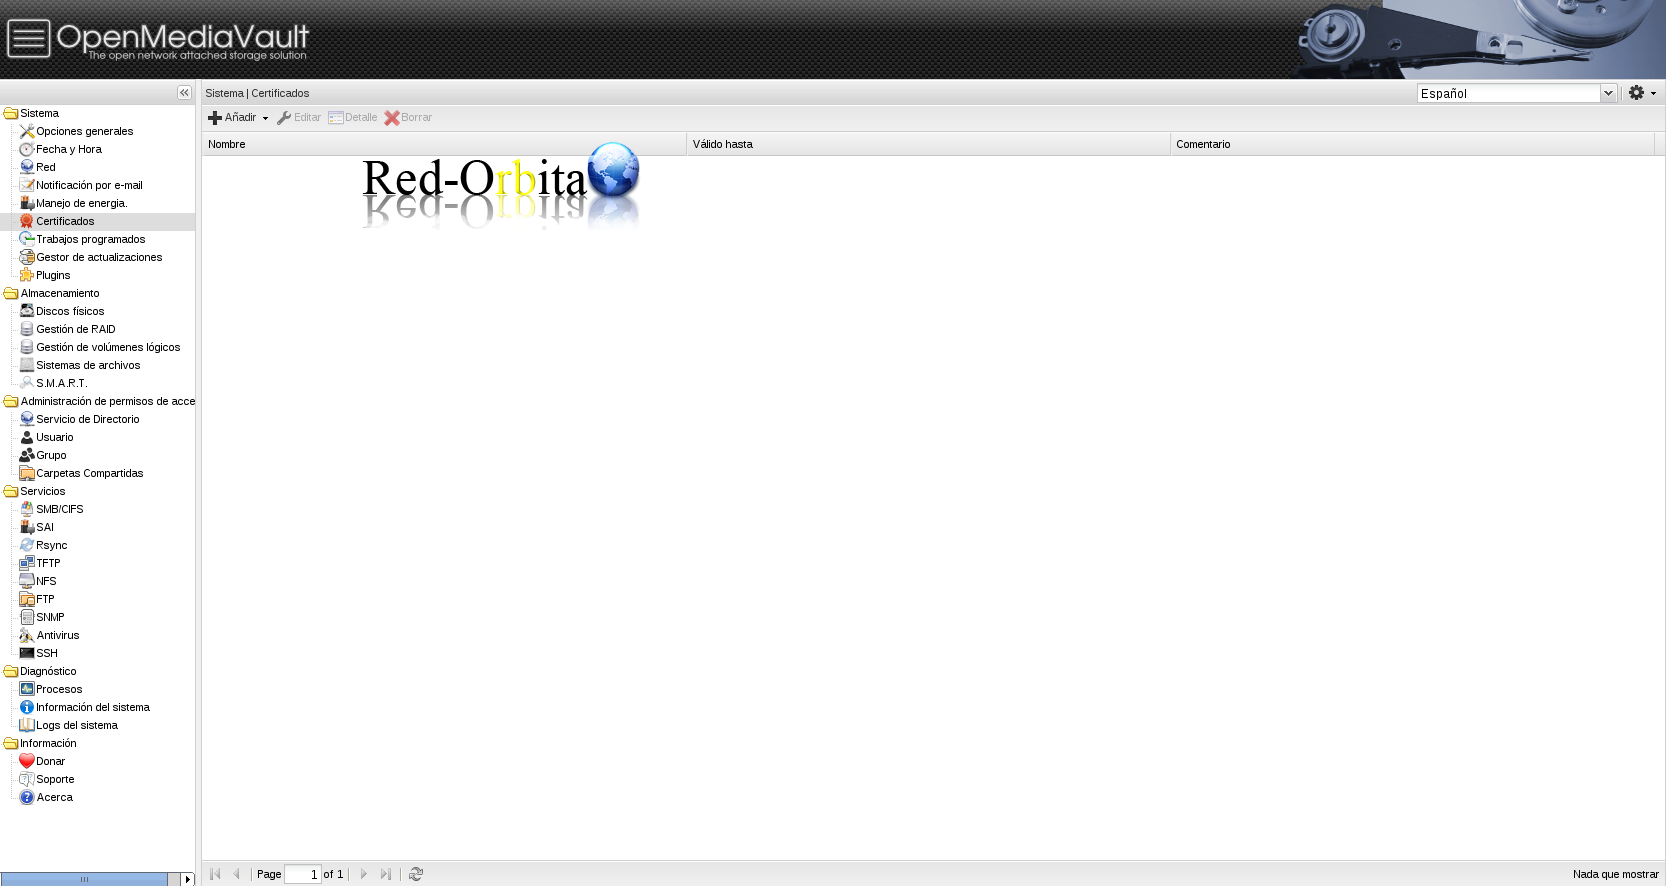
Certificates
We generate the certificates to connect via HTTPS
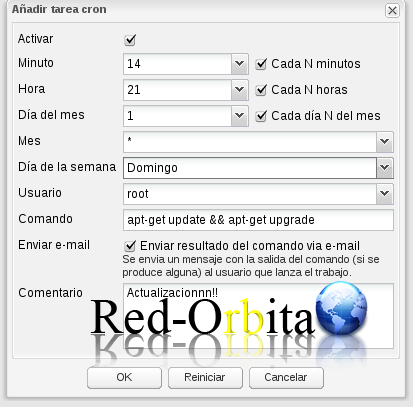
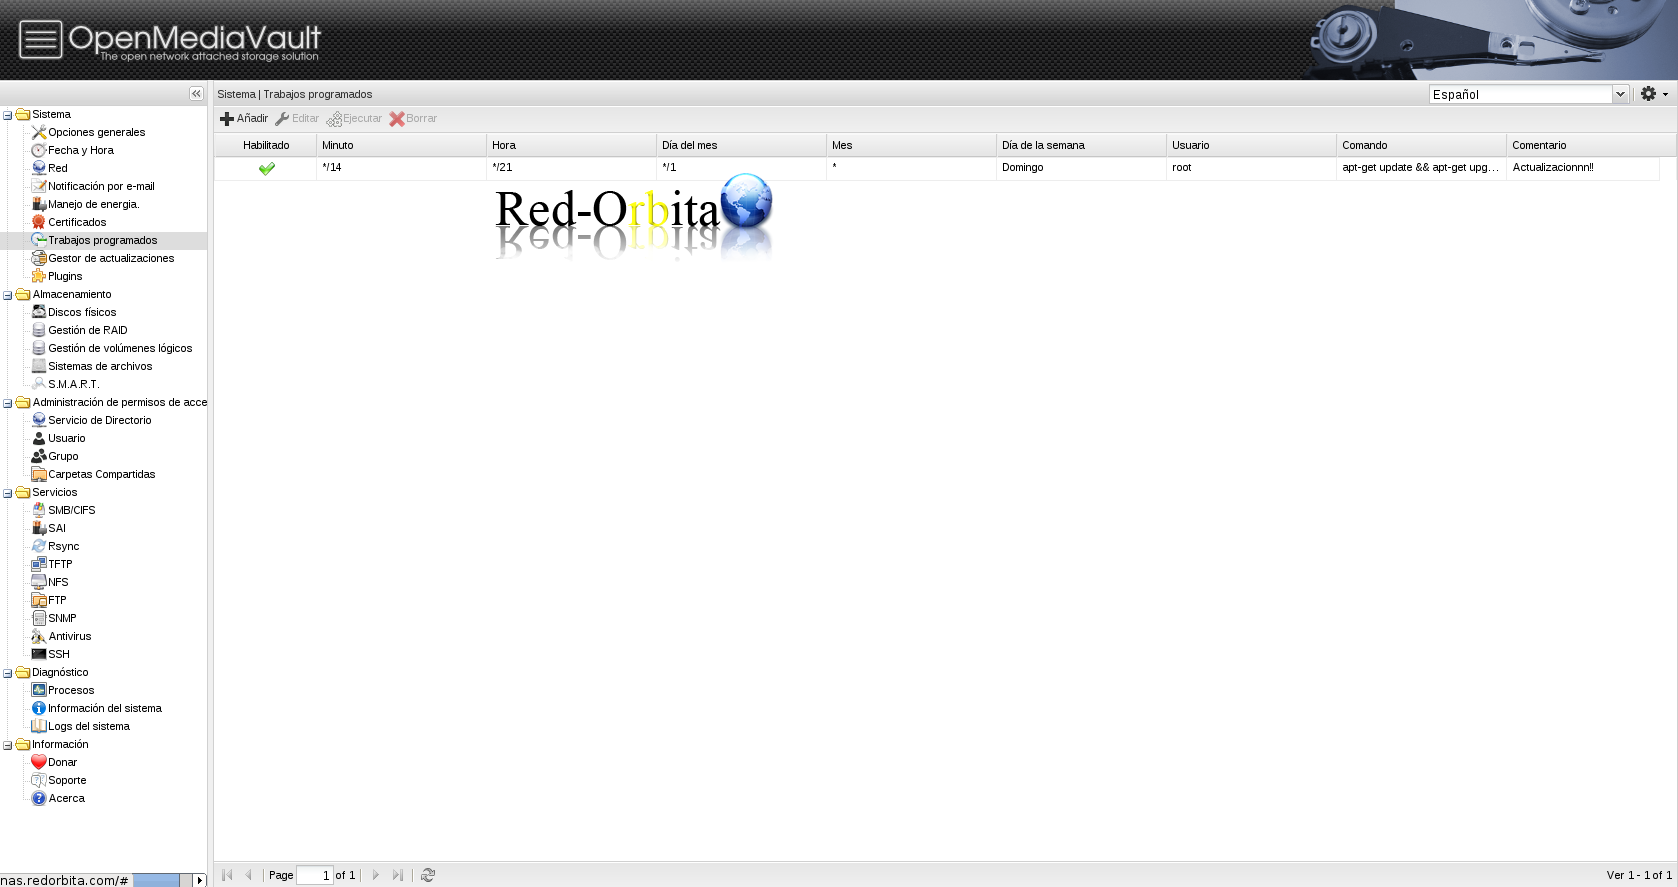
Scheduled jobs.
In this section... well... we schedule all the tasks. such as... updates, verify space... backups... whatever.
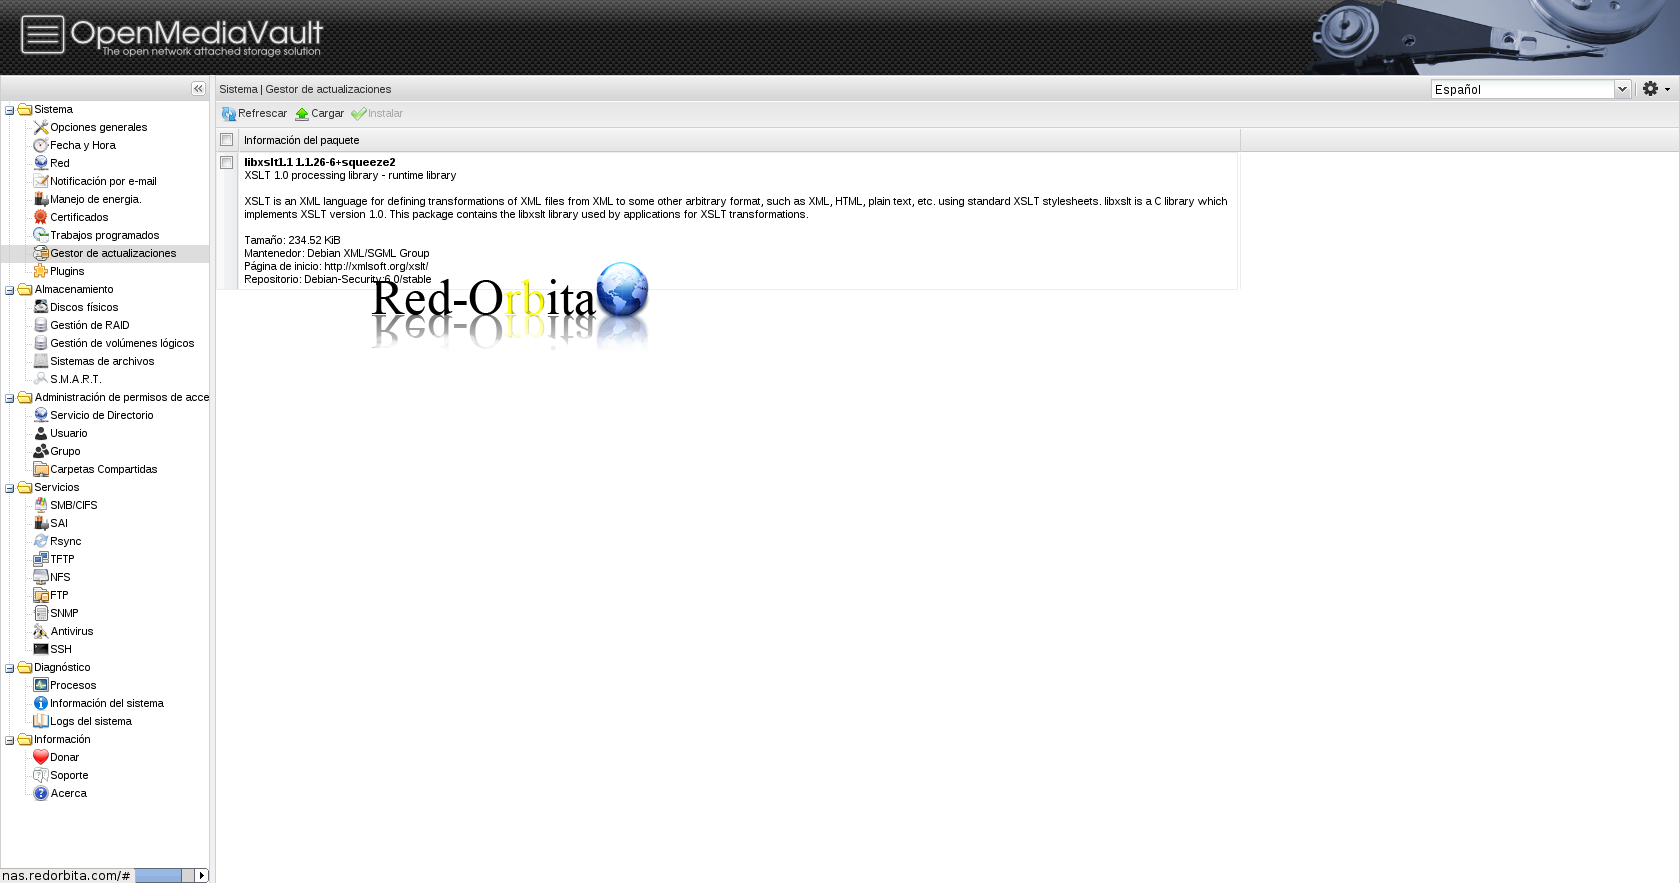
Update manager.
Through these applications we can update the server through the web interface.
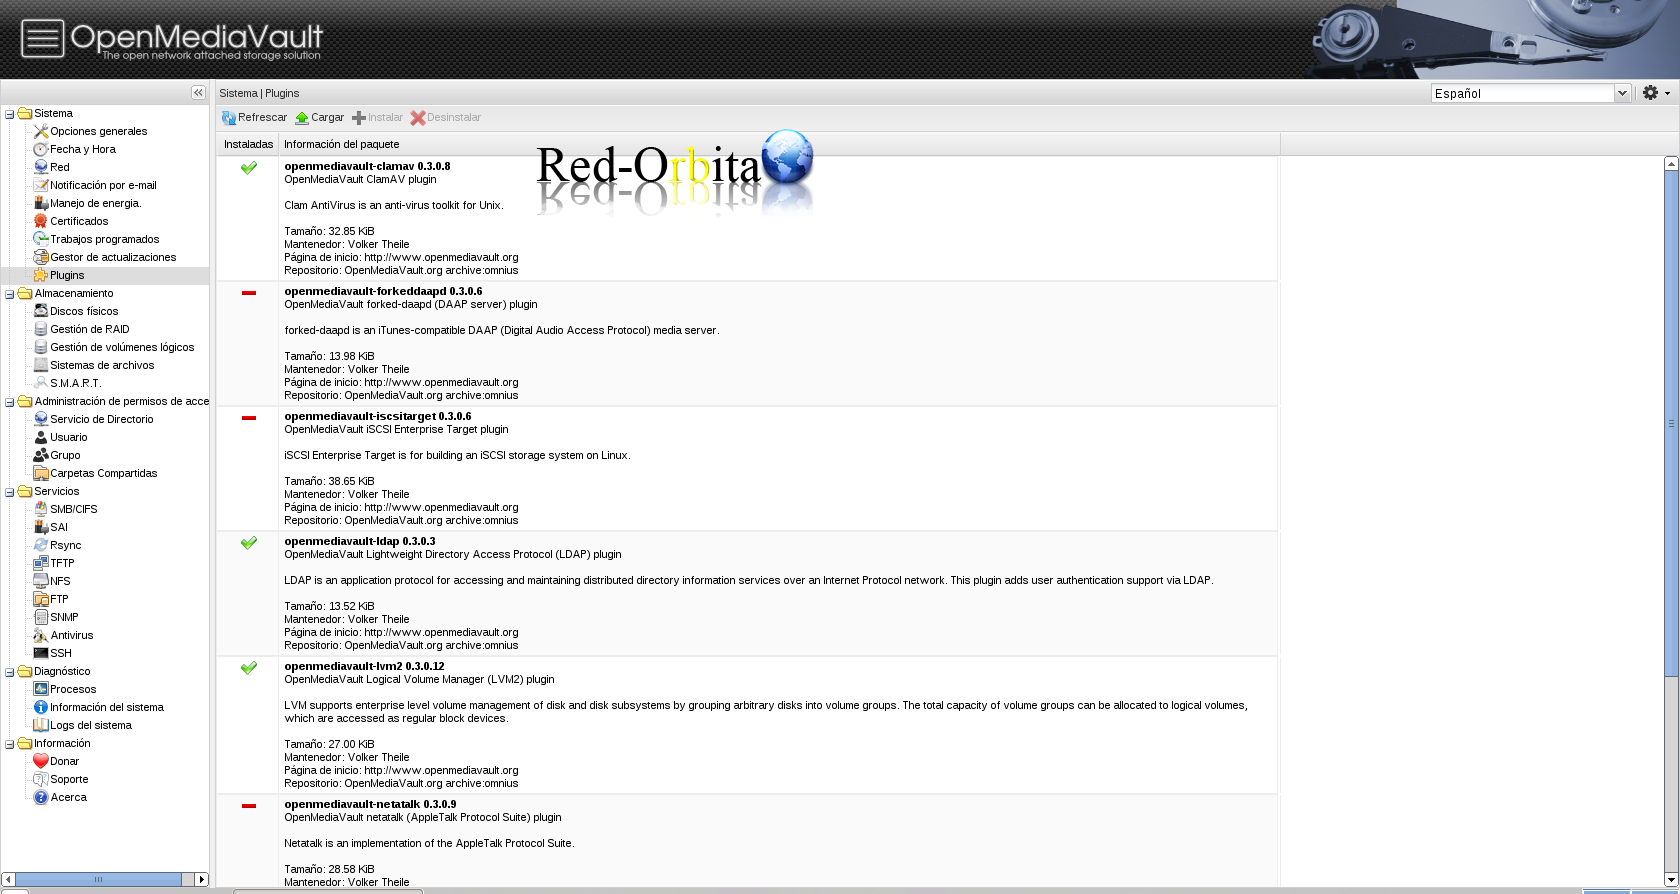
Plugins.
We can install plugins such as Antivius, support for lvm, identification through ldap... etc, etc.
Storage
Through these menus we configure the disks.
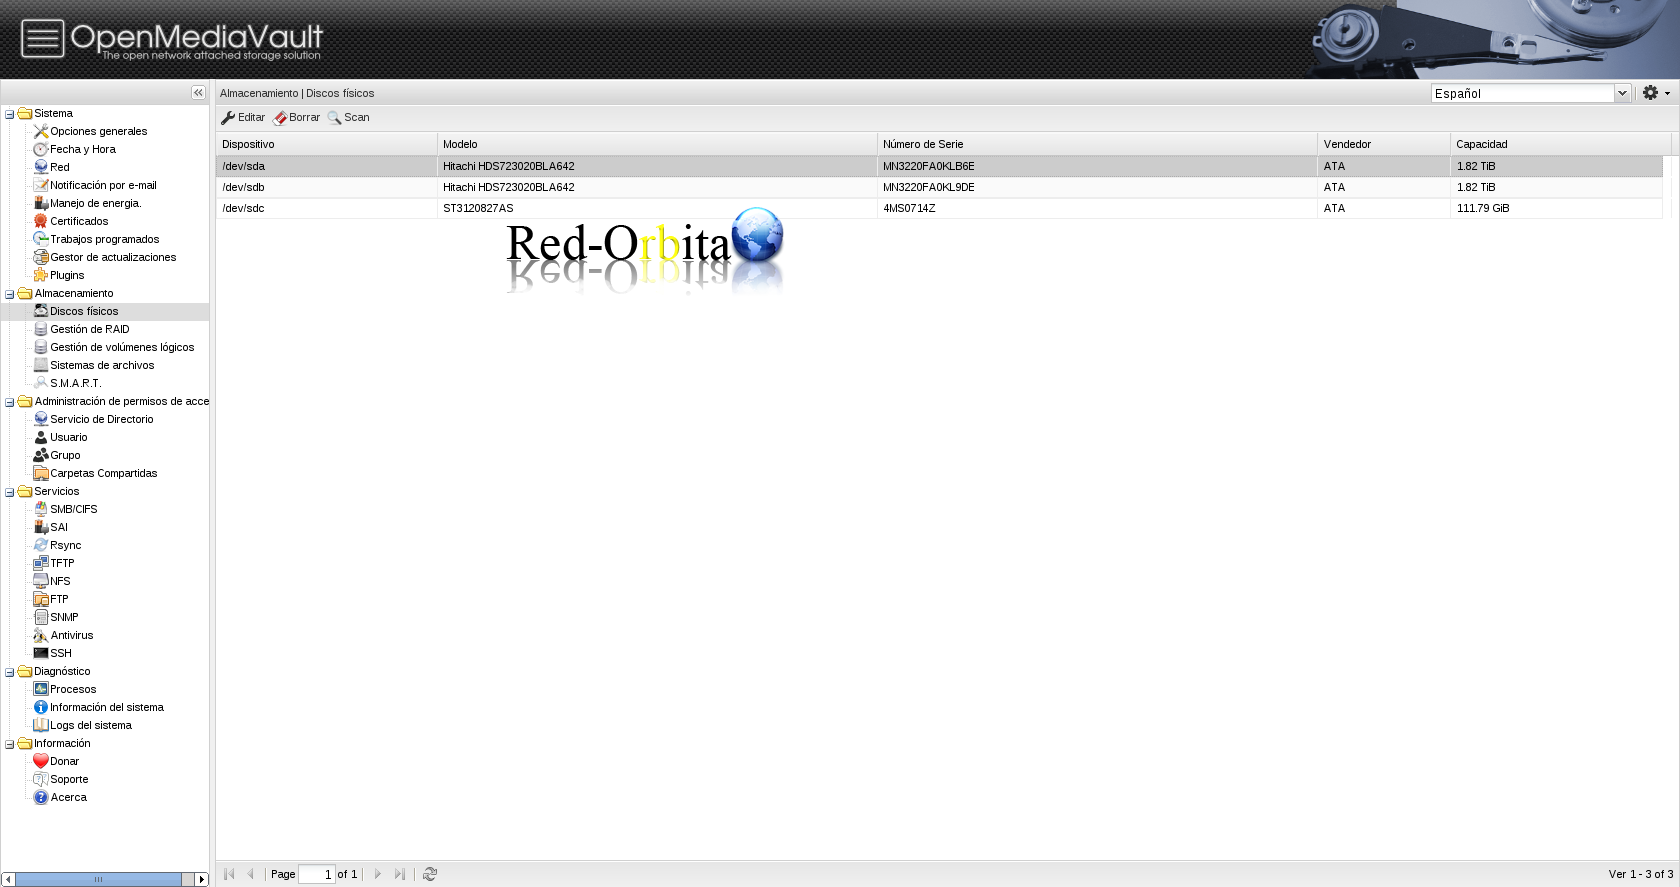
Physical Disks:
We edit and scan for new albums.
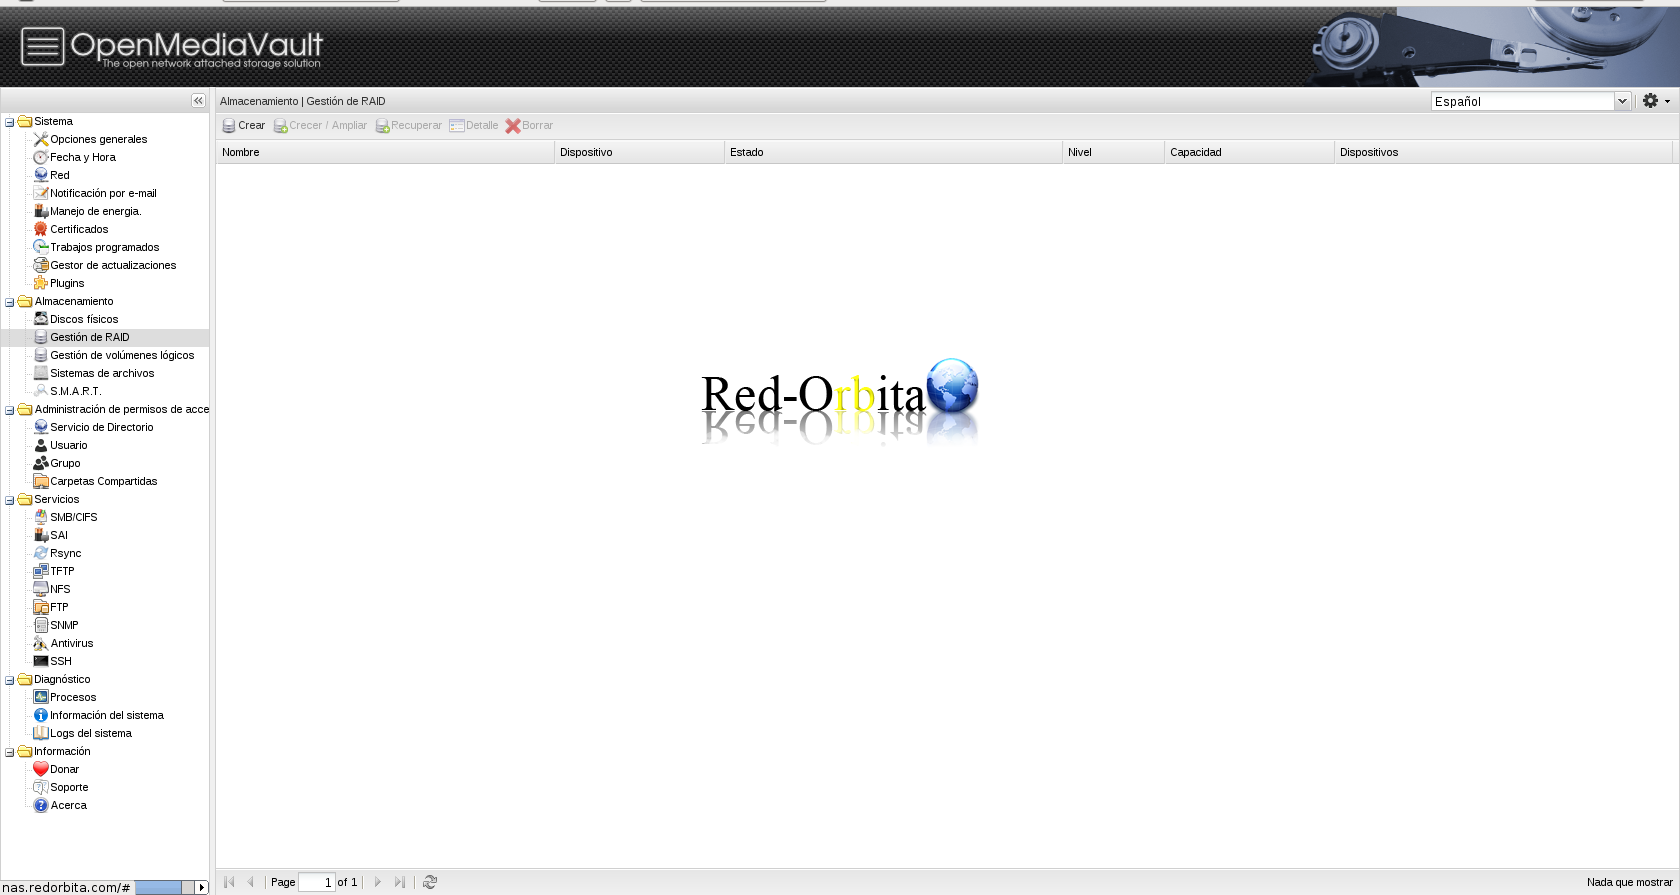
RAID management.
In it we can create RAID, they are created very easily.
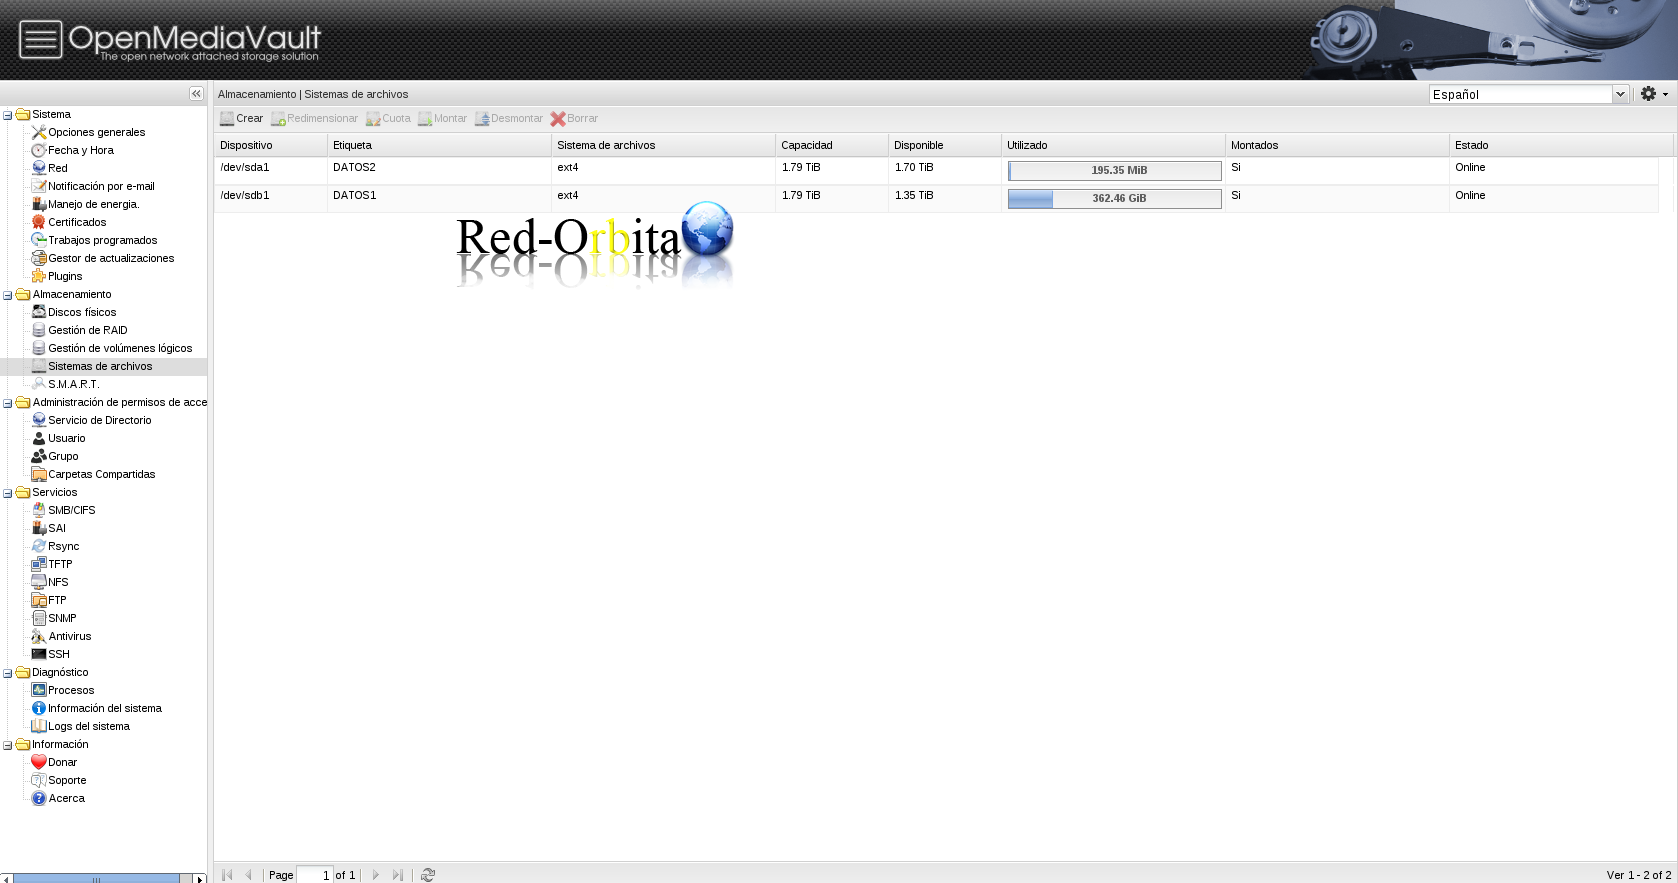
File system.
We map file systems, partition, mount and unmount disks.
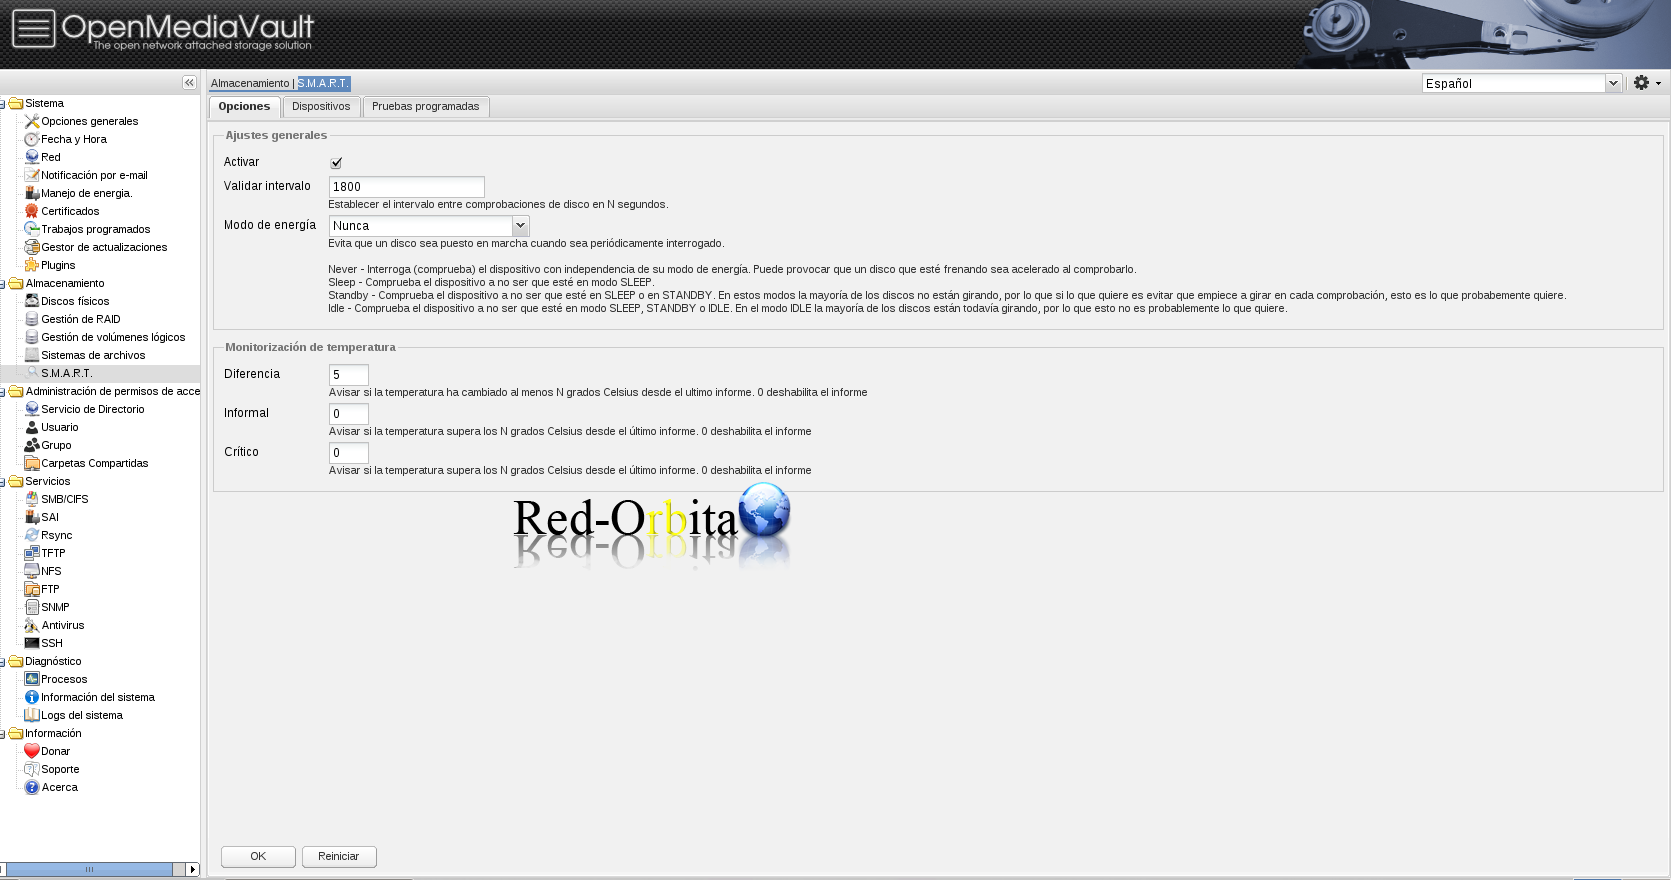
S.M.A.R.T.
We can configure it to perform disk failure detections. It also gives us the possibility of programming TESTs for each of the disks.
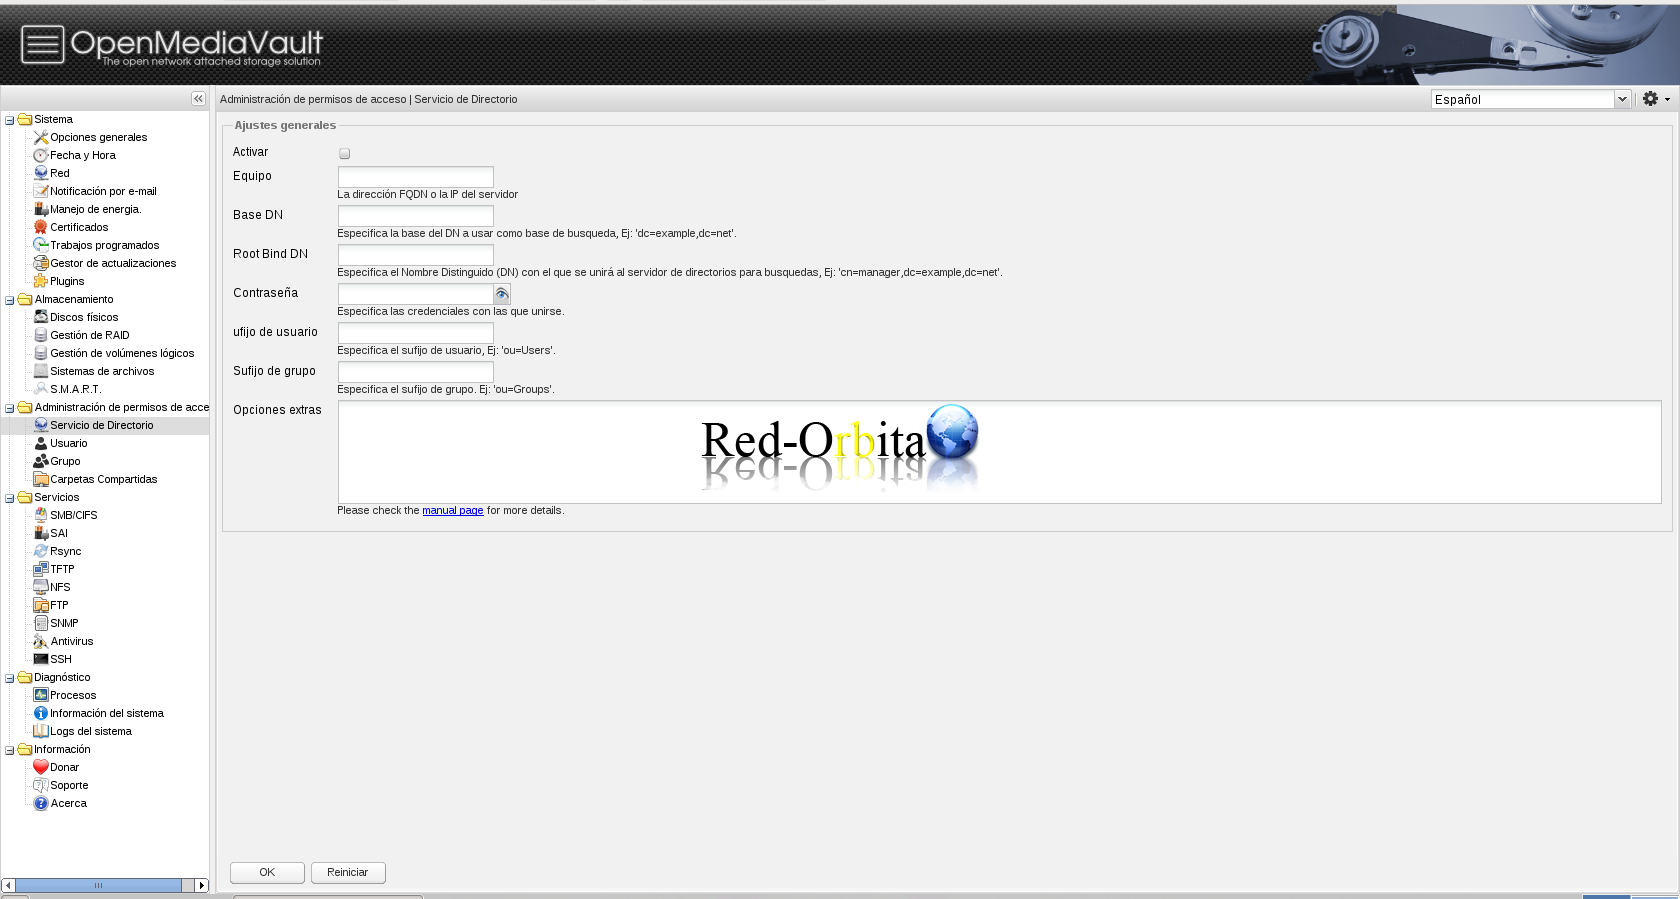
Access permission management
Configuration for authentication for the Domain.
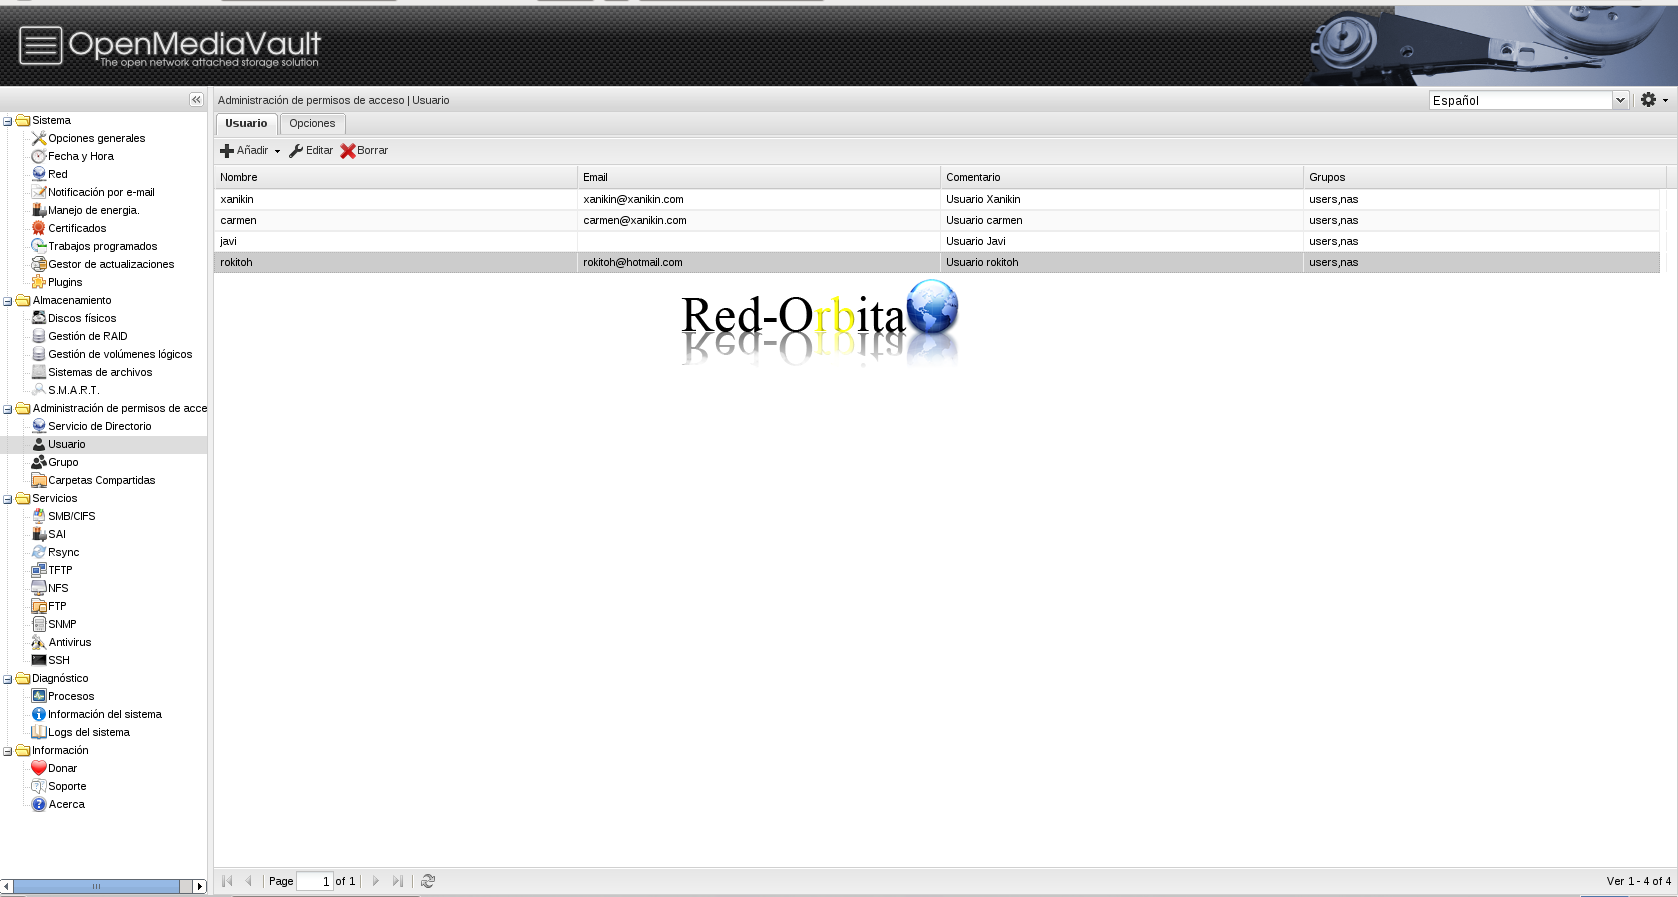
Users.
Through this panel we can Manage our system users, Create, Edit, Delete. (With these users we will not be able to manage the server interface through graphics)
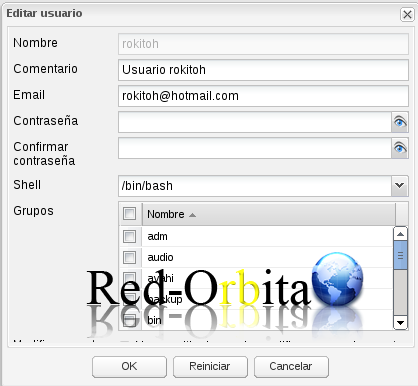
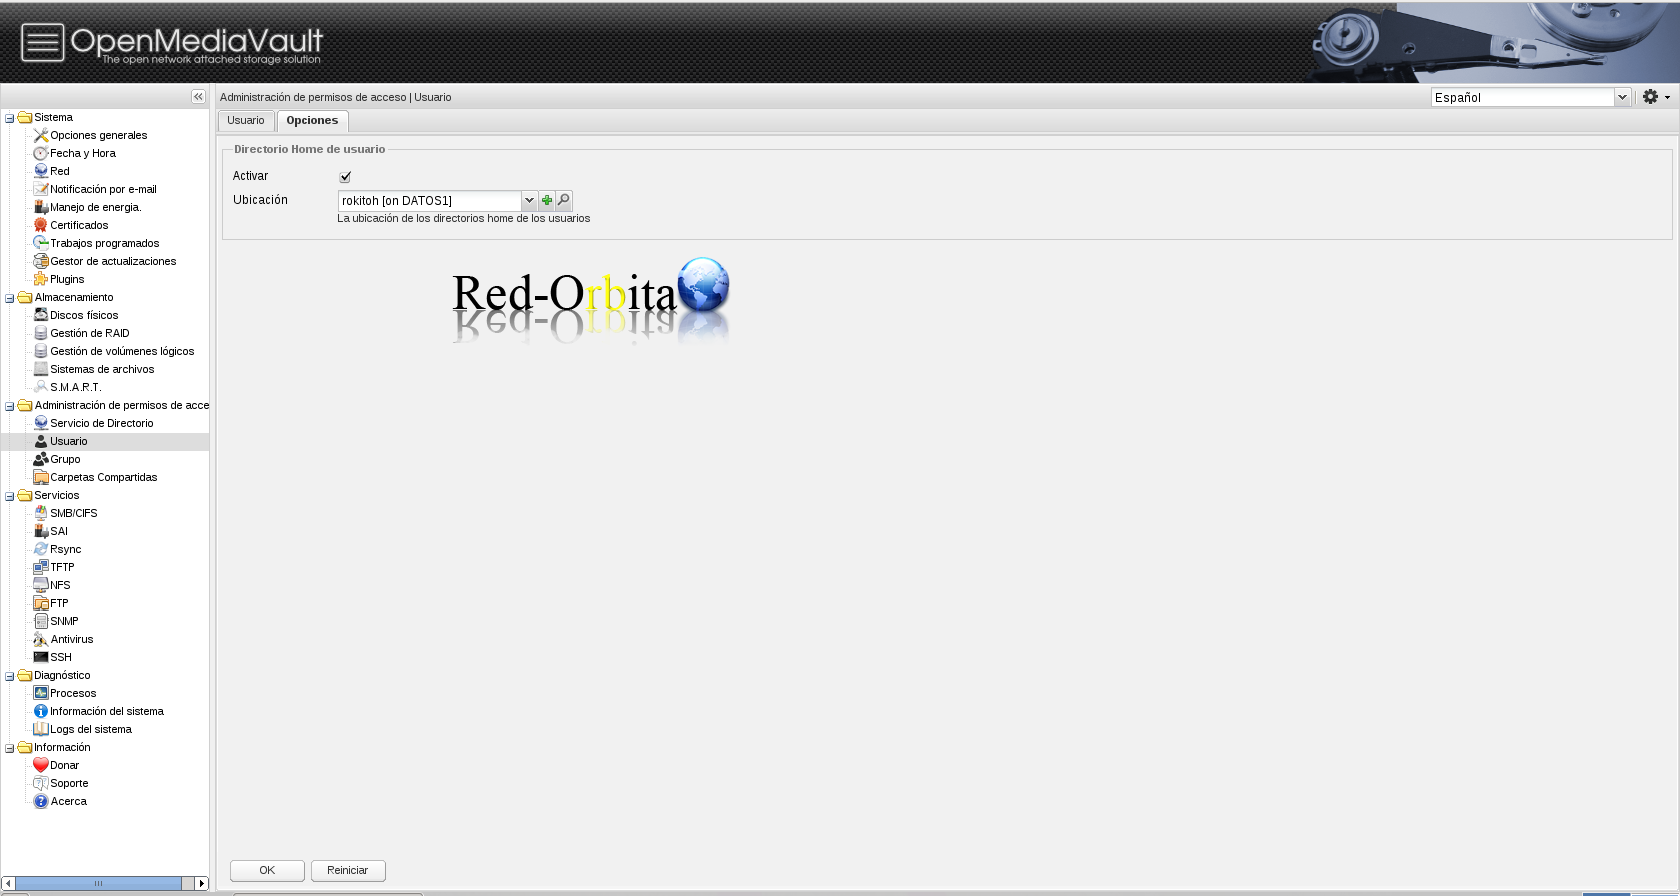
If we go to the Options tab within Users we can configure the user's HOME.
Groups
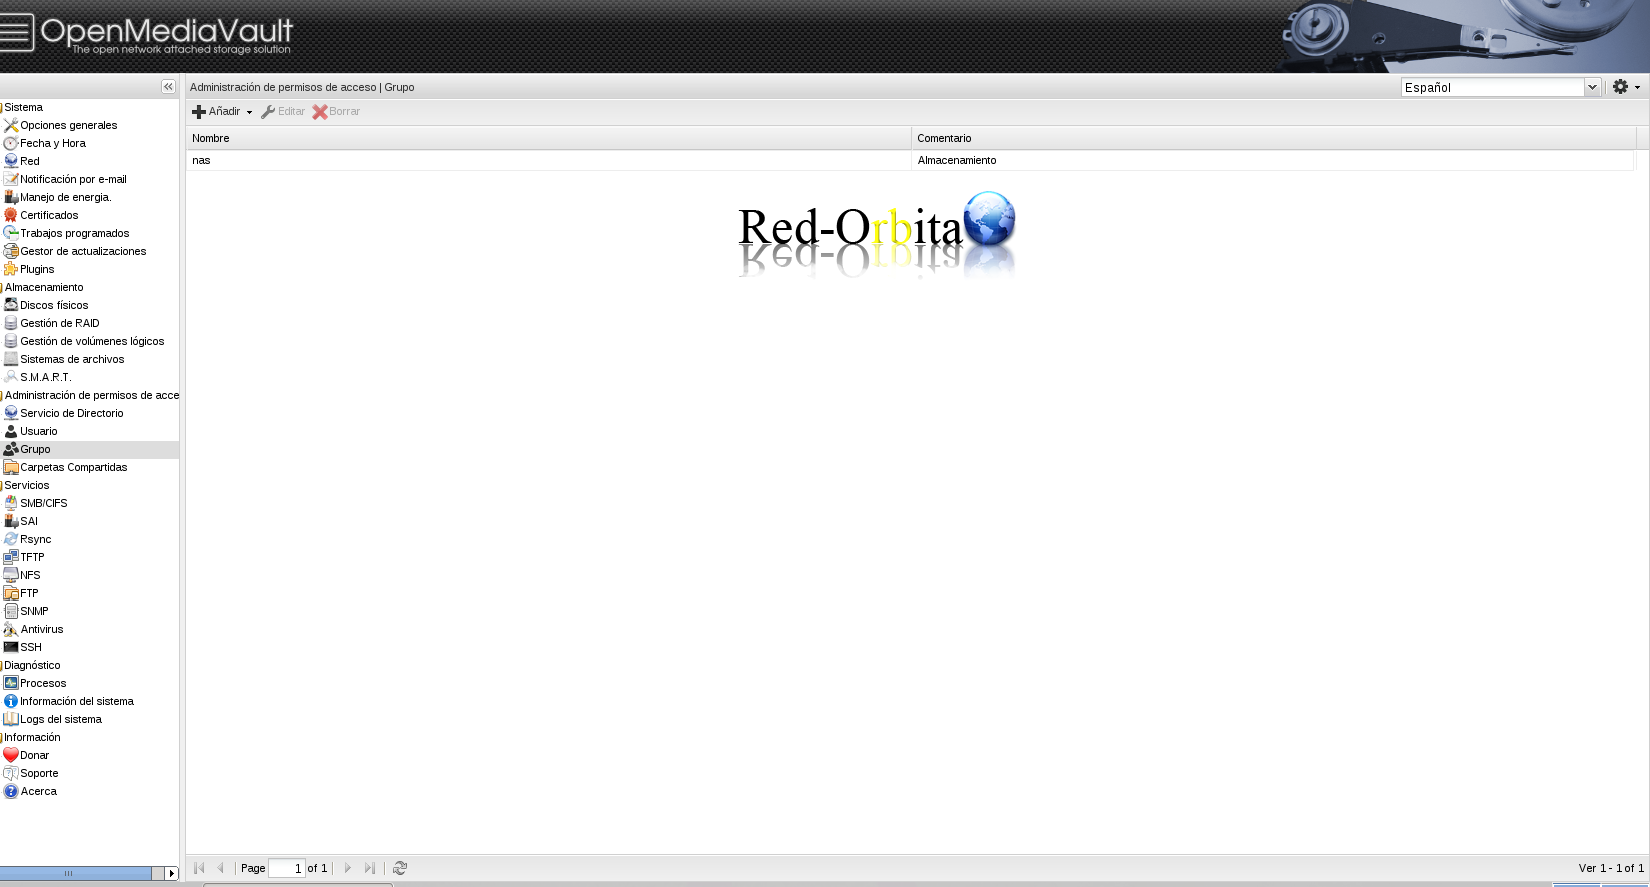
In it we can create, edit or delete groups.
Shared
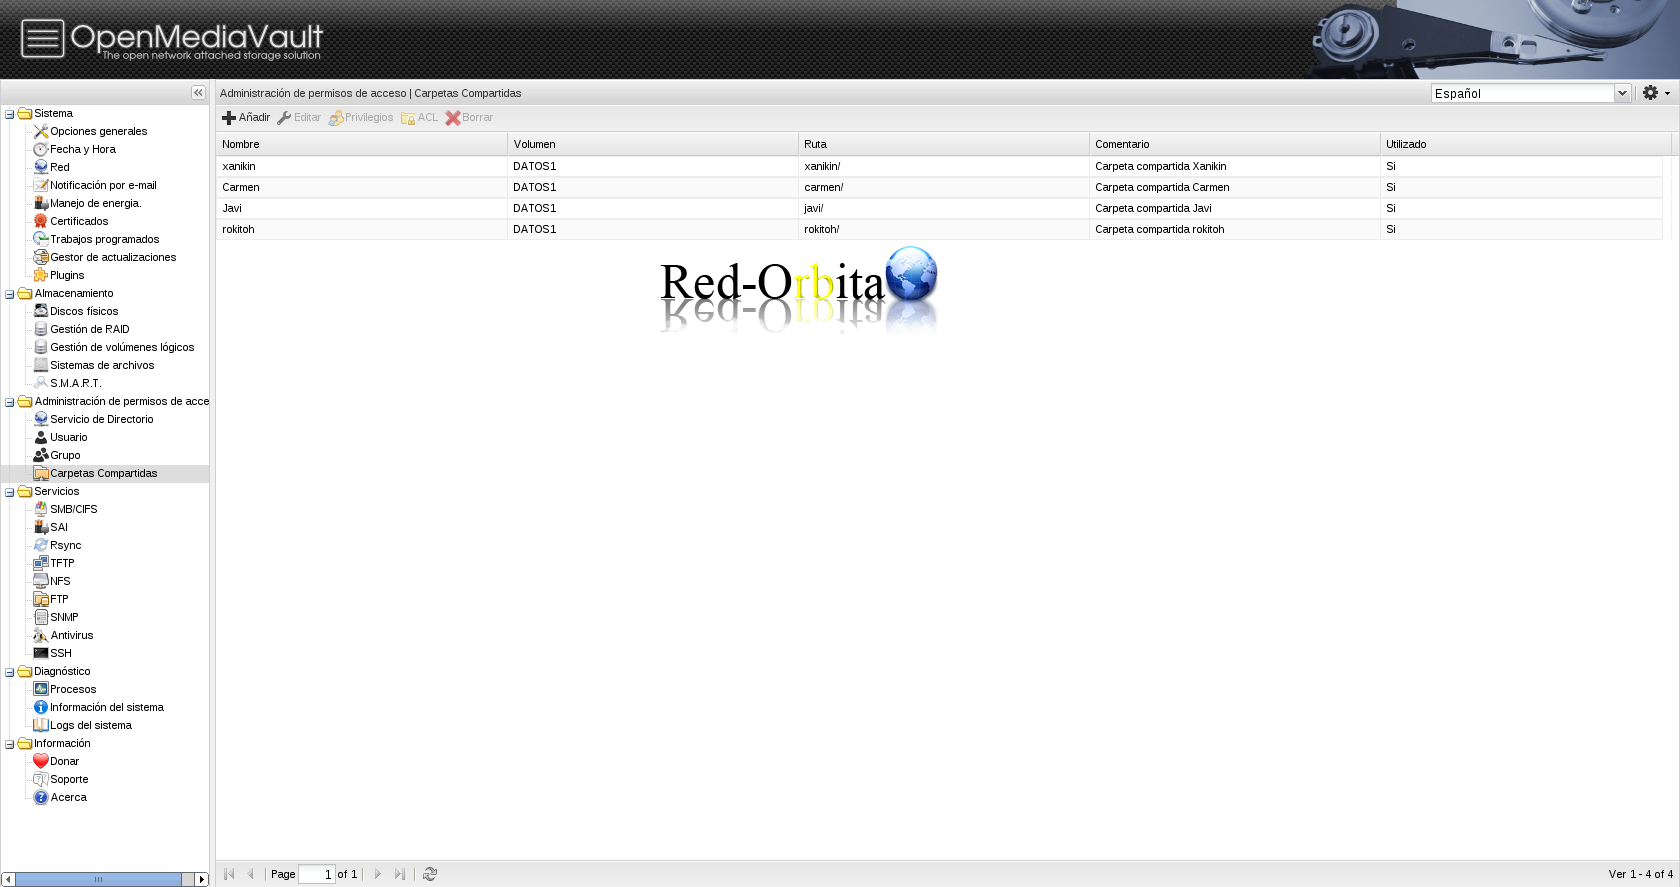
It allows us to create, edit, delete and add ACLs and privileges to shared folders.
Services
SMB/CIFS
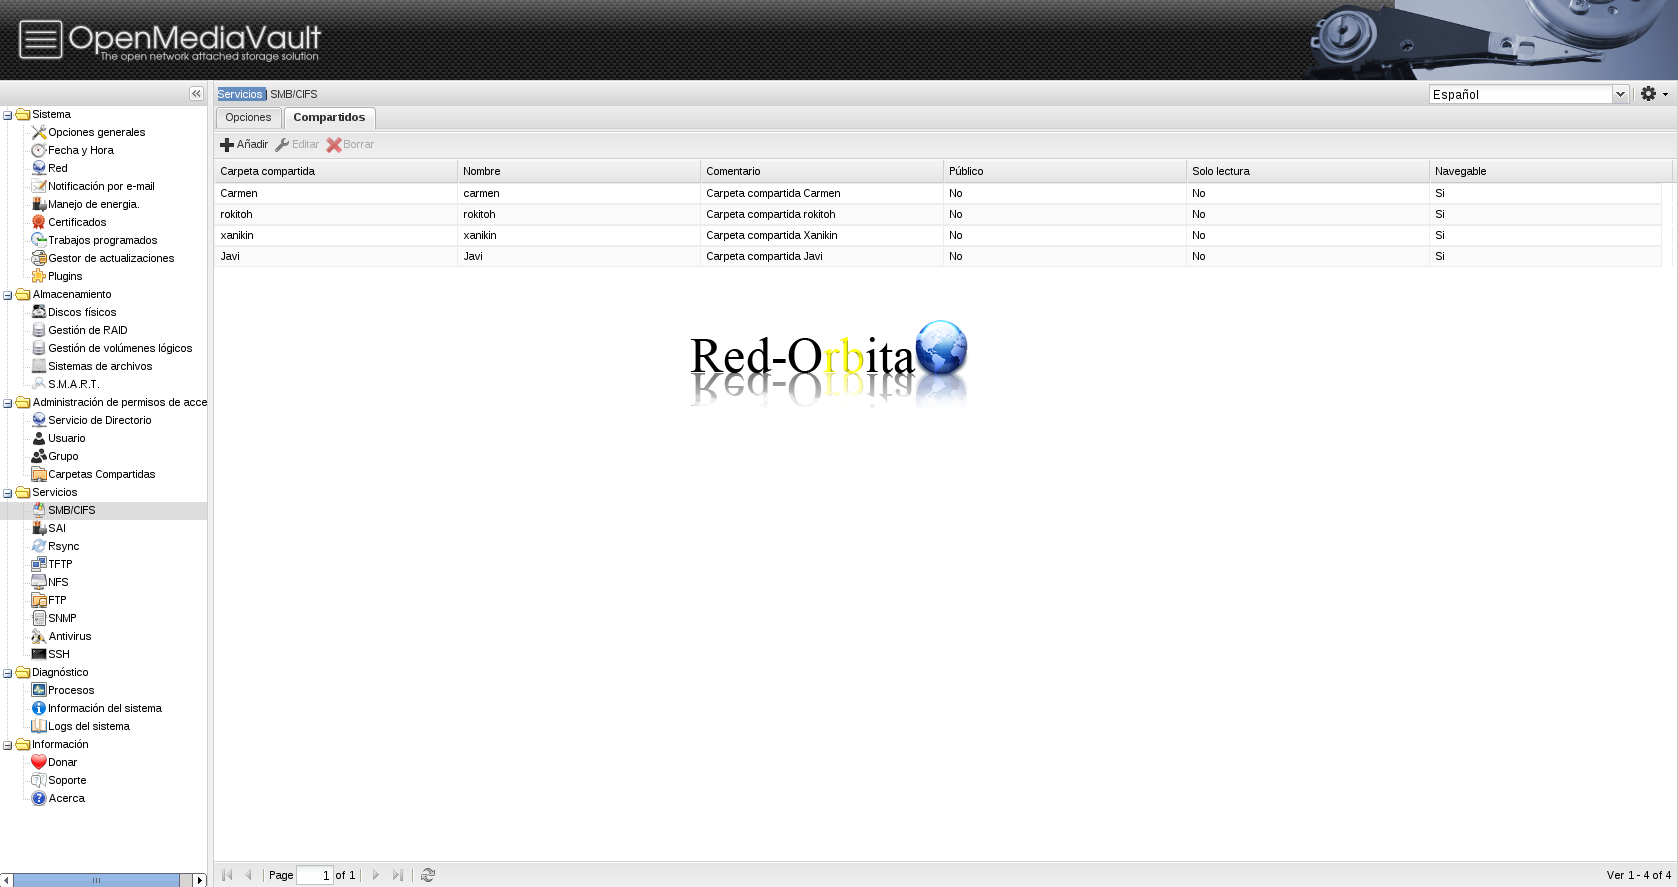
It allows us to share folders through Samba in case we have a Windows client.
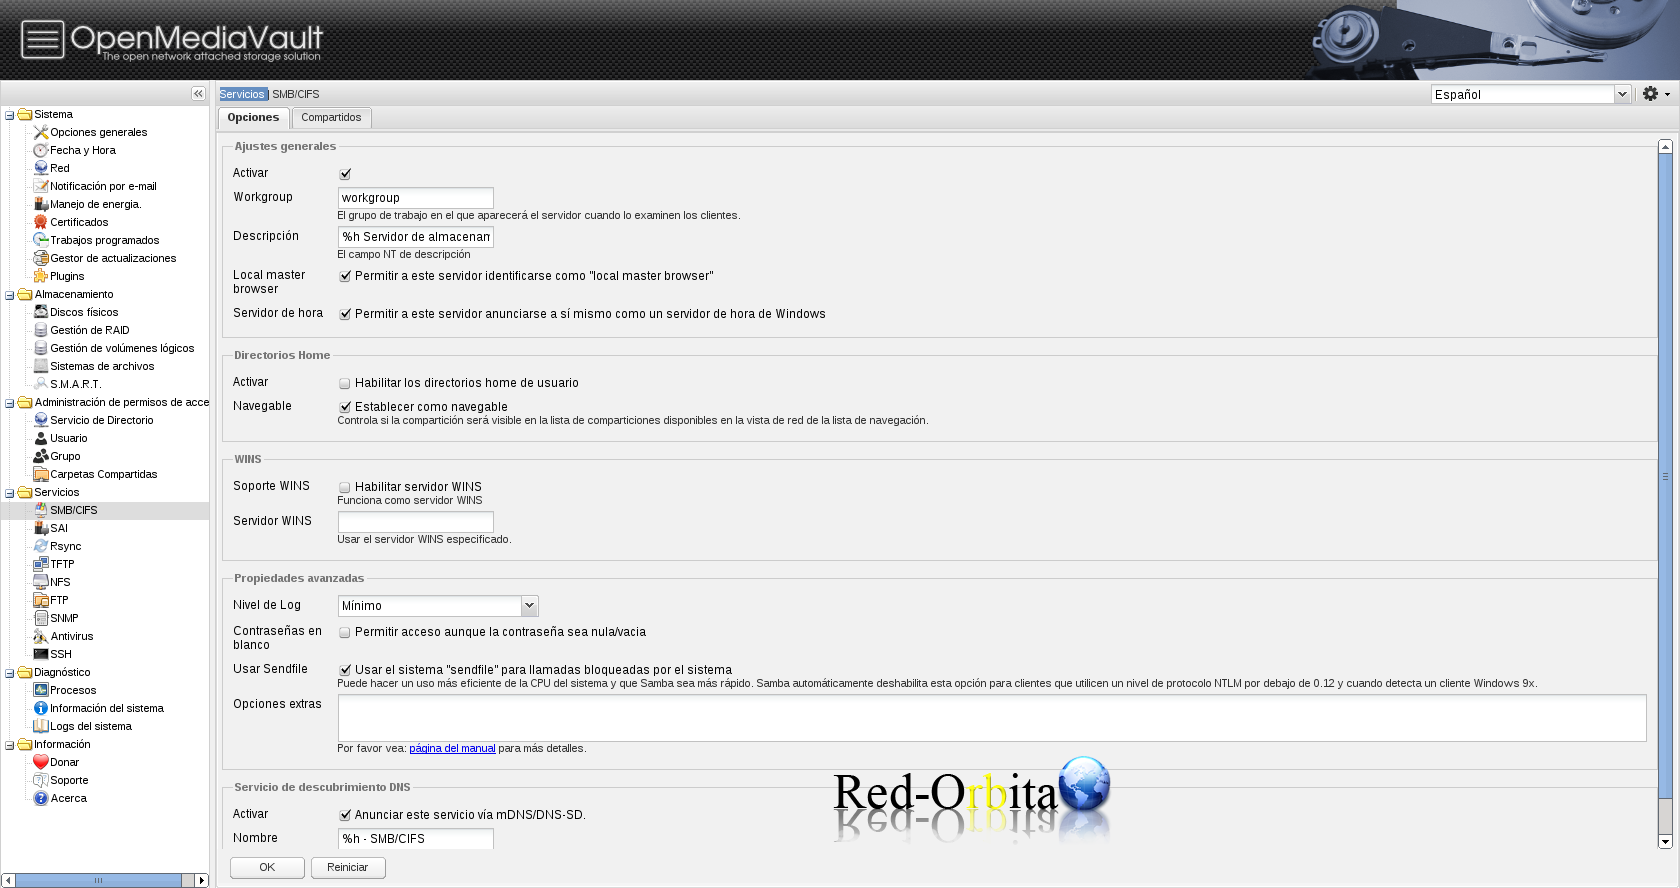
In the SMB/CIFS Shared tab we will indicate the folders to share.
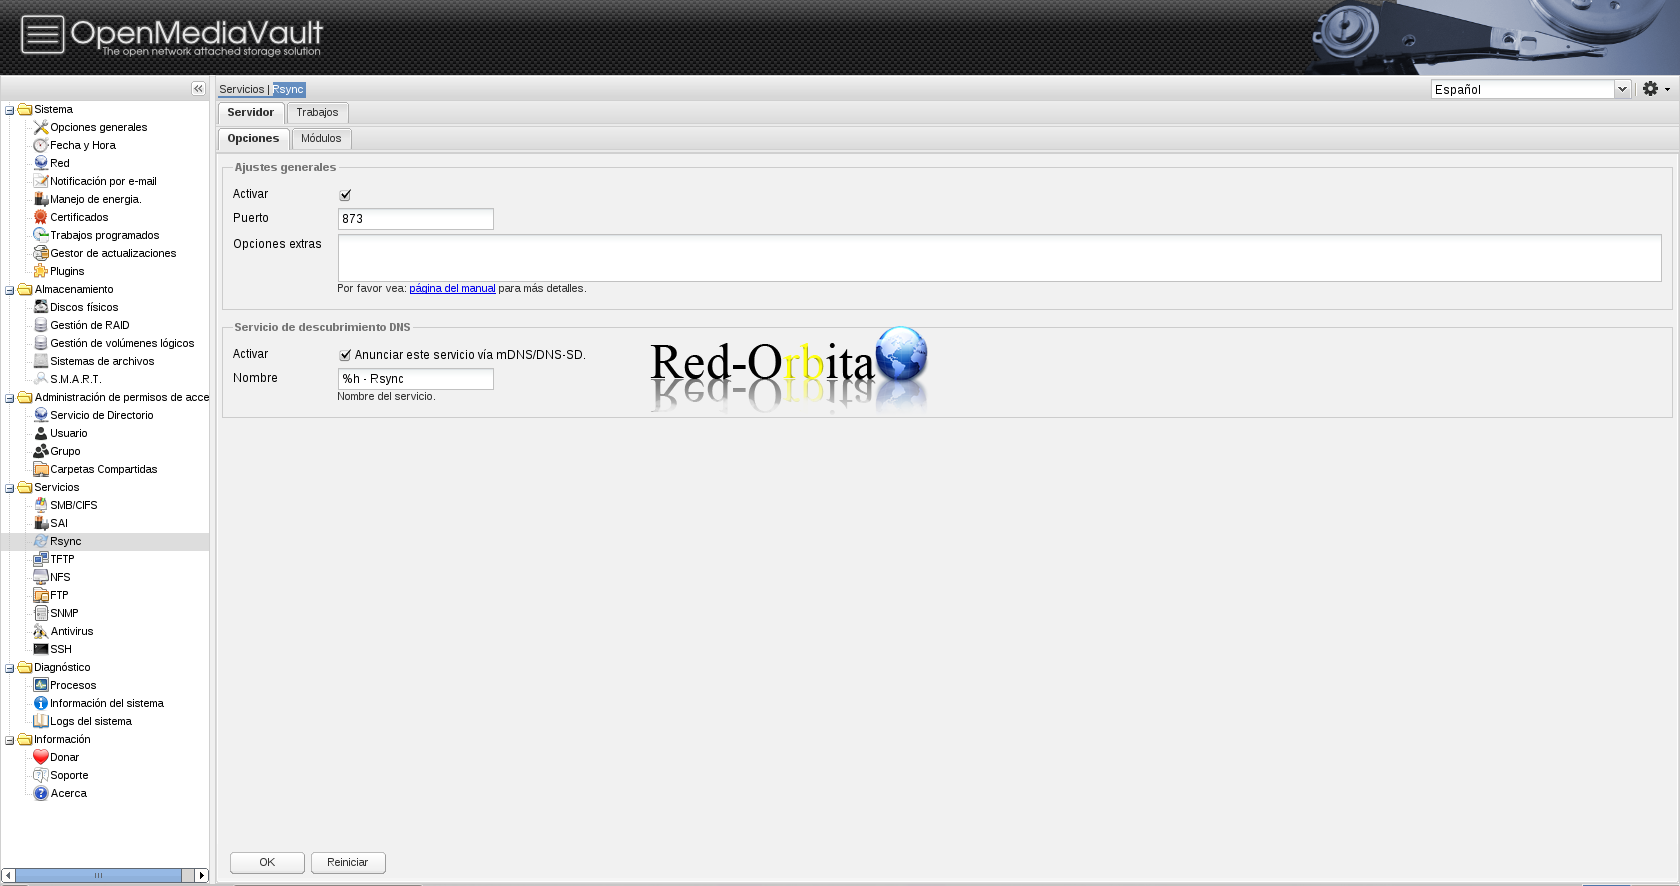
Rsync
If we activate this option we can transmit the data incrementally.
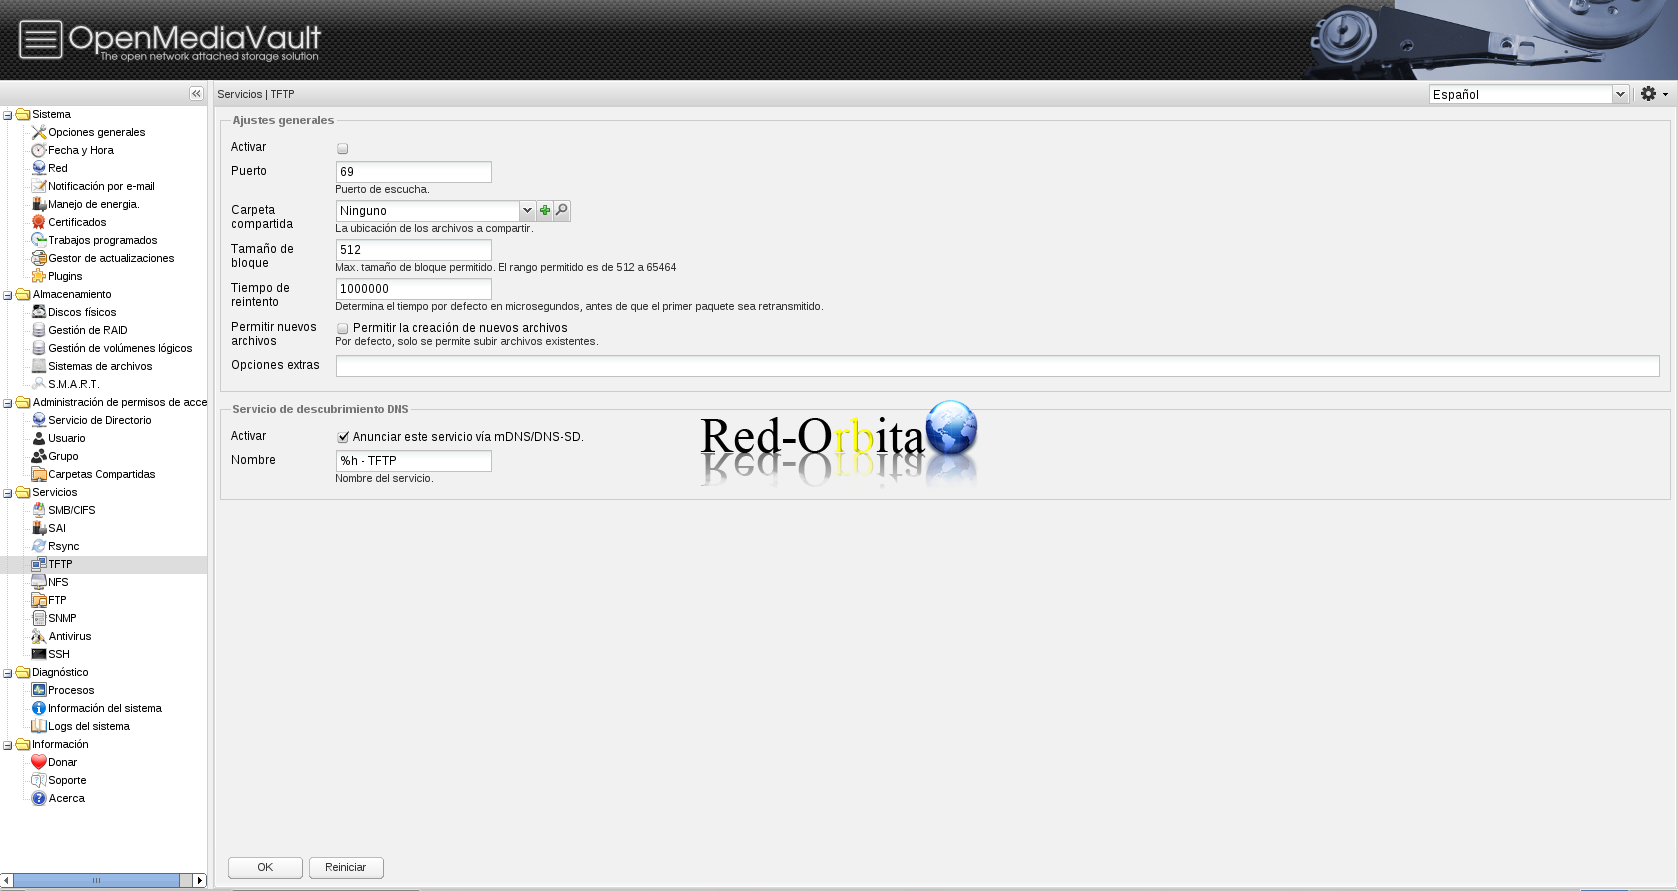
TFTP
Through this option we can also transfer our files.
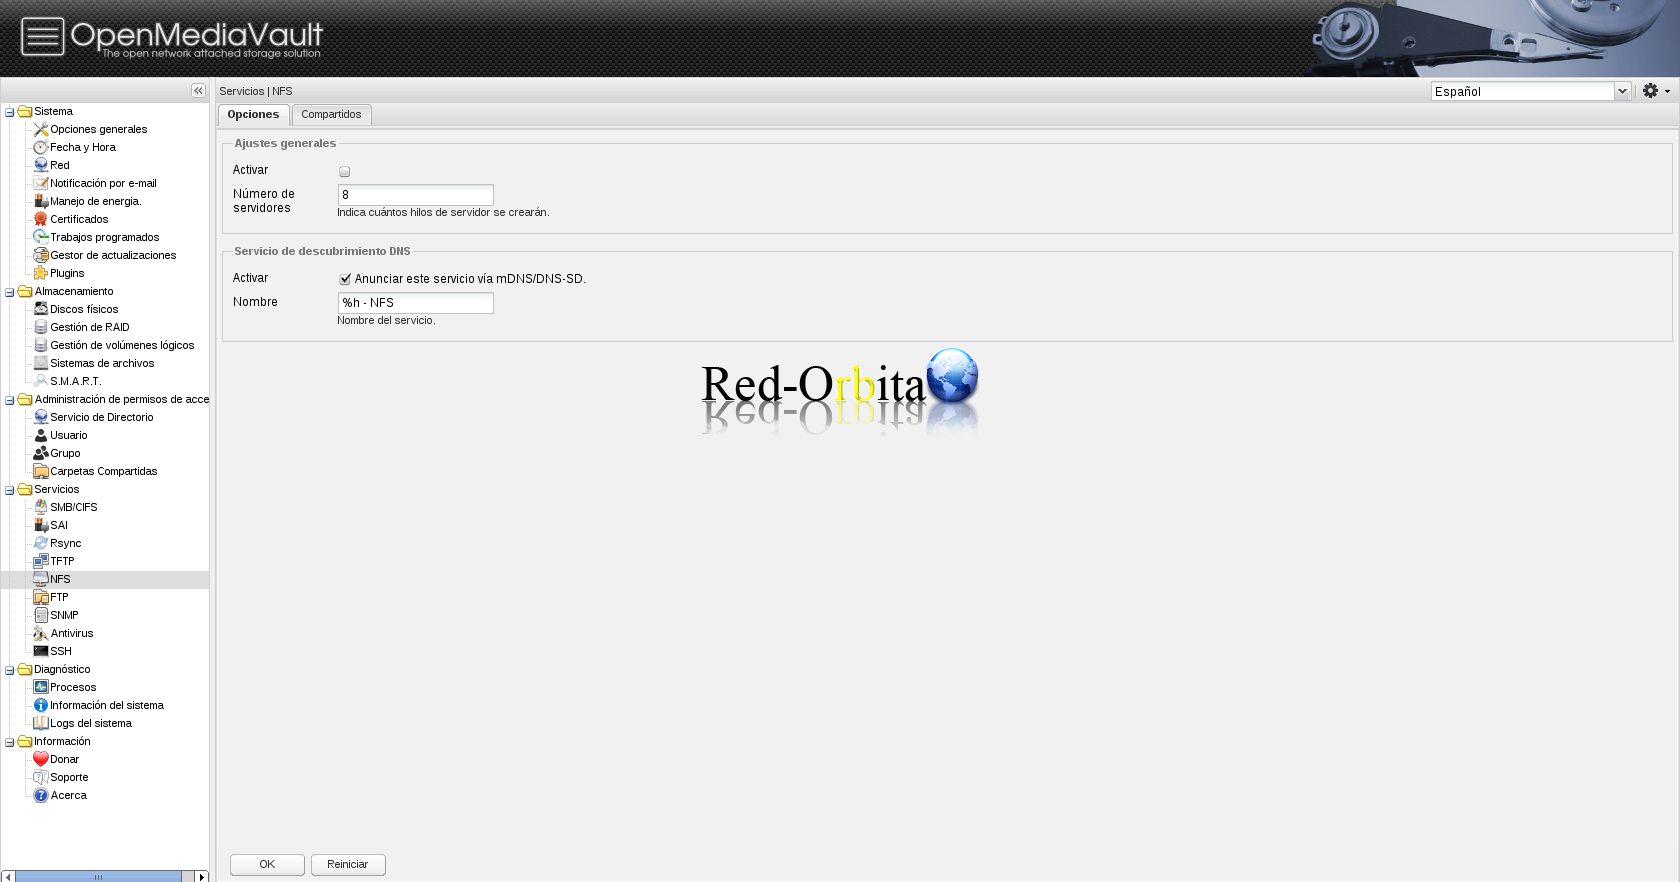
NFS
También nos da la posibilidad de compartir el disco mediante NFS para poder transferir los archivos.
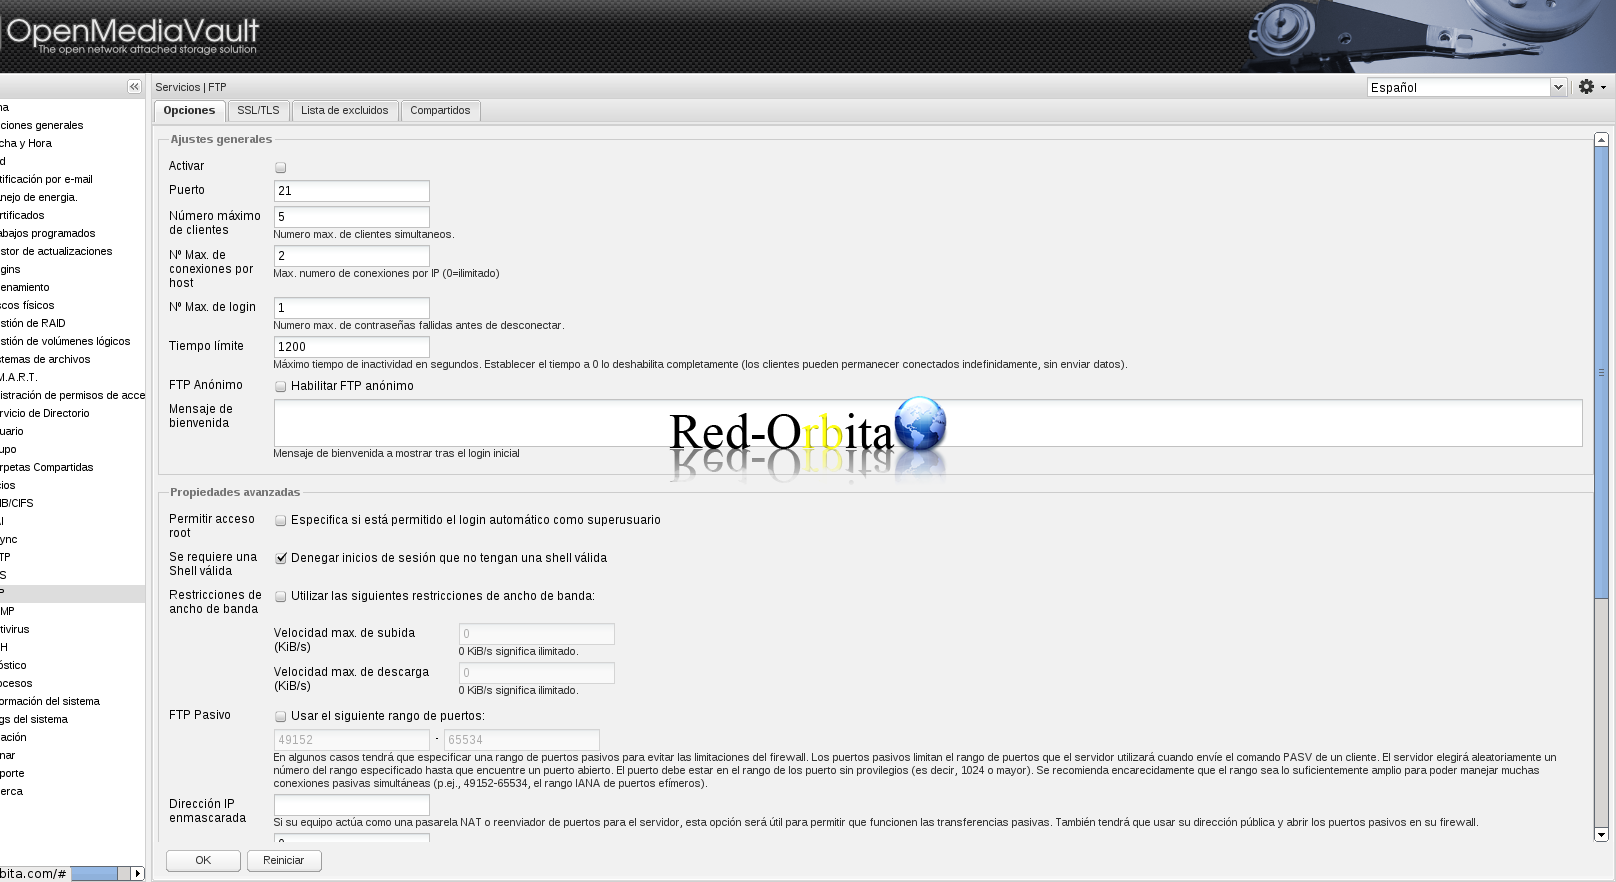
FTP
It also gives us the possibility of transferring files via FTP
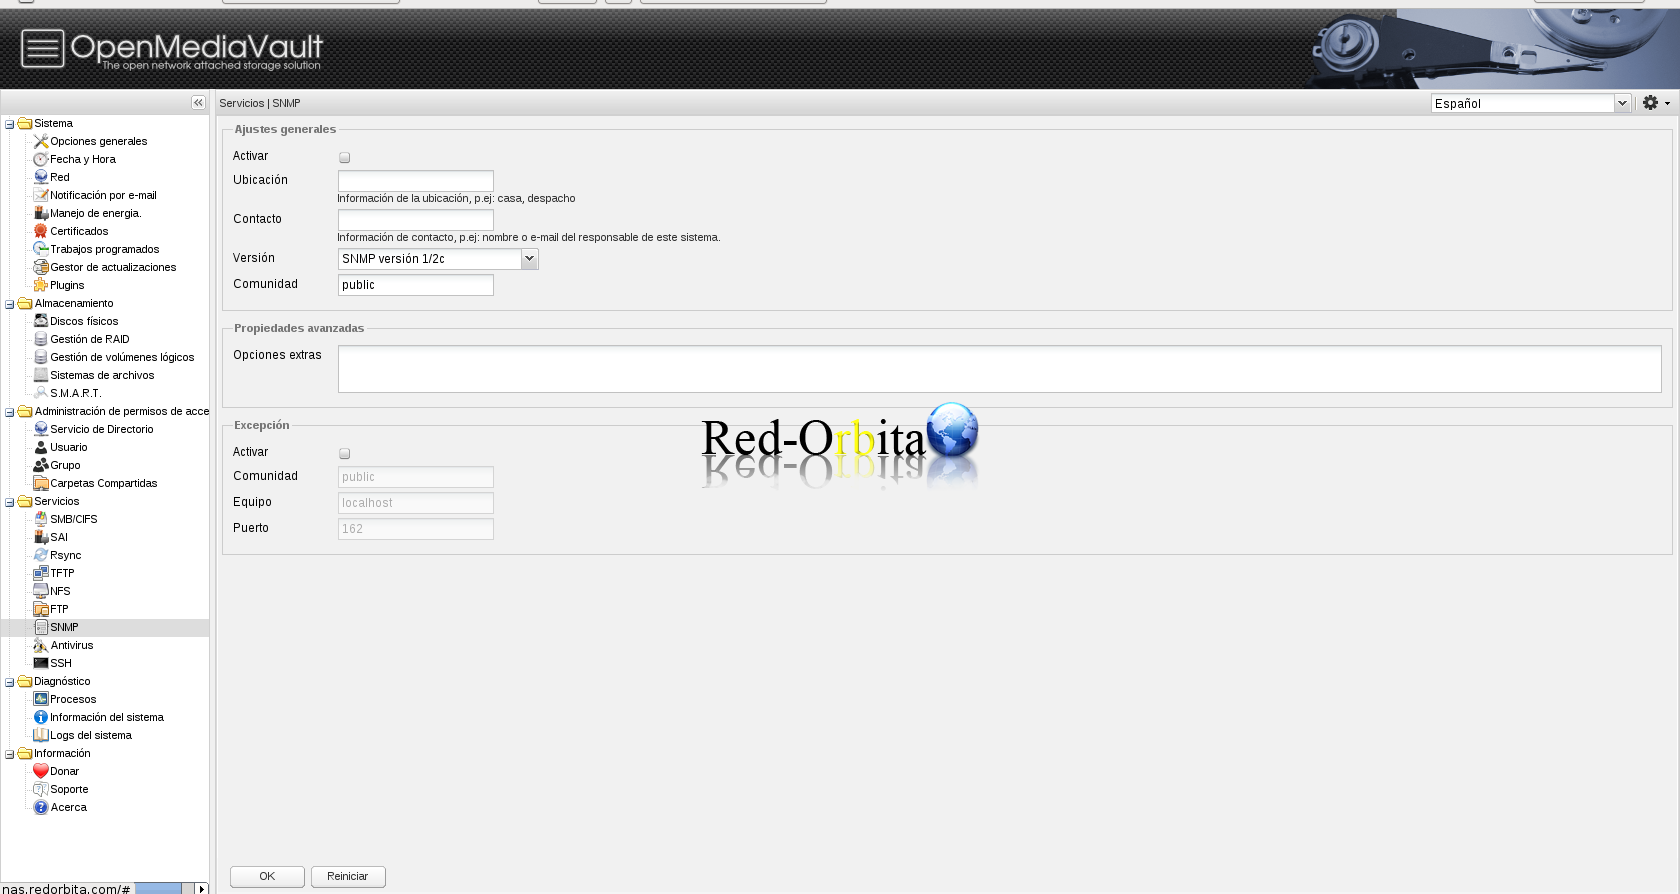
SNMP.
Using SNMP we could monitor it with nagios, zabbix, pandora, cacti, zenoss or other monitoring software.
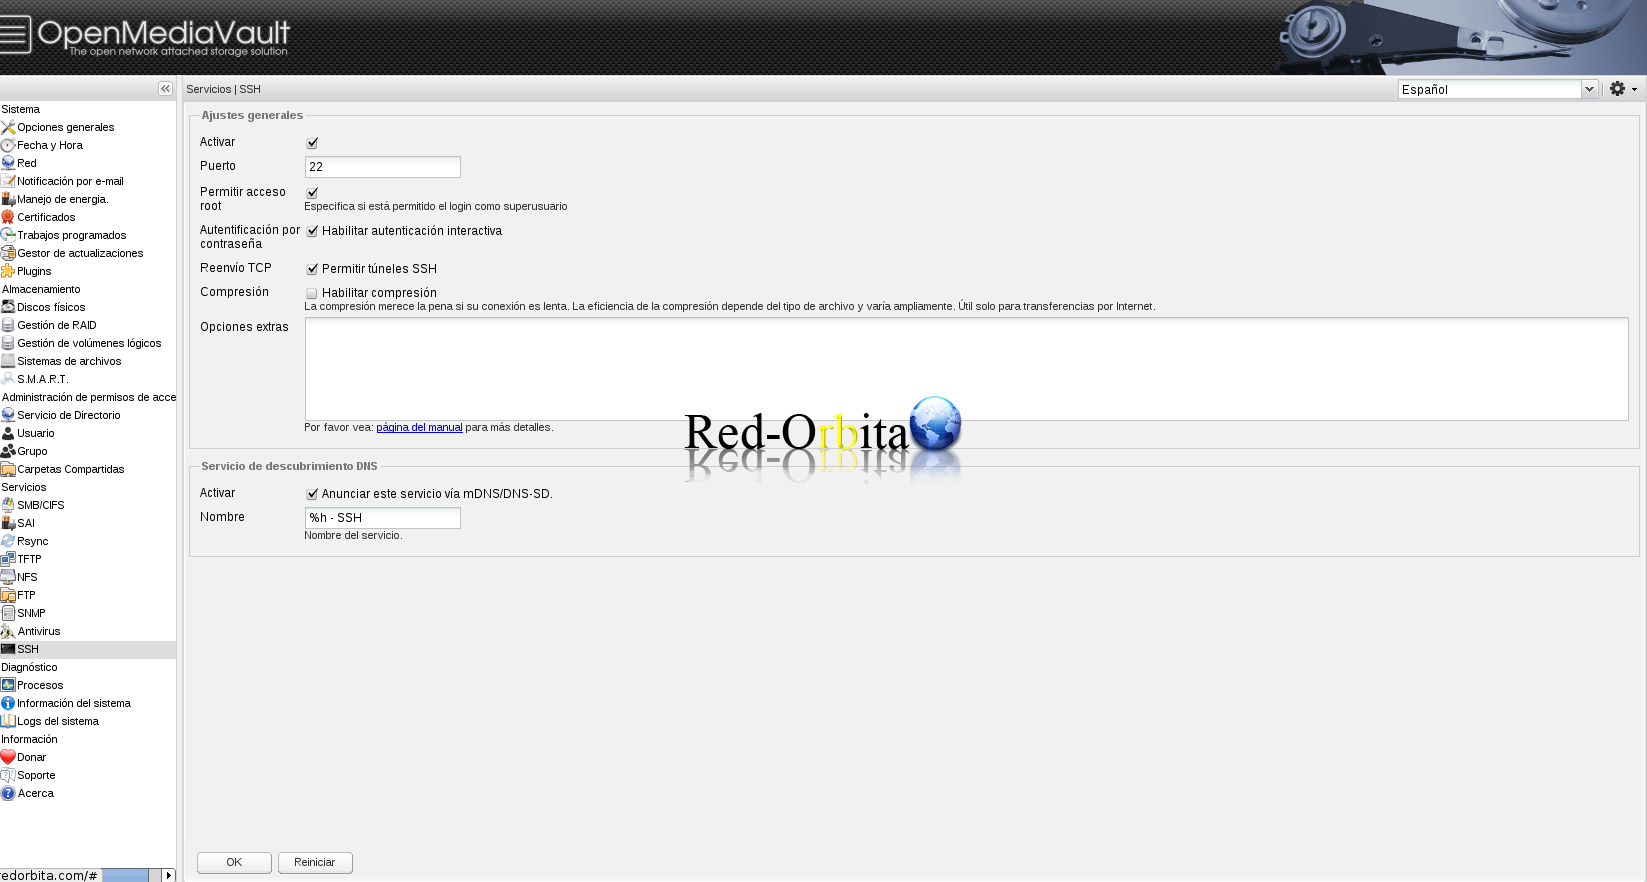
SSH
Activate to be able to access the server via SSH with the users created previously.
We have already finished looking at everything a little bit, soon I will upload another series of manuals that are more in-depth with both Storage and services, which is where all the "chicha" is.
Regards, Rokitoh
:wq!
Comments