

OpenVAS (OpenSource Vulnerability Assessment Scanner), formerly GnessUs, is a GLP fork of Nessus Security Scanner to allow future free development of the now-proprietary tool.
OpenVAS was originally proposed by pentesters at Portcullis Computer Security and then announced by Tim Brown on Slashdot. OpenVAS is a Software in the Public Interest member project[1]. Previously, it had been voted out because the project appeared to be dead.[2] The OpenVAS domains were donated by SecuritySpace, hosting was donated by Nth Dimension/Public Internet and DevCon 1 conference fees were paid for by Intervation and DN Systems.
We add the repository
echo "deb http://download.opensuse.org/repositories/security:/OpenVAS:/UNSTABLE:/v5/Debian_6.0/ ./" >> /etc/apt/sources.listWe add the Key
apt-key adv --keyserver hkp://keys.gnupg.net --recv-keys BED1E87979EAFD54We update
apt-get updateWe install
apt-get -y install greenbone-security-assistant gsd openvas-cli openvas-manager openvas-scanner openvas-administrator sqlite3 xsltproc texlive-latex-base texlive-latex-extra texlive-latex-recommended htmldoc install alien rpm nsis fakerootWe create the certificates
test -e /var/lib/openvas/CA/cacert.pem || openvas-mkcert -q
openvas-nvt-sync
test -e /var/lib/openvas/users/om || openvas-mkcert-client -n om -i
We create the user
openvas-adduser

Using /var/tmp as a temporary file holder.

Add a new openvasd user
———————————

Login : rokitoh
Authentication (pass/cert) [pass] :
Login password :
Login password (again) :

User rules
—————
openvasd has a rules system which allows you to restrict the hosts that gabriel has the right to test.
For instance, you may want him to be able to scan his own host only.

Please see the openvas-adduser(8) man page for the rules syntax.

Enter the rules for this user, and hit ctrl-D once you are done:
(the user can have an empty rules set)

Login : rokitoh
Password : ***********

Rules :

Is that ok? (y/n) [y] y
user added.
We stop openvas
/etc/init.d/openvas-manager stop
/etc/init.d/openvas-scanner stop
We load all the plugins
openvassd
openvasmd --migrate
openvasmd --rebuild
We kill all openvas processes
killall openvassdWe start again
/etc/init.d/openvas-scanner start
/etc/init.d/openvas-manager start
/etc/init.d/openvas-administrator restart
/etc/init.d/greenbone-security-assistant restart
Start OpenVas from a browser (depending on the browser you use):
iceweasel https://127.0.0.1:9392
firefox https://127.0.0.1:9392
chrome https://127.0.0.1:9392
P.S: Ami with chrome doesn't log me in...I don't know why
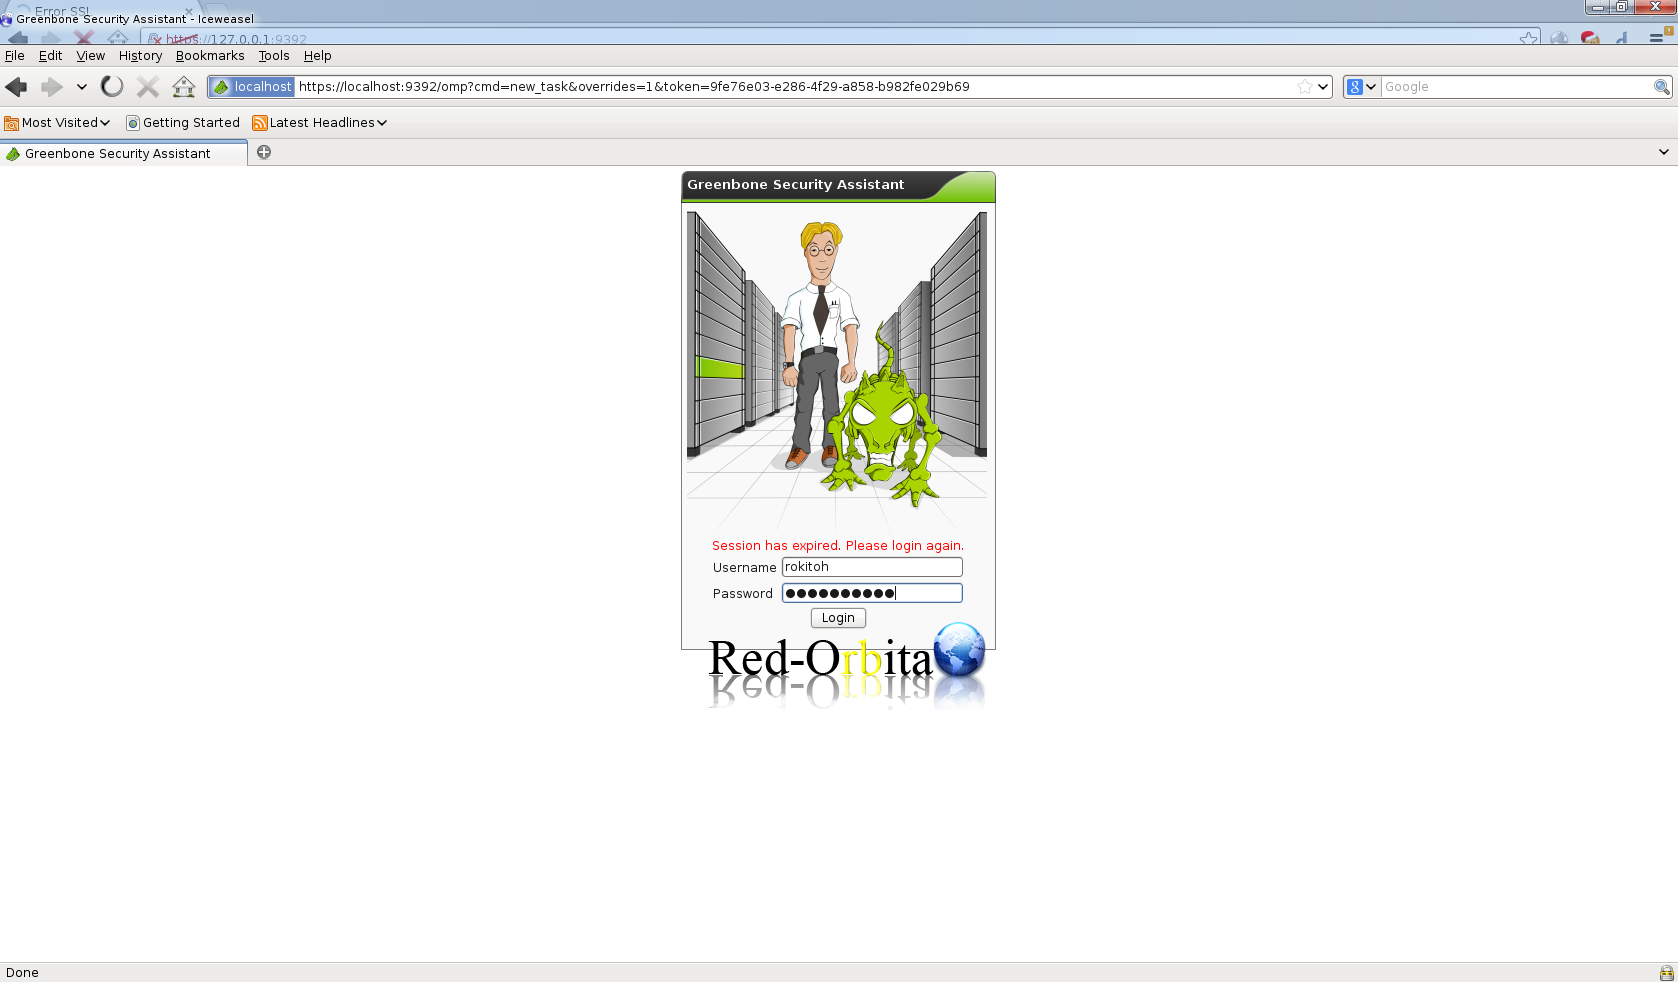
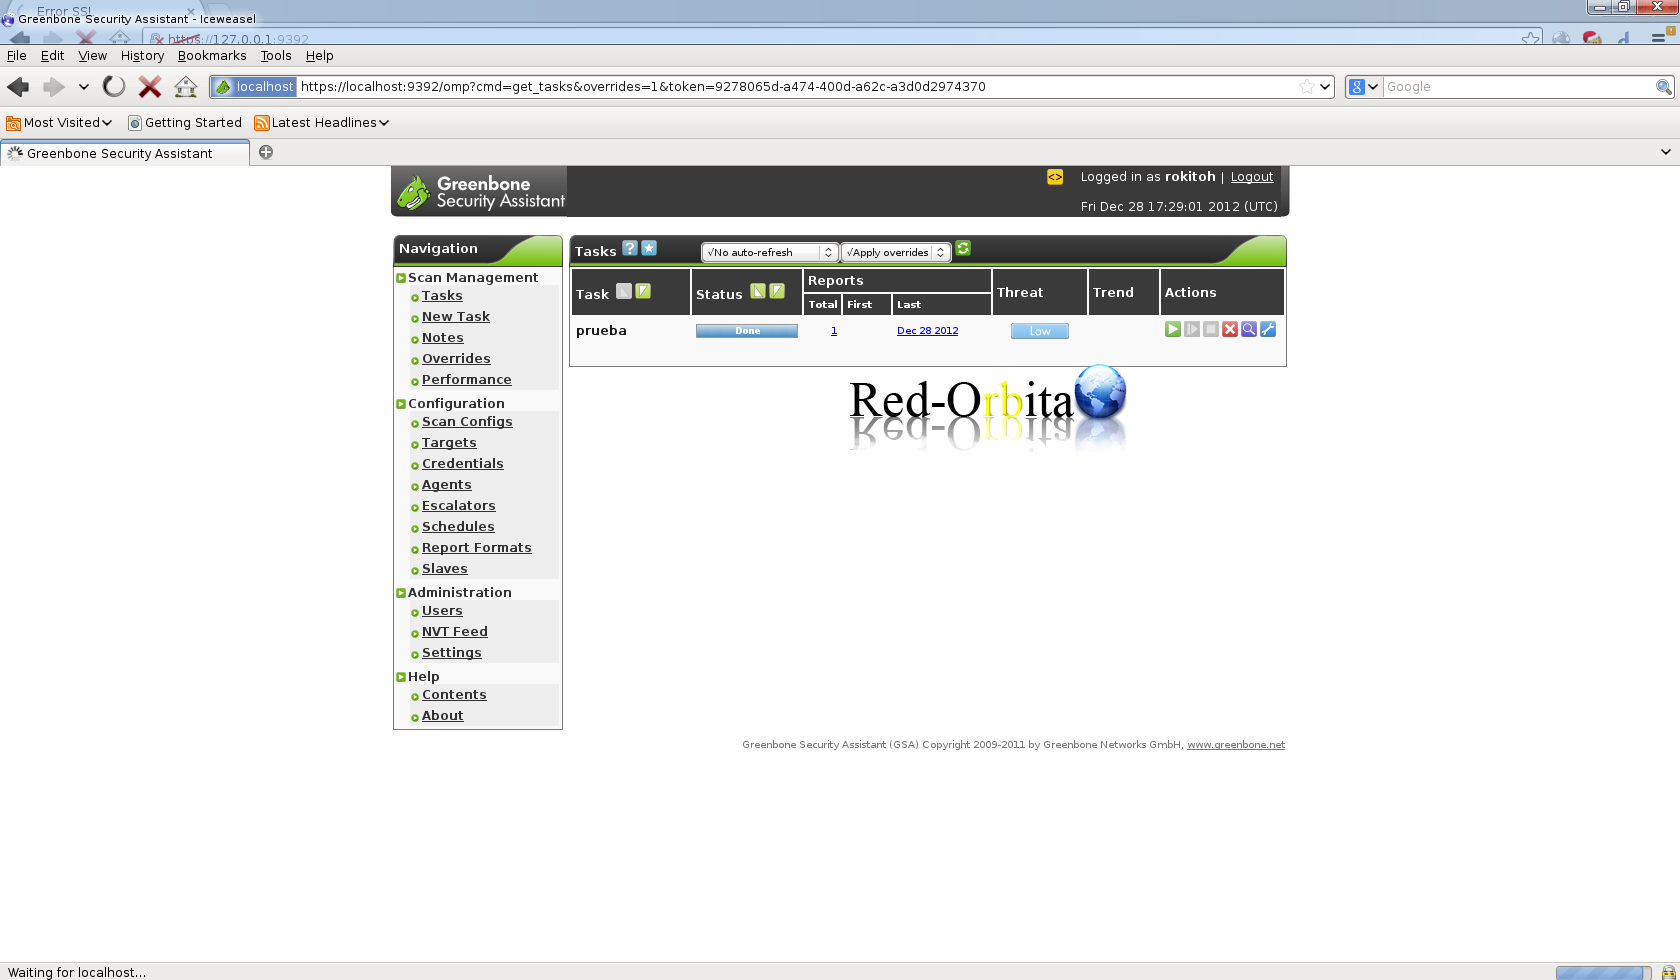
It will show us the following panel which we will have to log in with the created user.
Start OpenVas from the application:
We run from a terminal
rokitoh@red-orbita: # gsdIt will show us the following console:
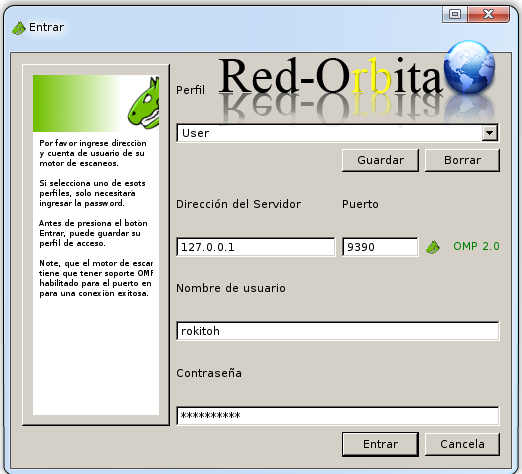
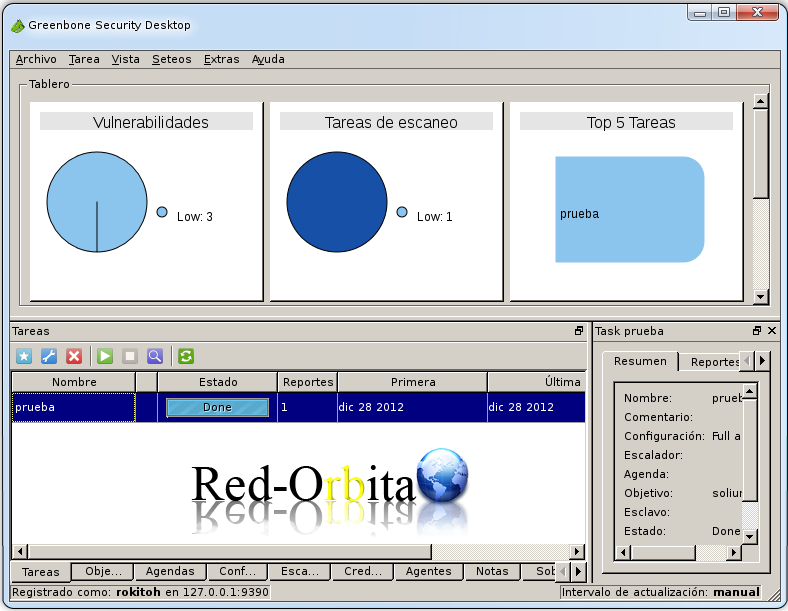
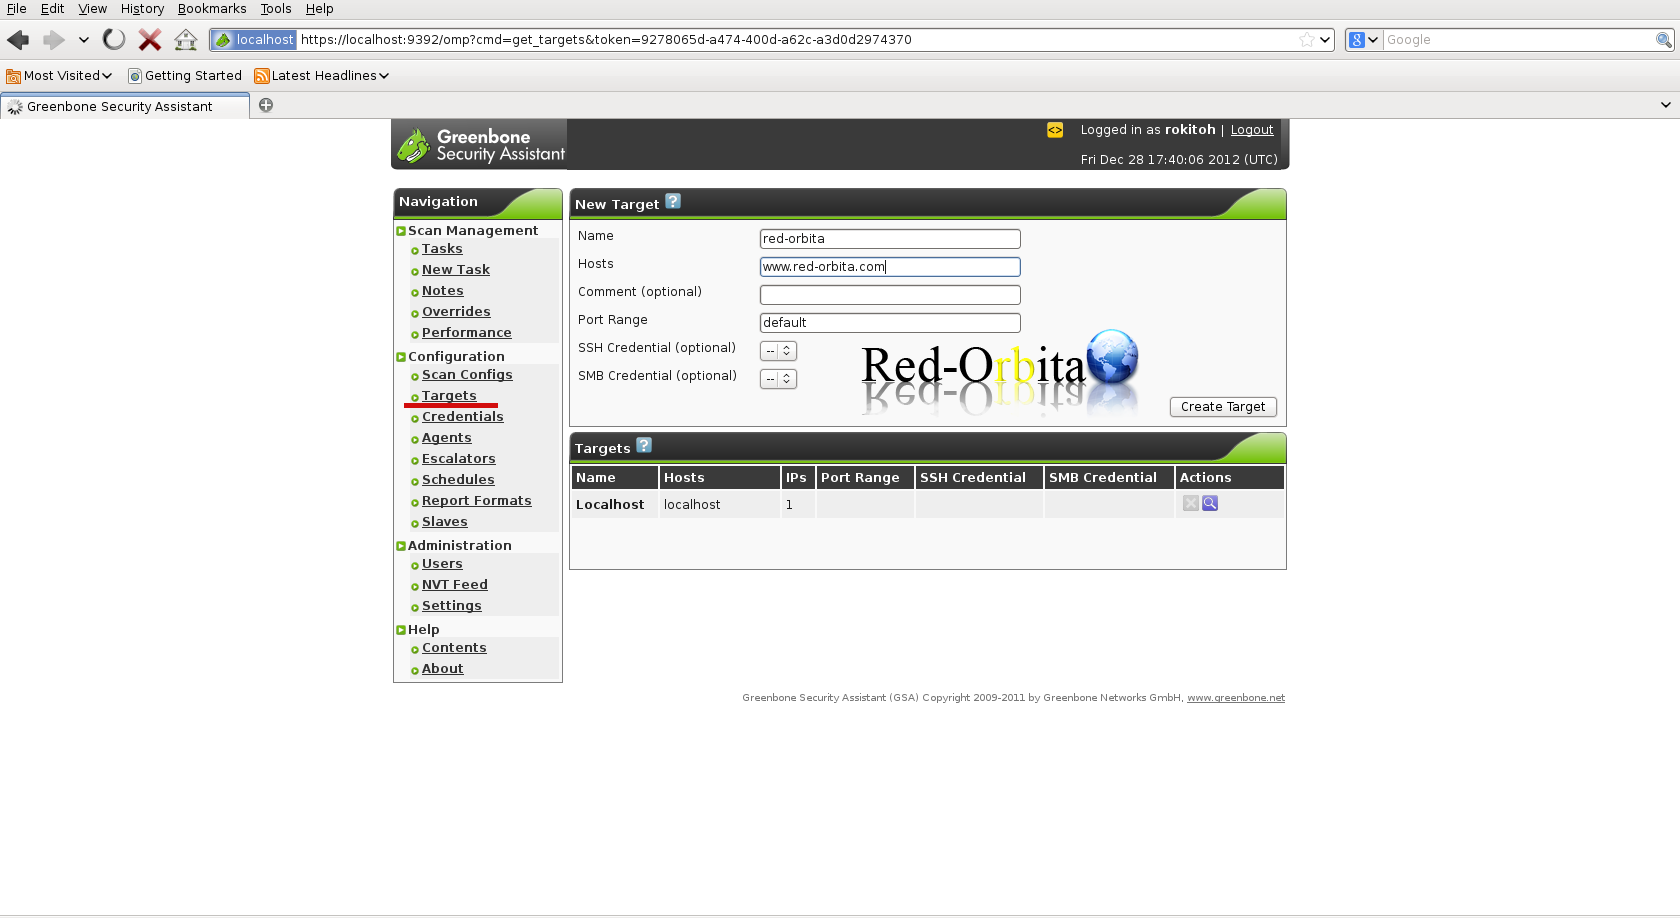
Once logged in we will create a destination (target) where to launch the tests, it can be a domain name, a range or an IP address.

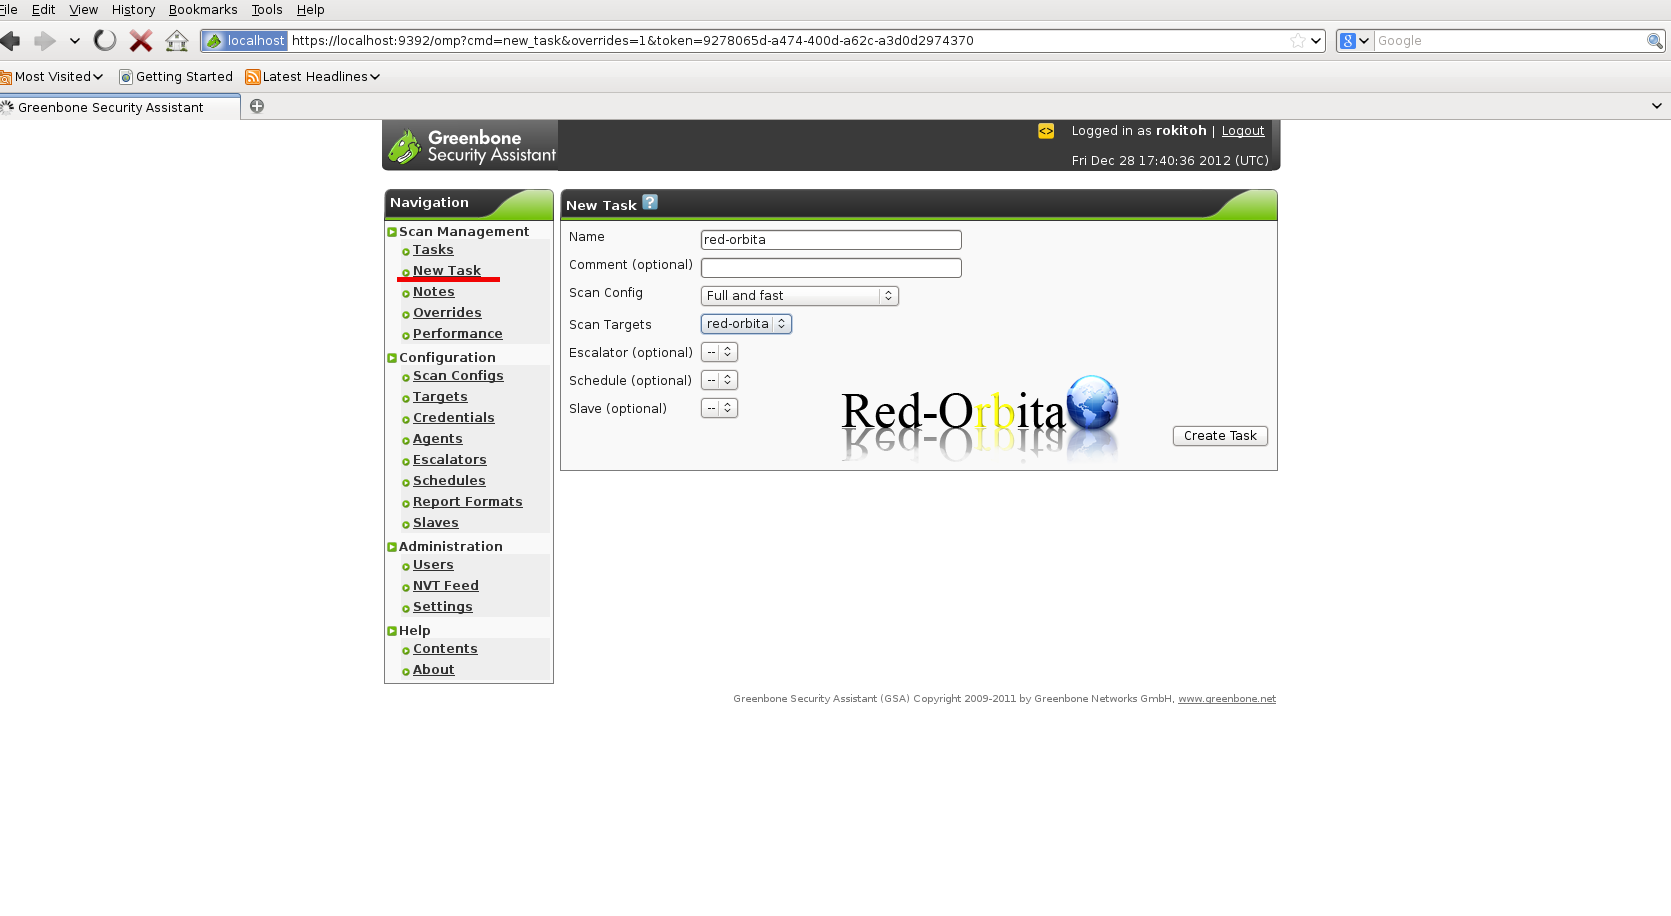
We move on to New Task, where we choose a name, scanning profile and destination (Which we are going to choose the one we have created red-orbita)
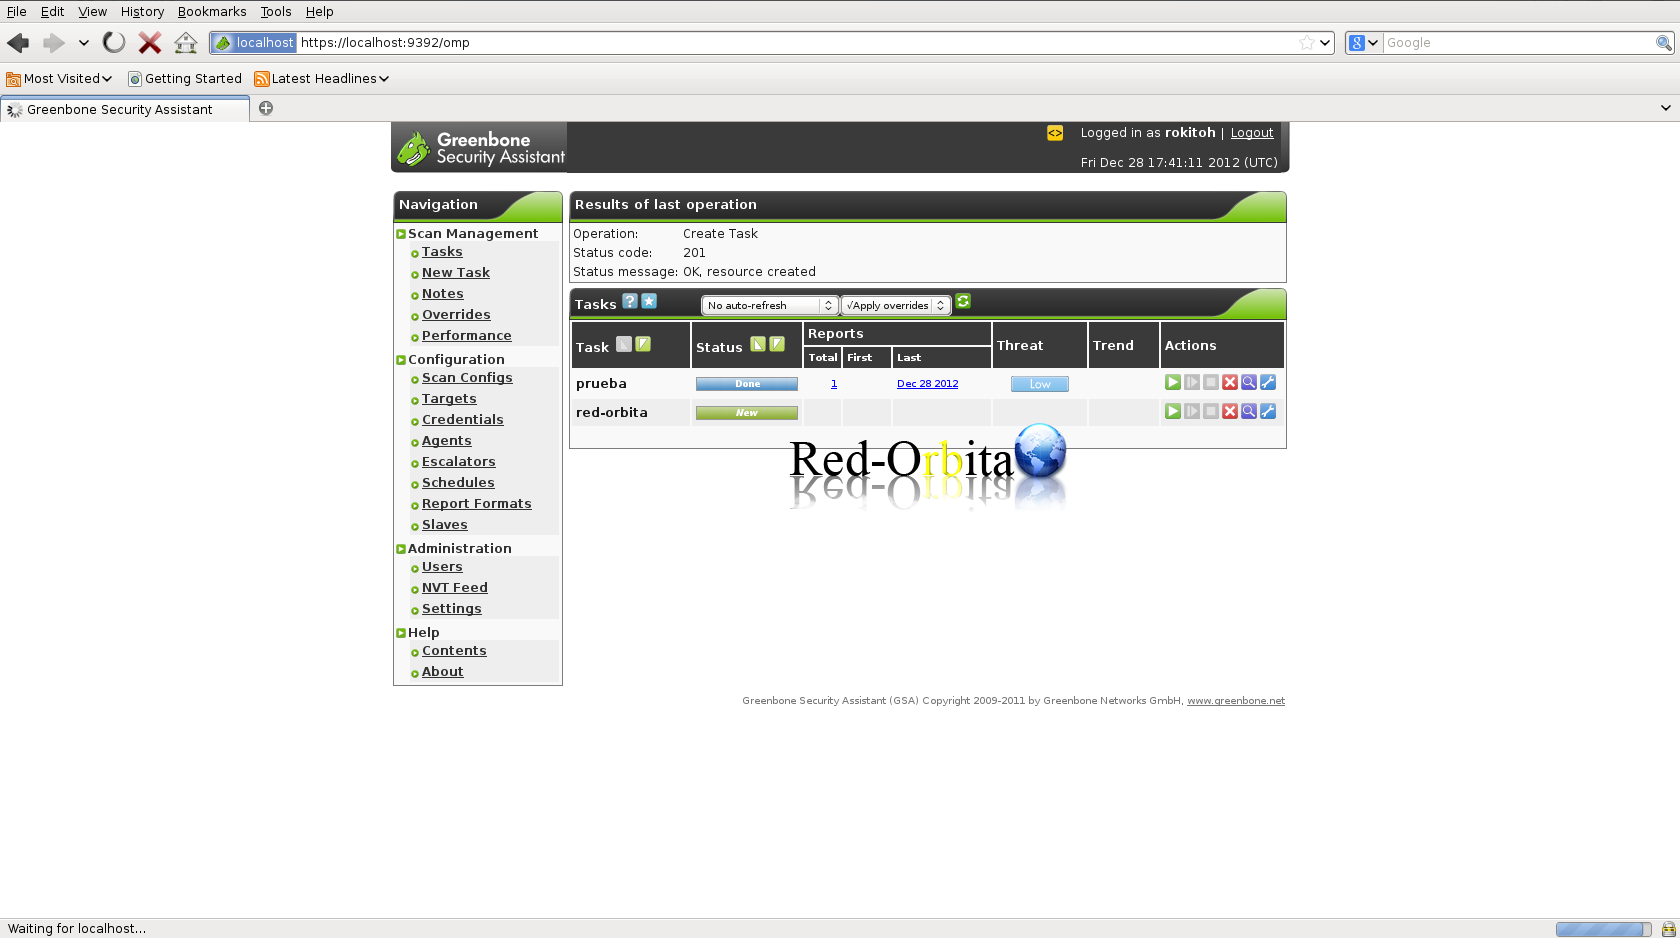
Once created, Task redirects us, where we can start, edit, stop and delete the task that we have created to scan.
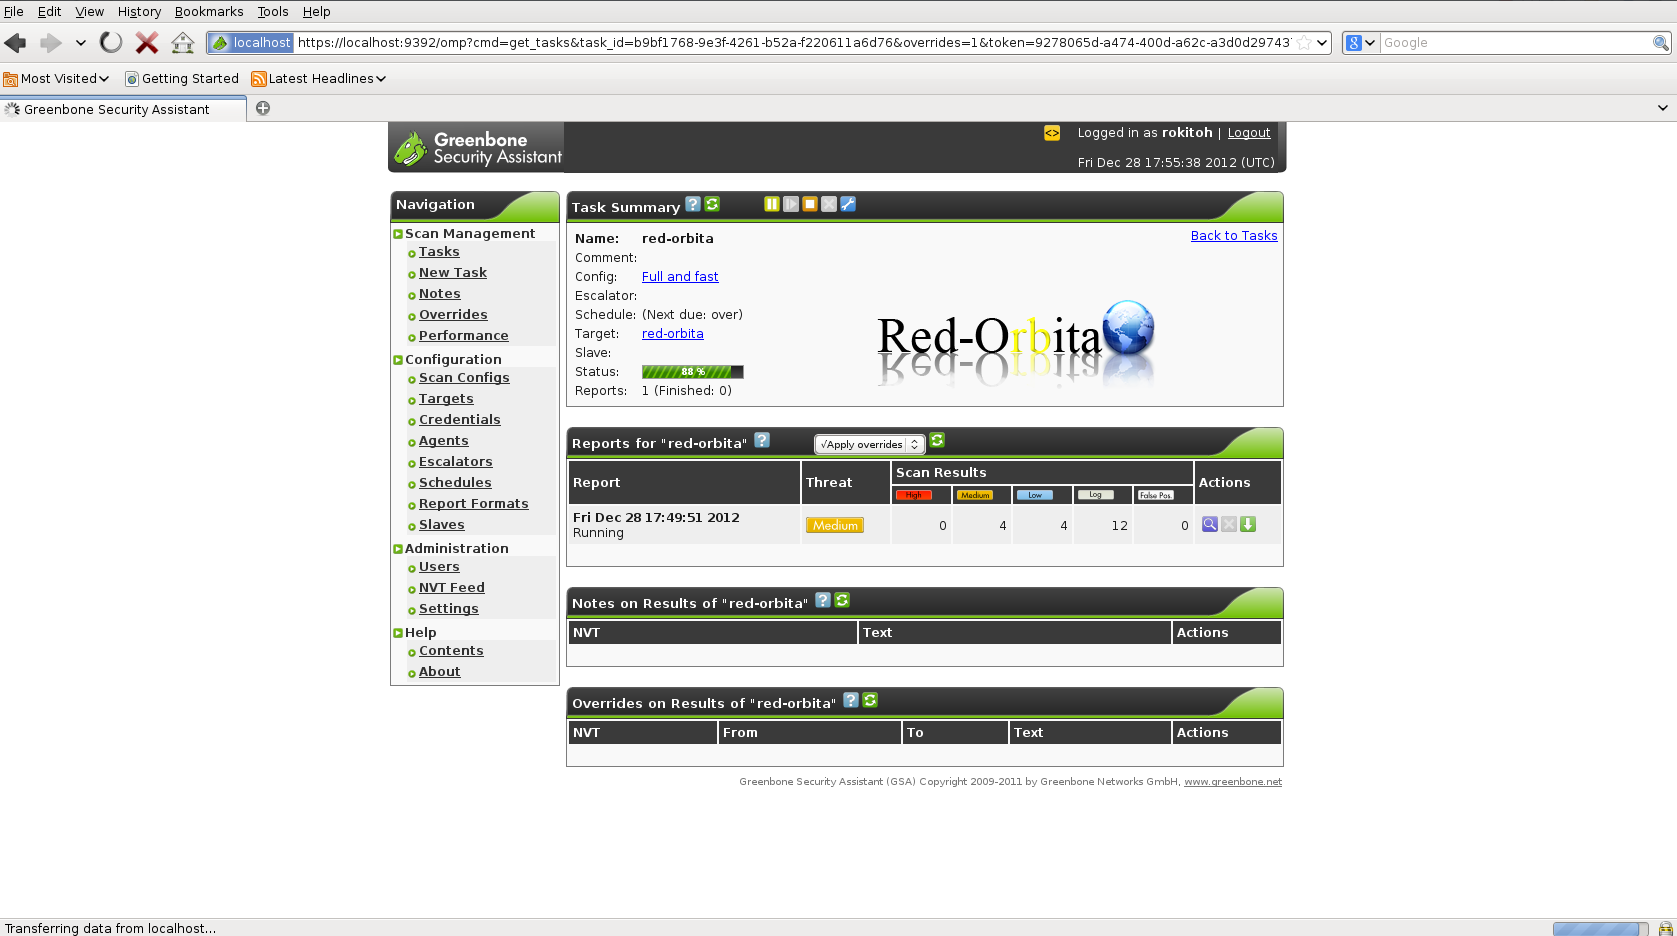
From the gsd console it is exactly the same, so there is no loss.
Greetings, rokitoh.
:wq!
Comments