
Nova Cuban Distribution of GNU/Linux based on Debian developed in University of Computer Sciences by students and professors and with the participation of members from other institutions, with the aim of supporting the country's migration to Free Software and Open Source technologies.
This system is based on simplicity and comfort and is focused on the end user, and guarantees intuitive interaction that seeks to minimize sudden changes for people familiar with Microsoft Windows systems.
We can download the distribution from:
http://distrowatch.com/table.php?distribution=nova
http://descargas.wbuntu.org/distros/Nova/
Once downloaded, we do not burn it to a CD-ROM and we start with it.
It does not show the next screen, ENTER. 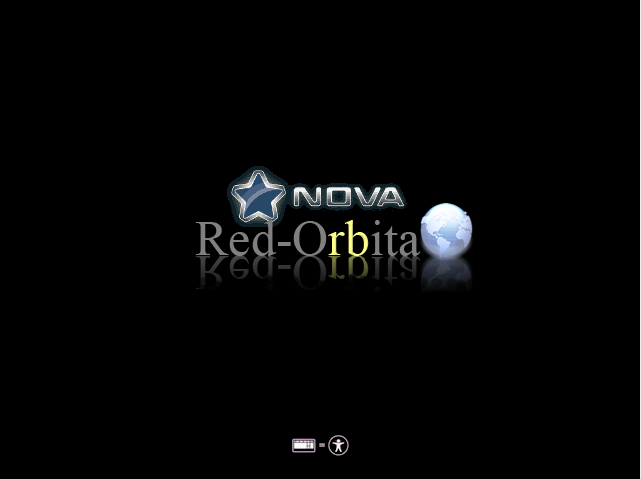
We select our language
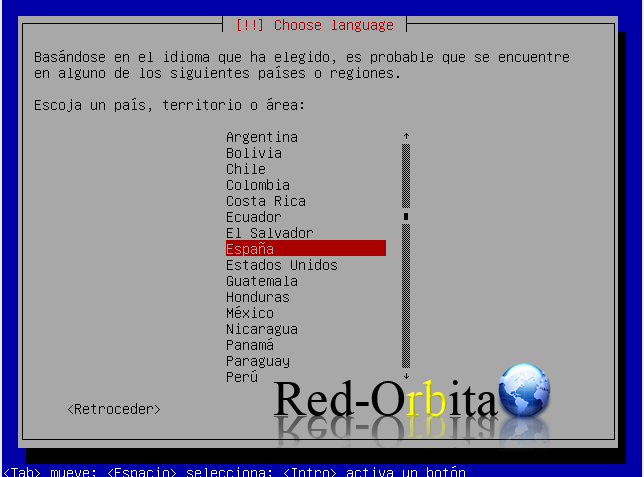
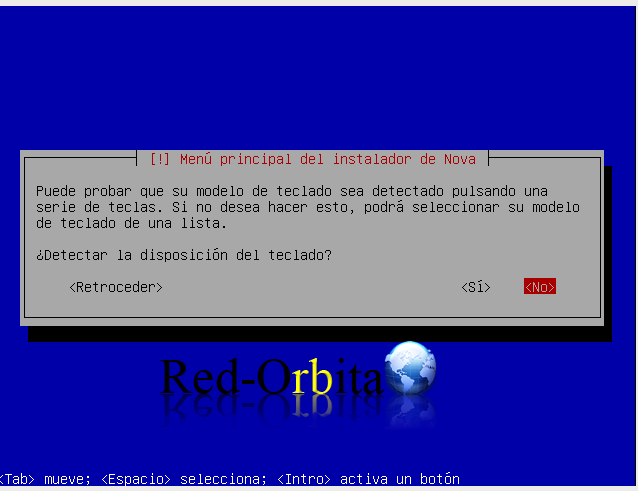
Now it's time to configure the keyboard language, we select NO
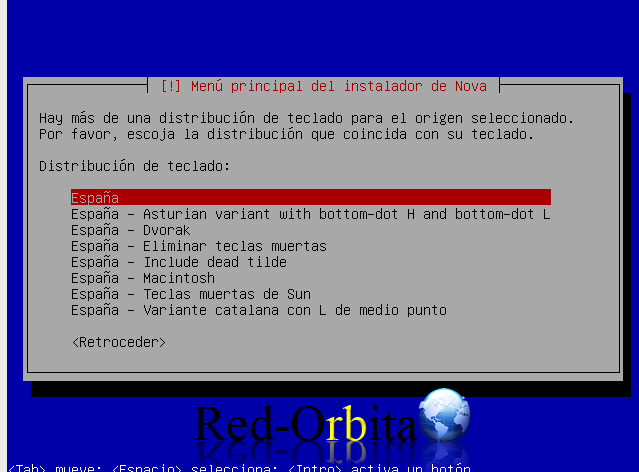
We choose the language of our keyboard.
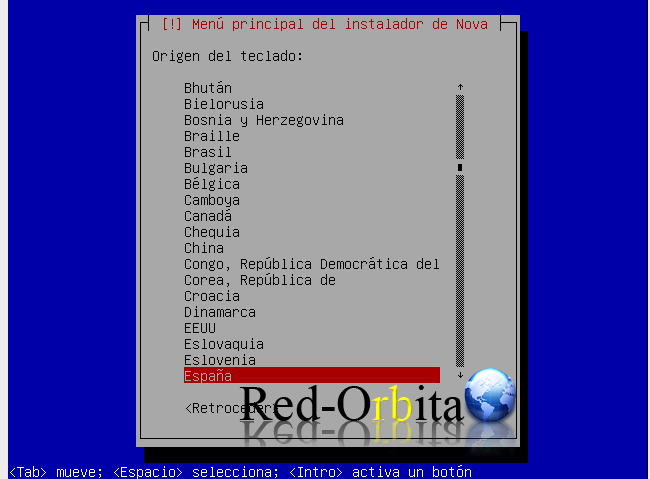
We select the one that best matches our keyboard
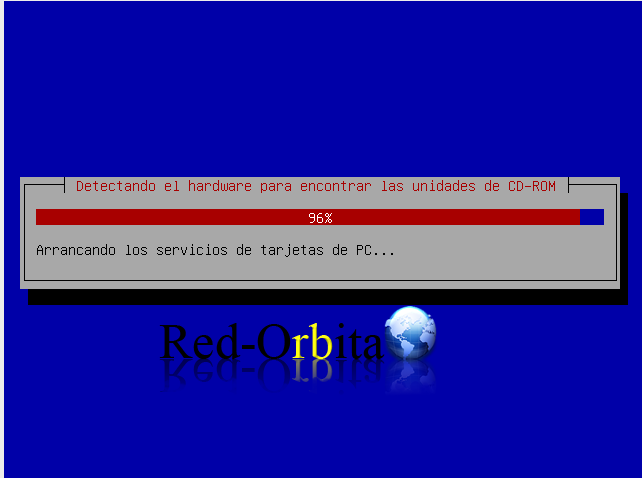
Scan our cd-rom drives
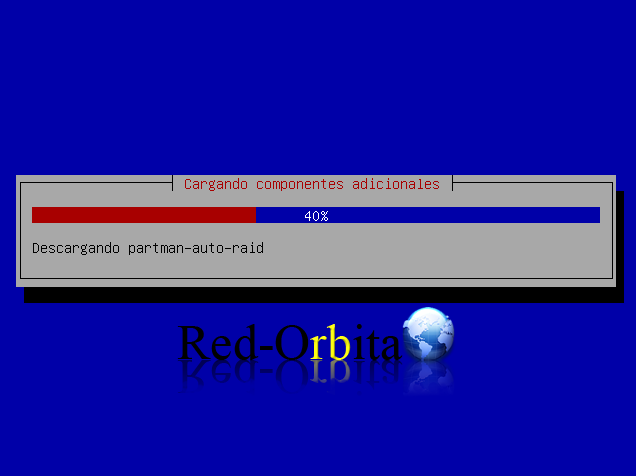
Load the components necessary for the installation.
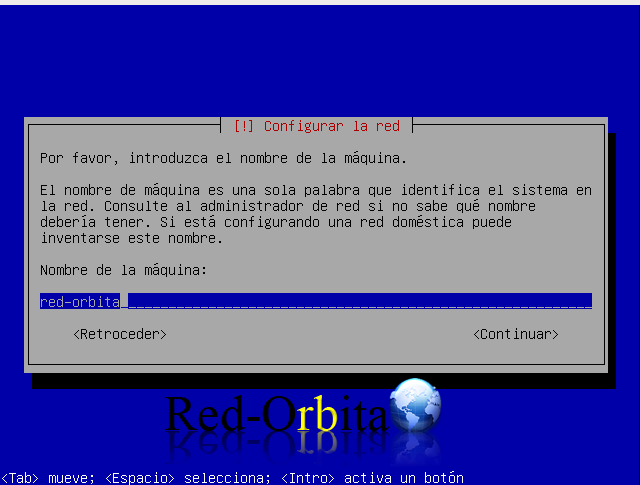
We configure the name of our machine
At this point we have to partition the File Systems, we are going to do it manually. But if you don't want to bother, use the option "GUIDED - USE THE WHOLE DISK"
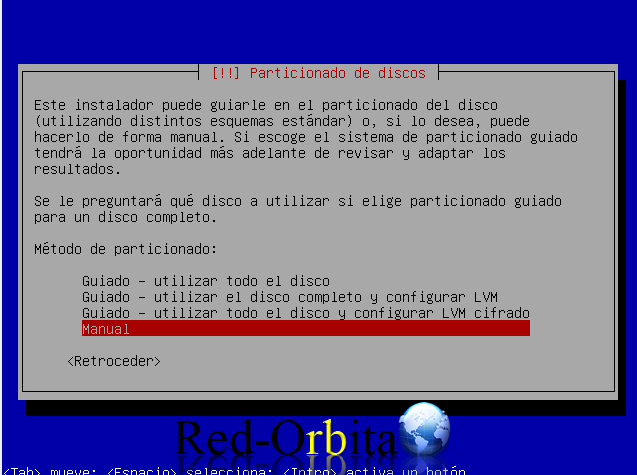
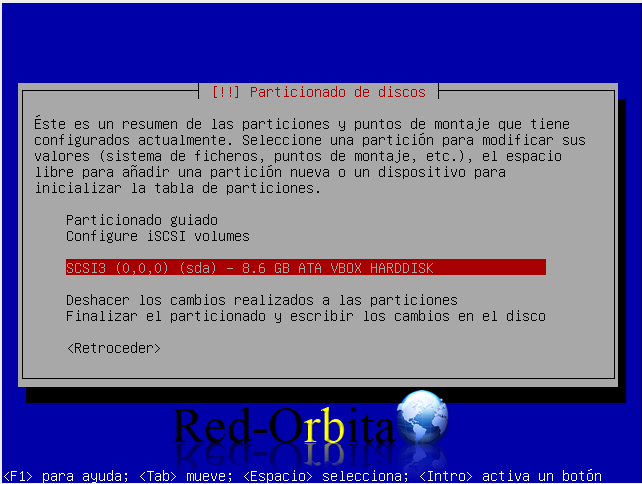
We select the disk and press enter.
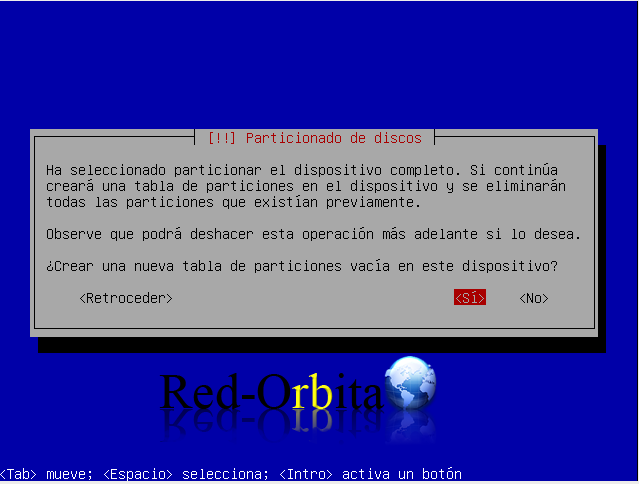
Yes, we want to create a partition!!
We select the partition created previously.
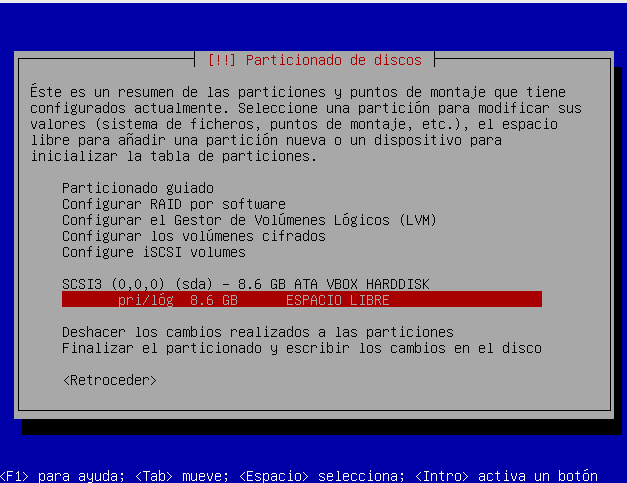
We select create a new partition.
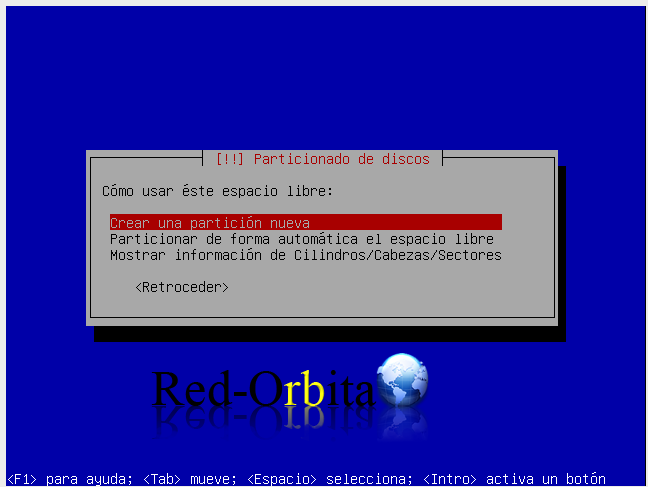
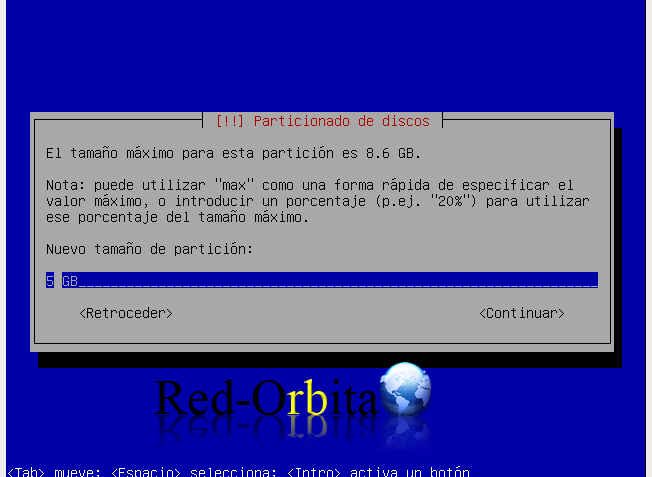
We select what we create corresponding to the root partition (/)... I am installing it through virtualbox... so just a little bit.
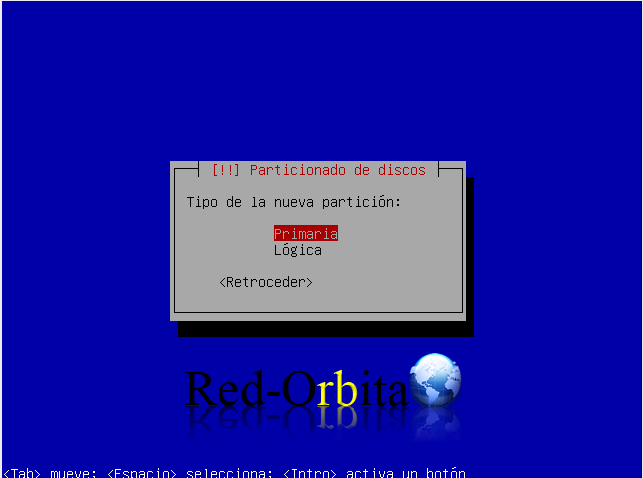
Primary.
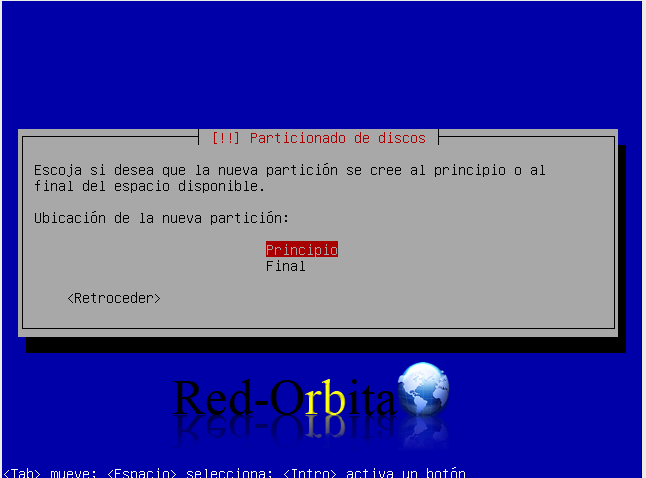
Principle.
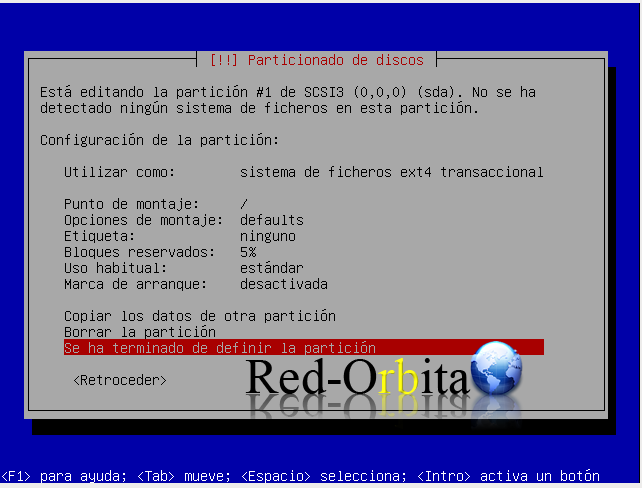
And we check that it is exactly like that, ext4 system, mount point /.
Once everything is configured as shown in the image, we will see: “The partition has been defined.”
We select the free space again
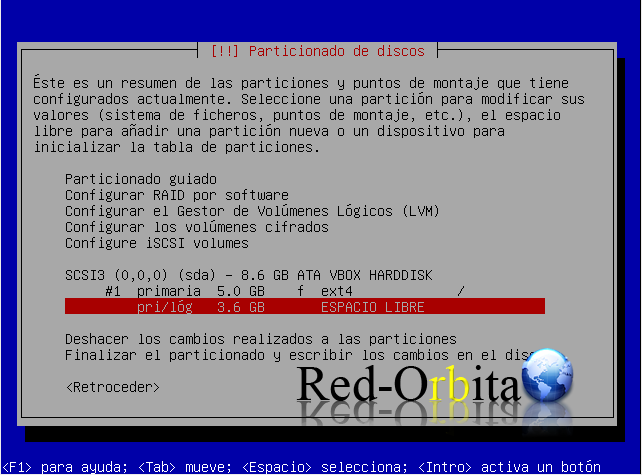
We select create a new partition.
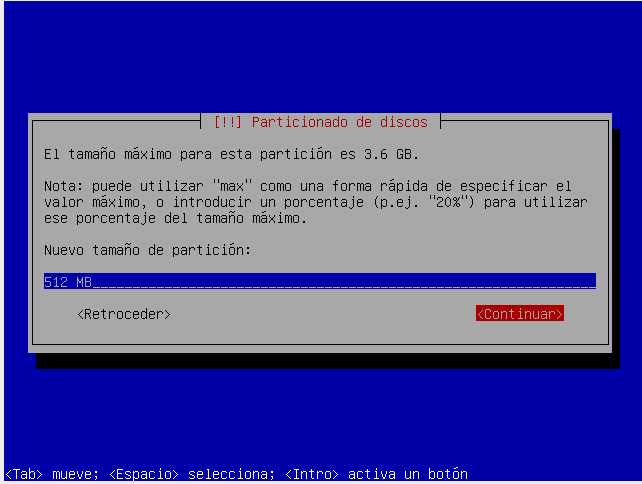
Now we are going to create the swap area partition, it is used to save the images of the processes that do not have to be kept in physical memory.
What size does this partition have to be, depending on your memory?
- Up to 1GB of RAM the SWAP should have a size equal to RAM.
- Between 2GB and 4GB SWAP size should be half the RAM.
- For equipment with more than 4GB the SWAP should have a maximum size of 2GB.
More information: http://es.wikipedia.org/wiki/Espacio_de_intercambio
Logic.
End.
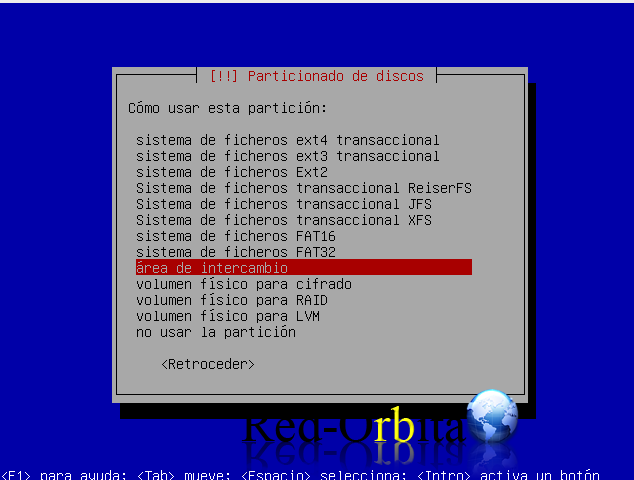
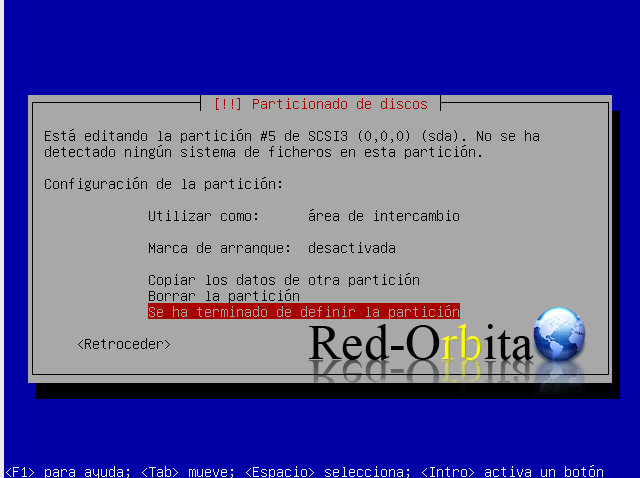
We select the option USE AS:
Once given to USE AS It will show us the following screen, in it we have to choose: EXCHANGE AREA.
You have finished defining the partition.
We select the free space again.
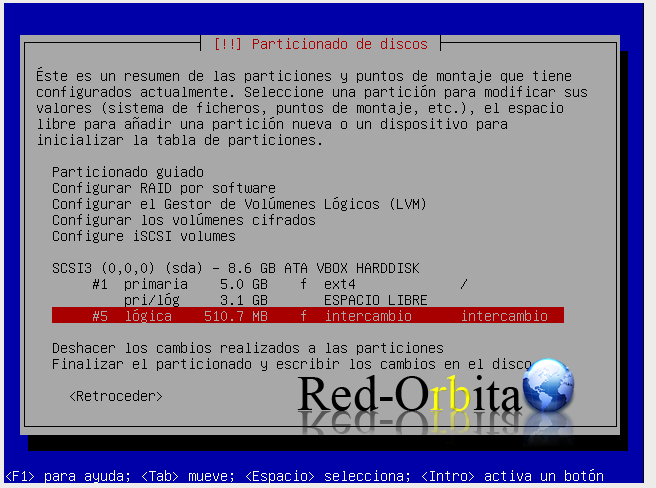
We select the rest that we have left or what we think is convenient for our /home
Logic.
End.
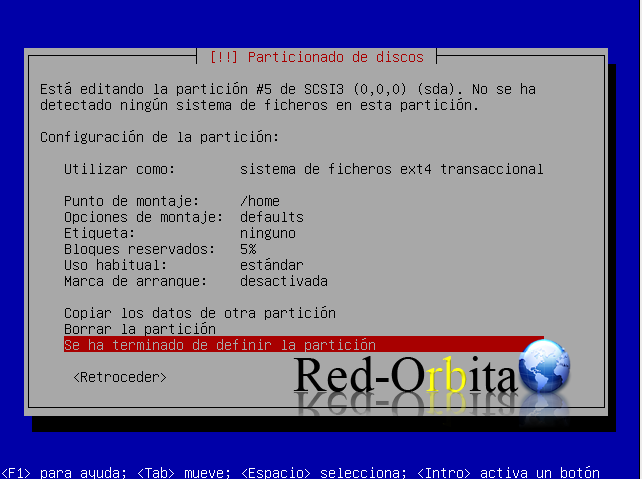
We make sure to use this as EXT4 and the mount point as /home.
Once again we select "the partition has been finished defining."
We select: Finish partitioning and write the changes to the disk.
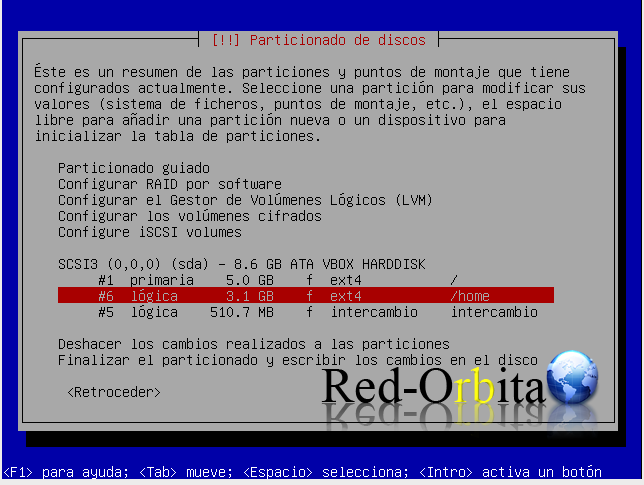
Yes, we want to write the changes.
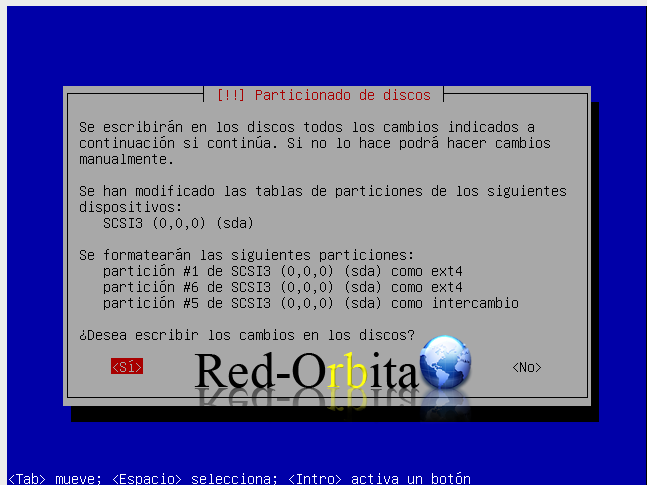
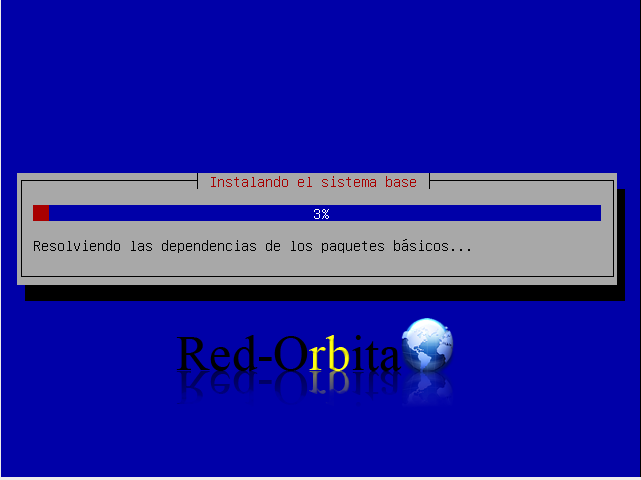
Install the base system.
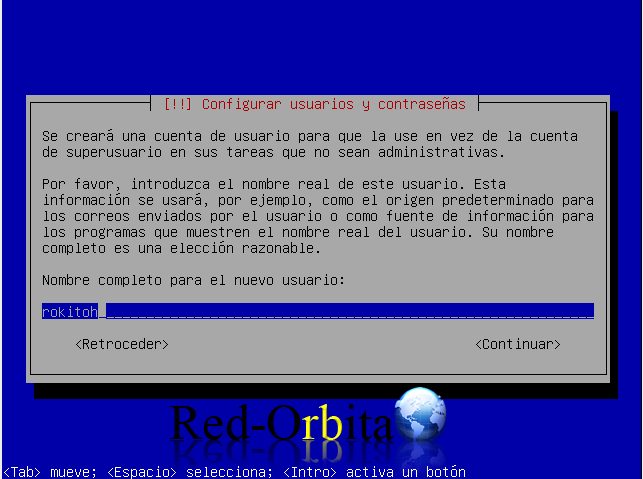
Full name for the user.
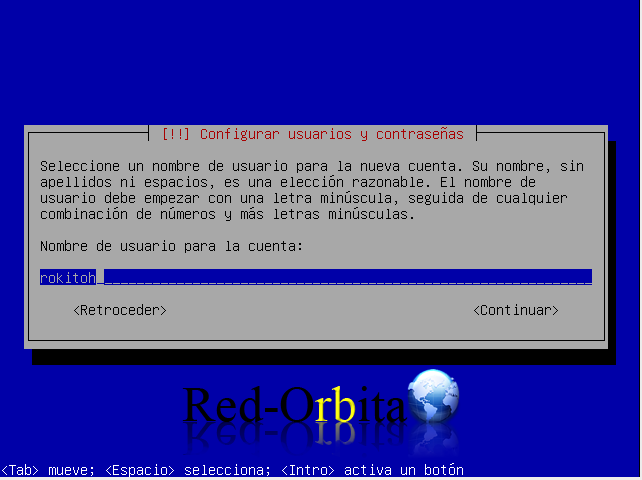
We create the user.
Password
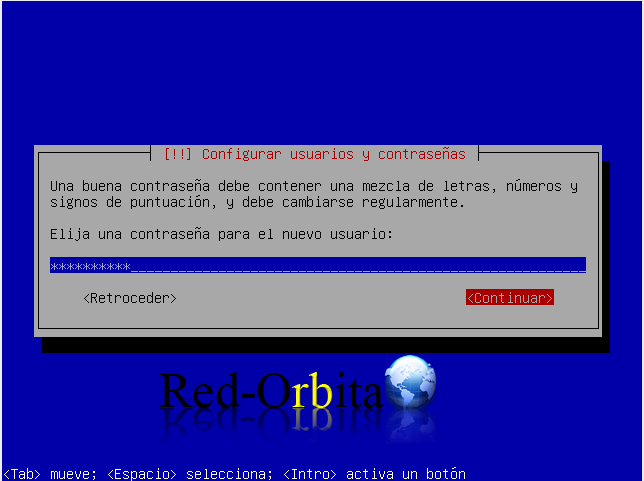
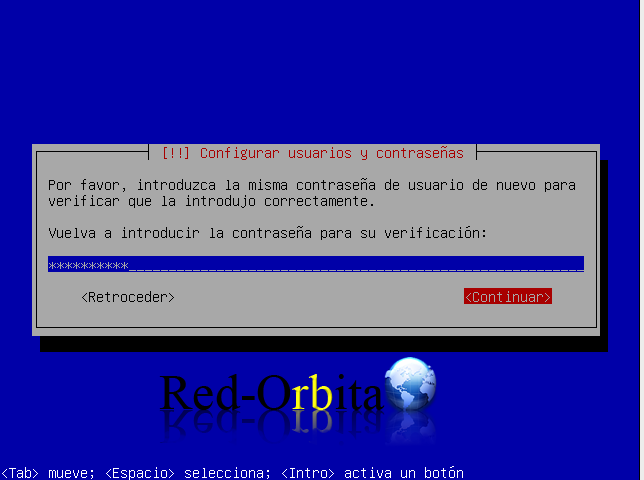
We re-enter the password.
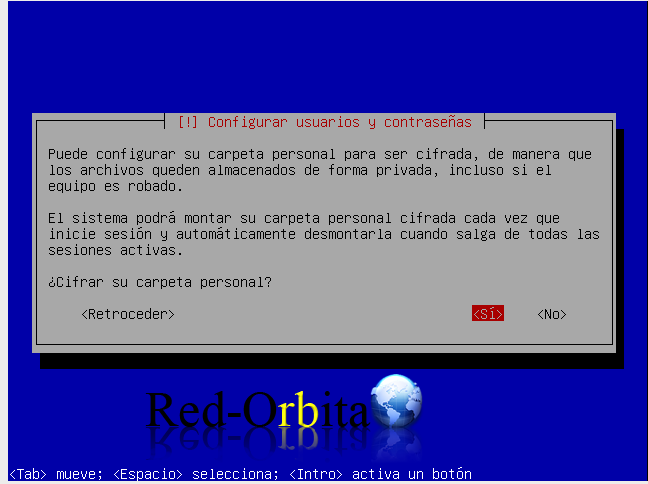
We encrypt /home.
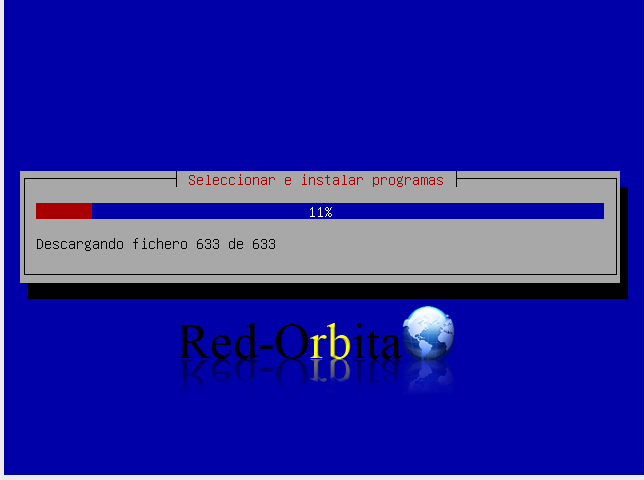
Start installing the necessary packages
We install the GRUP.
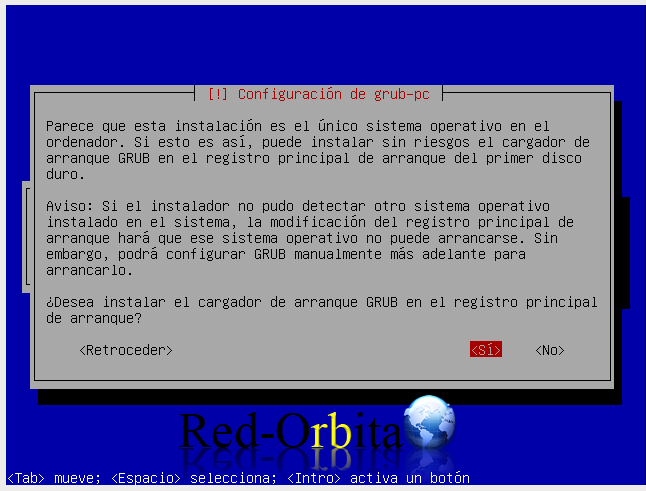
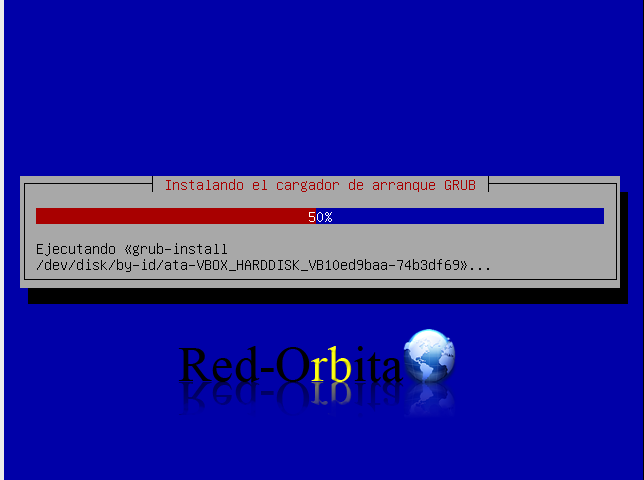
Finishing the installation…
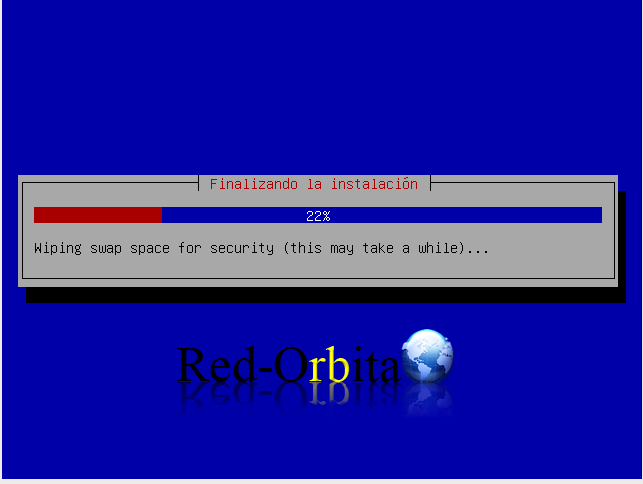
Continue…
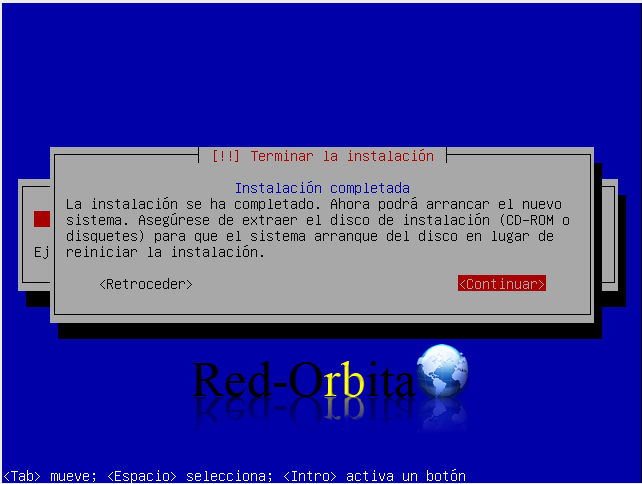
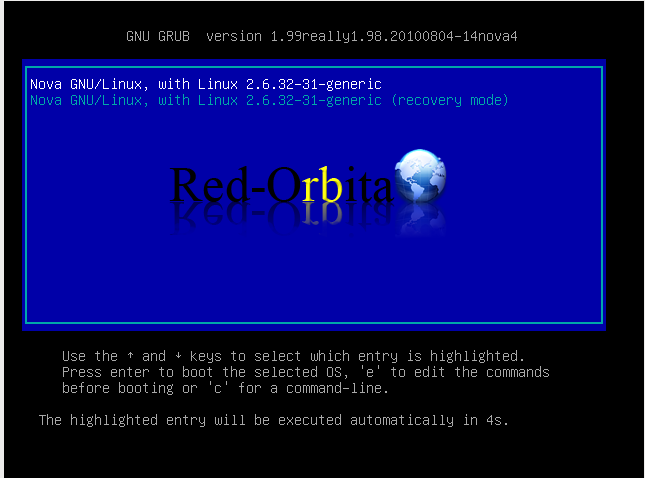
Once restarted the system starts.
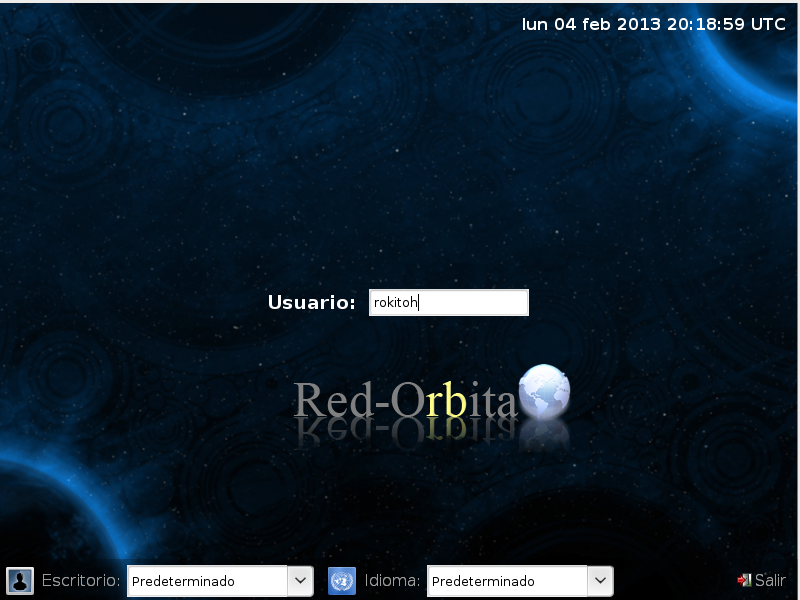
We access with our username and password created previously.
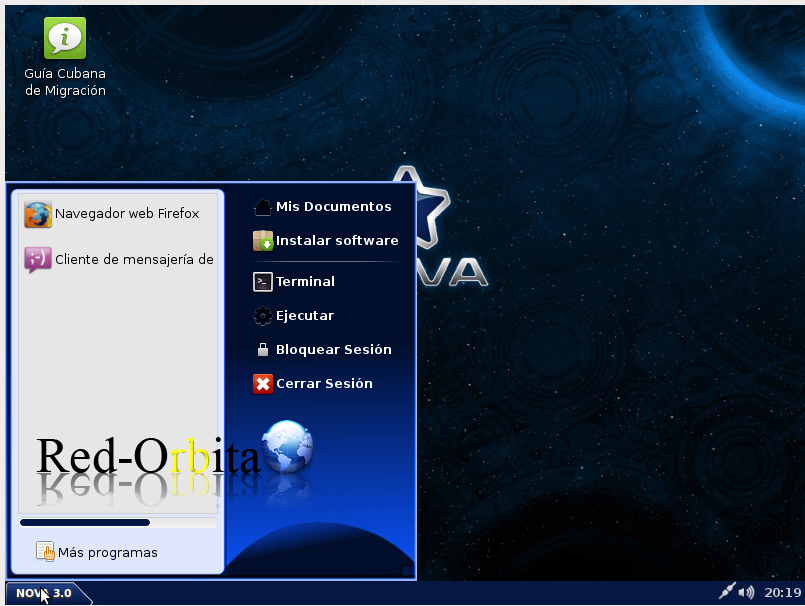
Here we have the desktop.
Conclusions: At first glance the installation is like another Debian, in my opinion although I don't find the installer difficult, I think they should simplify it more... in the style of Ubuntu or Linux MInt so that more people could migrate without any type of problem.
Once the system is installed, the user interface is very similar to Windows, which makes migration much easier, as it has all the software included in the GNOME desktop system.
Long live free cuba!!!
Greetings, rokitoh!
:wq!
Comments