
What is TYPO3?
It is a tool developed in PHP that is usually deployed on operating systems GNU/Linux combined with the popular server webApache. Additionally, it integrates with several databases as MySQL, PostgreSQL and Oracle. It is therefore classified as softwareLAMP (Linux, Apache, MySQL and PHP).
Using this tool we can carry out very complete management.
It allows you to completely carry out a website of content, with everything that this implies: multi-level structure, search engine, management of authorship and publication of content, mechanism for using templates for the layout of pages, etc. But it is also a portal. In particular, it manages the personalization of pages according to the identity of the users. users, that is, it knows how to integrate a selection of content on the same page, according to the rights of the identified user.
It is entirely extensible by modules, they can be management modules in theinterface administration – basic management MySQL, server management LDAP –or user-oriented modules, included in the site- surveys, forums, calendar, news, searches…
We install our LAMPP server
Based on Debian:
rokitoh@red-orbita :# apt-get install apache2 libapache2-mod-php5 php5-mysql mysql-server php5-gd imagemagick unzip gs php5-curl unrtfBased on RedHat:
rokitoh@red-orbita :# yum install -y httpd openssl httpd-devel httpd-tools mysql mysql-server php-gd php-mysql php unzip imagemagick php5-curl unrtfWe download TYPO2 with the dummies
rokitoh@red-orbita :# wget http://prdownloads.sourceforge.net/typo3/typo3_src%2Bdummy-6.0.4.zipWe decompress
rokitoh@red-orbita :# unzip typo3_src+dummy-6.0.4.zipWe create the directory and move the unzipped files.
Based on Debian:
rokitoh@red-orbita :# mkdir /var/www/typo3

rokitoh@red-orbita :#  mv typo3_src+dummy-6.0.4/* /var/www/typo3/
Based on RedHat:
rokitoh@red-orbita :#  mkdir /var/www/html/typo3

rokitoh@red-orbita :# mv typo3_src+dummy-6.0.4/* /var/www/html/typo3/
We access the folder and assign the permissions
Based on Debian:
rokitoh@red-orbita :# cd /var/www/typo3Based on RedHat:
rokitoh@red-orbita :# cd /var/www/html/typo3We give permissions
rokitoh@red-orbita :# chgrp -R apache fileadmin typo3temp typo3conf uploads

rokitoh@red-orbita :# chmod -R g+rwX,o-w fileadmin typo3temp typo3conf uploads
We create the file ENABLE_INSTALL_TOOL to enable the installation
rokitoh@red-orbita :# touch typo3conf/ENABLE_INSTALL_TOOLWe access http:/IP_ADDRESS/typo3/ through our browser.
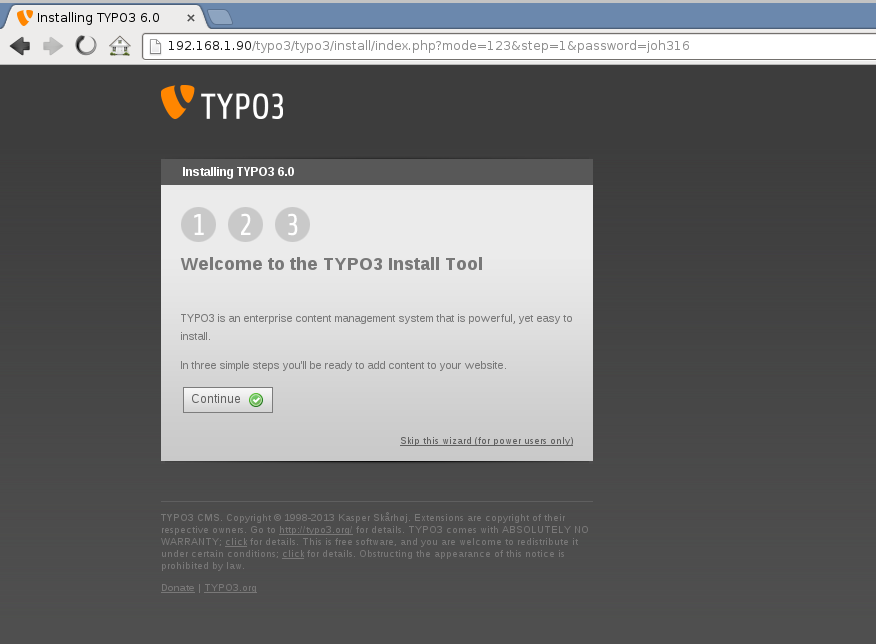
We press Continue to begin the installation.
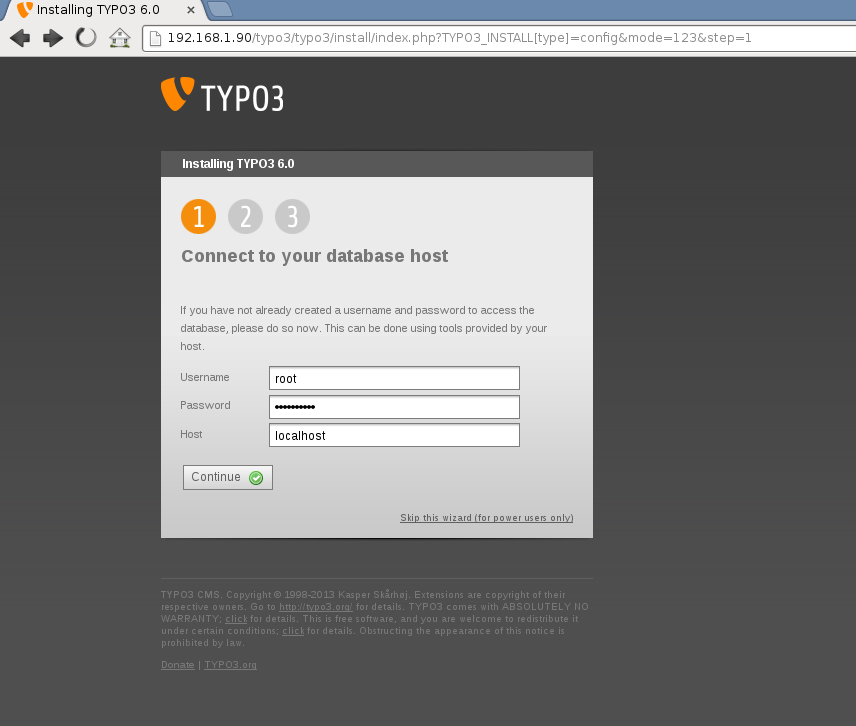
We assign the username and password to access the database.
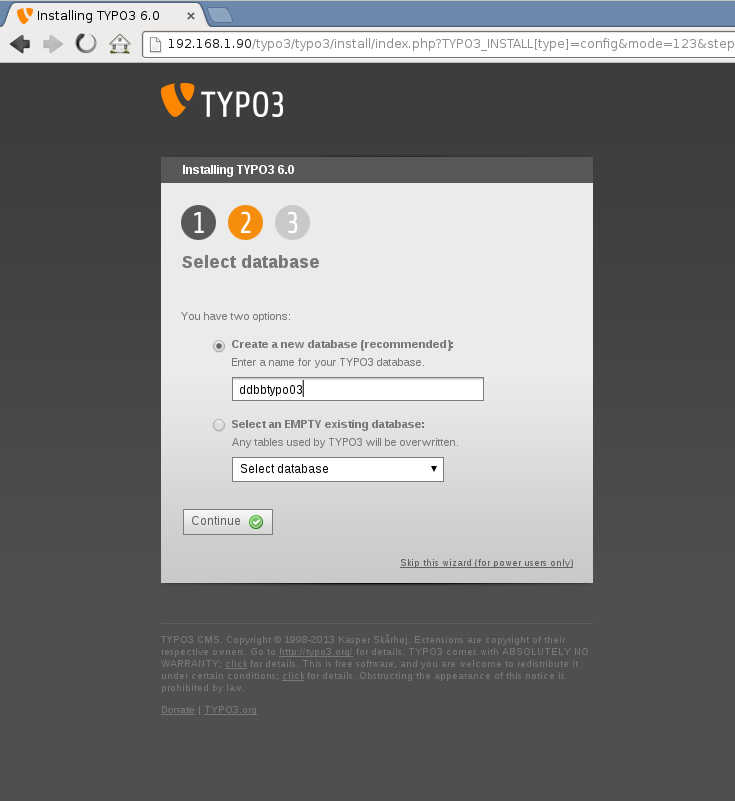
We select the default option, we give a name to our database.
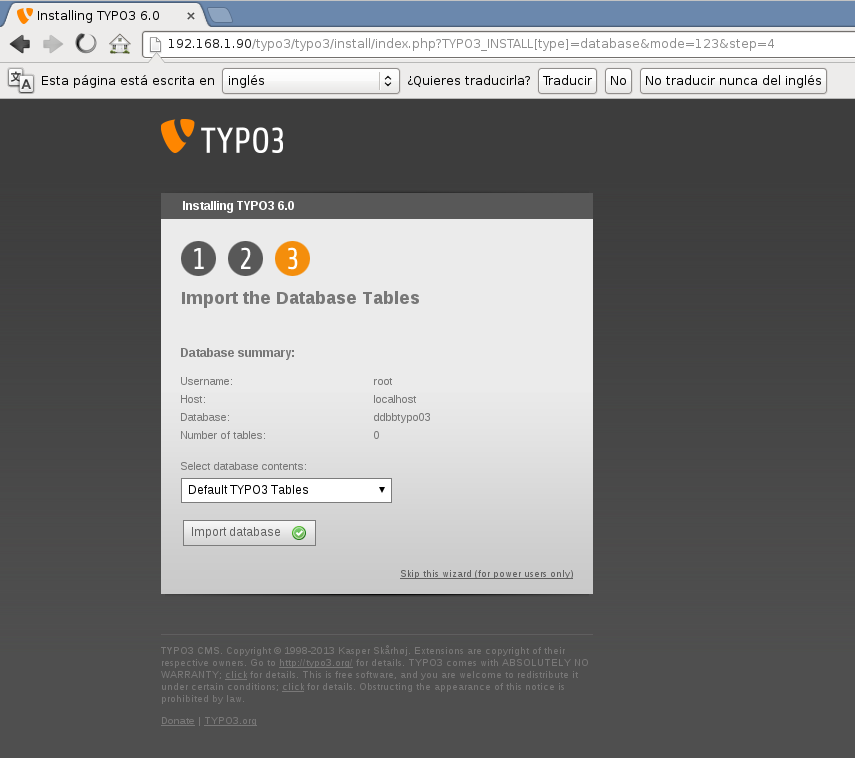
We tell you to create the default database tables.
We press on Change insall Tools password here
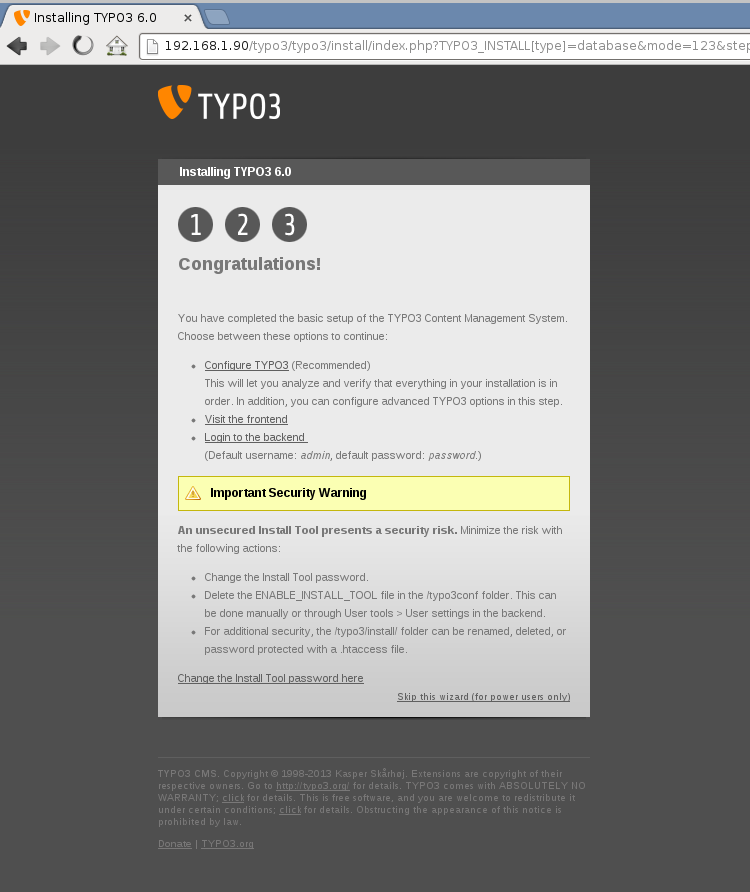
We assign a new password for the Admin user.
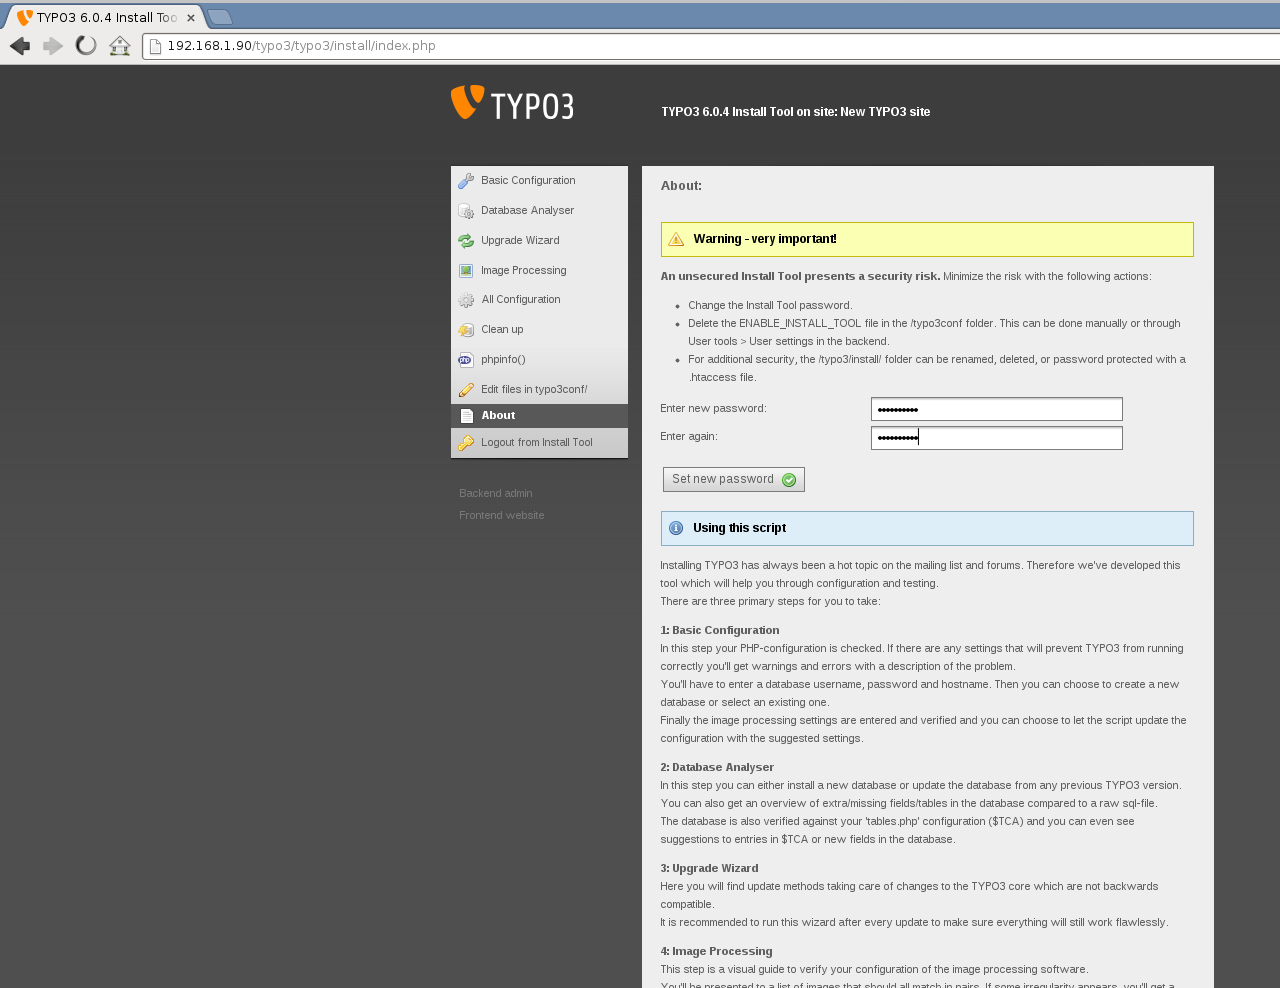
It tells us that the changes have been saved correctly. We press to continue.
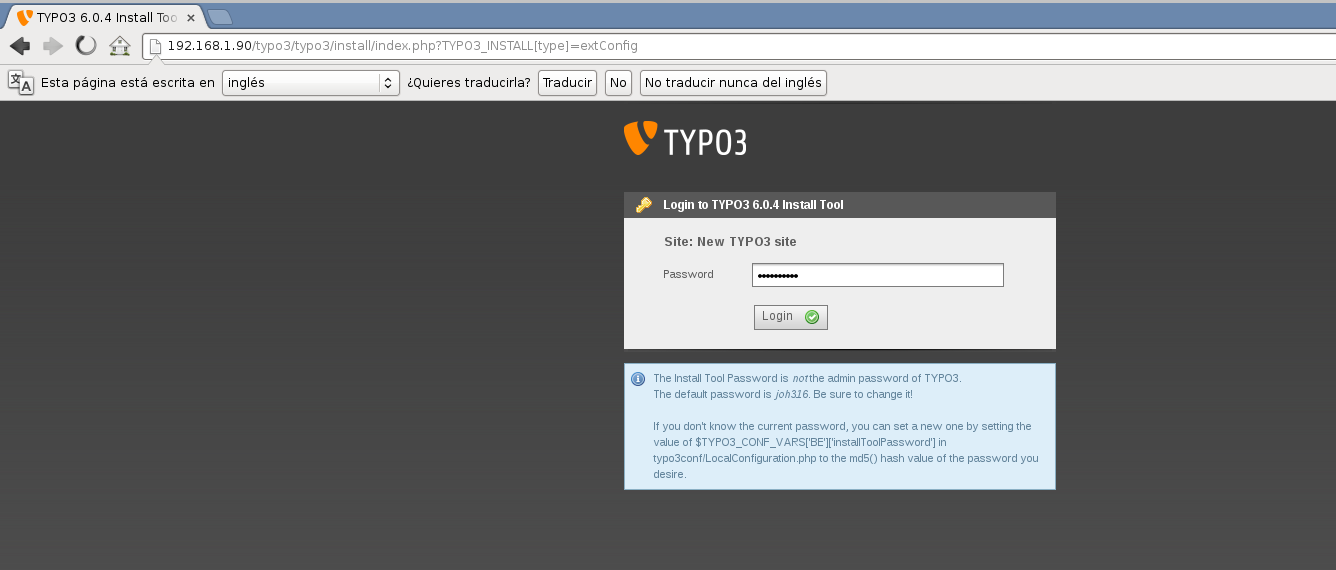
 We log in with the new password.
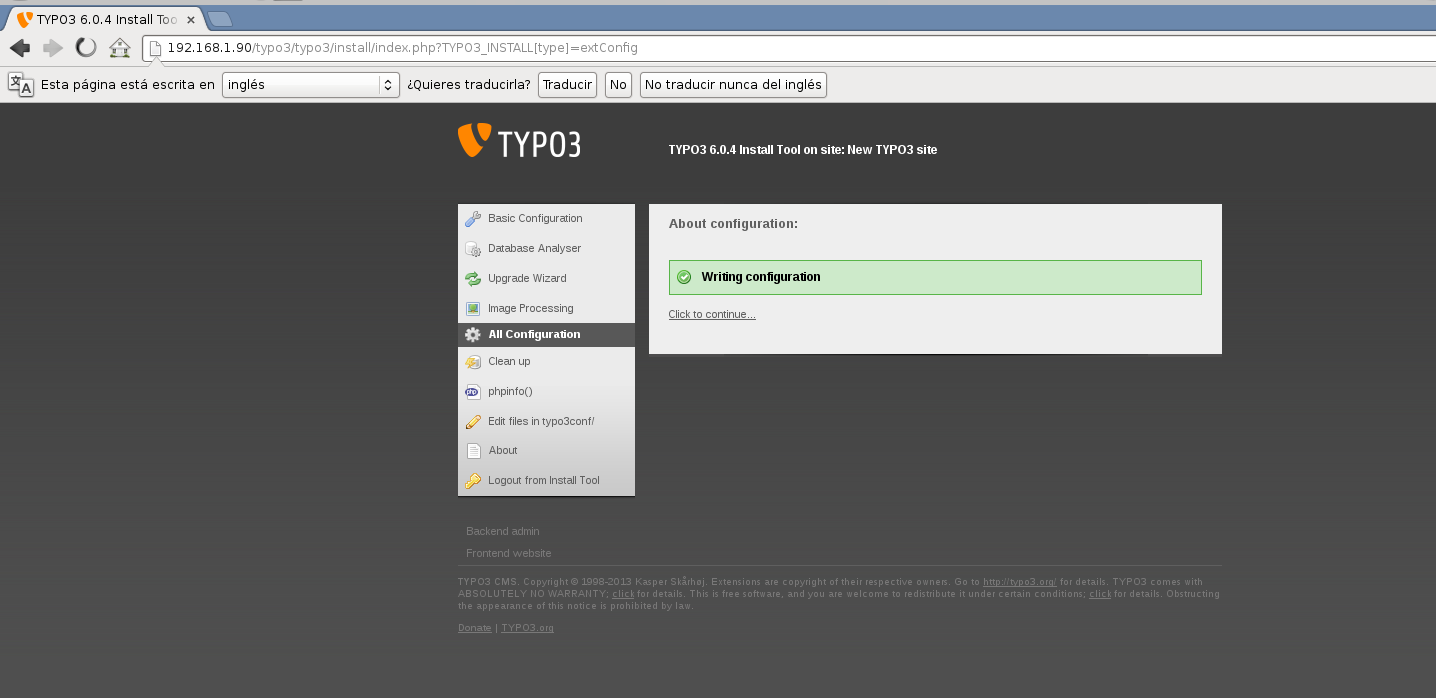
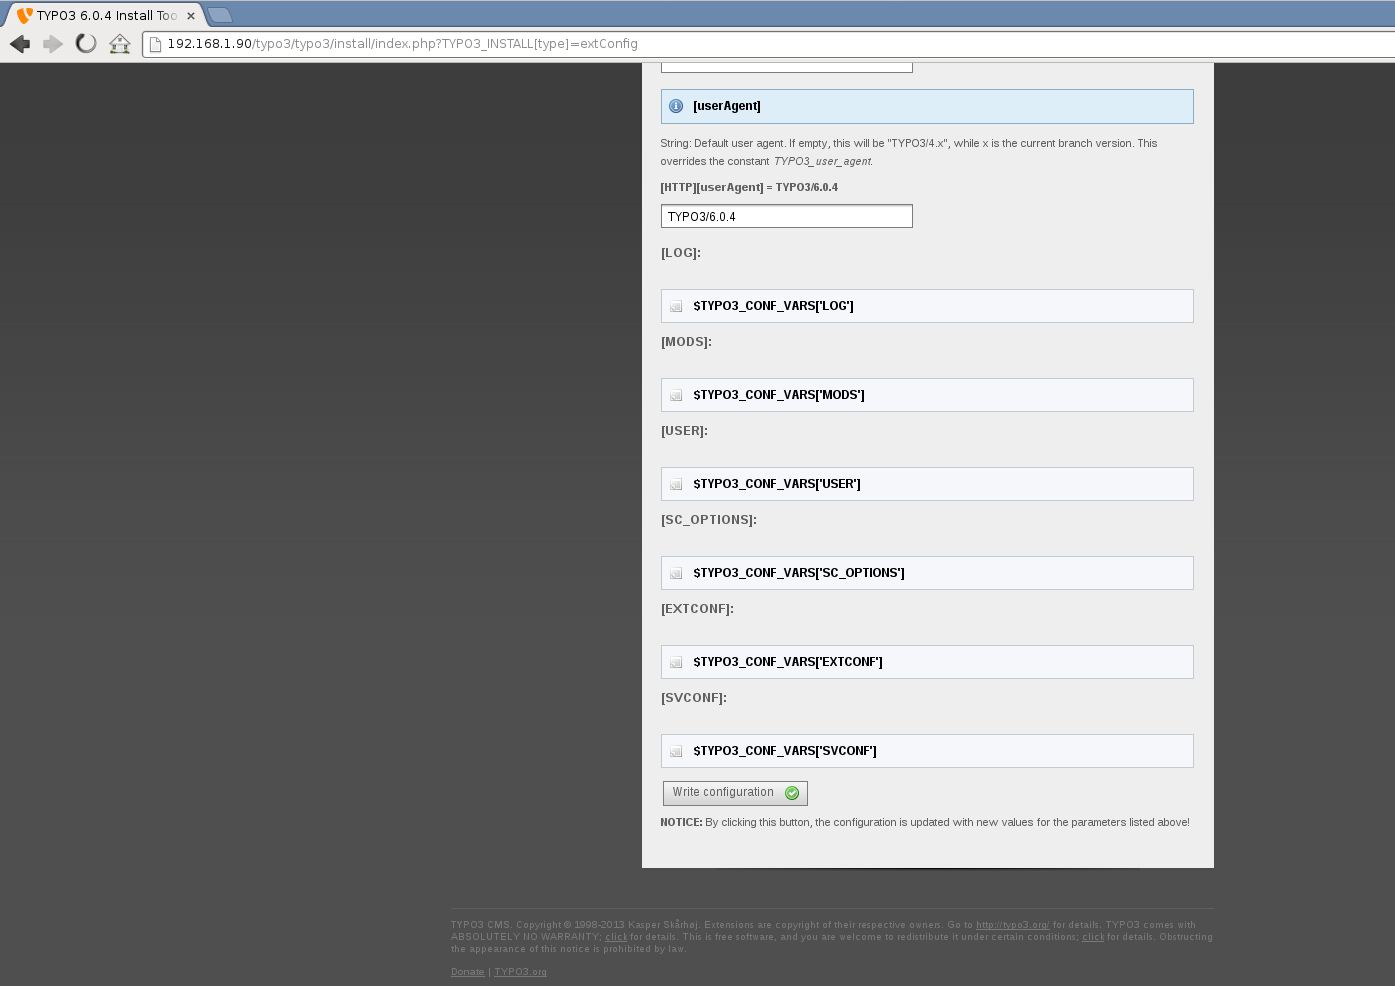
We write the configuration…
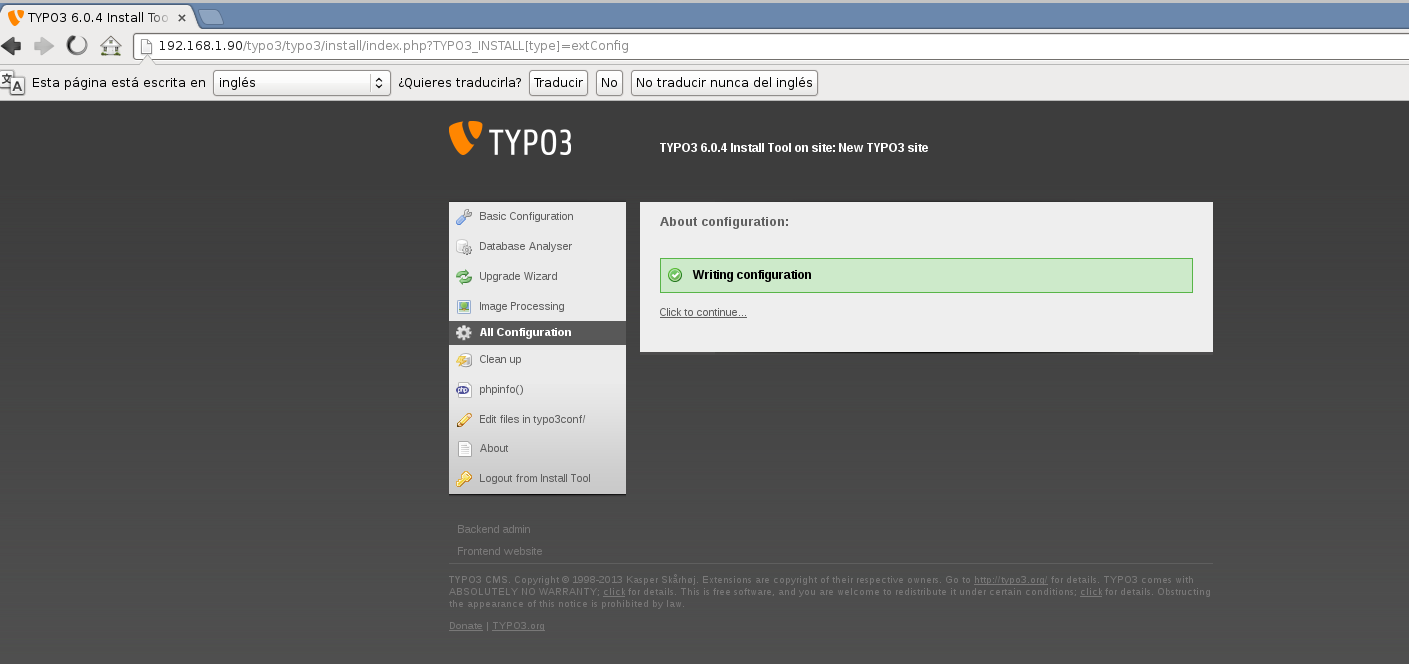
It shows us a panel where the configuration has been saved correctly.
We delete the installation file.
rm -rf typo3conf/ENABLE_INSTALL_TOOL
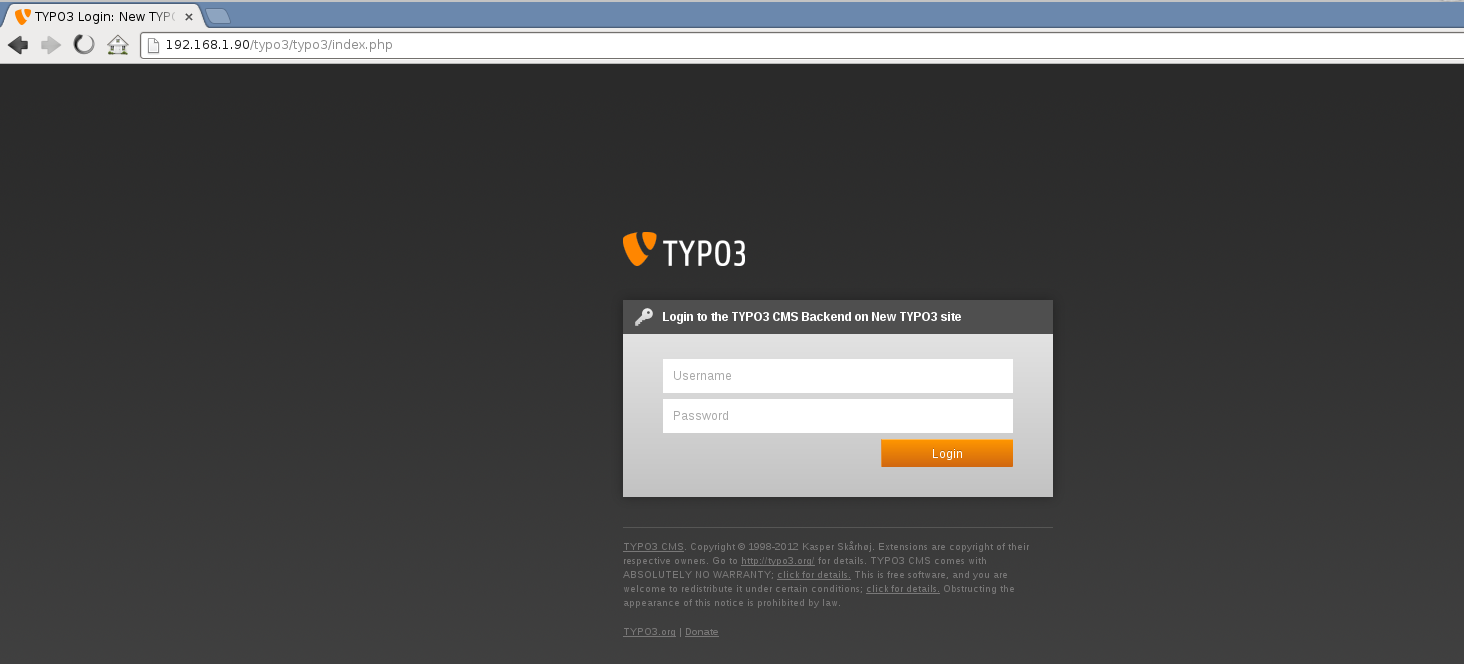
Once the installation file has been deleted, we access with our browser: http://ADDRESS_IPtypo3/typo3/
It shows us a panel to log in. The default username and password is: admin:password
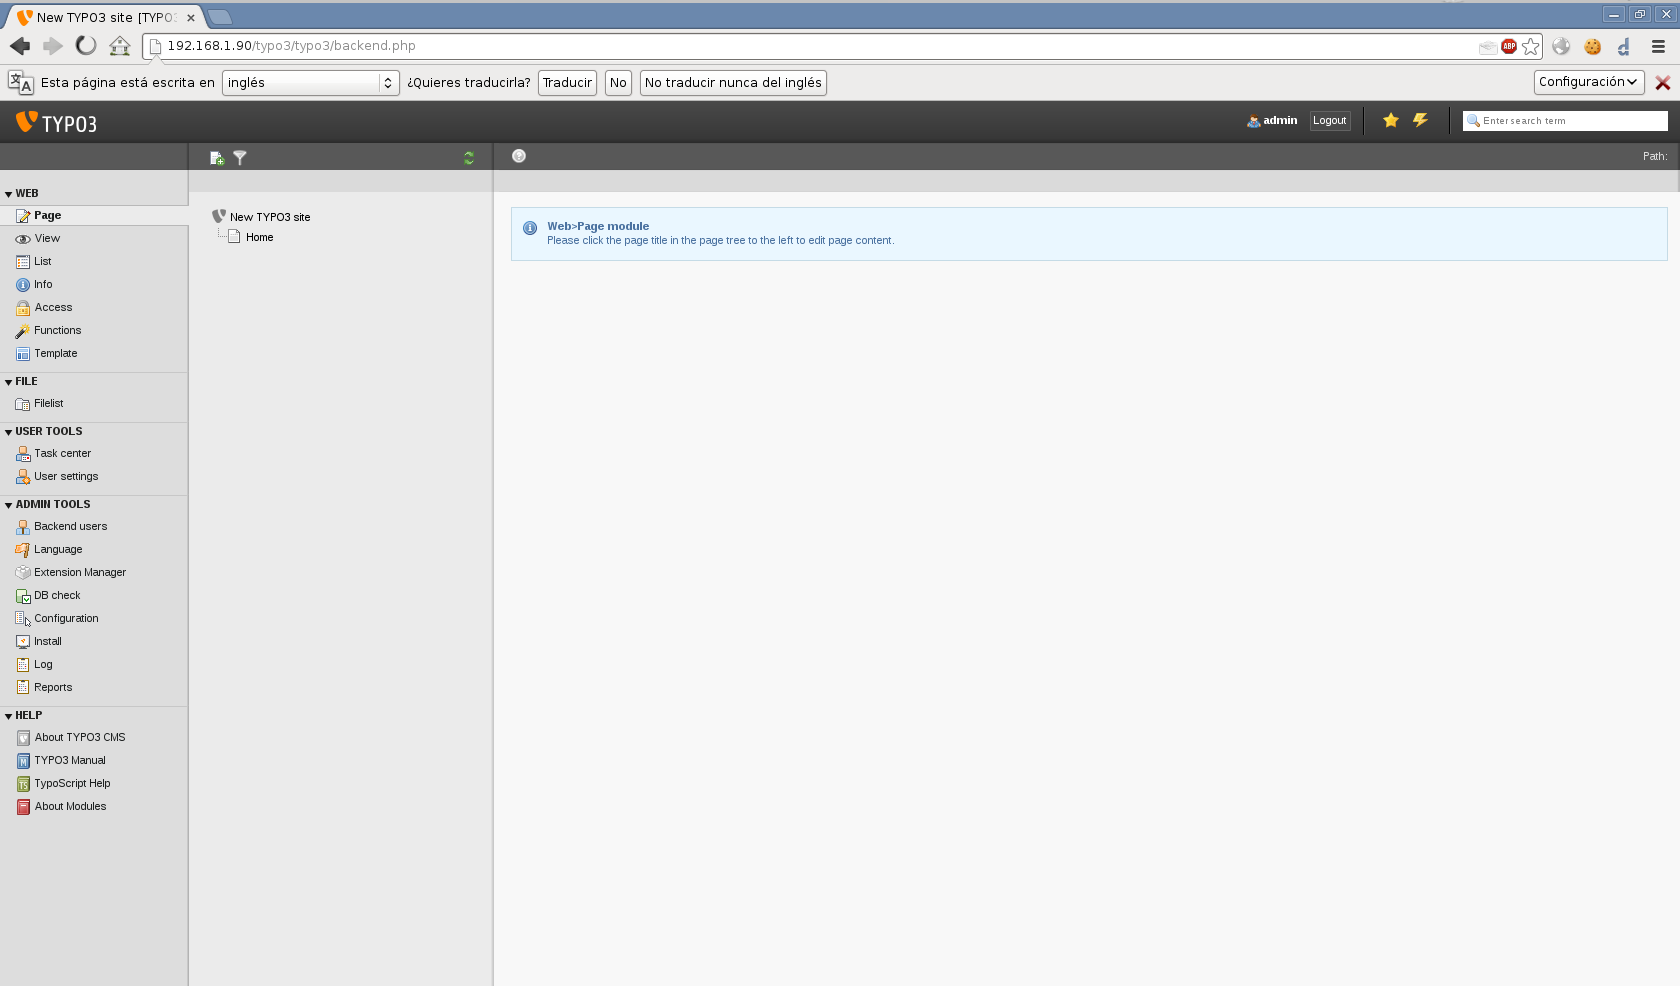
This is what the control panel looks like.
Regards, Rokitoh
:wq!
Comments