
What is VMware vCenter Server?
The vCenter Server acts as a single central management point in our vSphere™ 5 environment.
The vCenter Server software consists of multitudes of modules and services and is installed on a server (virtual or physical) with the supported Windows operating system.
Unlike previous versions, vSphere™ 5 includes a new version of vCenter Server in appliance mode para entornos con Linux. vCenter Server ofrece funcionalidades Enterprise, como por ejemplo, VMware Distributed Resource Scheduler (DRS), VMware High Availability (HA), VMware Fault Tolerance(FT), VMware vMotion y VMware Storage vMotion.
En la web oficial podemos ver los requisitos para poder instalar vCenter Server
http://kb.vmware.com/selfservice/microsites/search.do?language=en_US&cmd=displayKC&externalId=2034982
Before starting the installation we will have to have our server configured with a static IP and added to the domain controller or DNS and database server.
Check using ping and nslookup that it resolves both FQDN and host perfectly.
The database that we have chosen to carry out the installation is SQL Server 2008.
Here we have how to install the DB server:
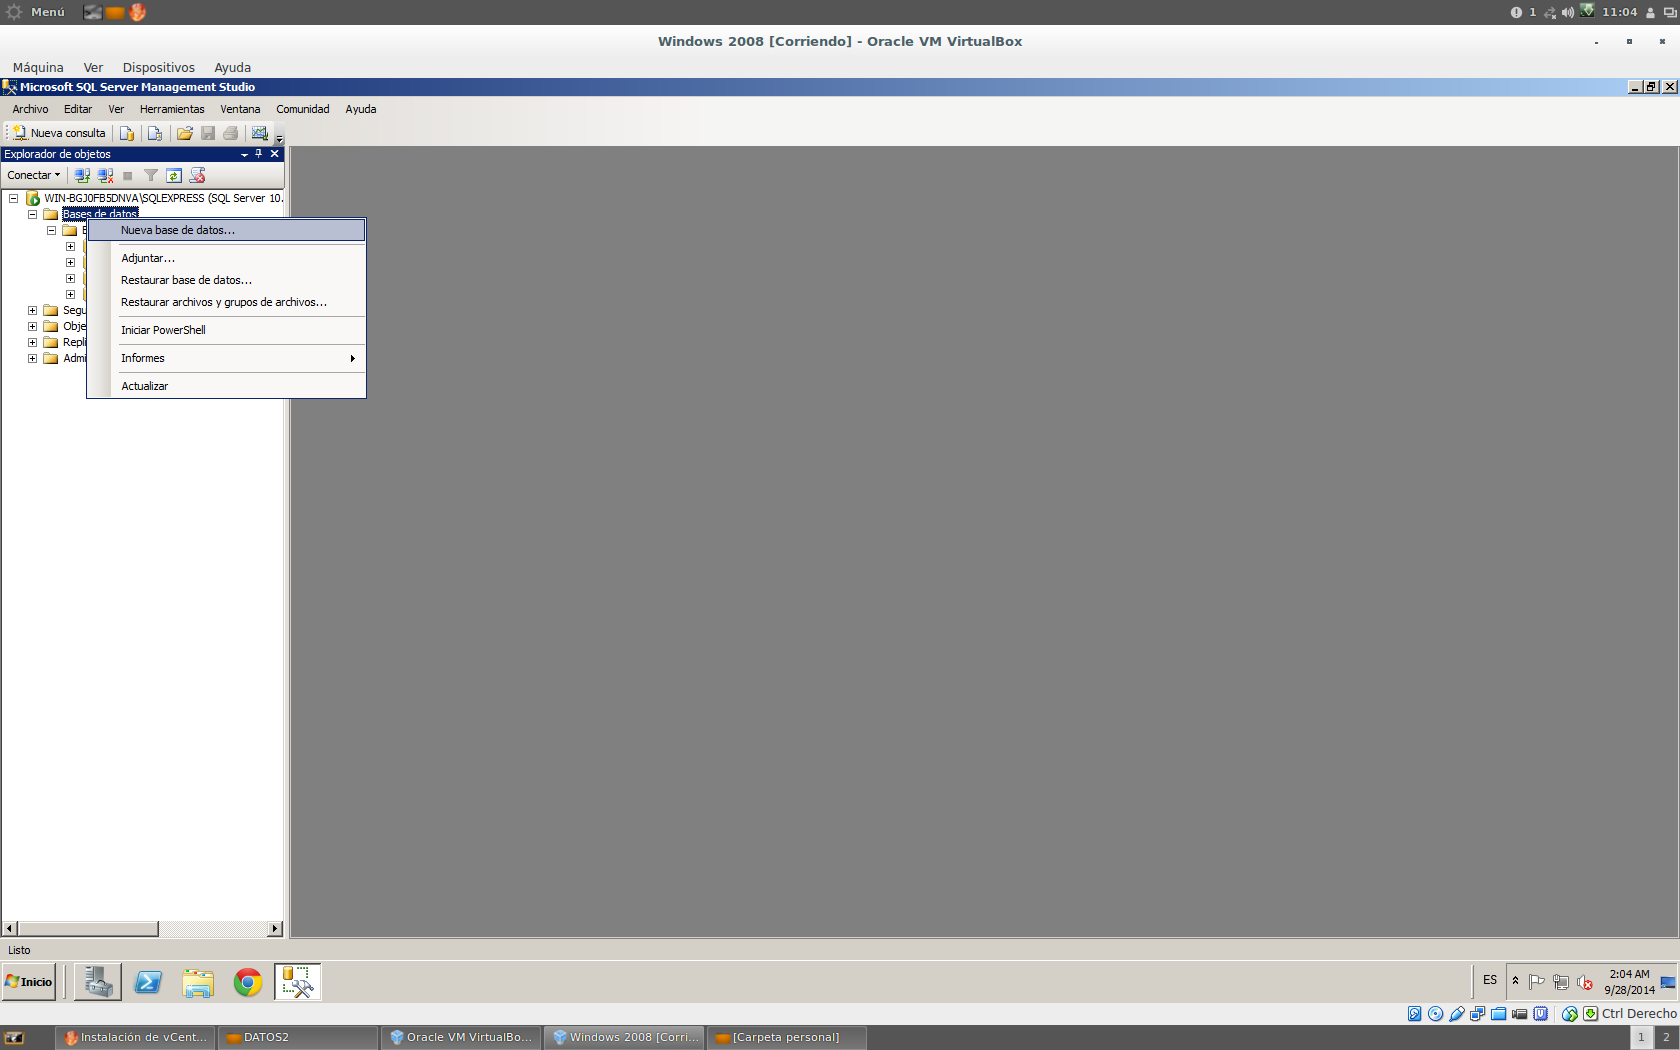
Creamos la base de datos para vcenter server, para ello botón derecho sobre databases > New database
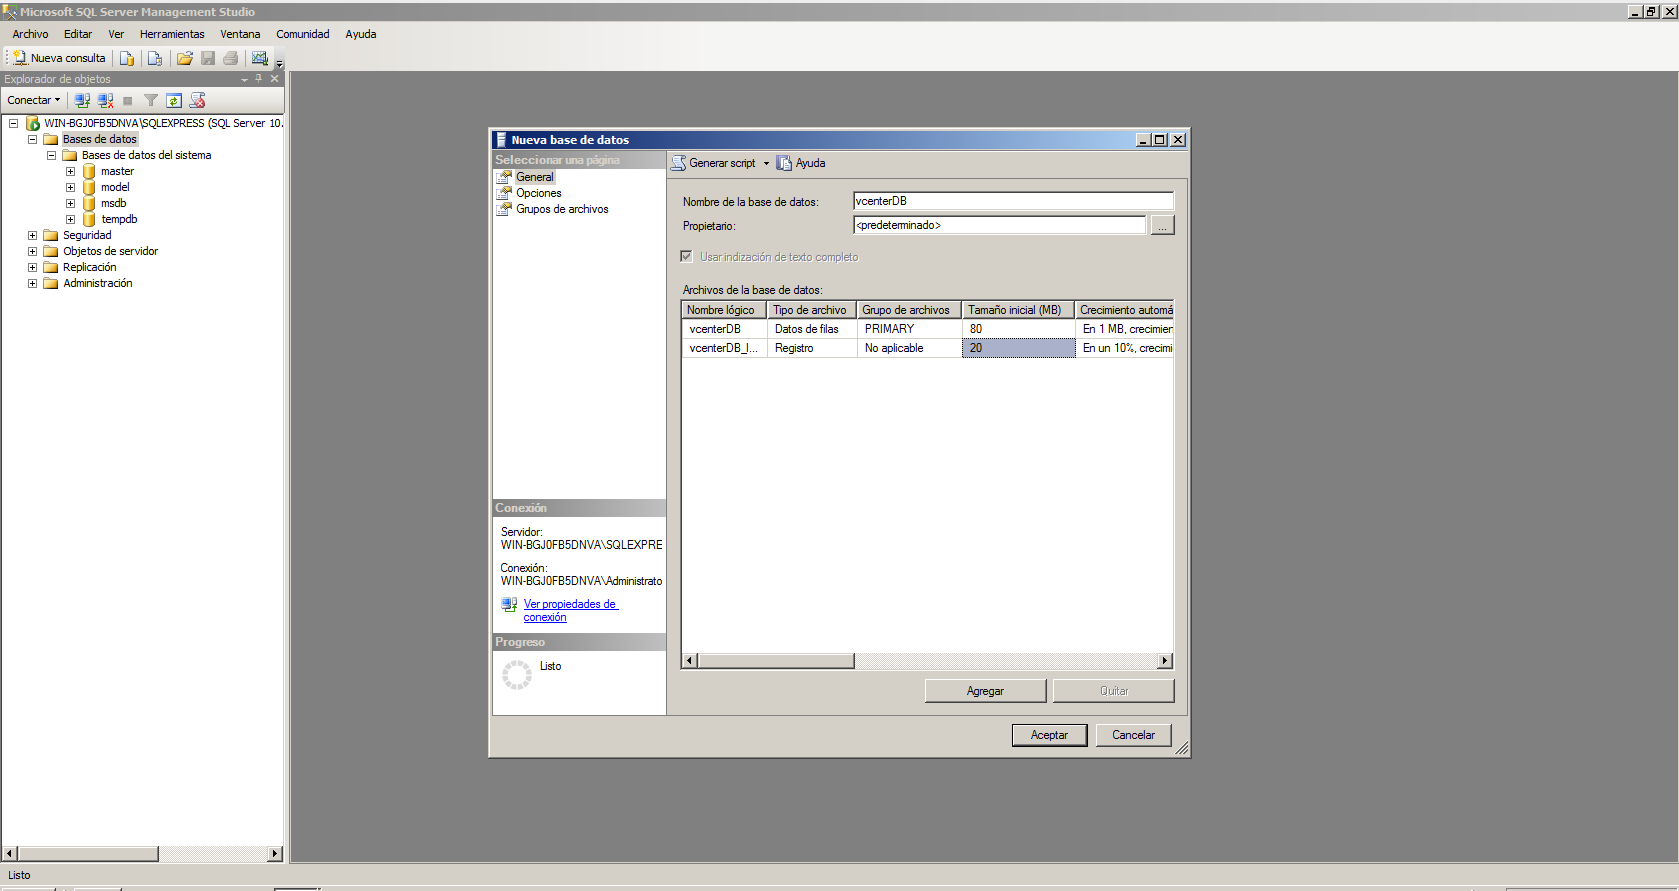
We assign the name and size of the DB
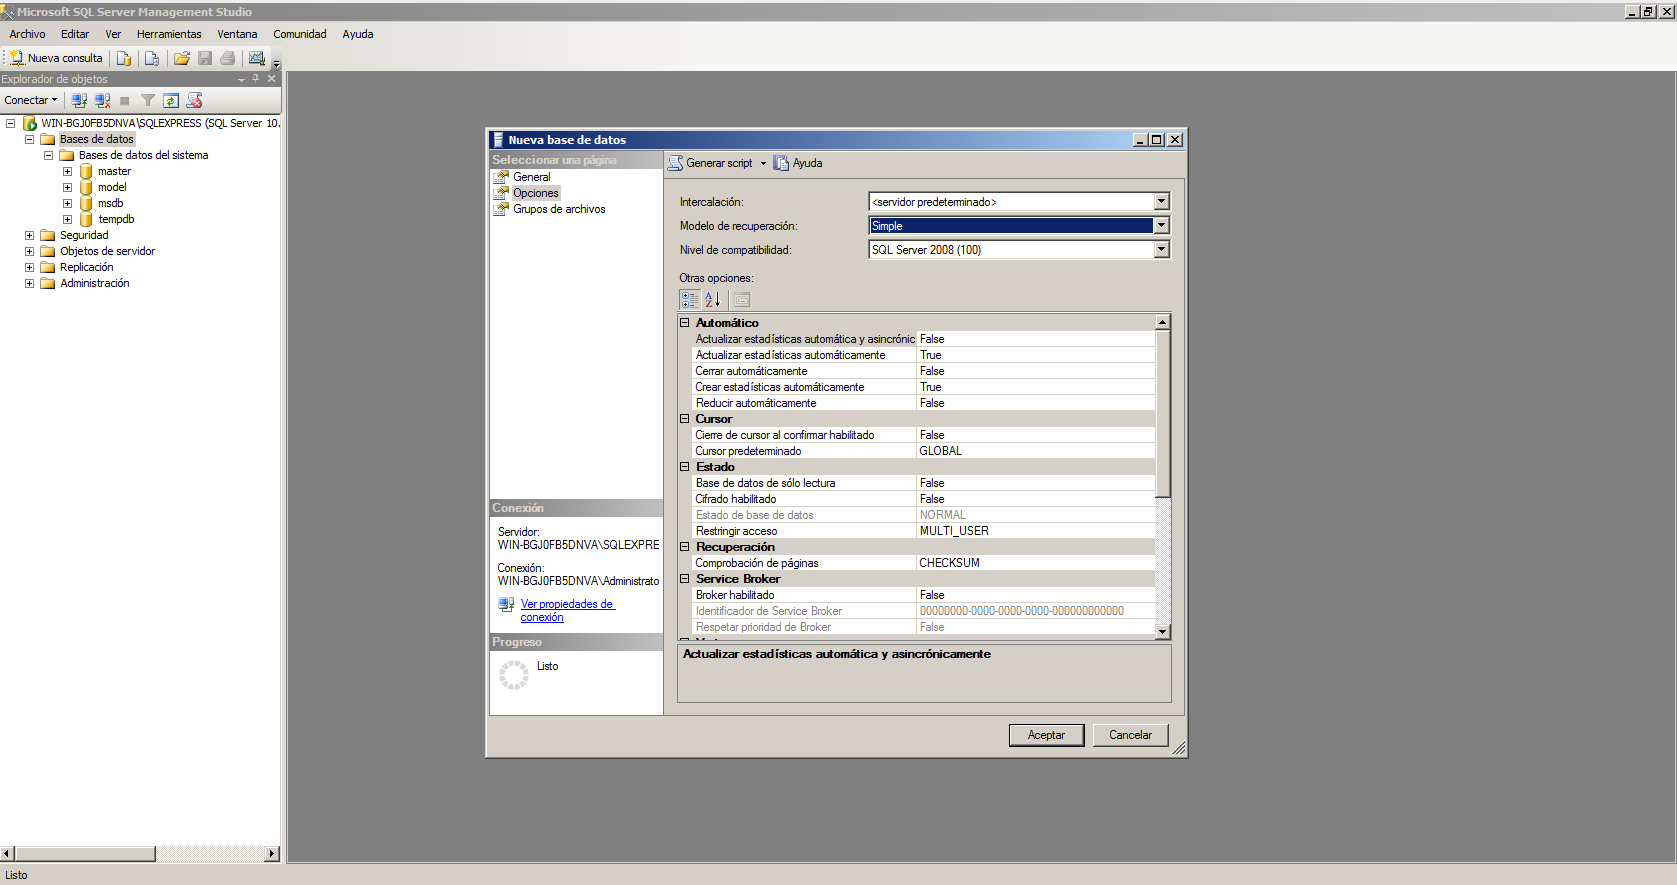
We go to the options tab and in the Recovery Model we put Simple
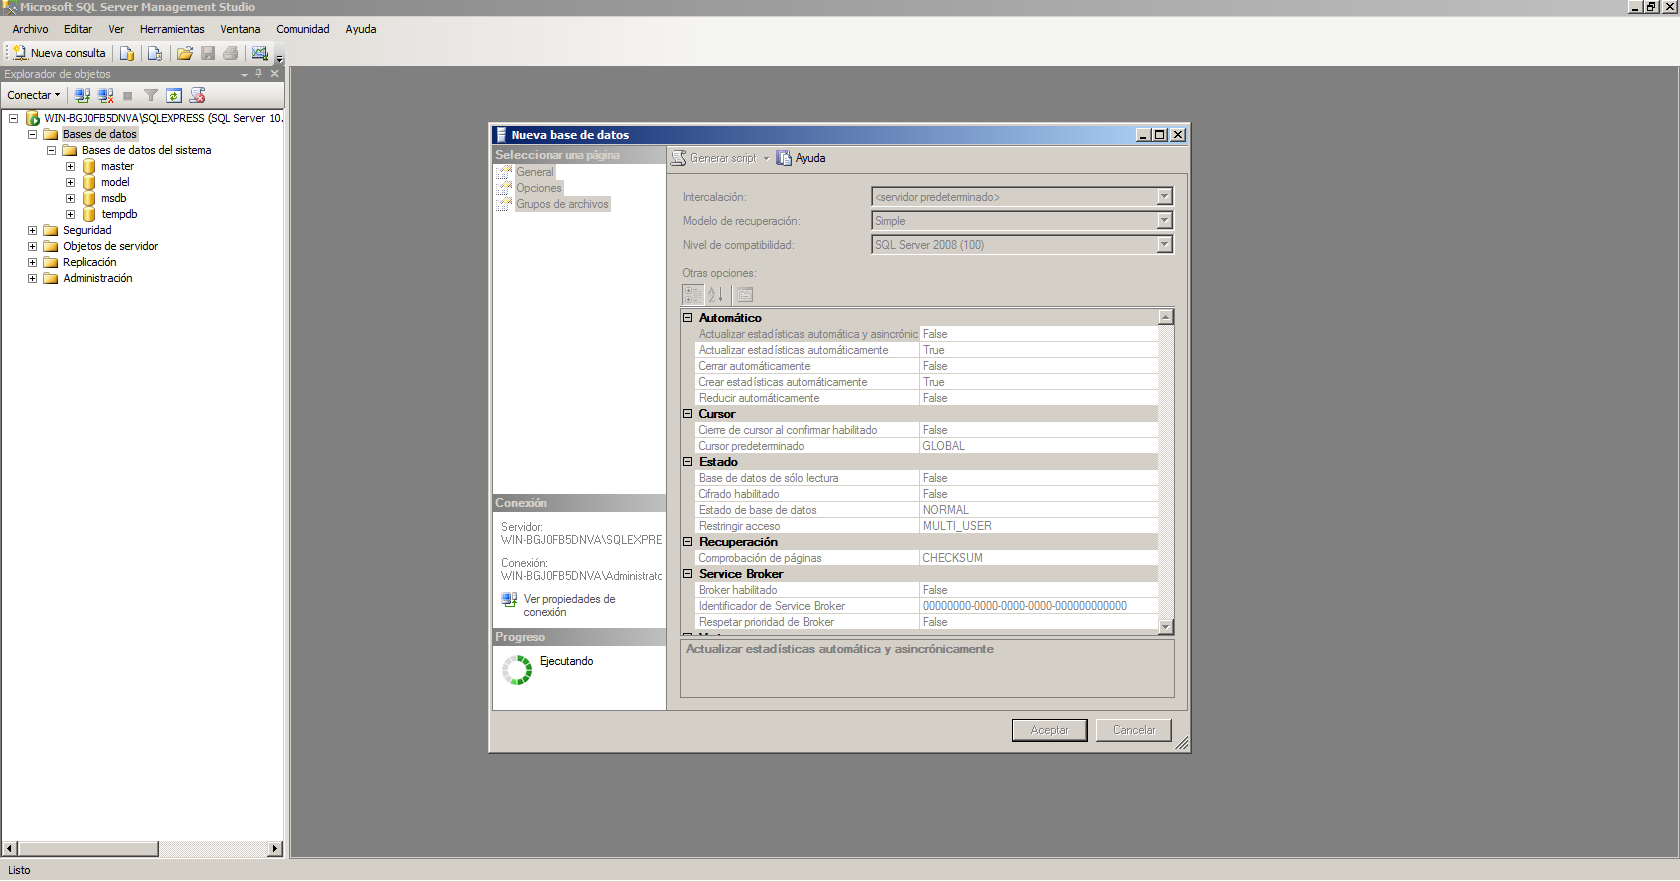
We create.
procedemos a crear el usuario, para ello Security > New login
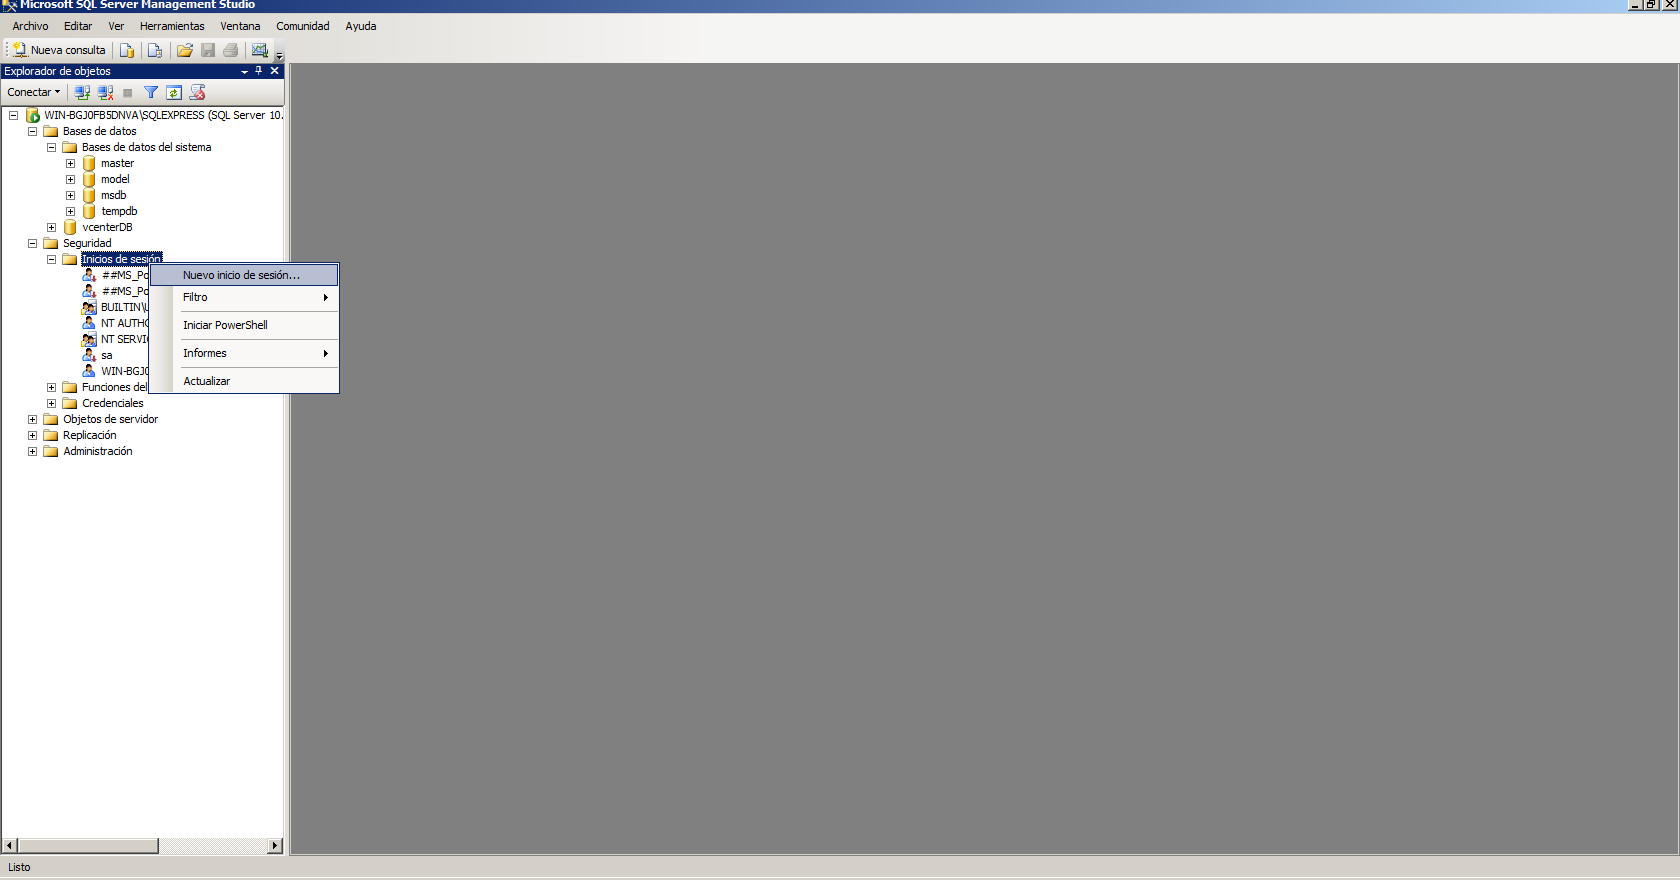
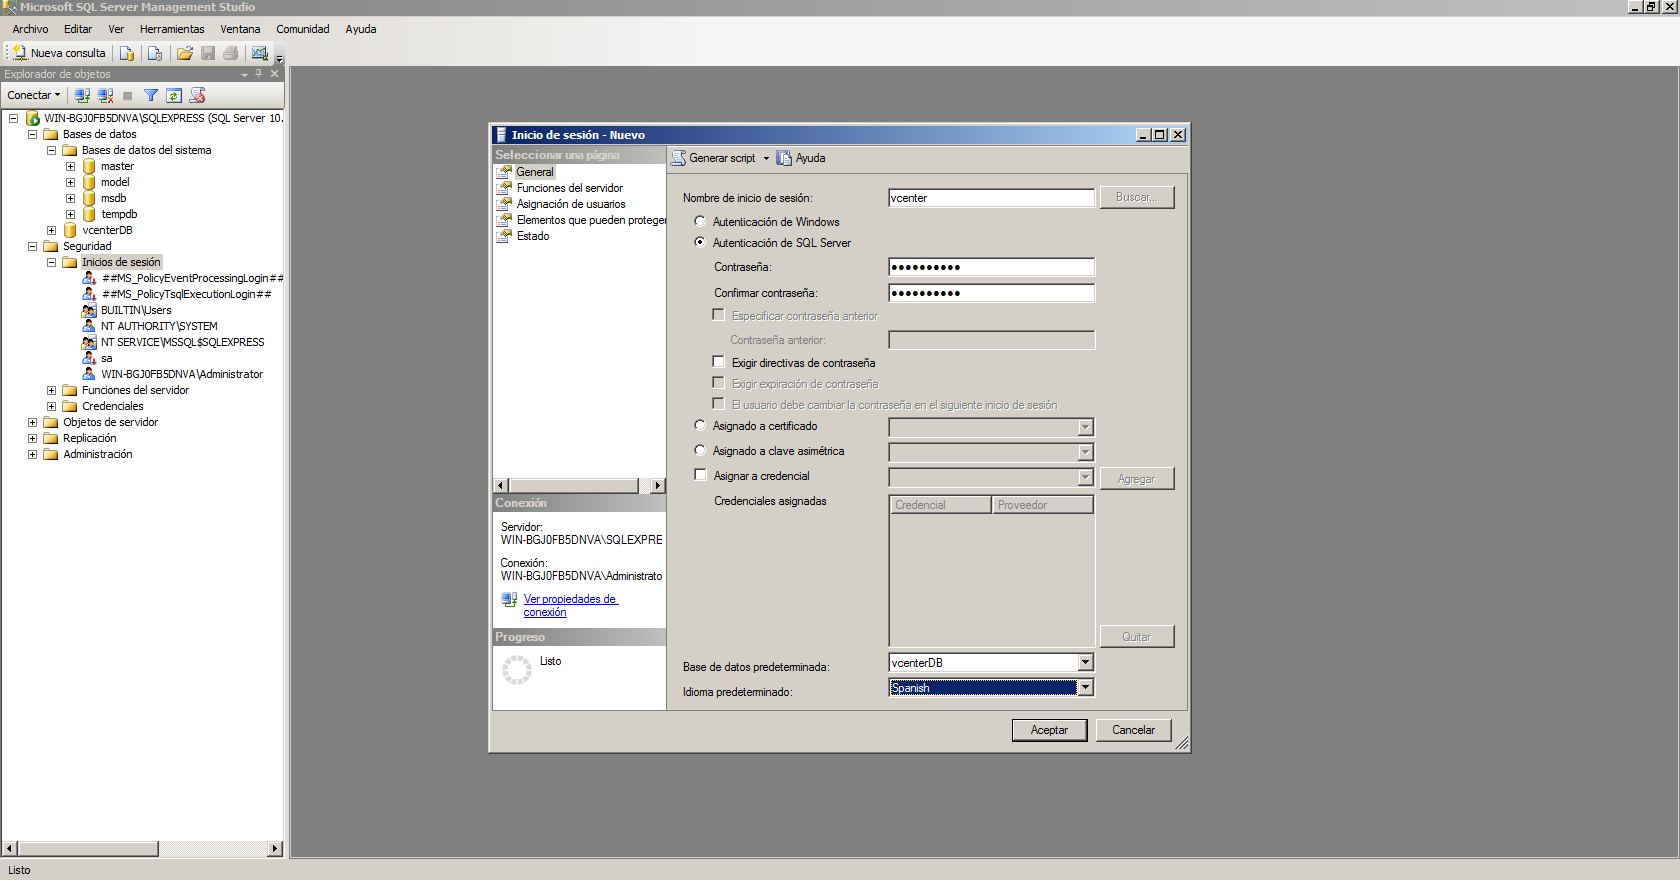
- Le indicamos el nombre, seleccionamos la opción Autenticación de SQL Server y añadimos la contraseña de acceso.
- Removed password expiration options
- We select the default database and the language.
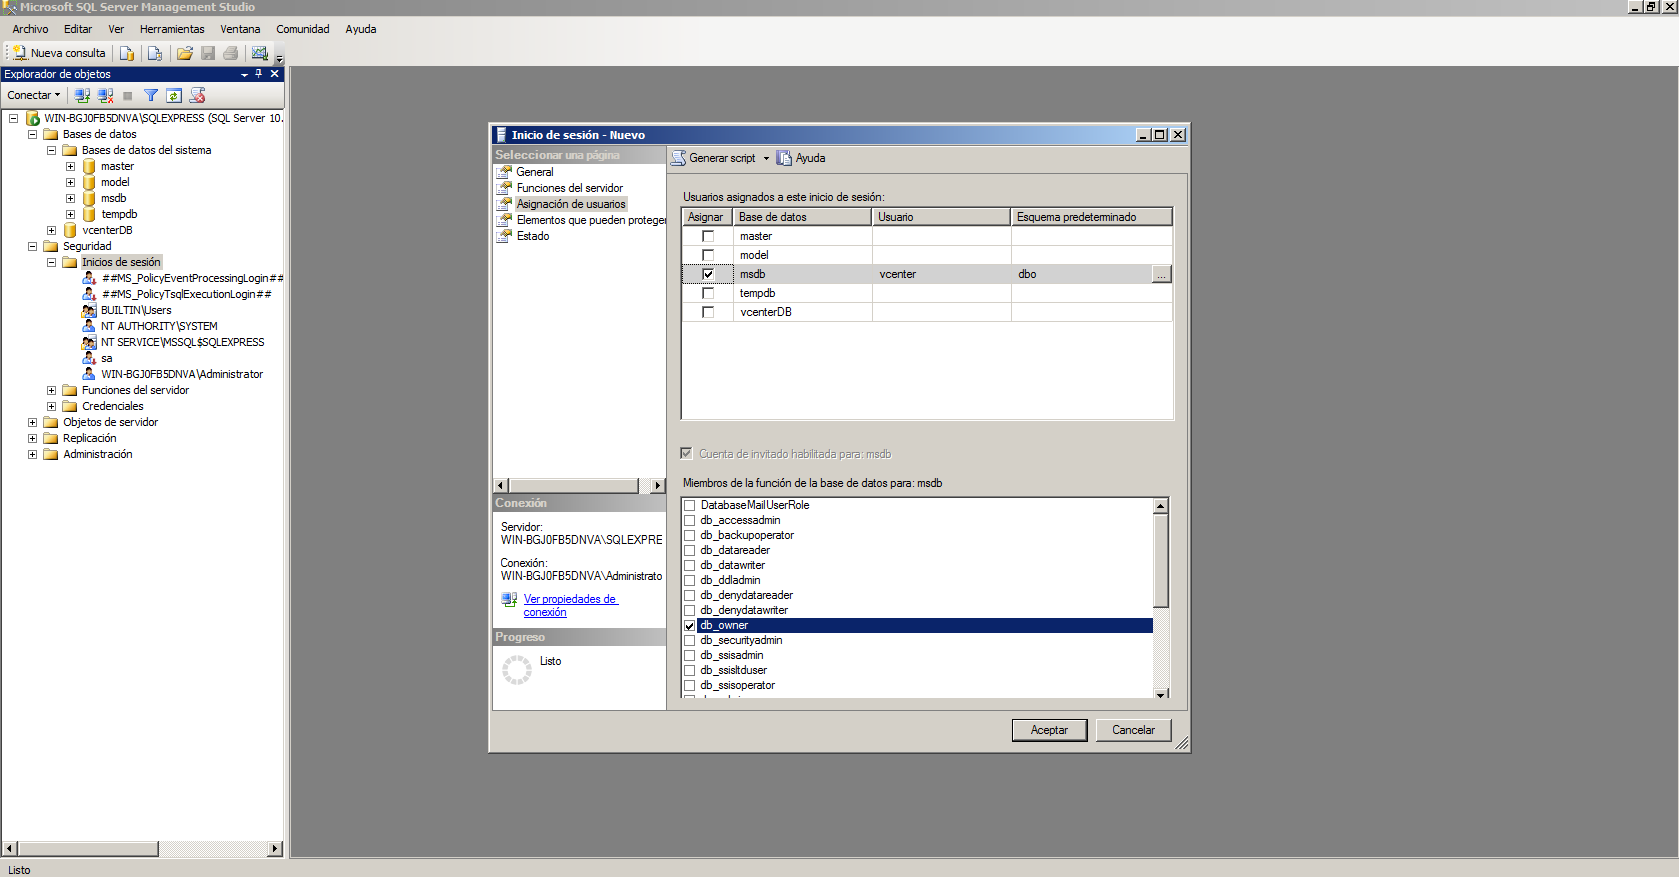
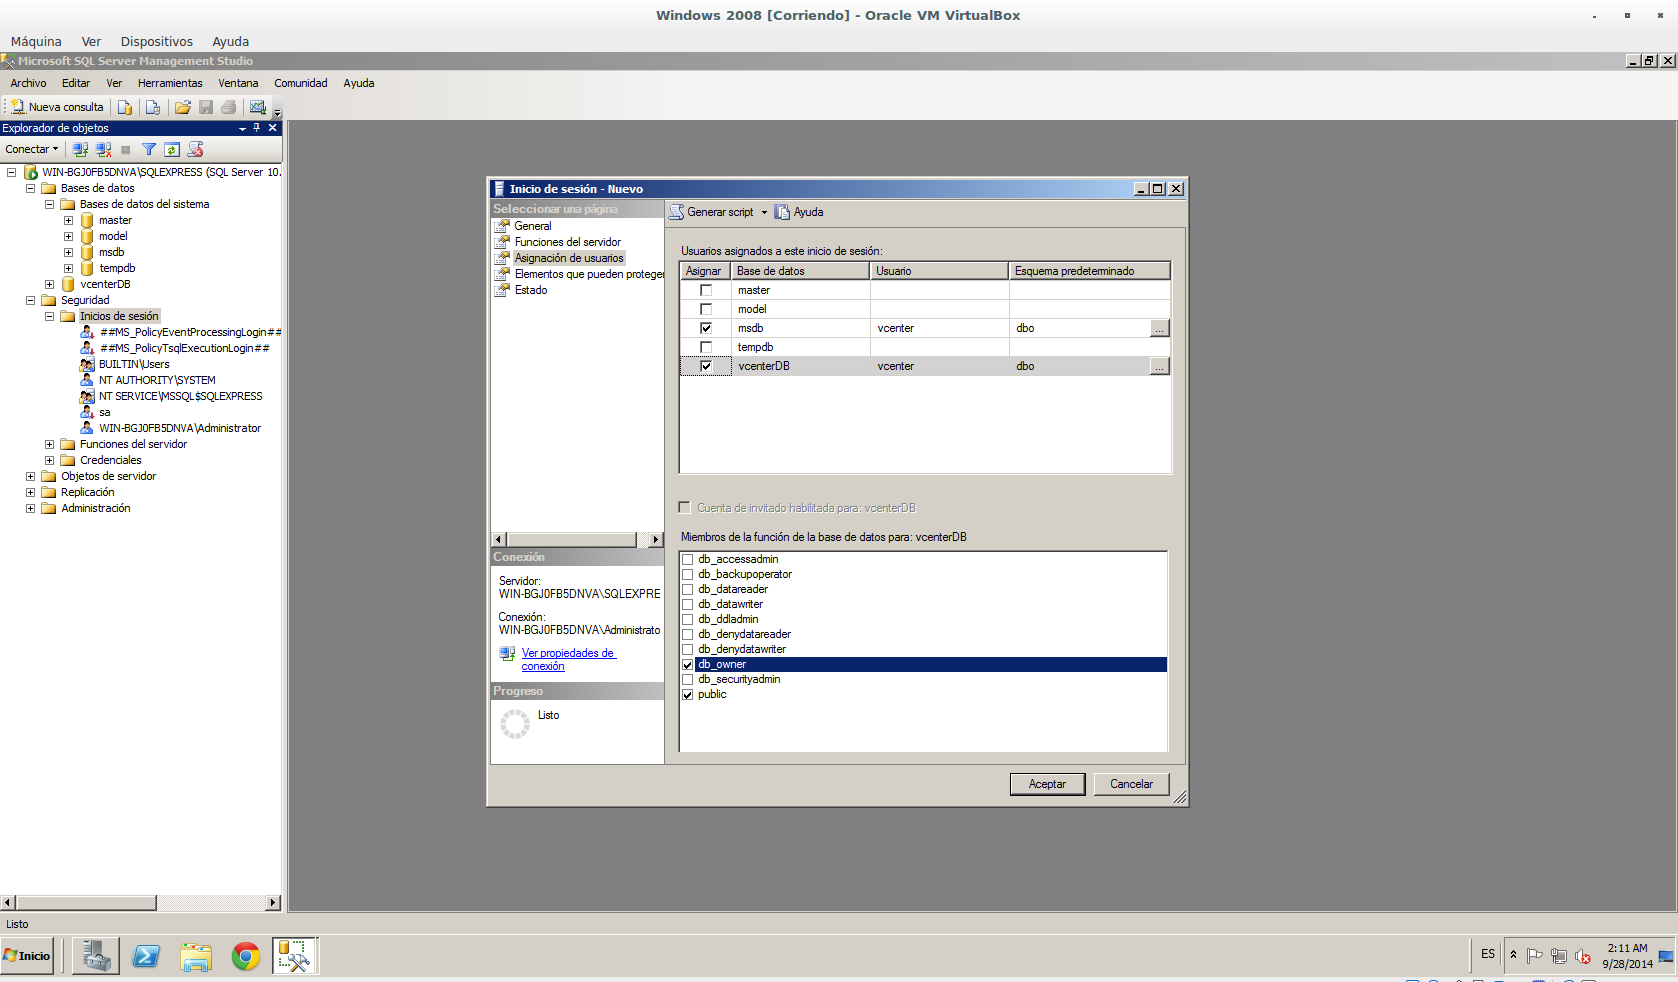
Nos vamos a la opción Asignación de usuarios y seleccionamos msdb and vcenterDB. In both we indicate that the default scheme is dbo and we also add at the bottom db_owner
If the DB server and vCenter Server are not running on the same server, we will have to configure the TCP/IP protocol
For this we go to SQL Server configurator
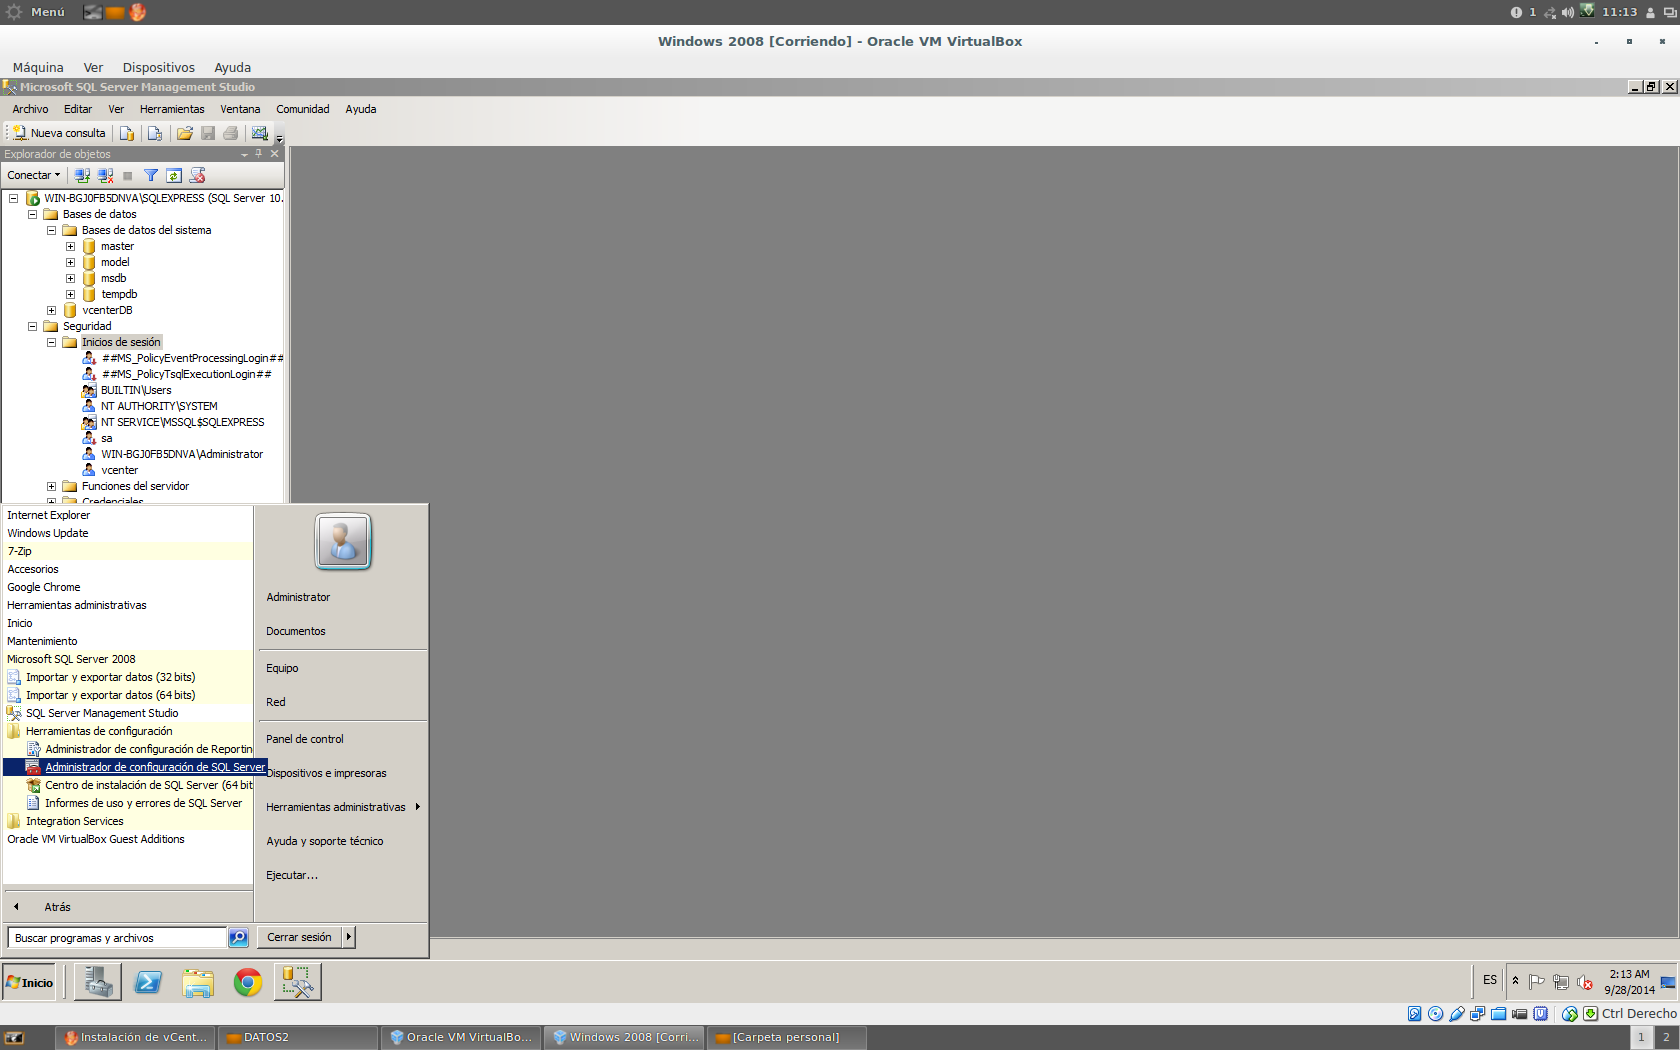
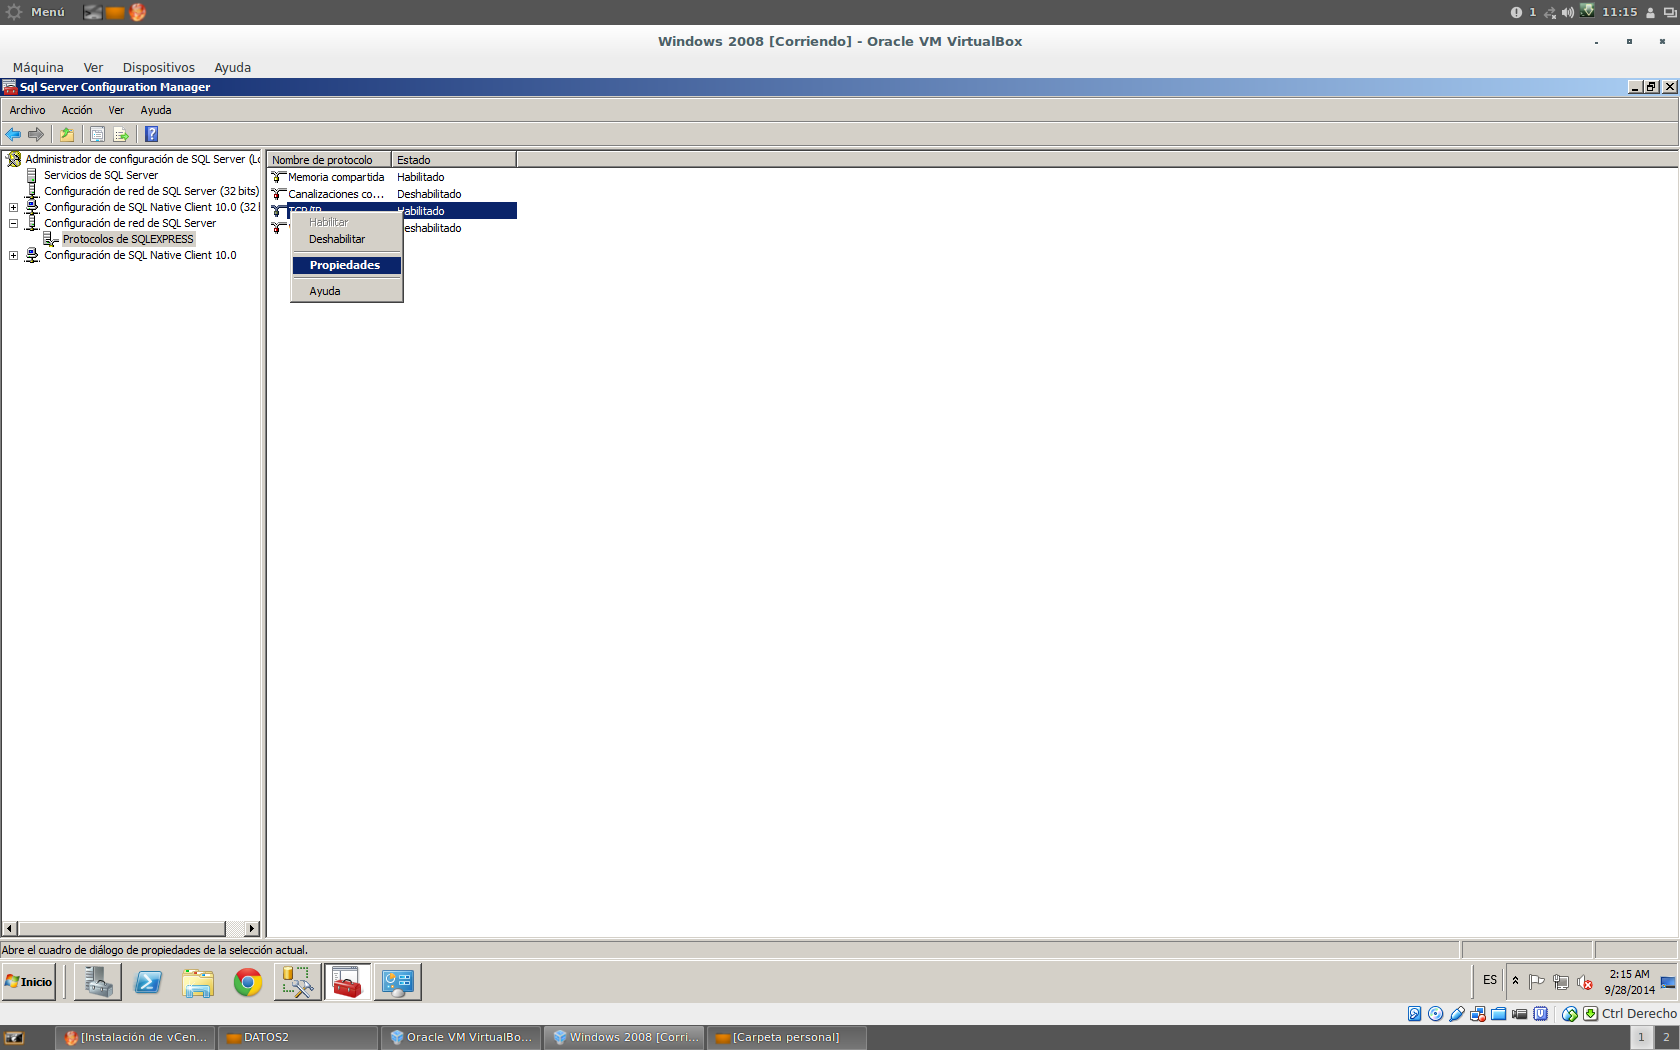
We enable the TCP/IP protocol
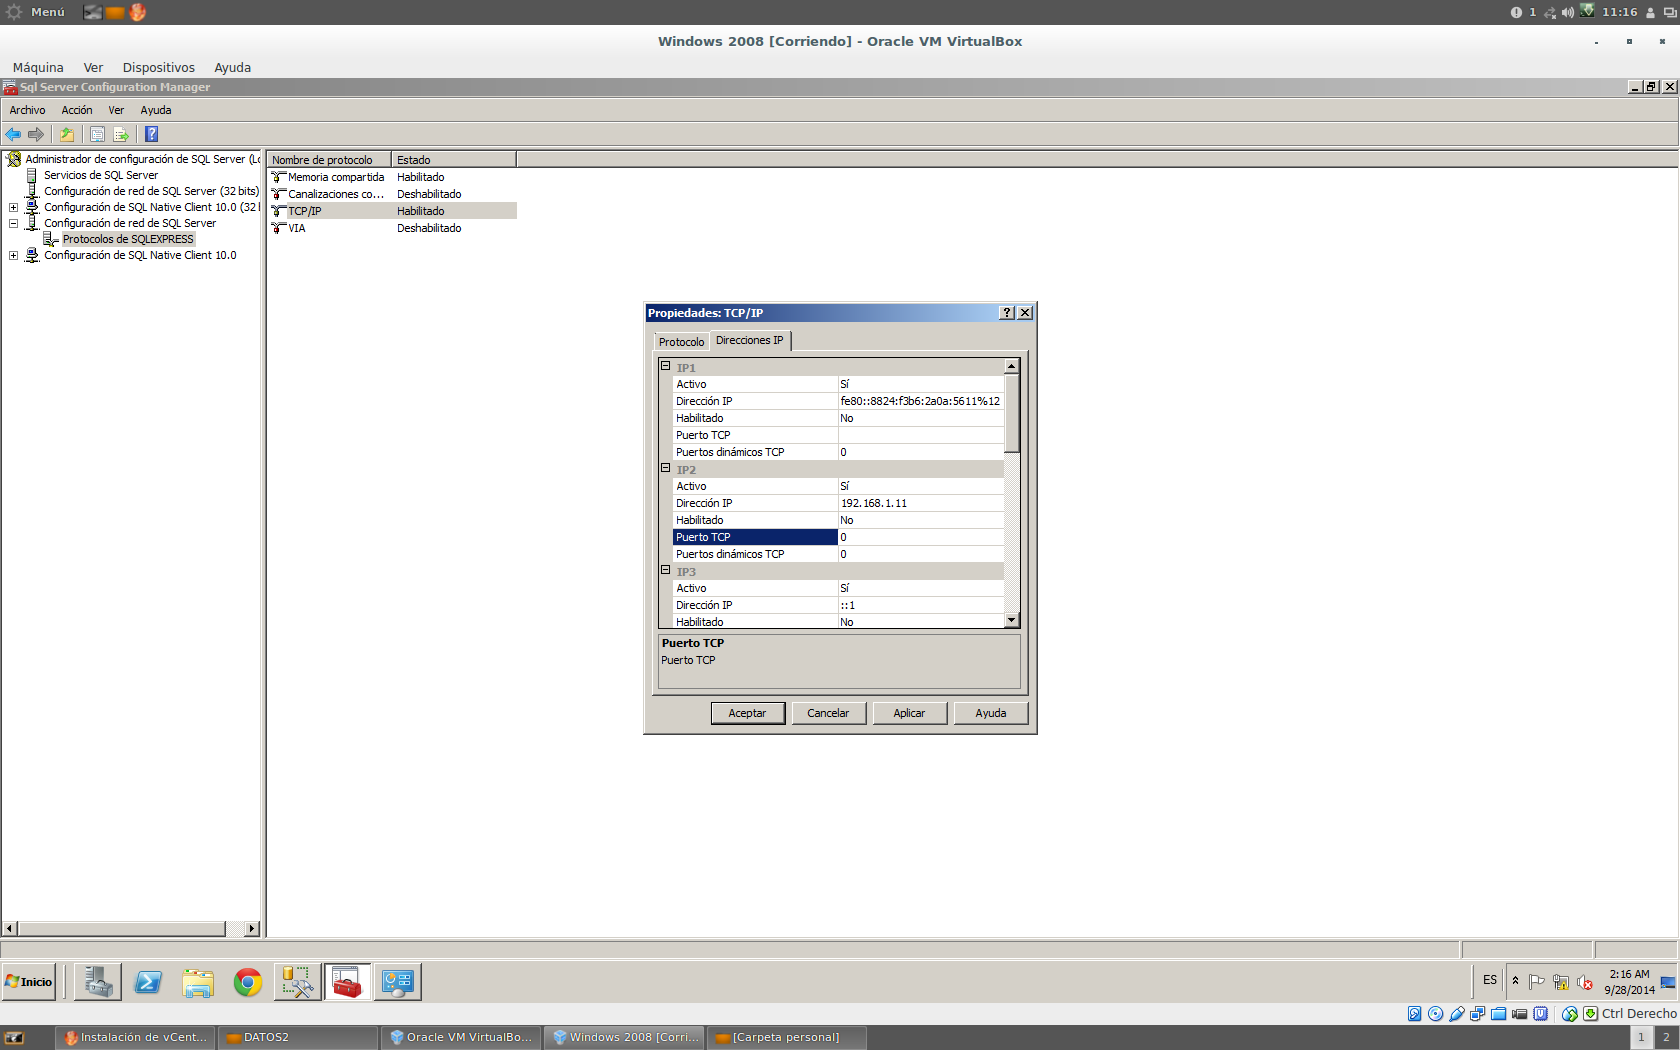
For vCenter to connect to the DB we need to create an ODBC
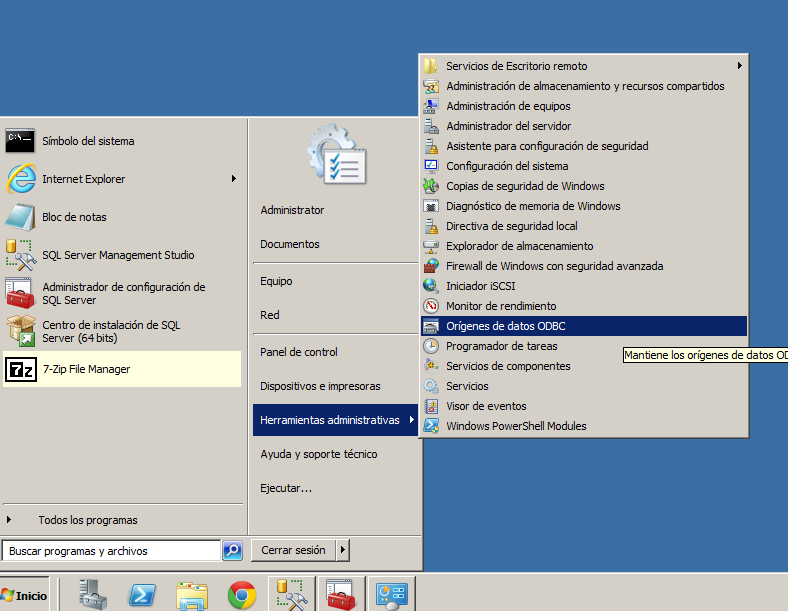
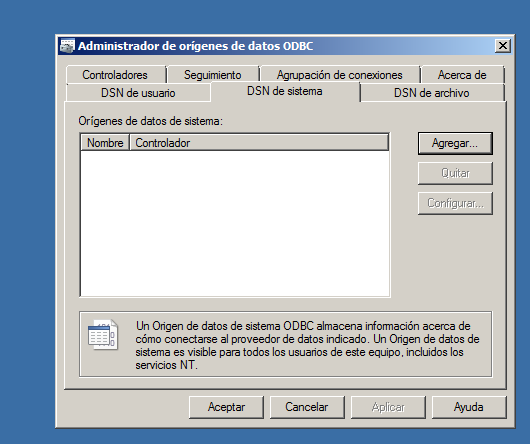
We position ourselves in System DSN and we add.
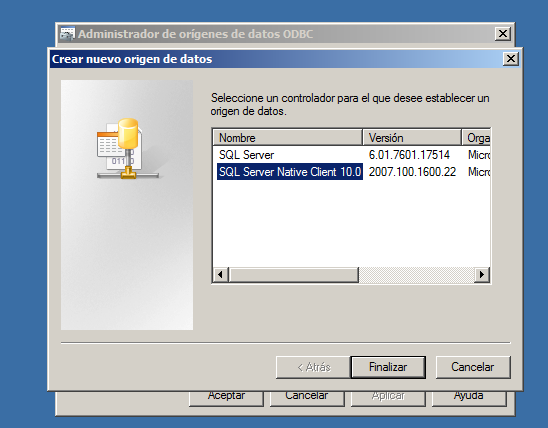
We select SQL Server Native Client.
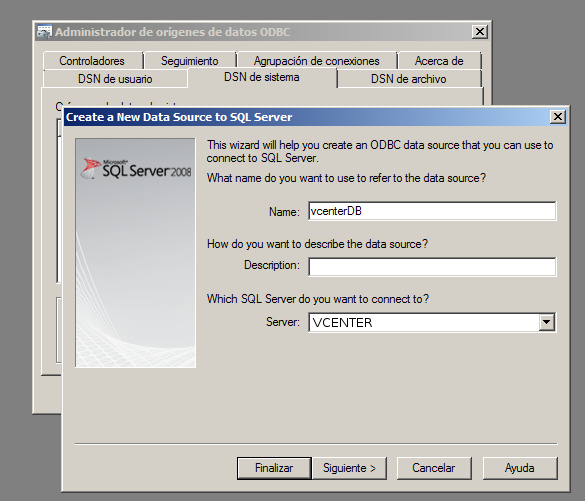
 We indicate the database and the server we want to connect to.
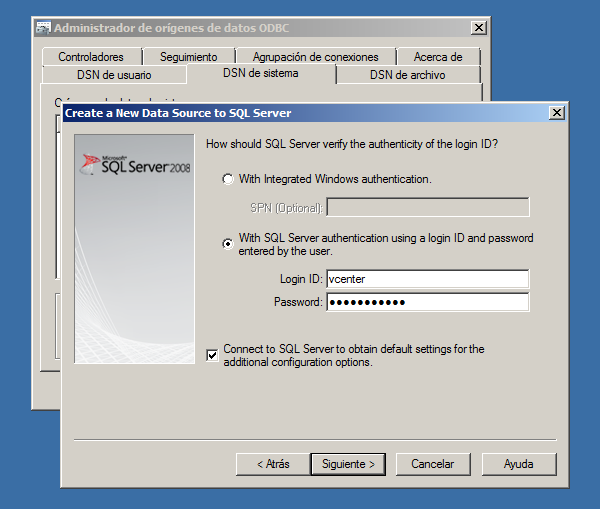
 We identify ourselves with the user created previously in the DB
By default, Next.
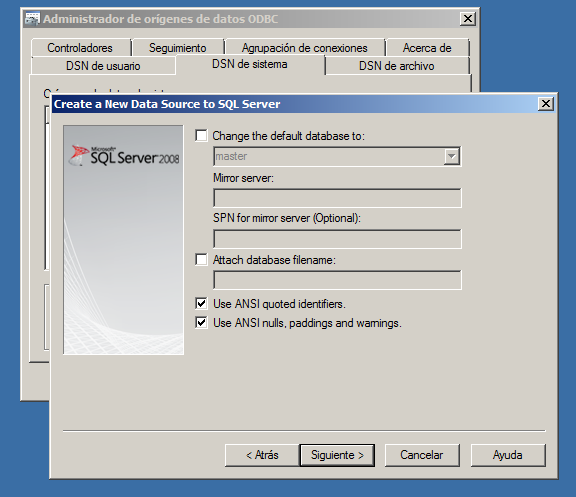
By default, Next.
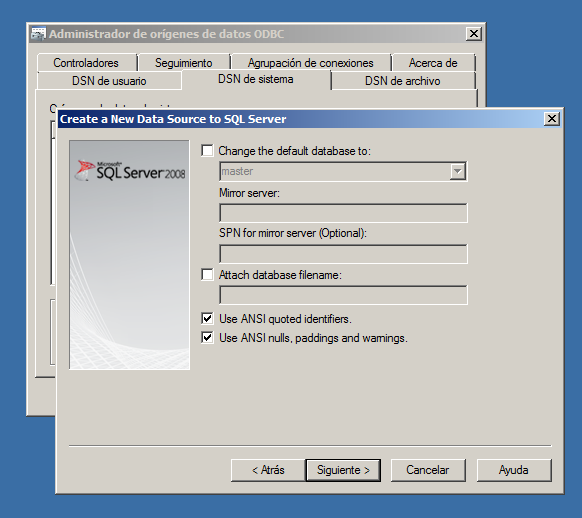
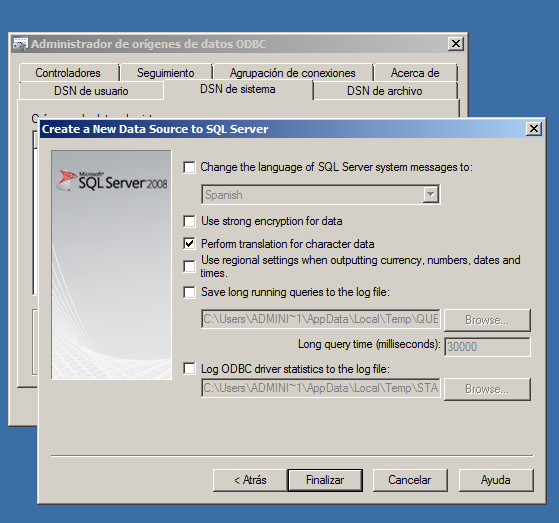
By default, Next.
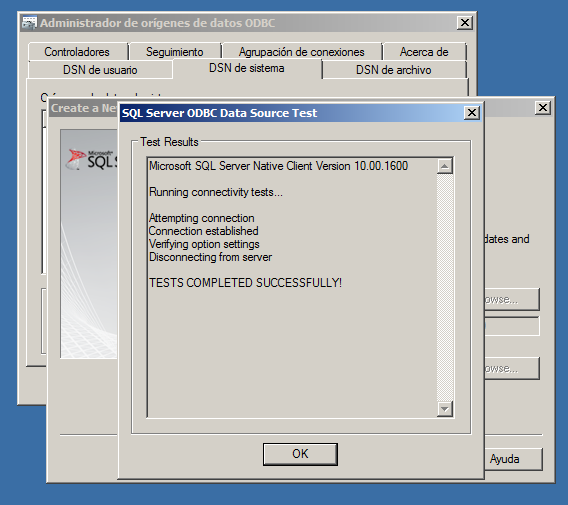
 We check that it connects well. and we click OK.
 We start the installation CD. The first thing we are going to install is vCenter Sigle Sign-On
We click Install.
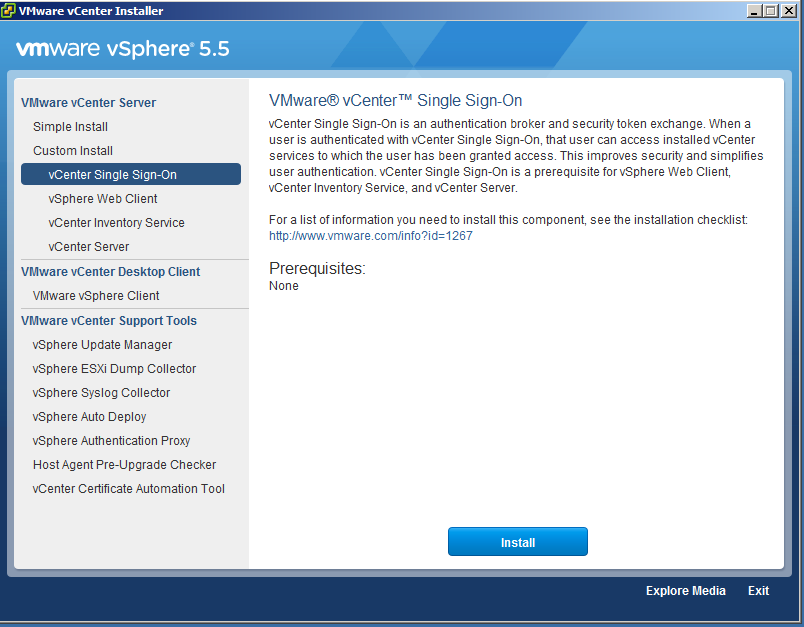
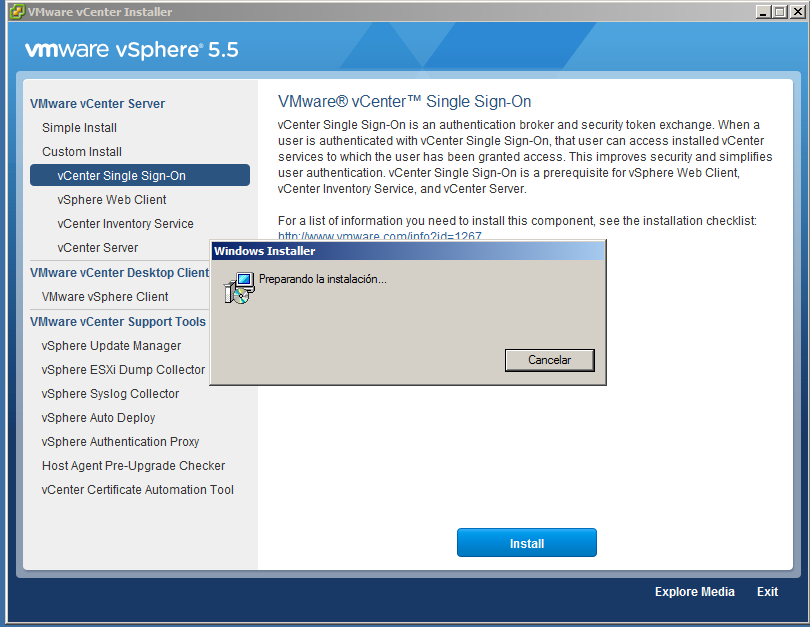
The installation wizard opens, Next.
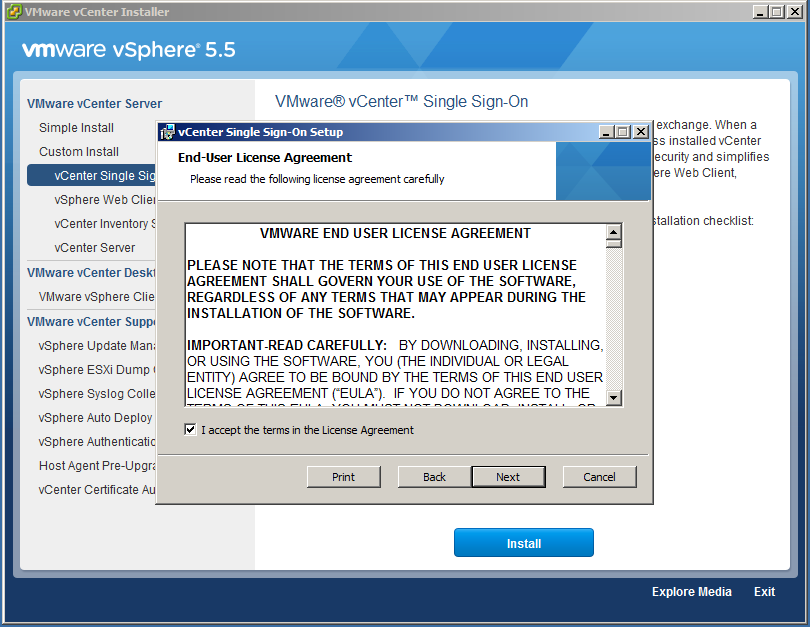
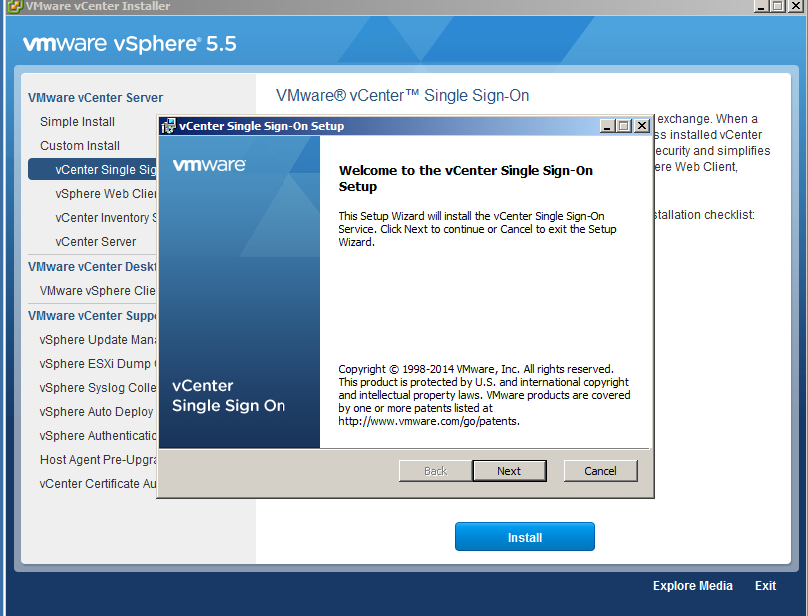 We accept the license.
Check that no errors occur when checking the hostname or FQDN, Next.
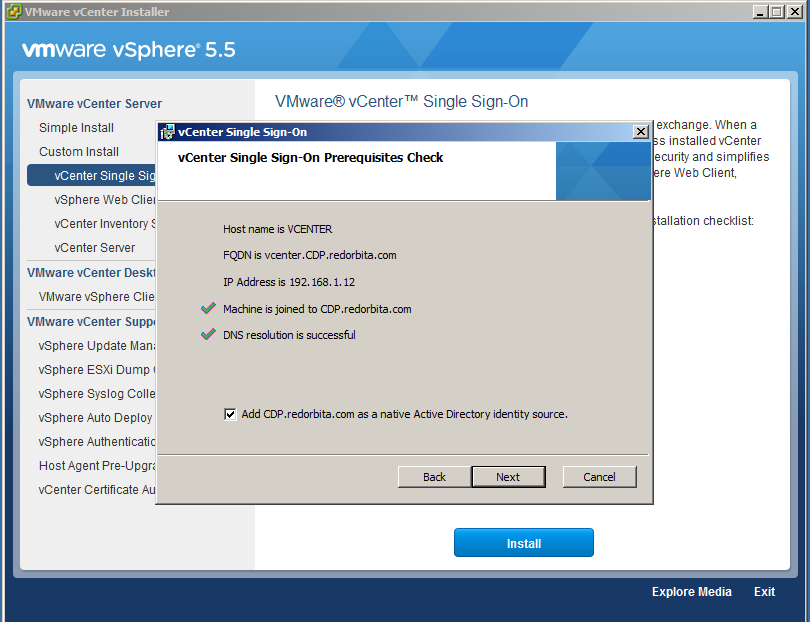
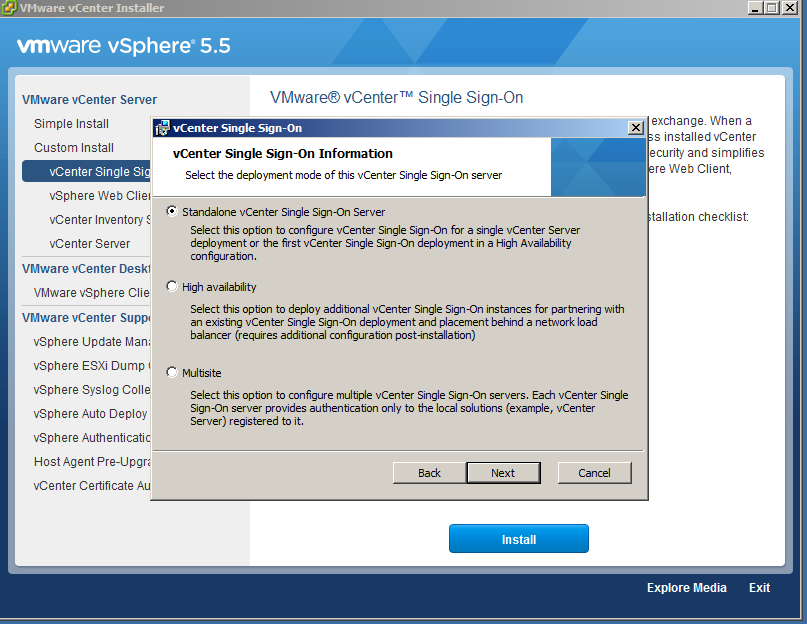
Here we have to indicate how we want to install our SSO, in our case it is the first, so we select the first option.
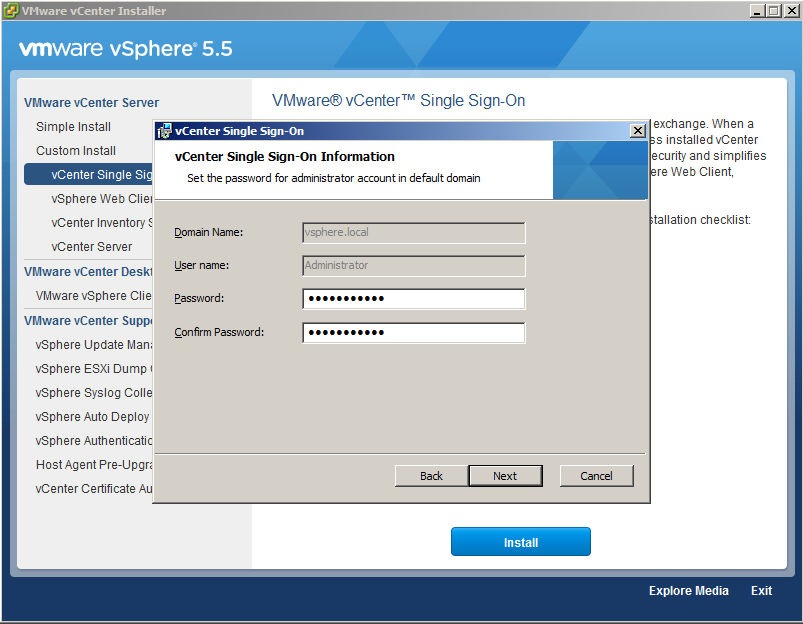
We assign you a password a password. SSO creates your own domain.
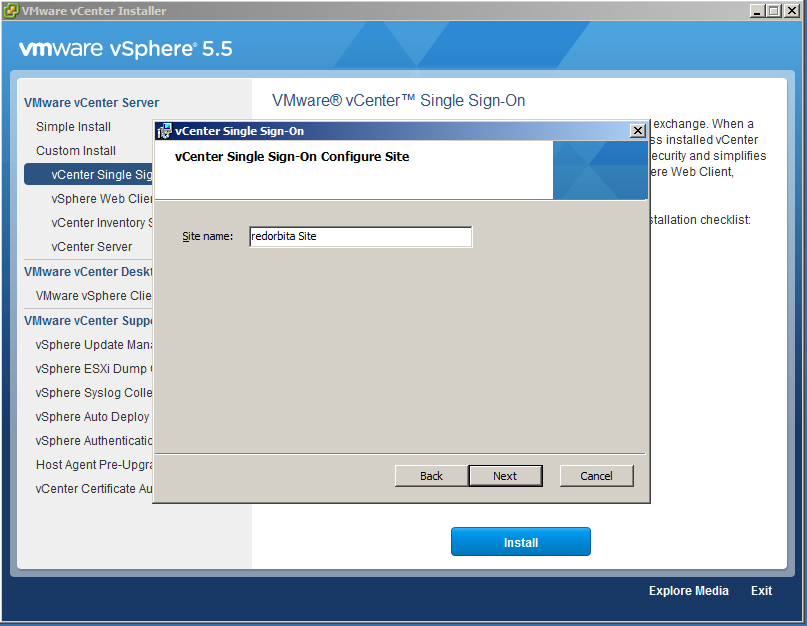
We tell you the name of the site
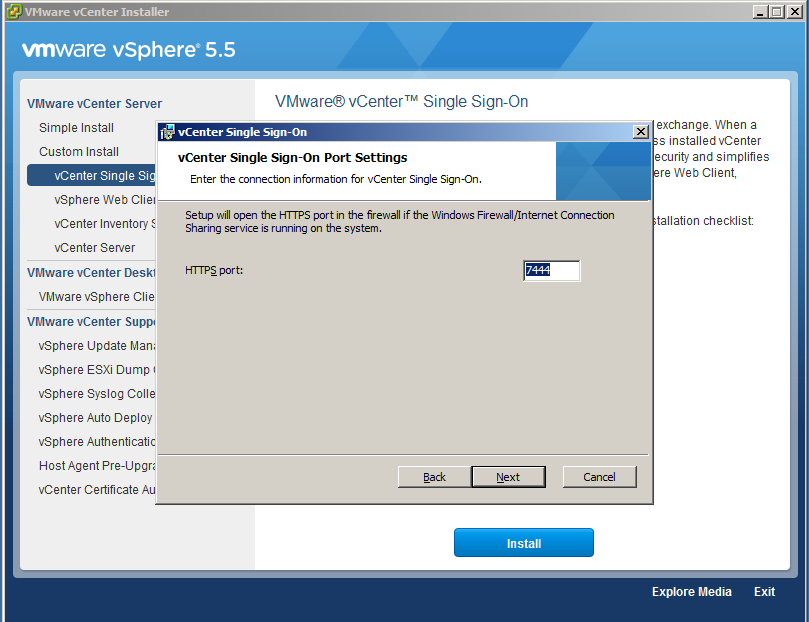
We configure the port through which SSO connects through HTTPS, we leave it as default.
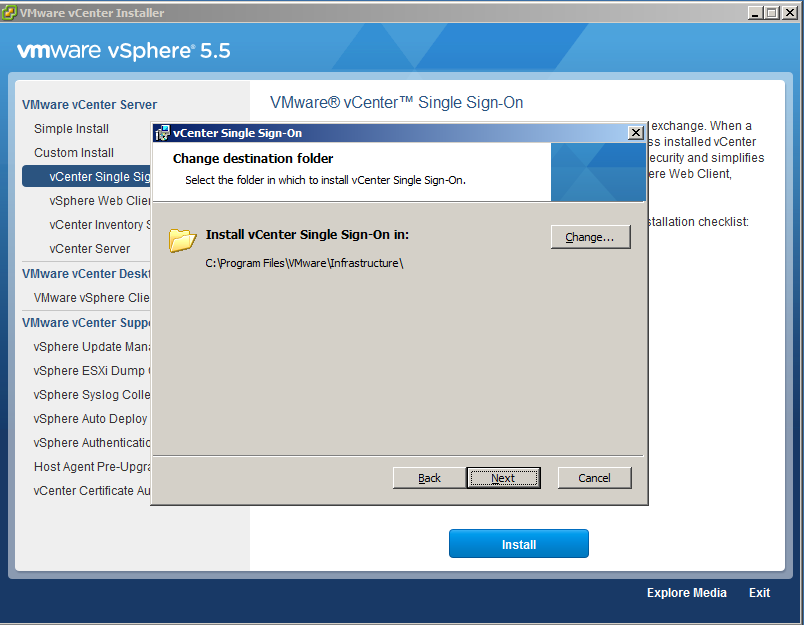
The path where it will be installed, Next.
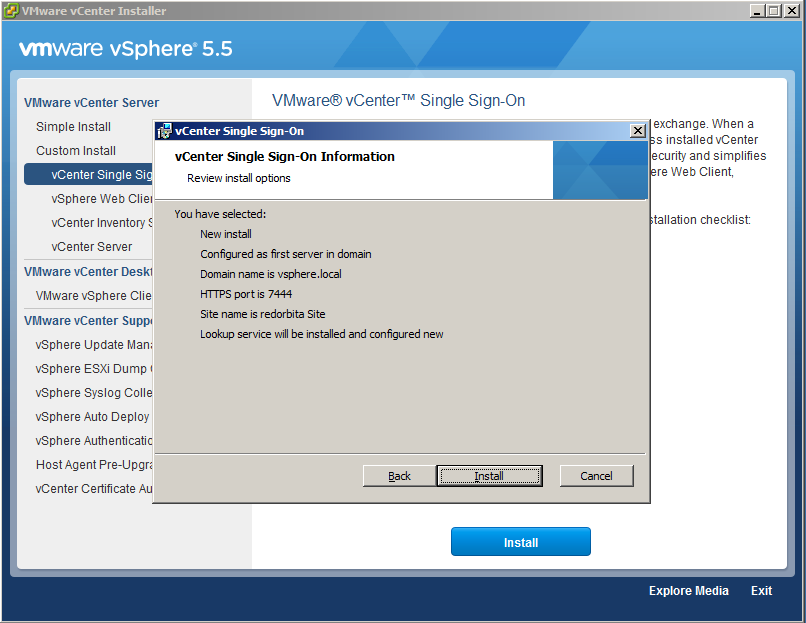
We begin the installation.
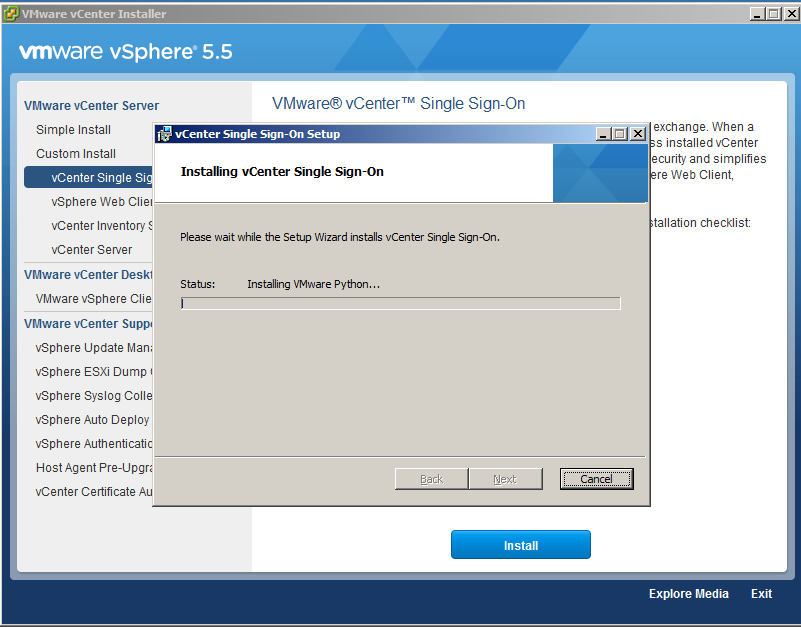 We finish!
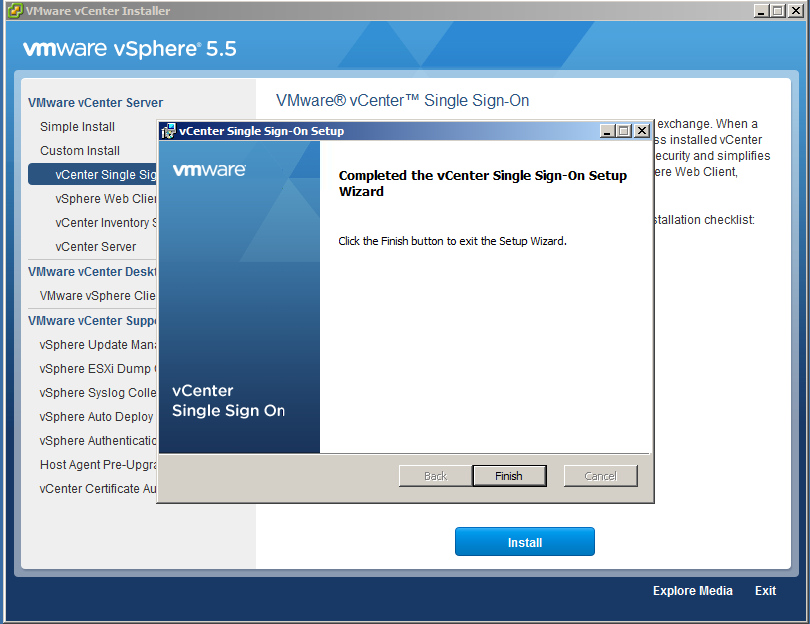
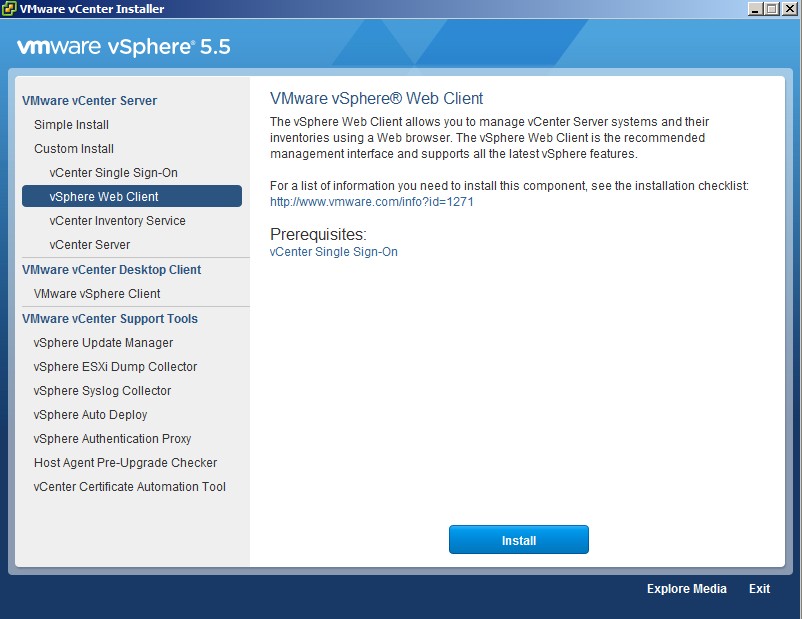
We proceed to install the vsphere Web client.
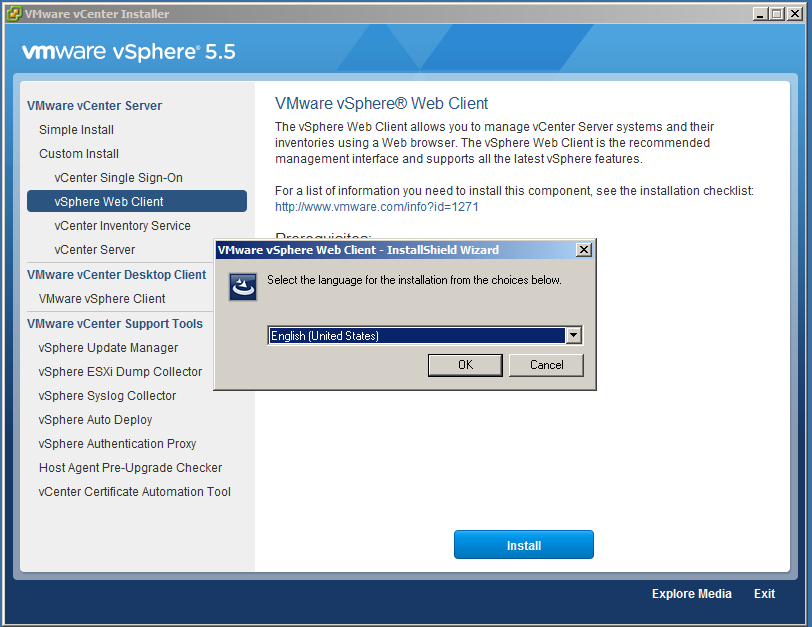
We select the language.
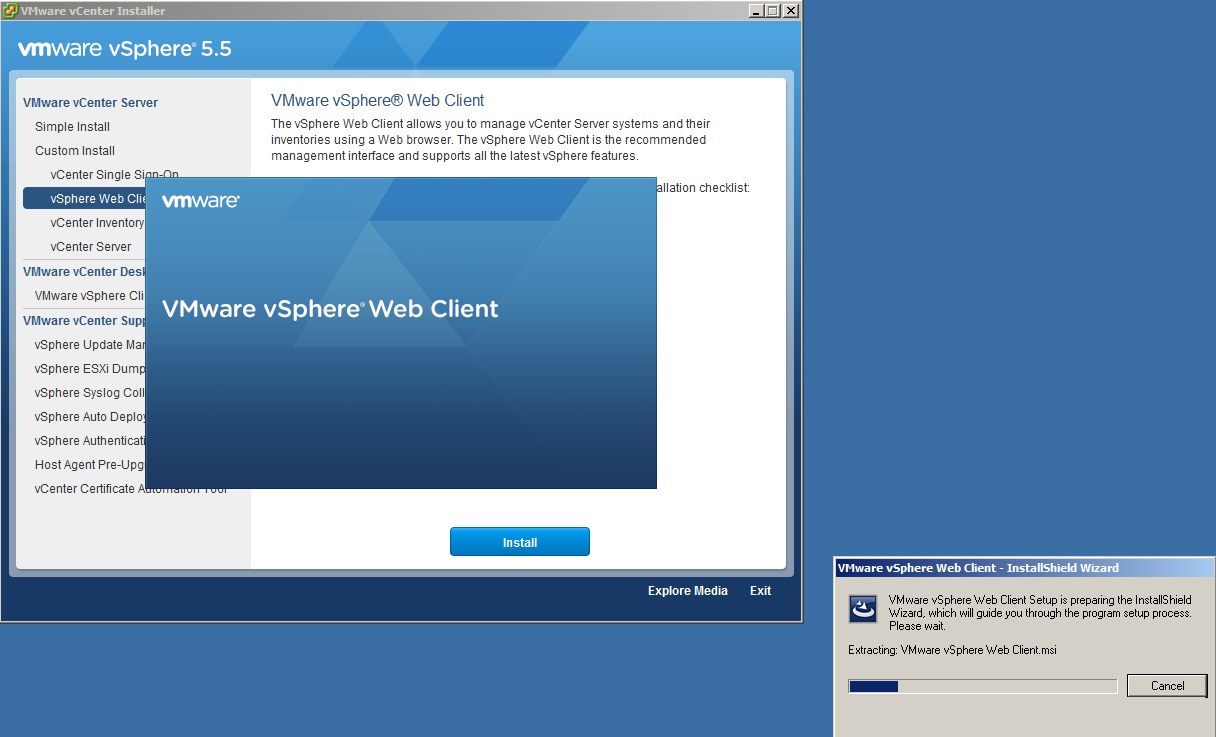
The installation wizard starts.
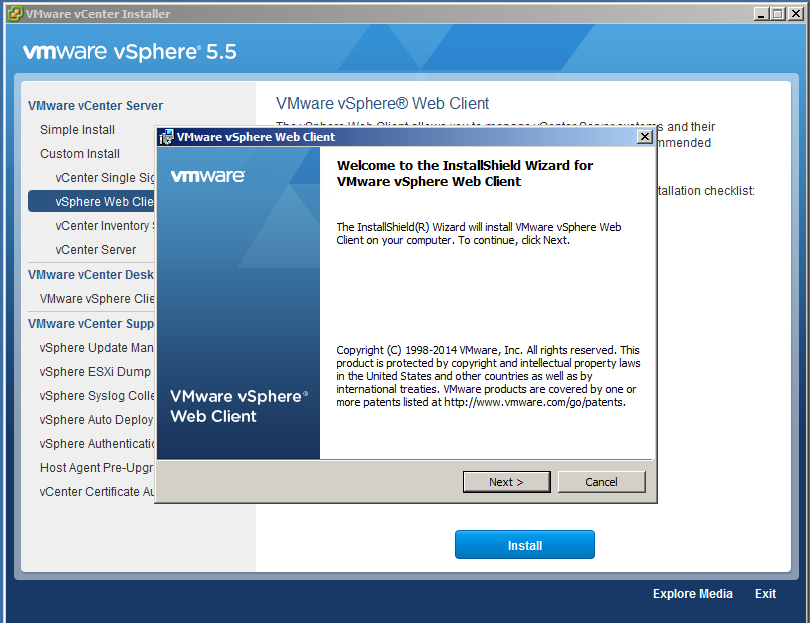
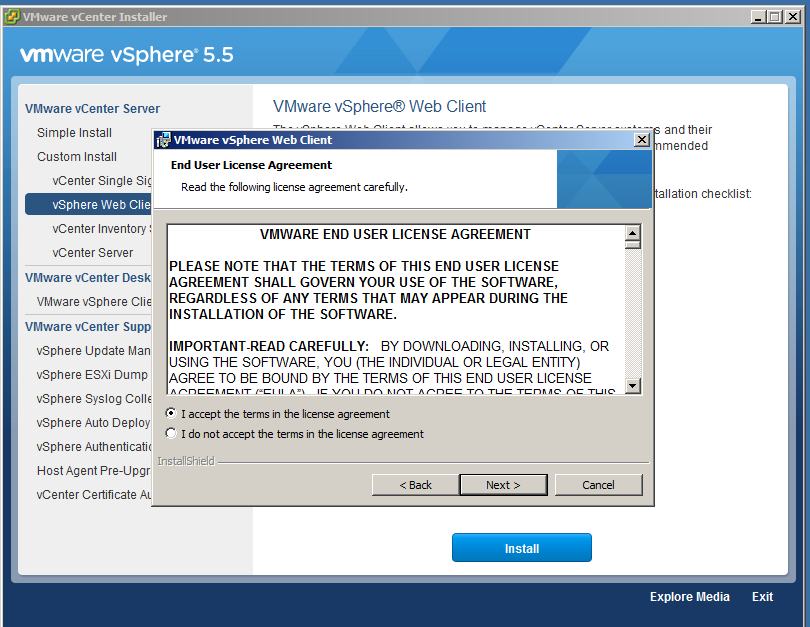
We accept the license.
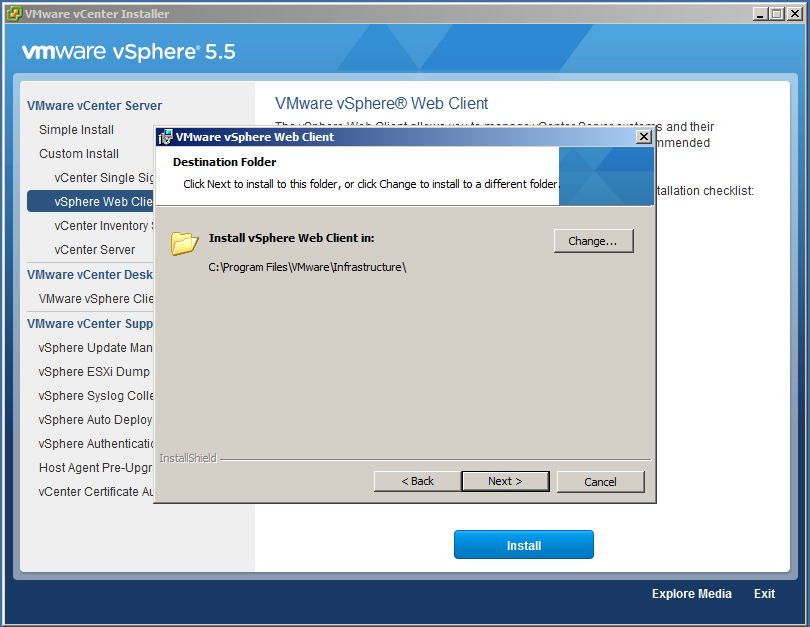
We indicate the installation path.
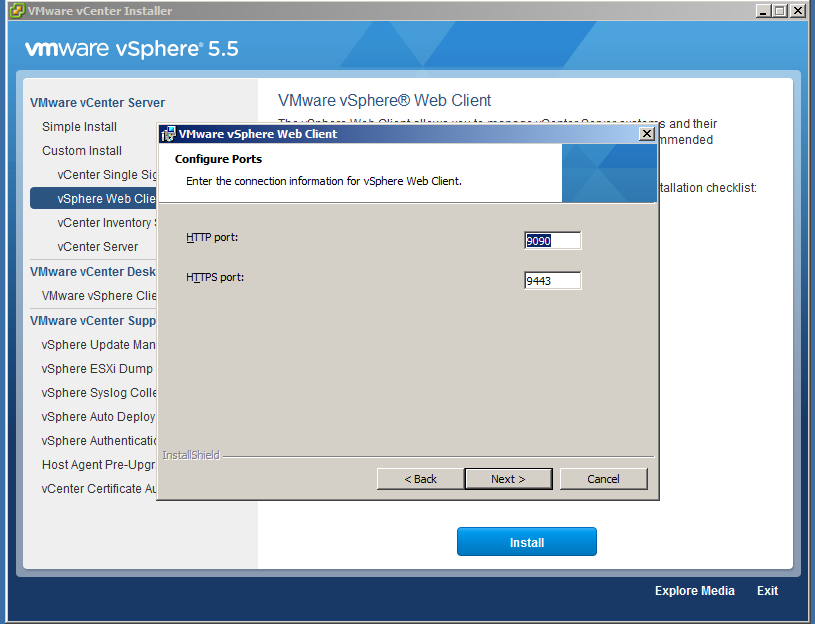
We configure the http/https ports of our web client.
We assign you an access password.
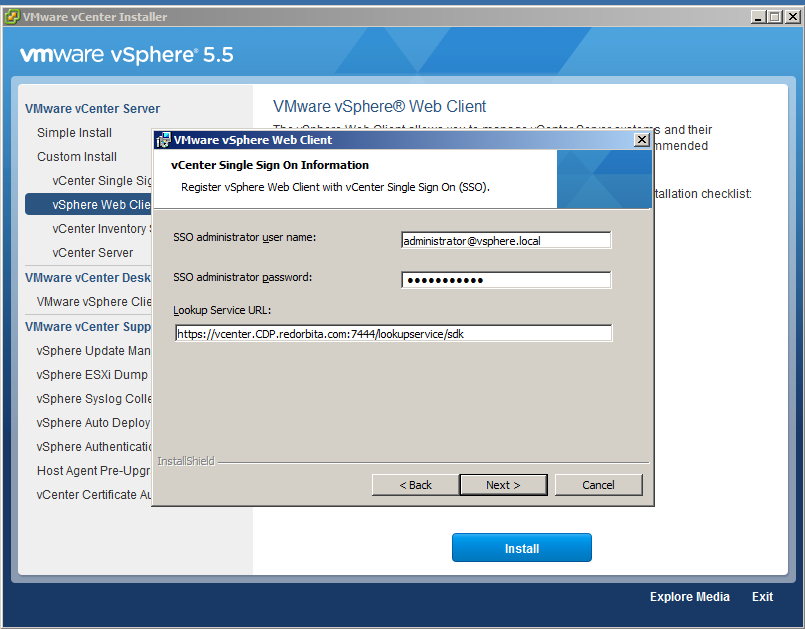
We accept the generated certificate.
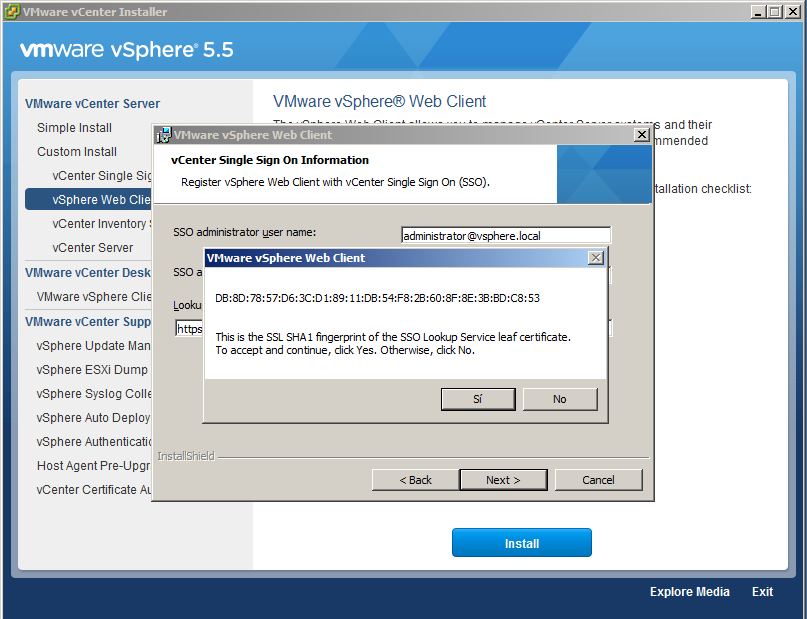
We install the certificate.
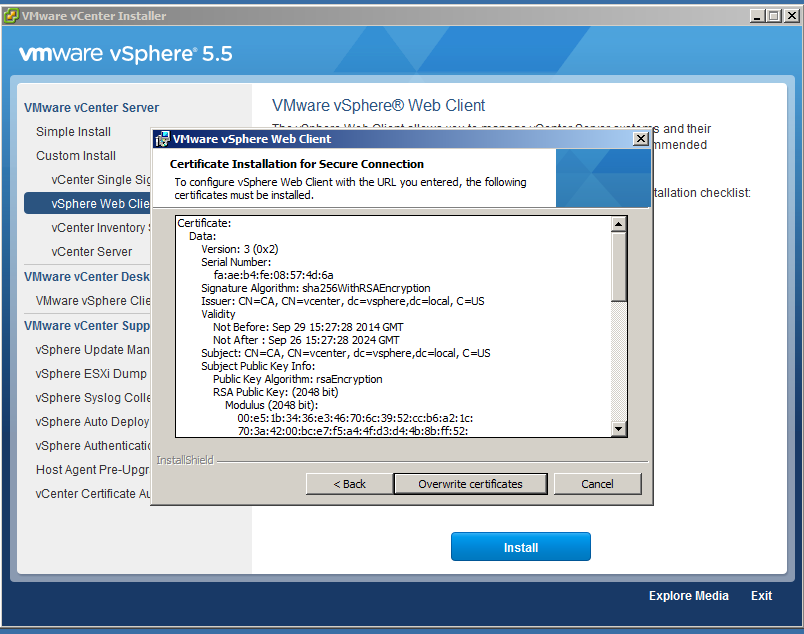
We begin the installation.
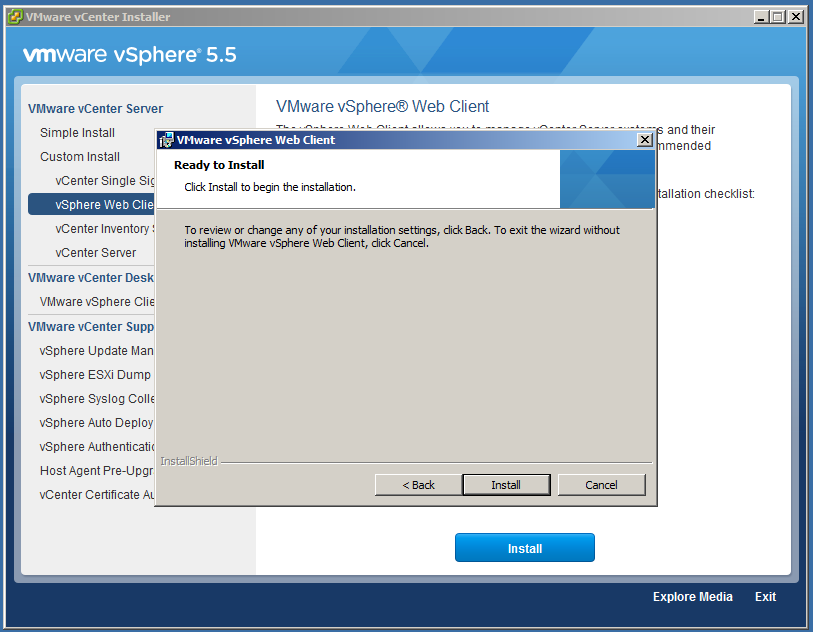
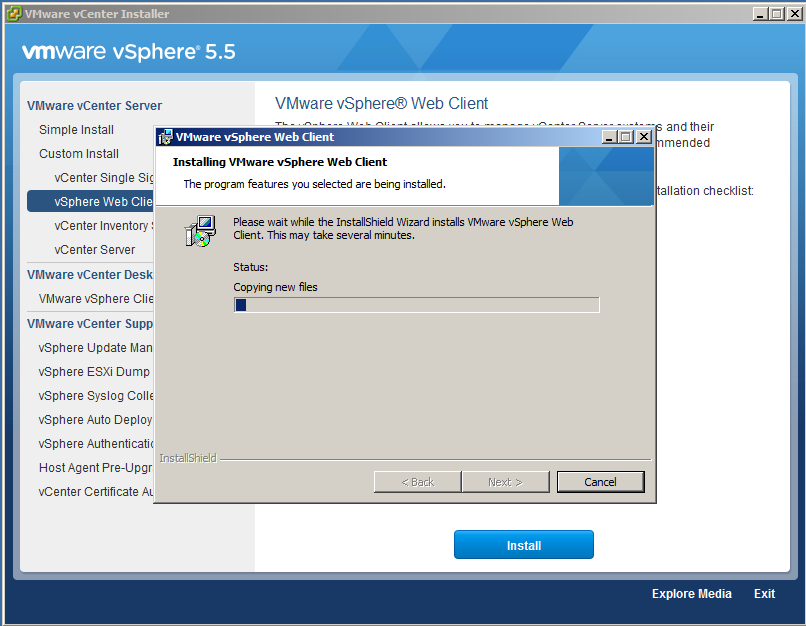
Finally, before installing vCenter Server we proceed to install vCenter Inventory Service.
The only requirement for its installation is to have Vcenter Single Sign-on installed
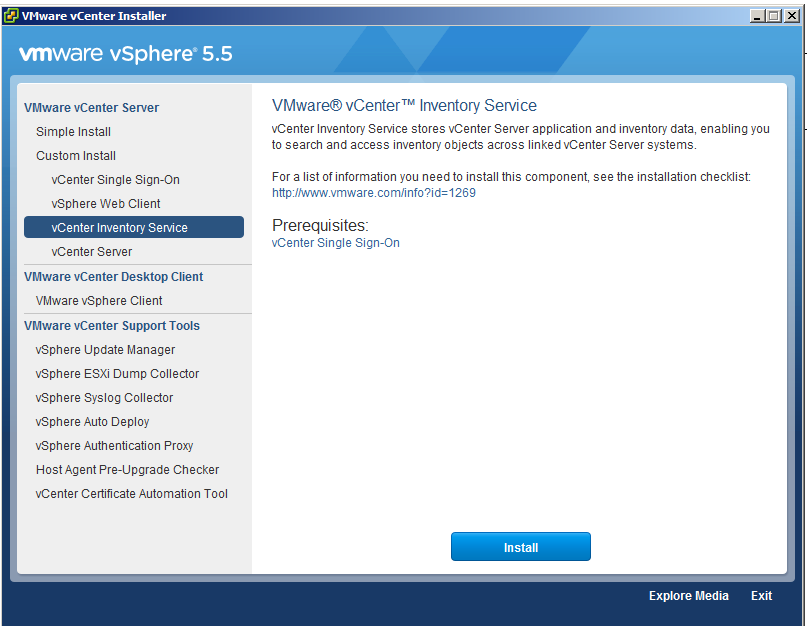
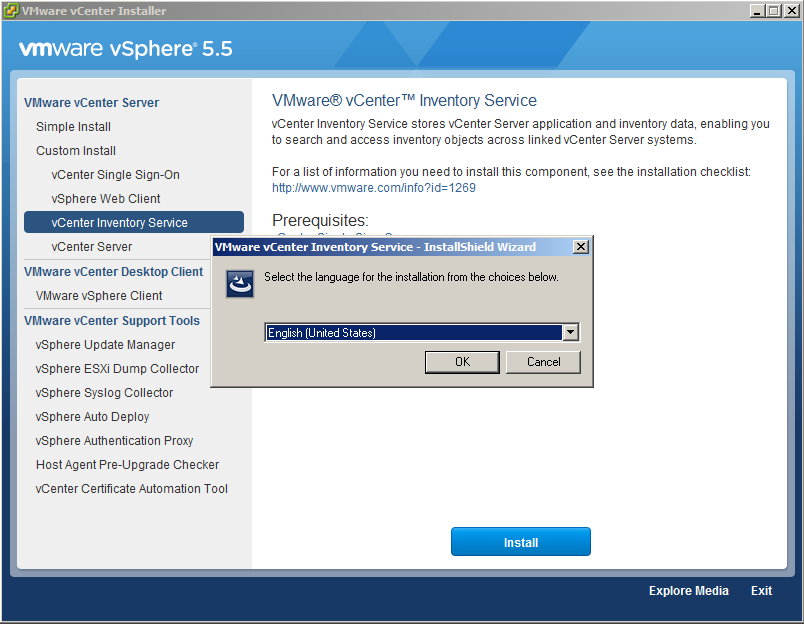
We select the language.
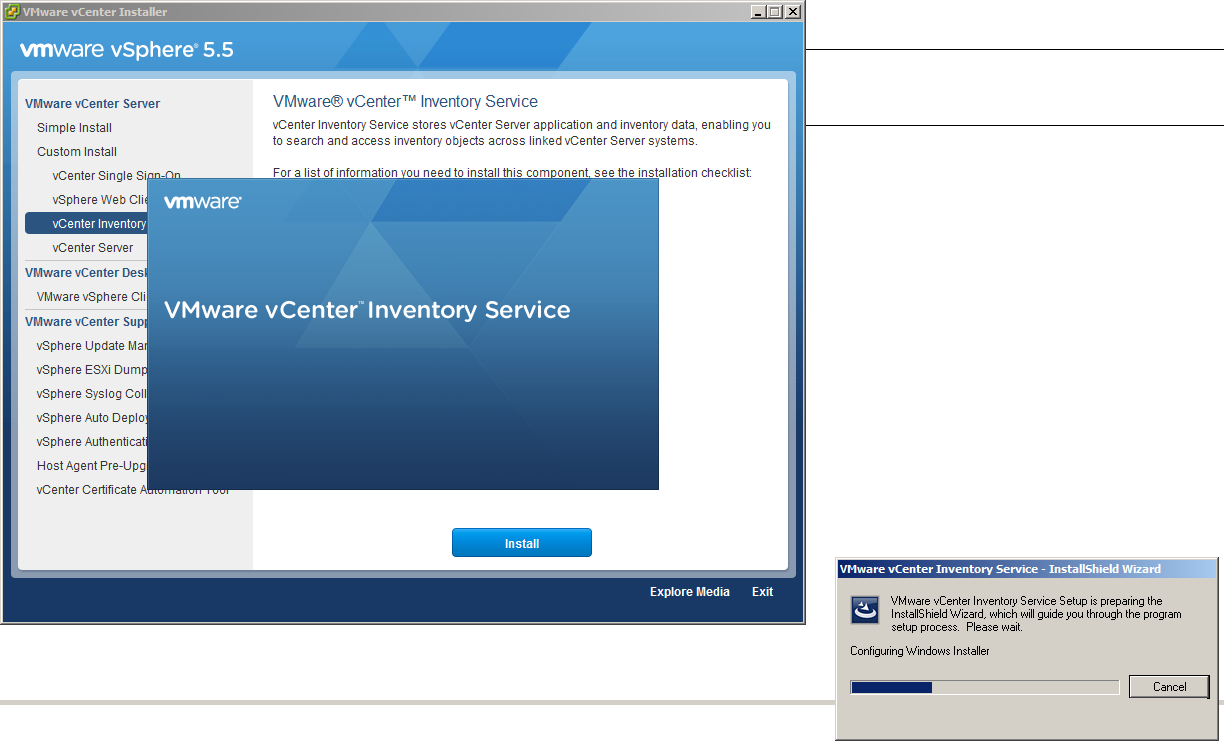
The installation wizard starts.
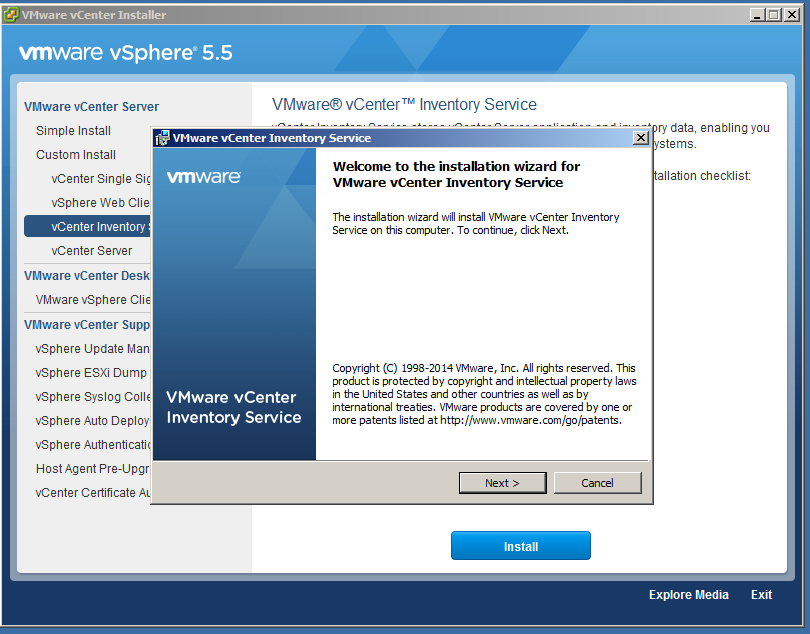
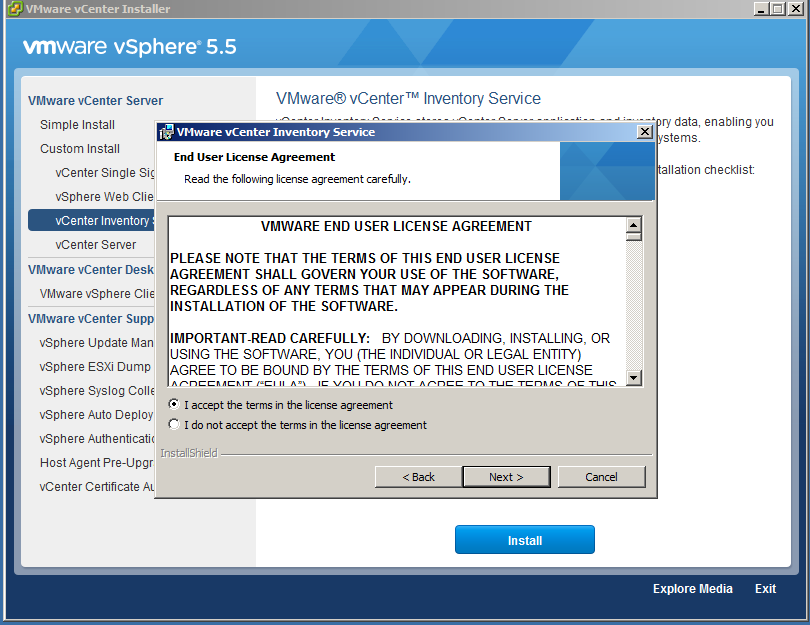
We accept the license.
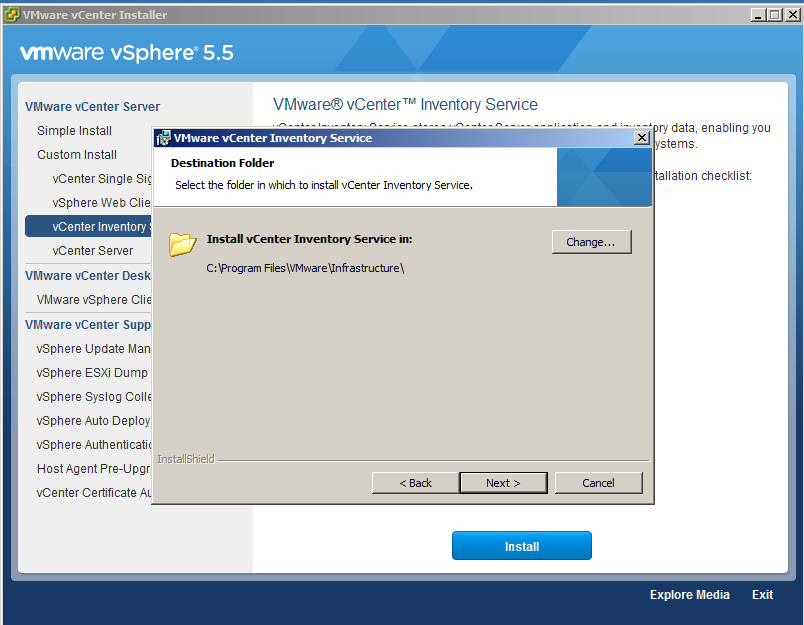
We indicate the route where you are going to settle.
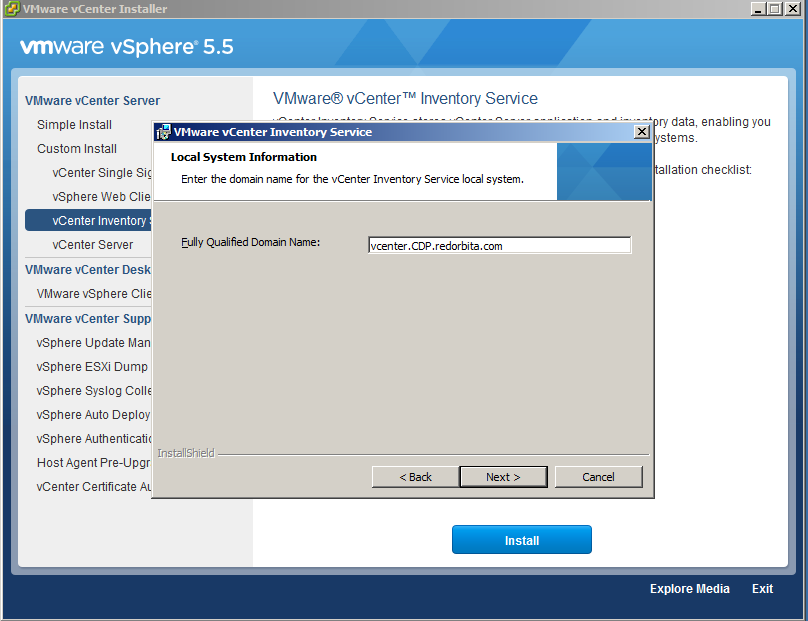
We complete our FQDN.
We configure the ports of the services.
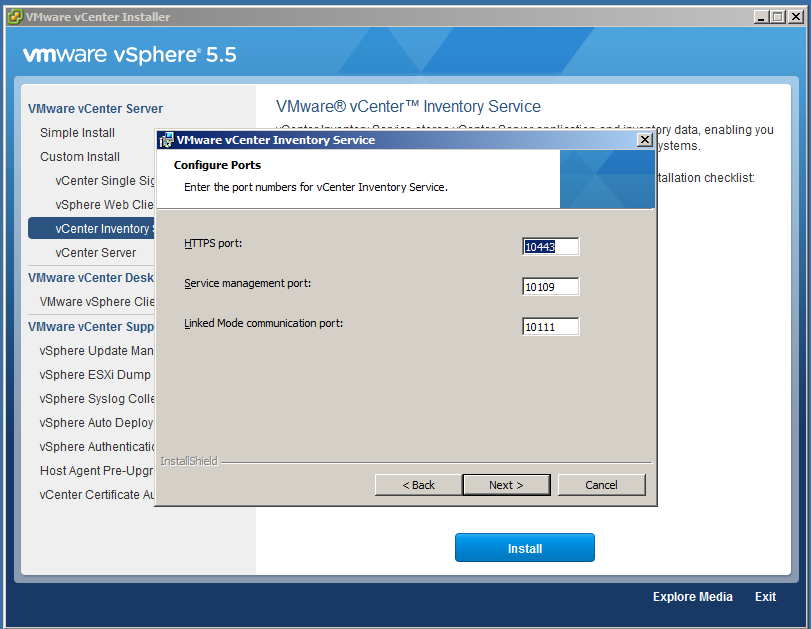
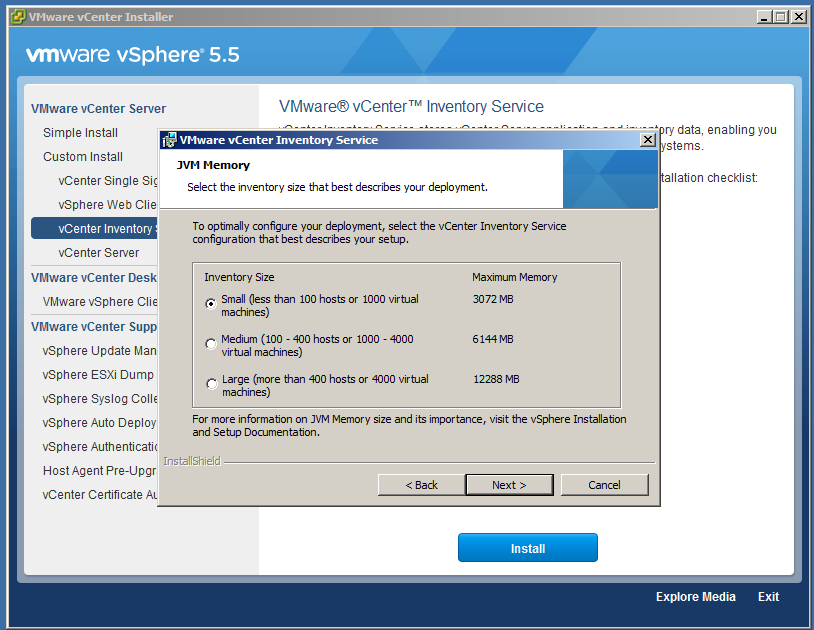
We choose what type of installation we want, in my case Small.
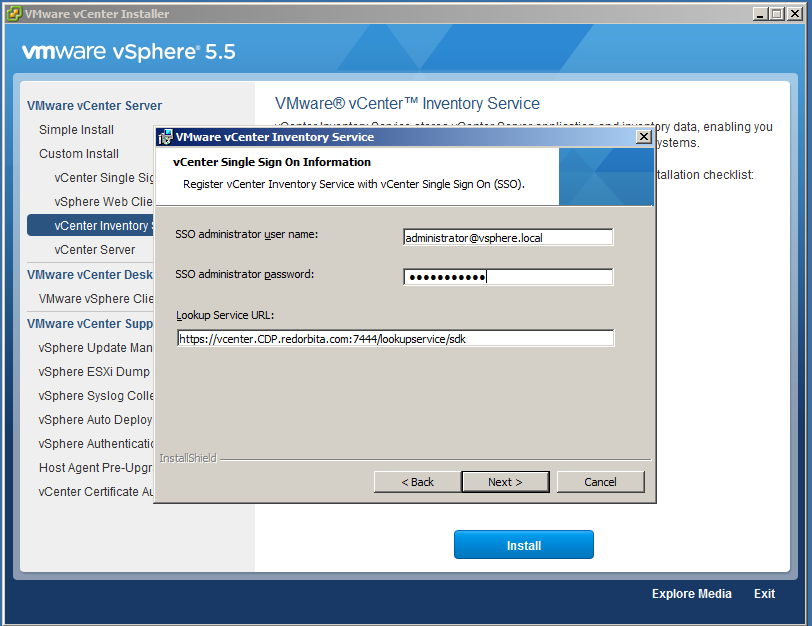
It asks us for the password again.
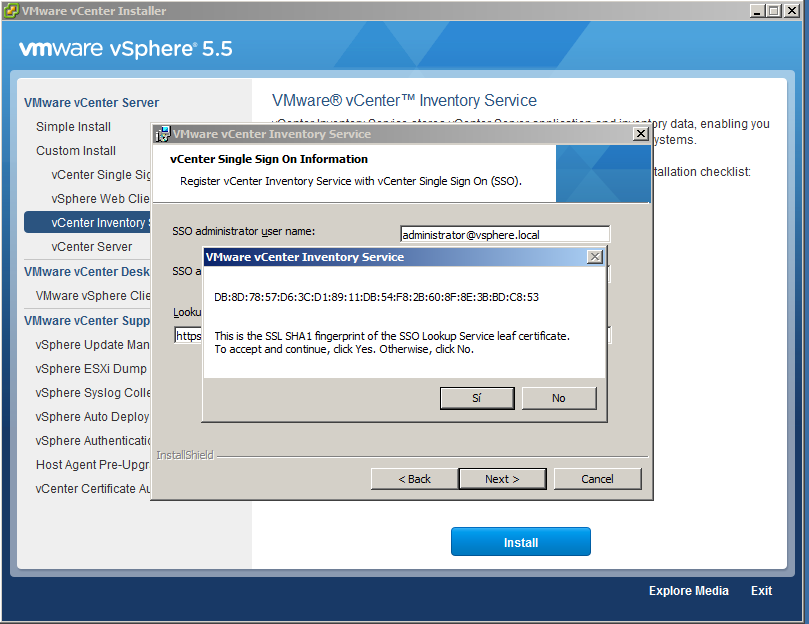
We accept the certificate.
We begin the installation.
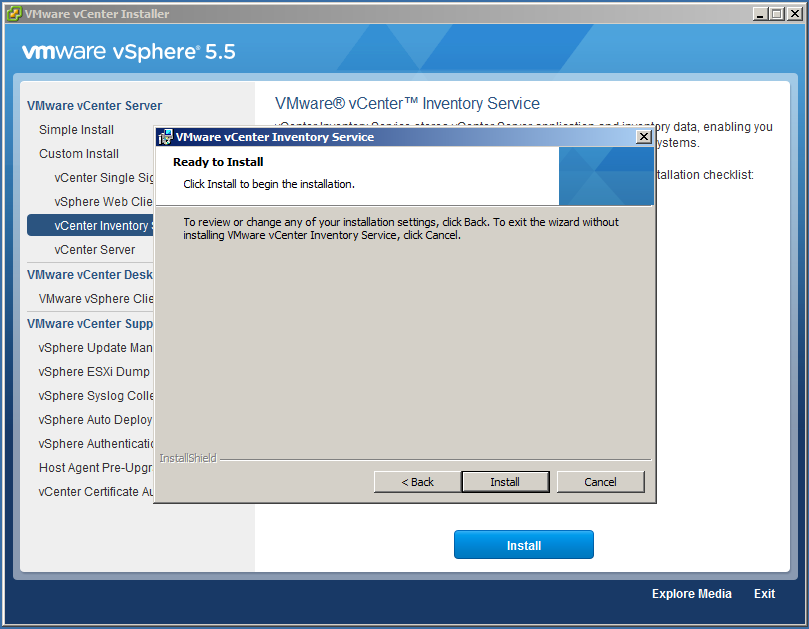
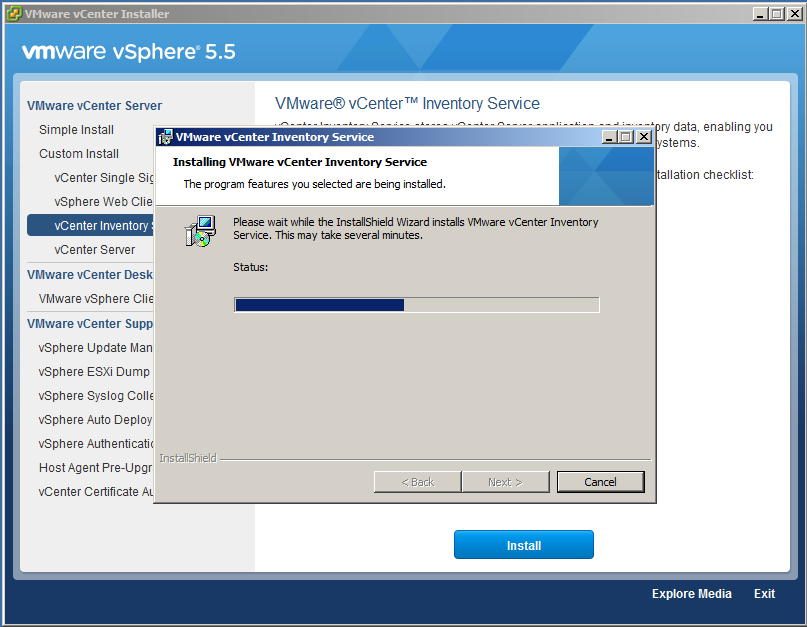
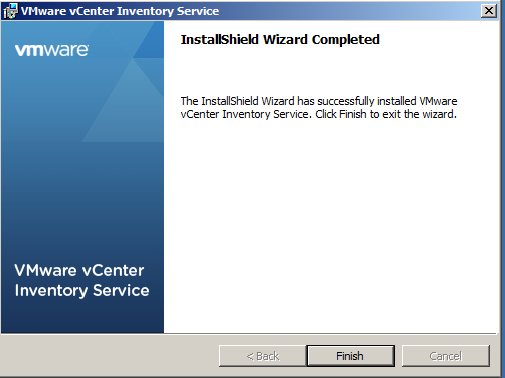
We finish the installation,
Once all the prerequisites are installed, we begin the installation of vCenter server.
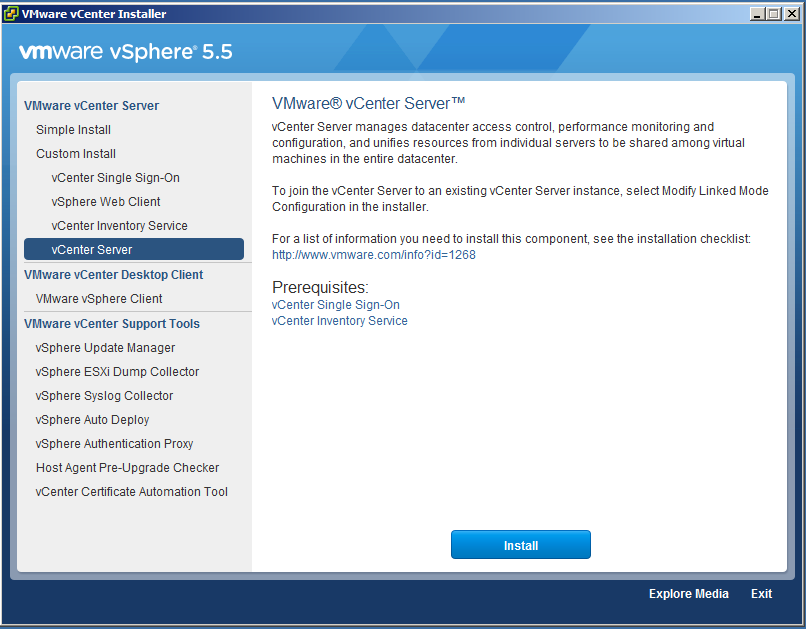
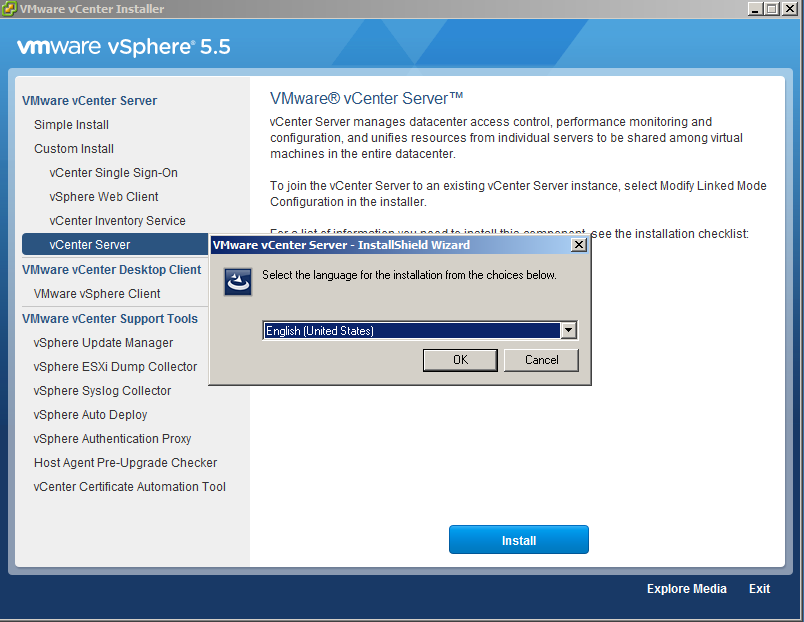
We select the language.
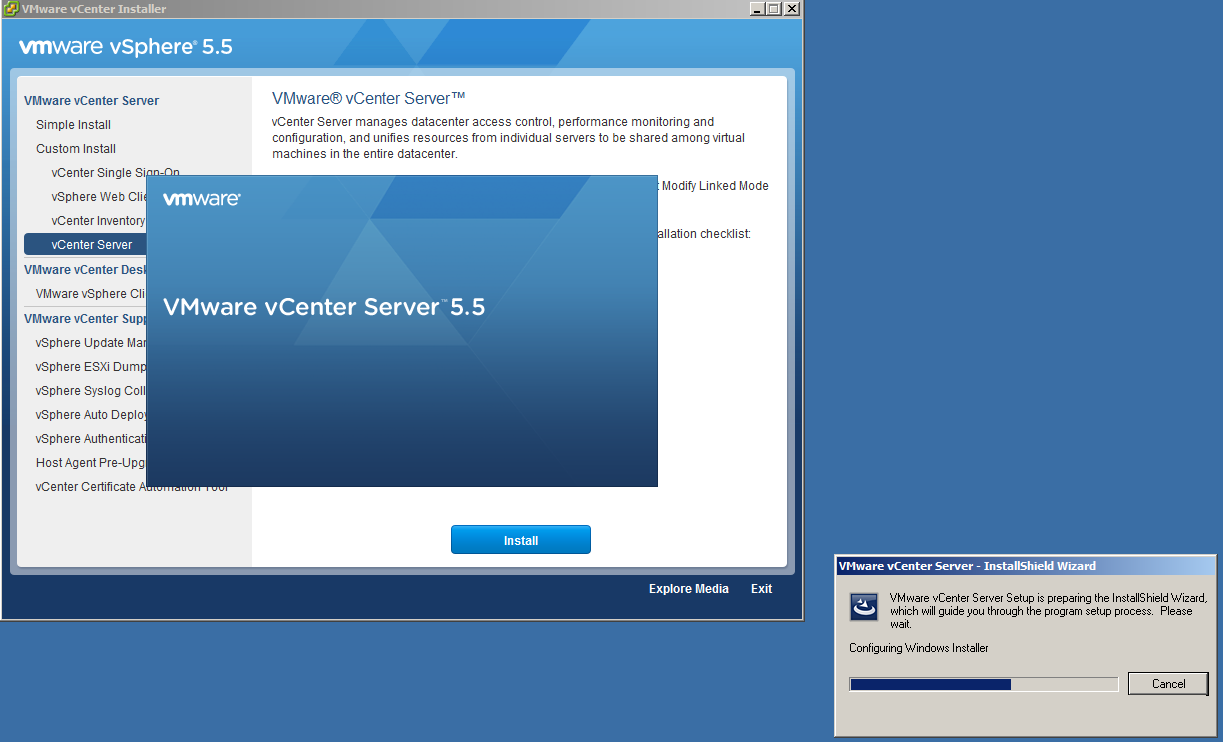
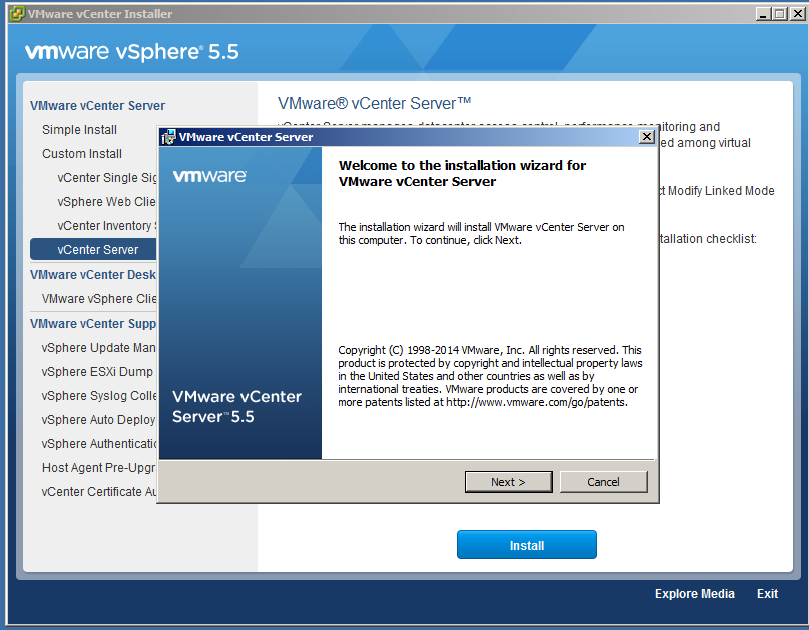
The wizard starts, next.
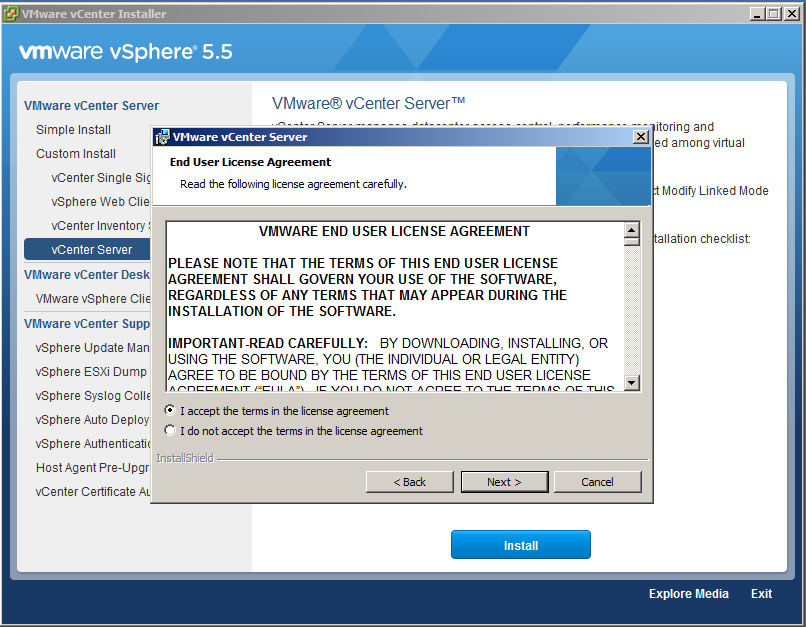
We accept the license.
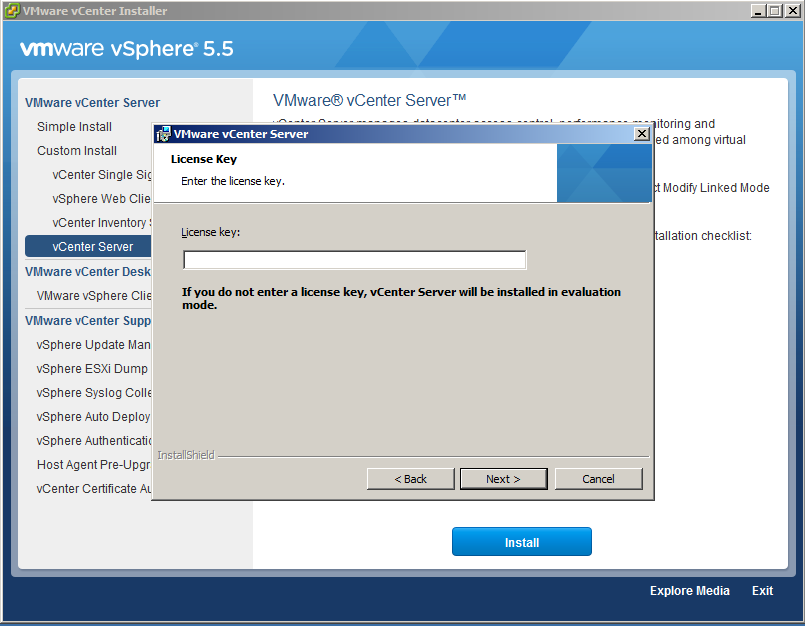
Introducimos la licencia.
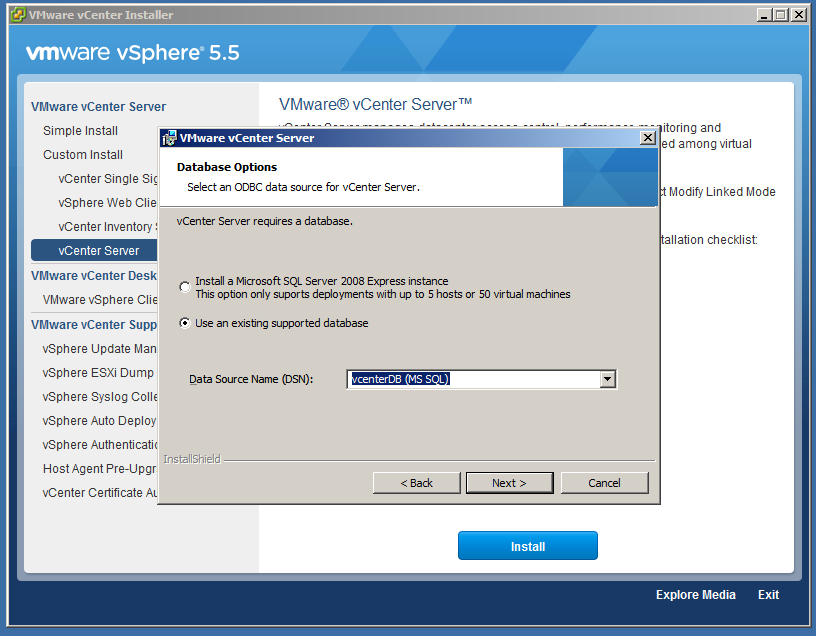
We let the existing database be used and we add the previously created database.
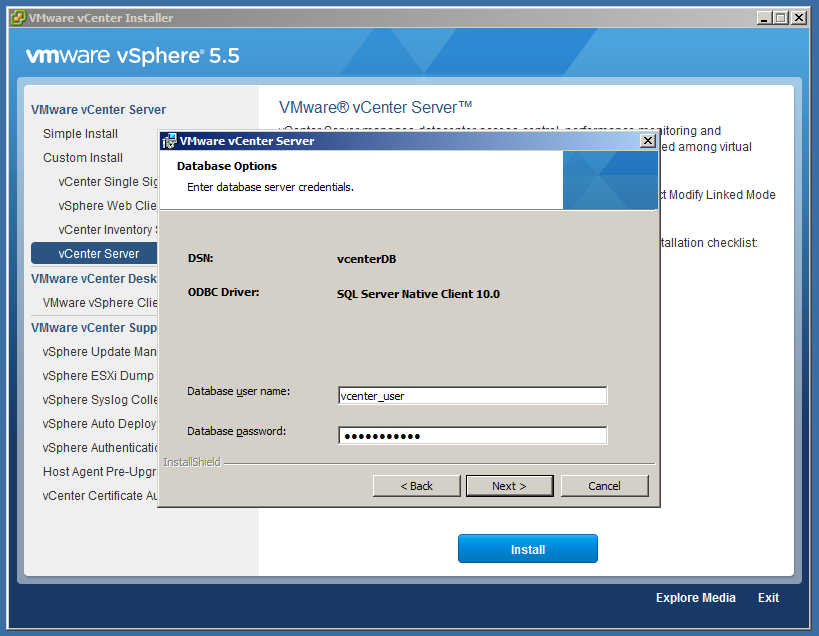
We enter the database username and password created previously.
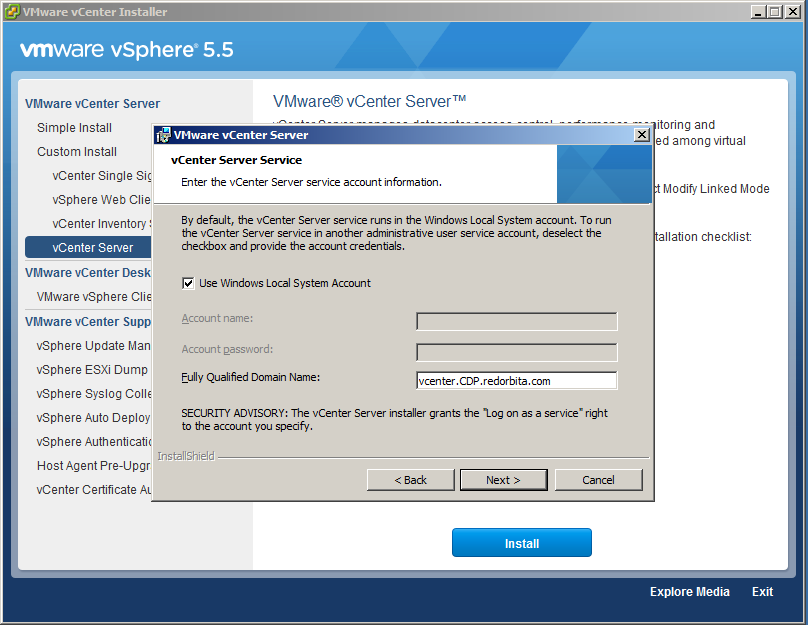
We check that our FQDN is correct.
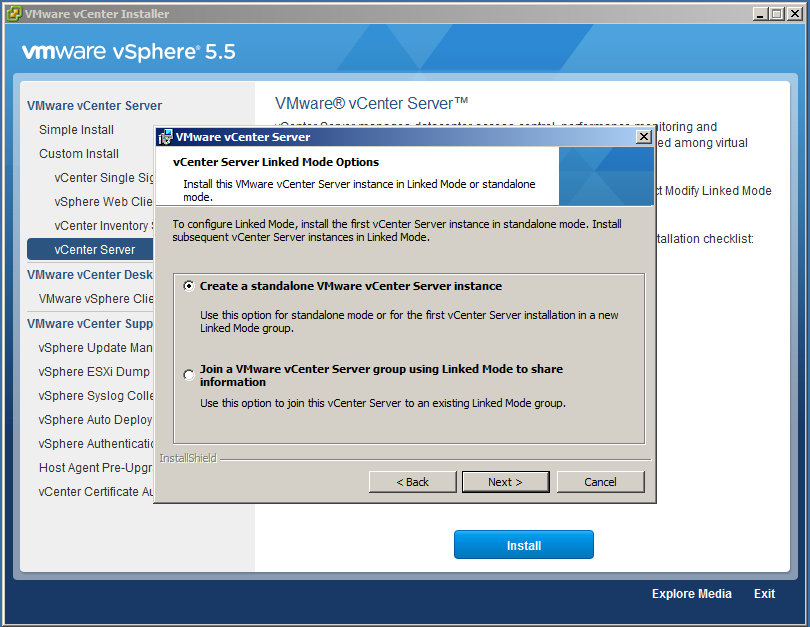
At this point it asks us if we want to join this vCenter Server instance to a linked mode group or will it be a standalone mode instance.
Linked mode is a VMware feature that allows you to manage up to 10 vCenter Server instances more easily. I leave it by default, in standalone mode
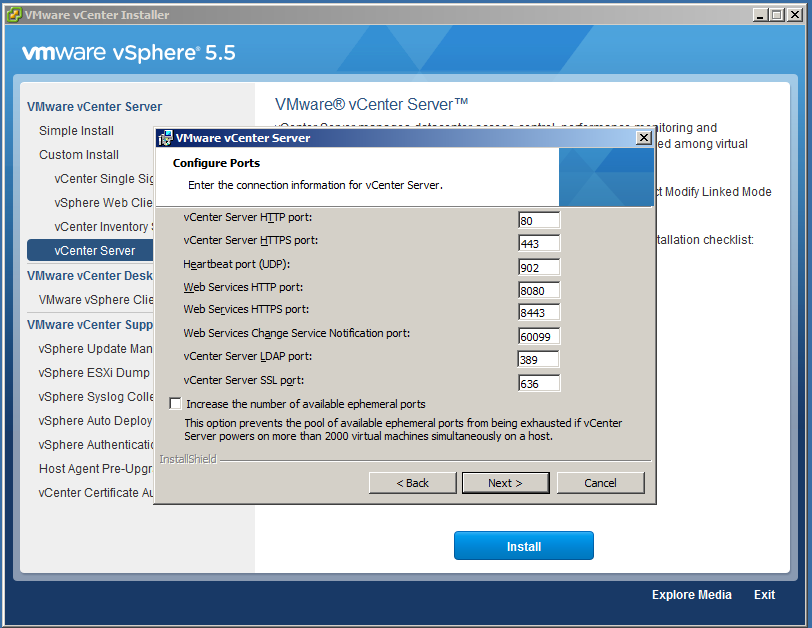
We configure the ports of the services.
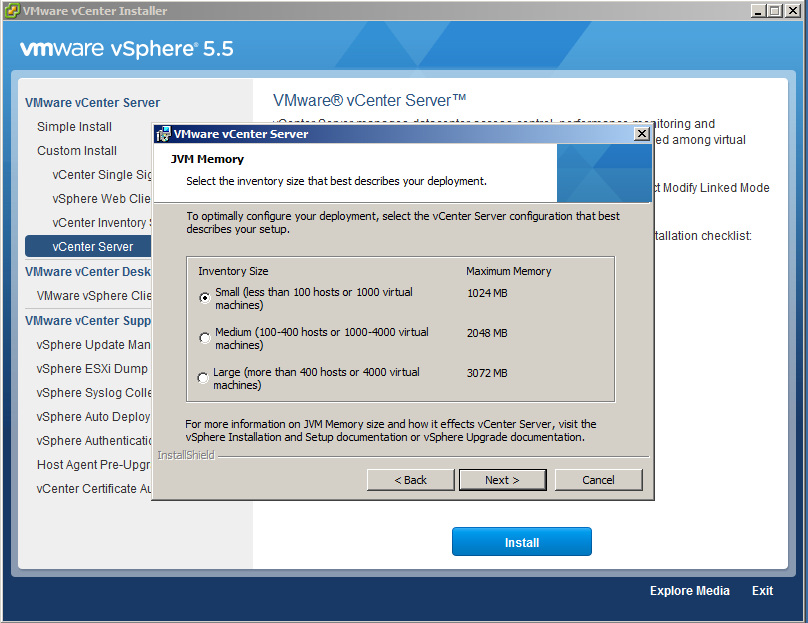
We define our virtual environment, in my case I will not have more than 1,000 machines, therefore Small.
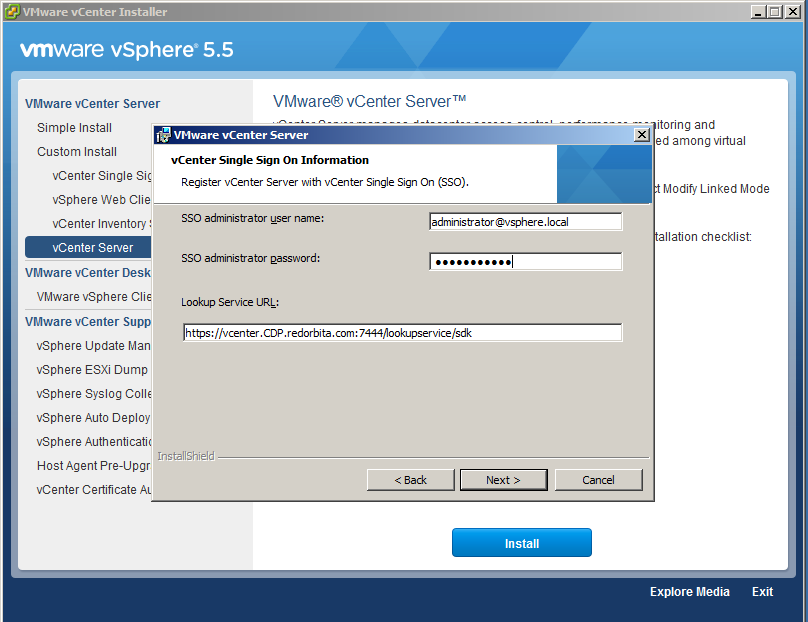
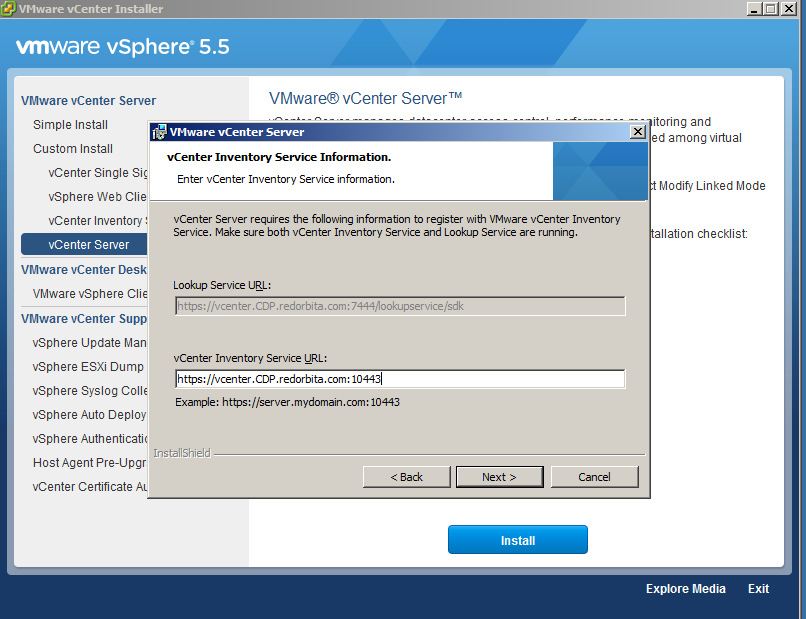
We enter the password created previously. and we check in lookup service URL that our FQDN is correctly added.
We accept the certificate.
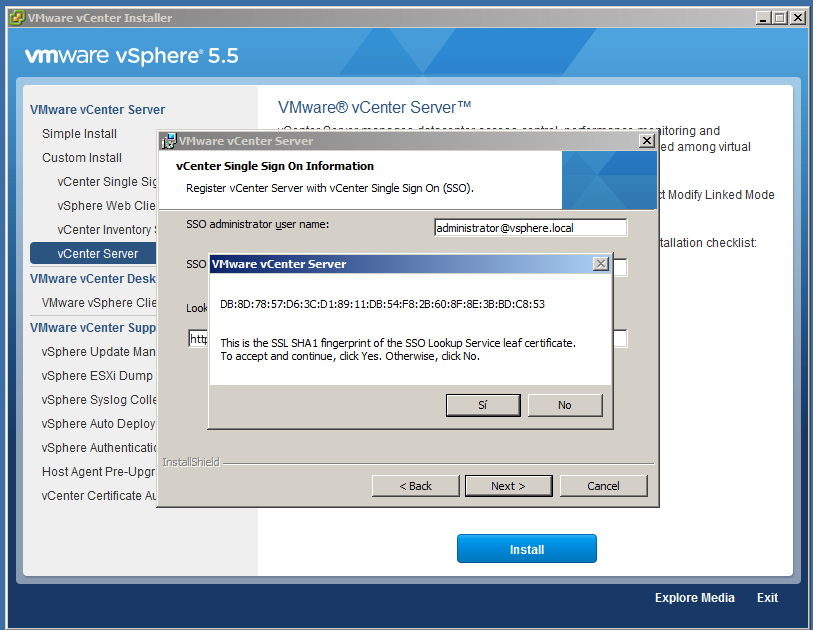
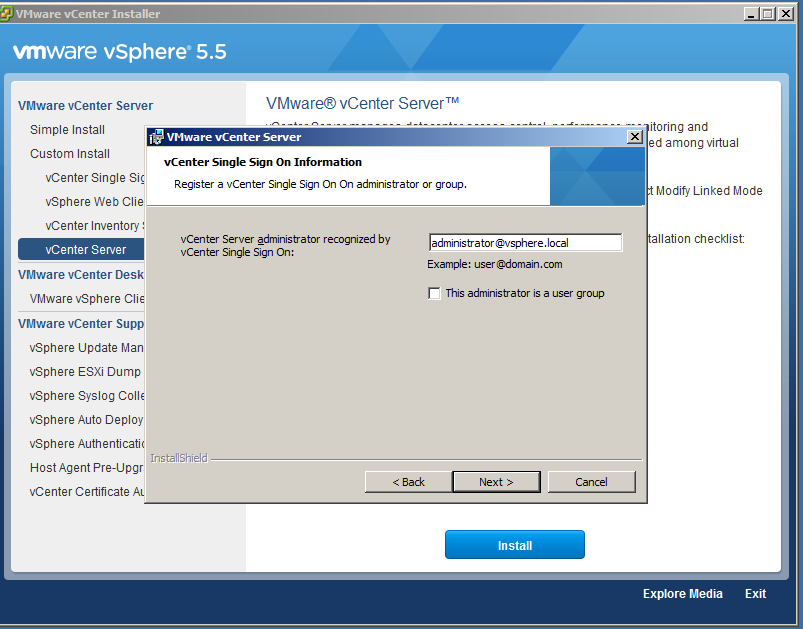
We leave the user by default.
We check the Inventory Service FQDN.
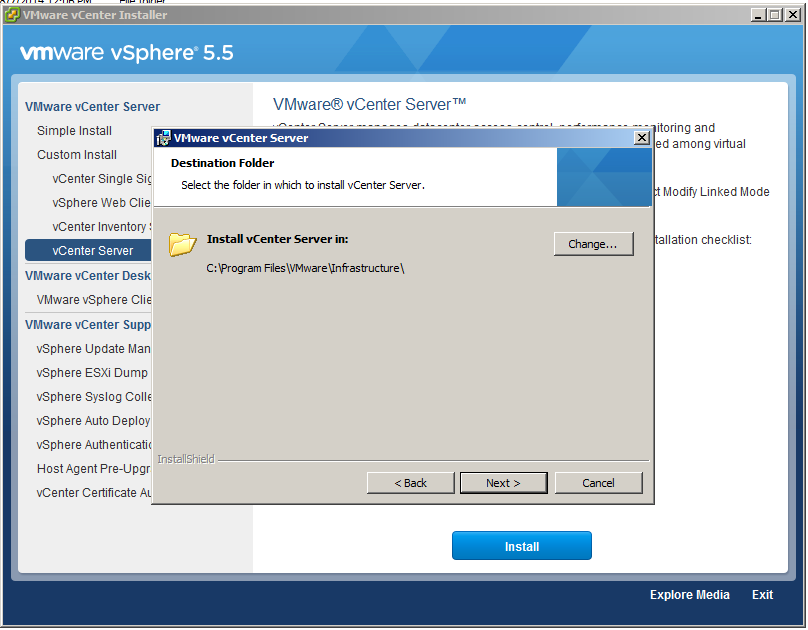
We indicate the route where it will be installed.
We begin the installation.
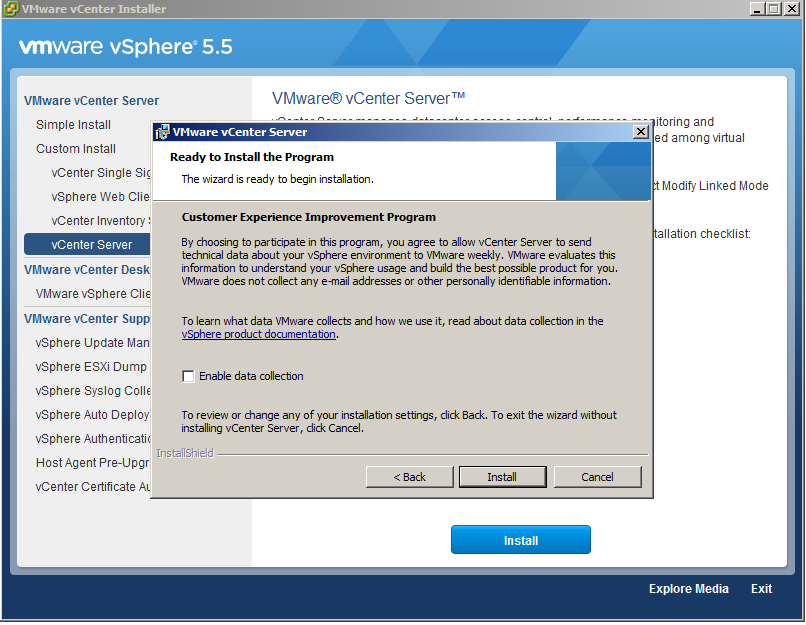
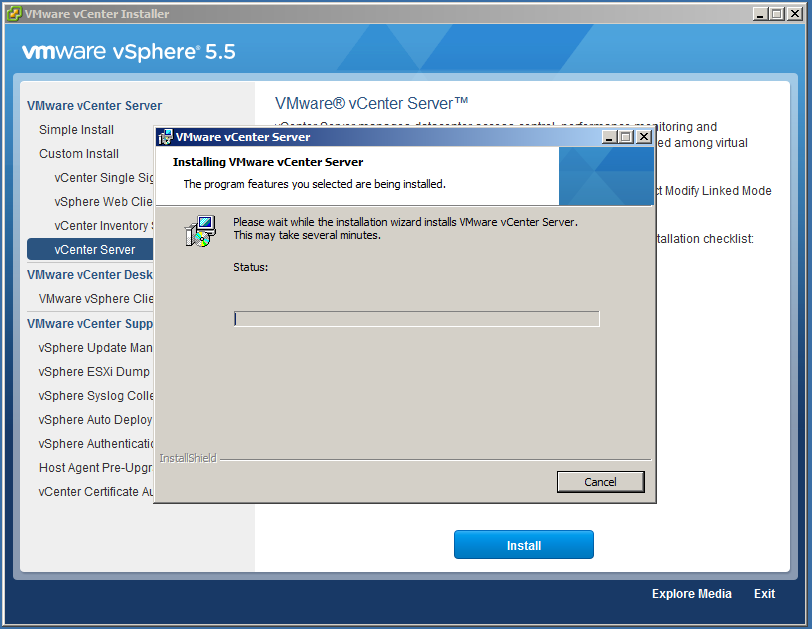
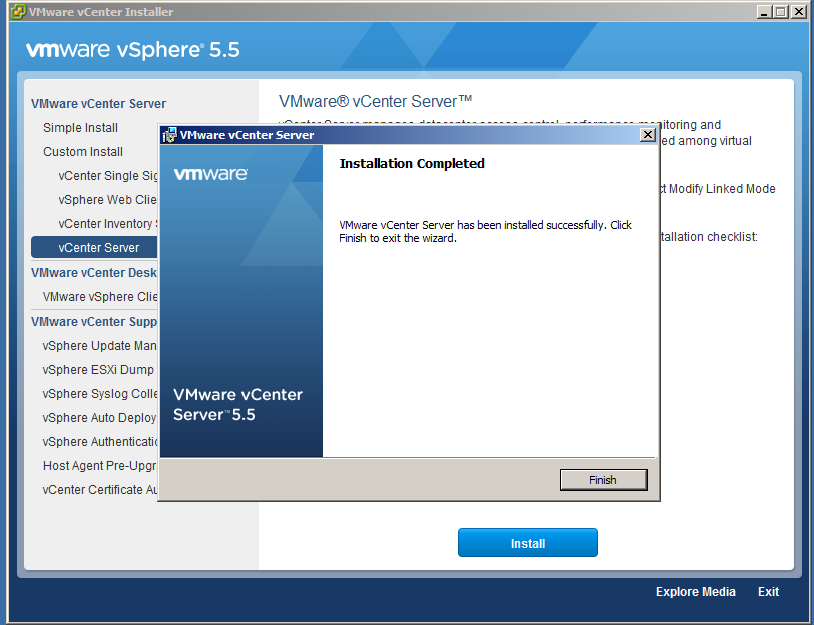
I finish the installation correctly.
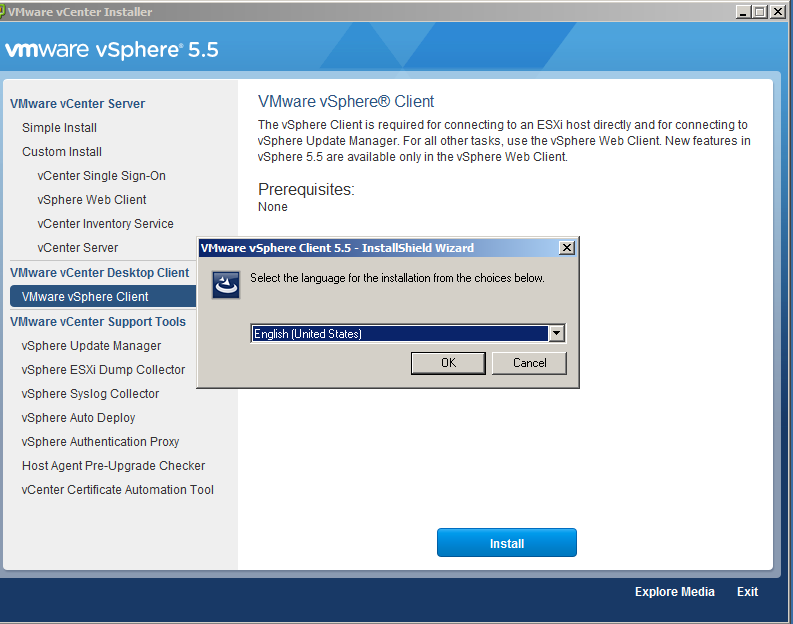
Finally, although it would not be necessary. We install the vSphere client to make the connection
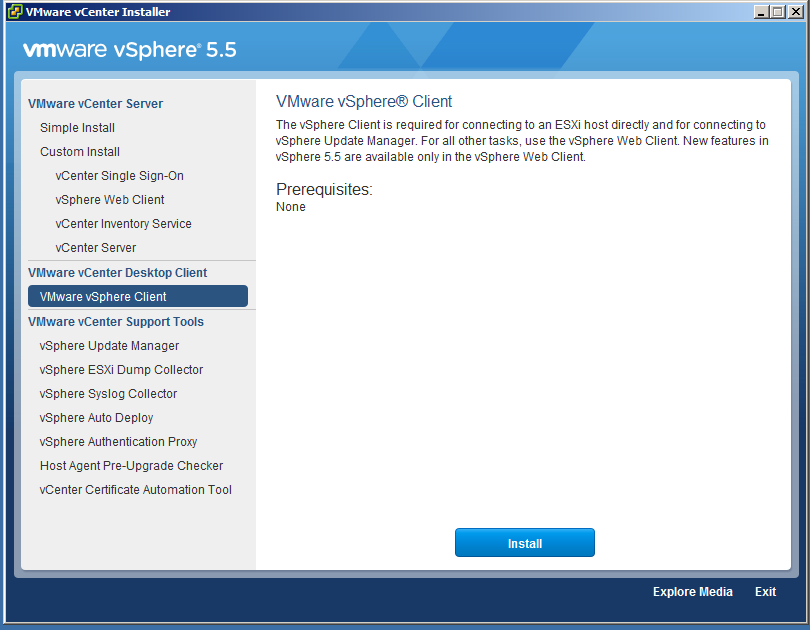
We select the language.
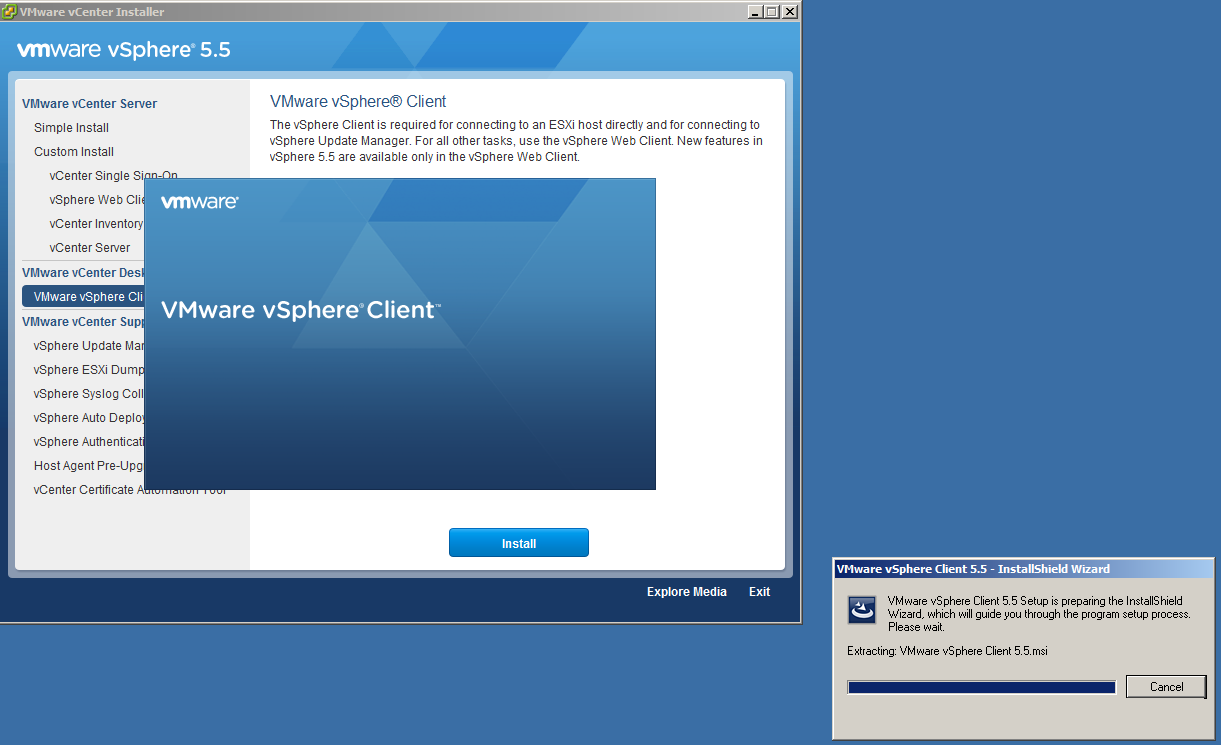
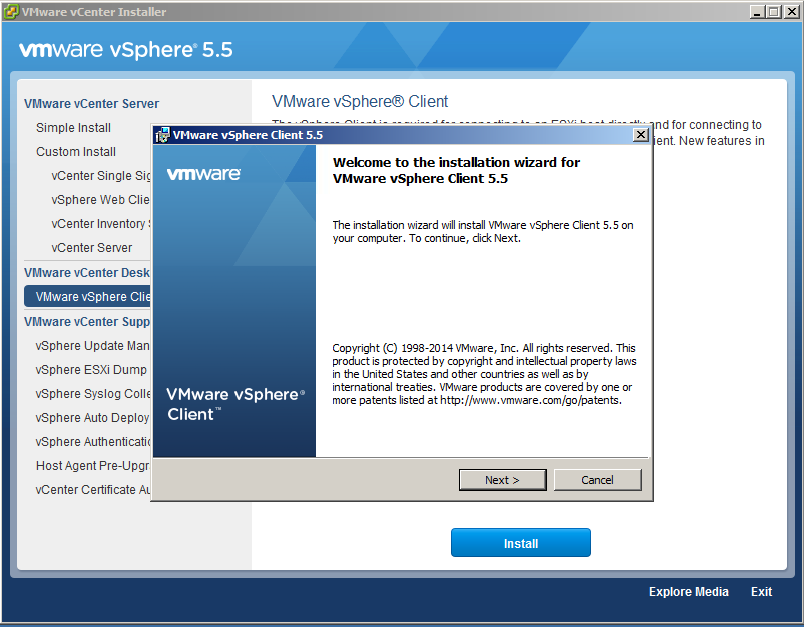
Start the wizard.
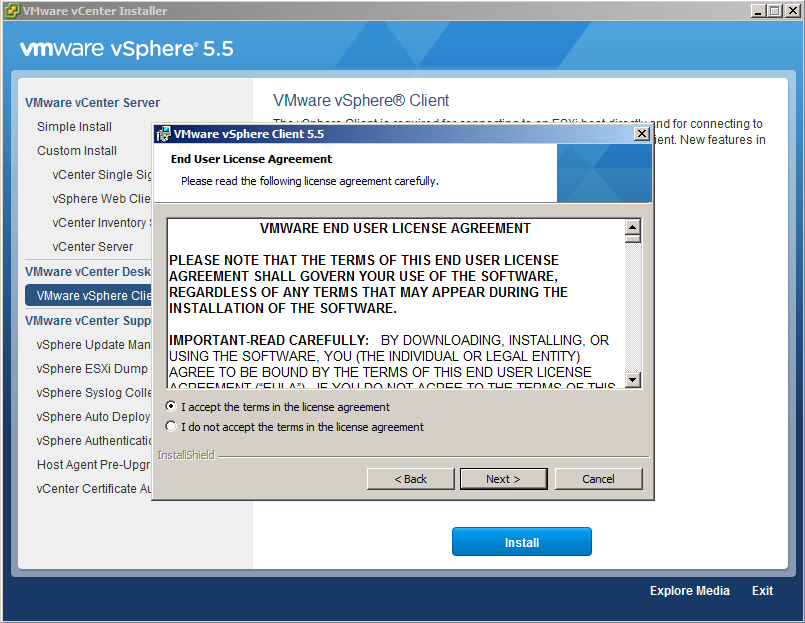
We accept the license.
We indicate the route where it will be installed.
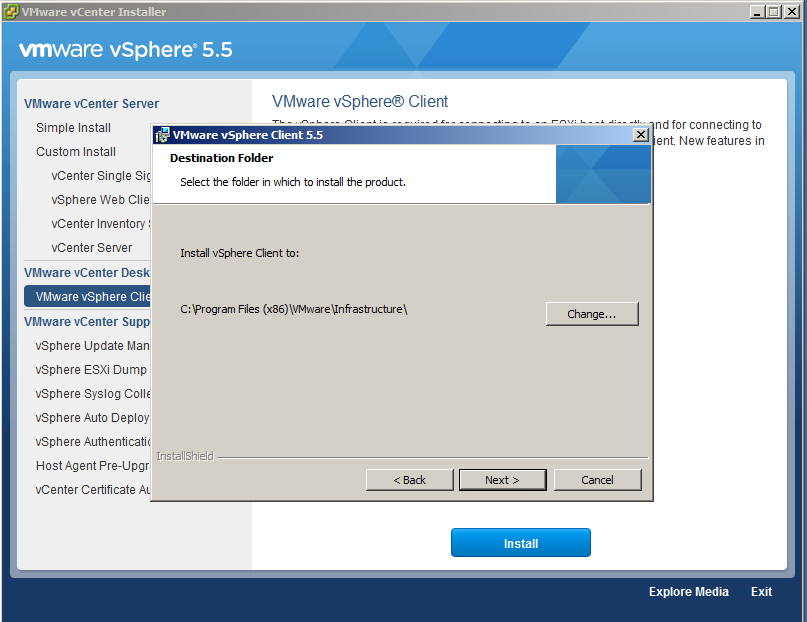
We begin the installation.
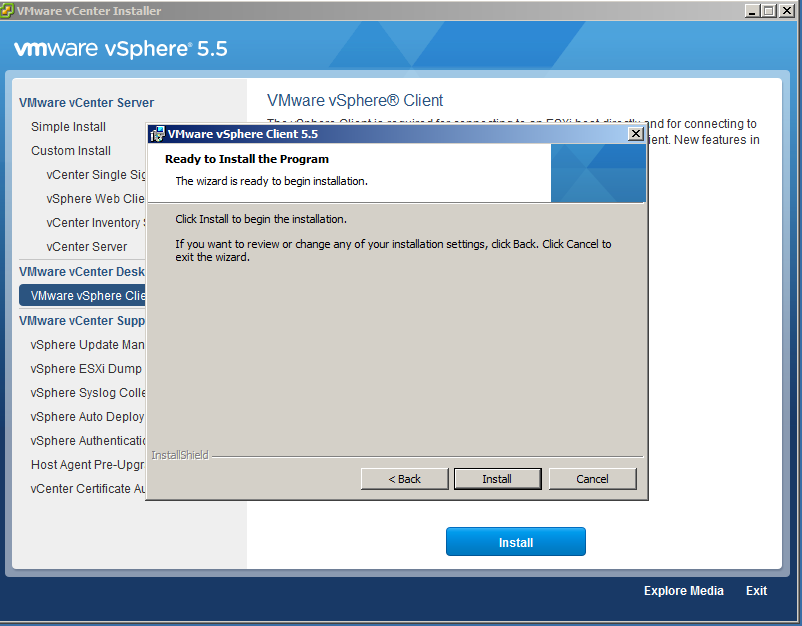
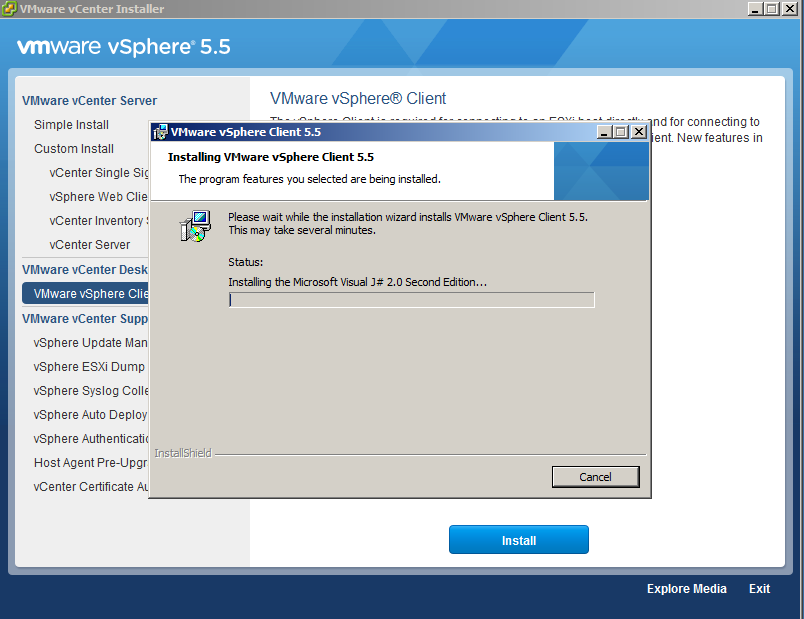
Once the installation is complete, we connect.
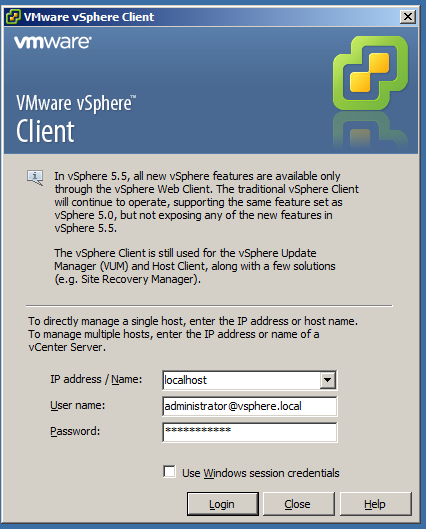
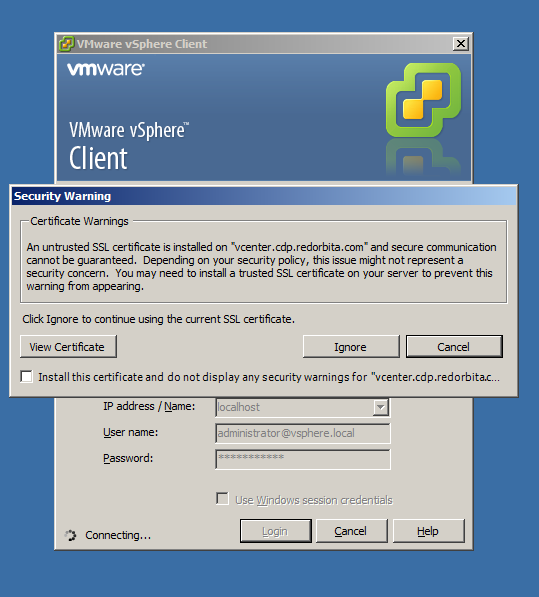
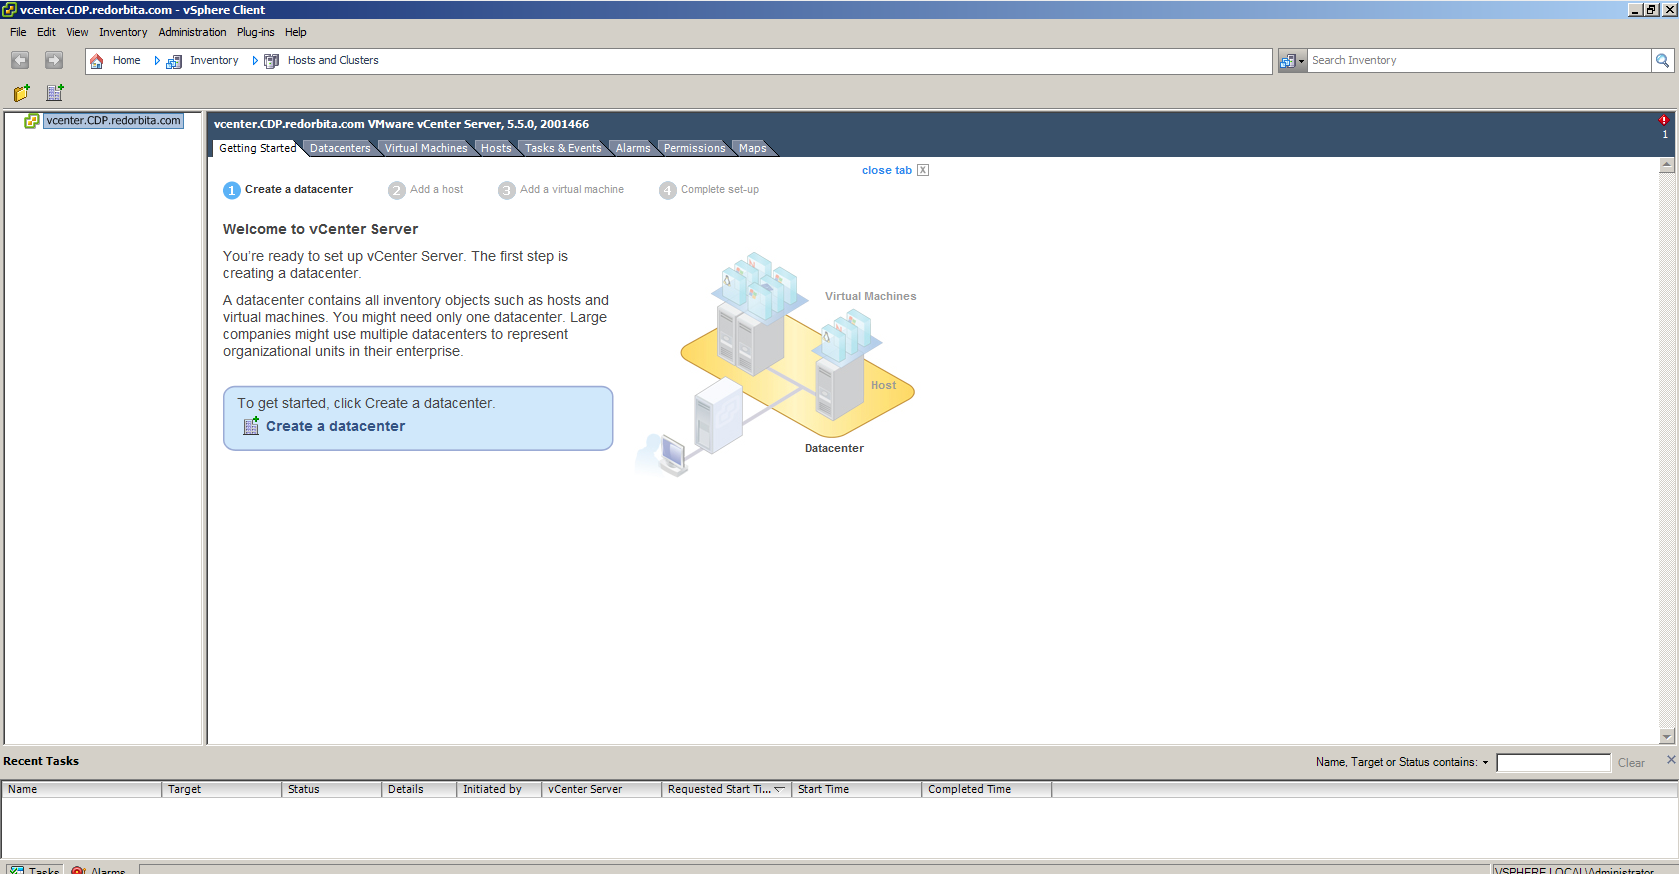
Ready, we now have our vCenter Server working correctly.
 Regards, Rokitoh
:wq!
Interesting websites:
http://www.josemariagonzalez.es/2013/11/20/todo-necesitas-saber-vmware-vcenter-server.html
http://www.colombiavirtualizada.com
http://pubs.vmware.com/vsphere-55/topic/com.vmware.ICbase/PDF/vsphere-esxi-vcenter-server-55-installation-setup-guide.pdf
http://www.vmware.com/info?id=1269
Comments