Home Linux & Systems Cybersecurity Cloud & DevOps Networks & Infrastructure SIEM & Monitoring DFIR & Threat Intel Development & Other All categories Projects About Tools

Install containers in Proxmox VE

Leer en espanol
Install containers in Proxmox VE

Table of contents

Linux® containers hold applications and their runtime components together by combining lightweight application isolation and ===

What are containers?

Linux containers® They hold applications and their runtime components together by combining lightweight application isolation and an image-based deployment method. Containers introduce autonomy for applications by bundling them with the libraries and other binaries on which they depend. This avoids conflicts between applications that would otherwise depend on key components of the underlying host operating system. Containers do not include a kernel (OS), so they are faster and more agile than virtual machines. However, this means that all containers on a host must use the same kernel.

In previous posts we already saw how to install LXC and Docker, this time we are going to implement a container system under Proxmox VE

Install LXC server on GNU/Linux

Install Docker server on GNU/Linux

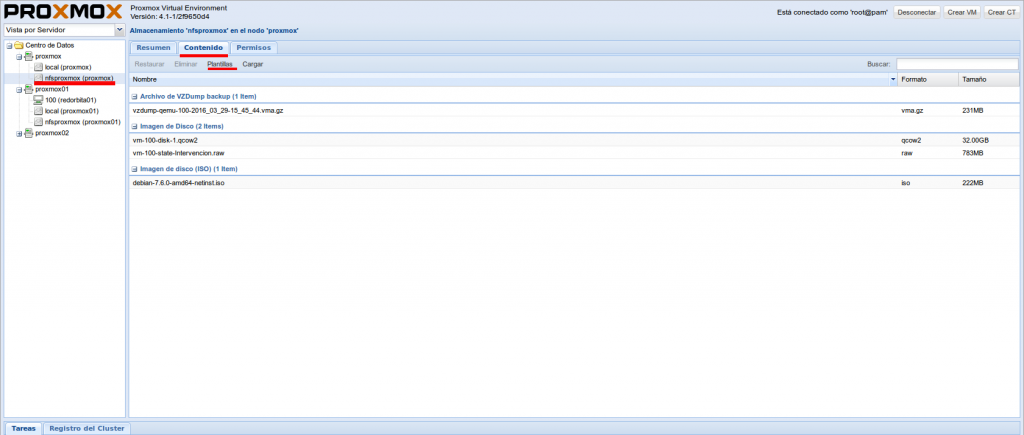
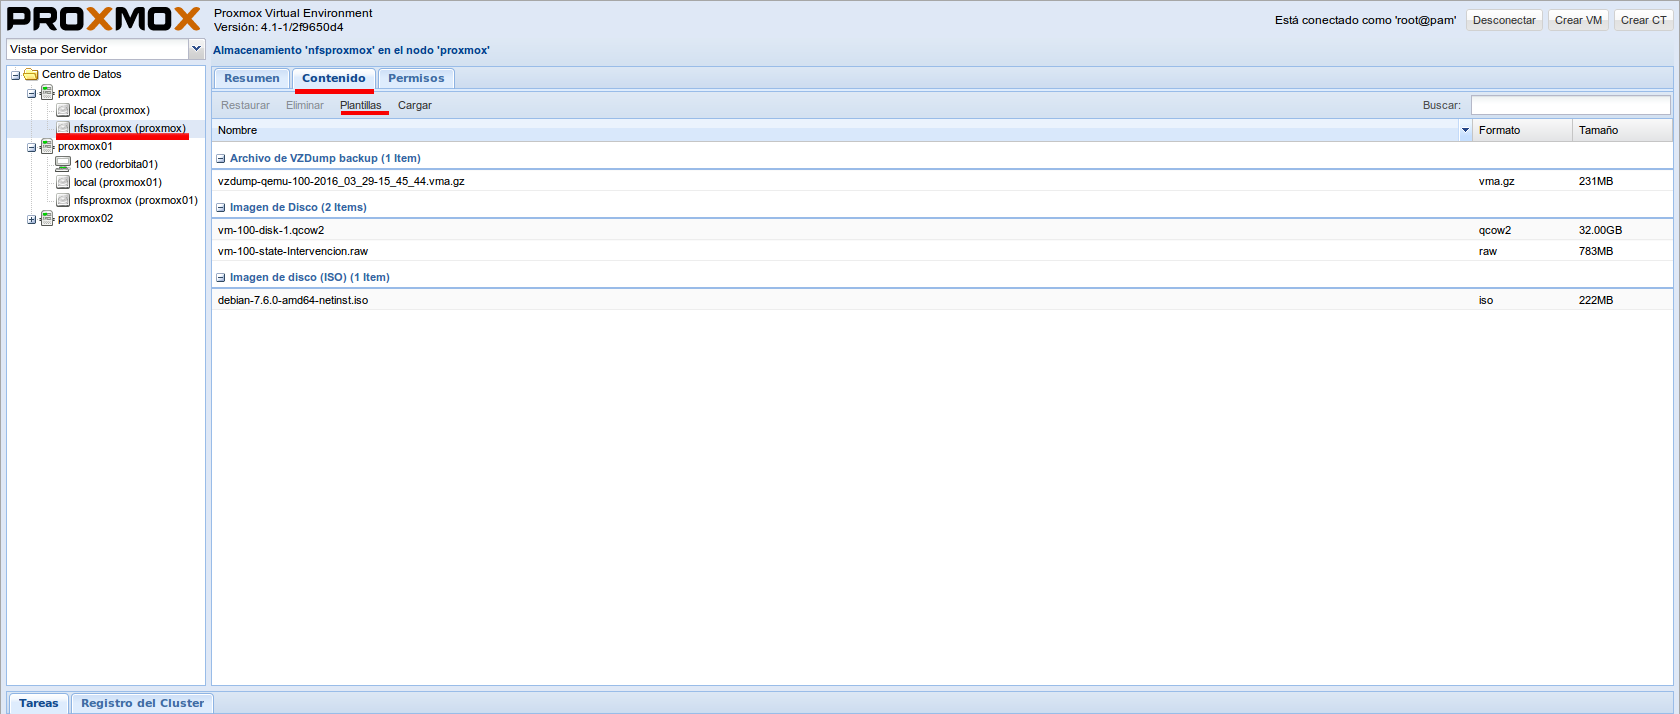
Before carrying out the installation we must download the template, to do this we select the storage > Content > Templates
Captura de pantalla de 2016-03-30 01:26:07

We choose the template we want to implement, in my case of course… Debian!
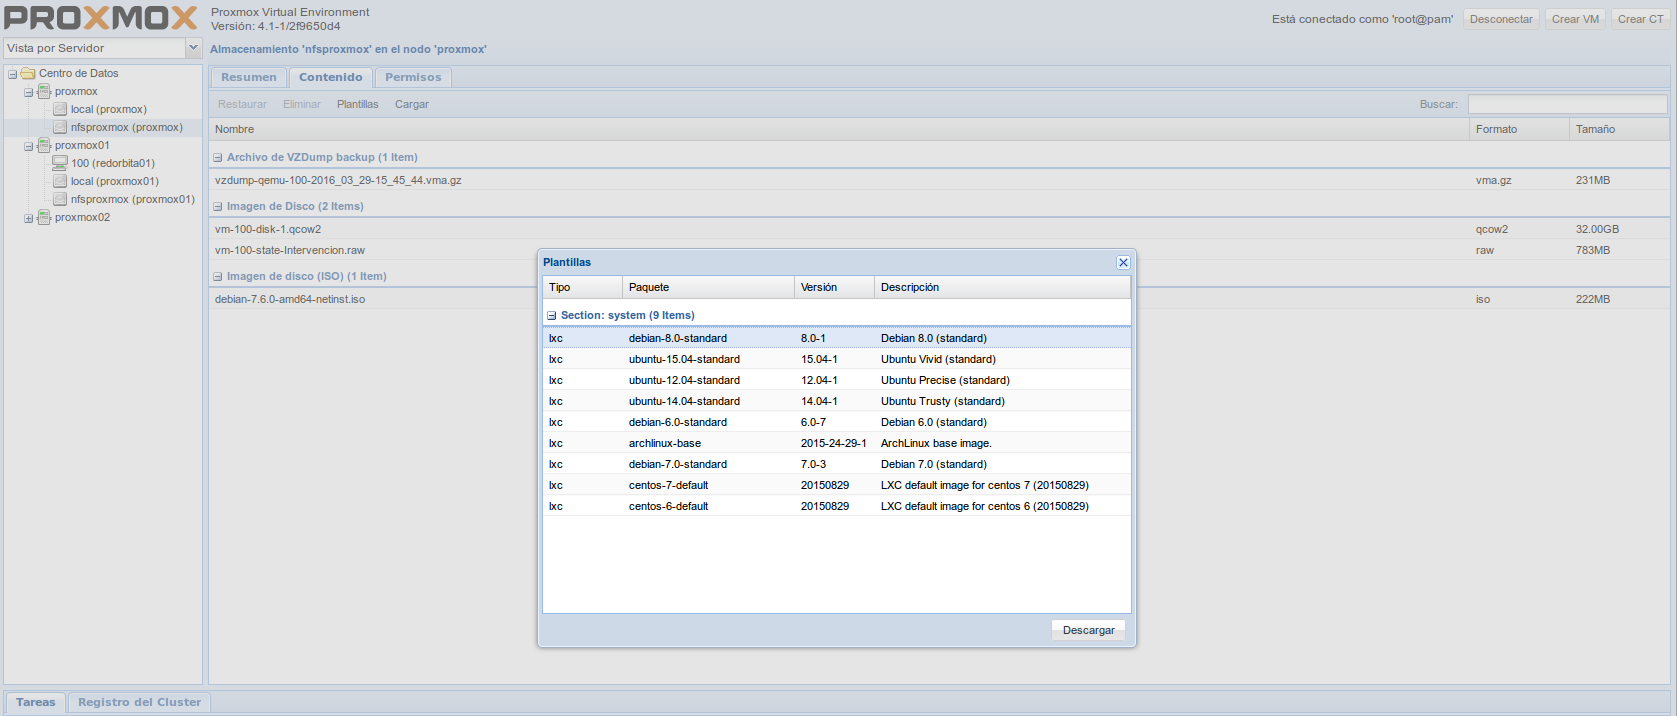
Captura de pantalla de 2016-03-30 01:26:12

We wait a bit for you to download the template.
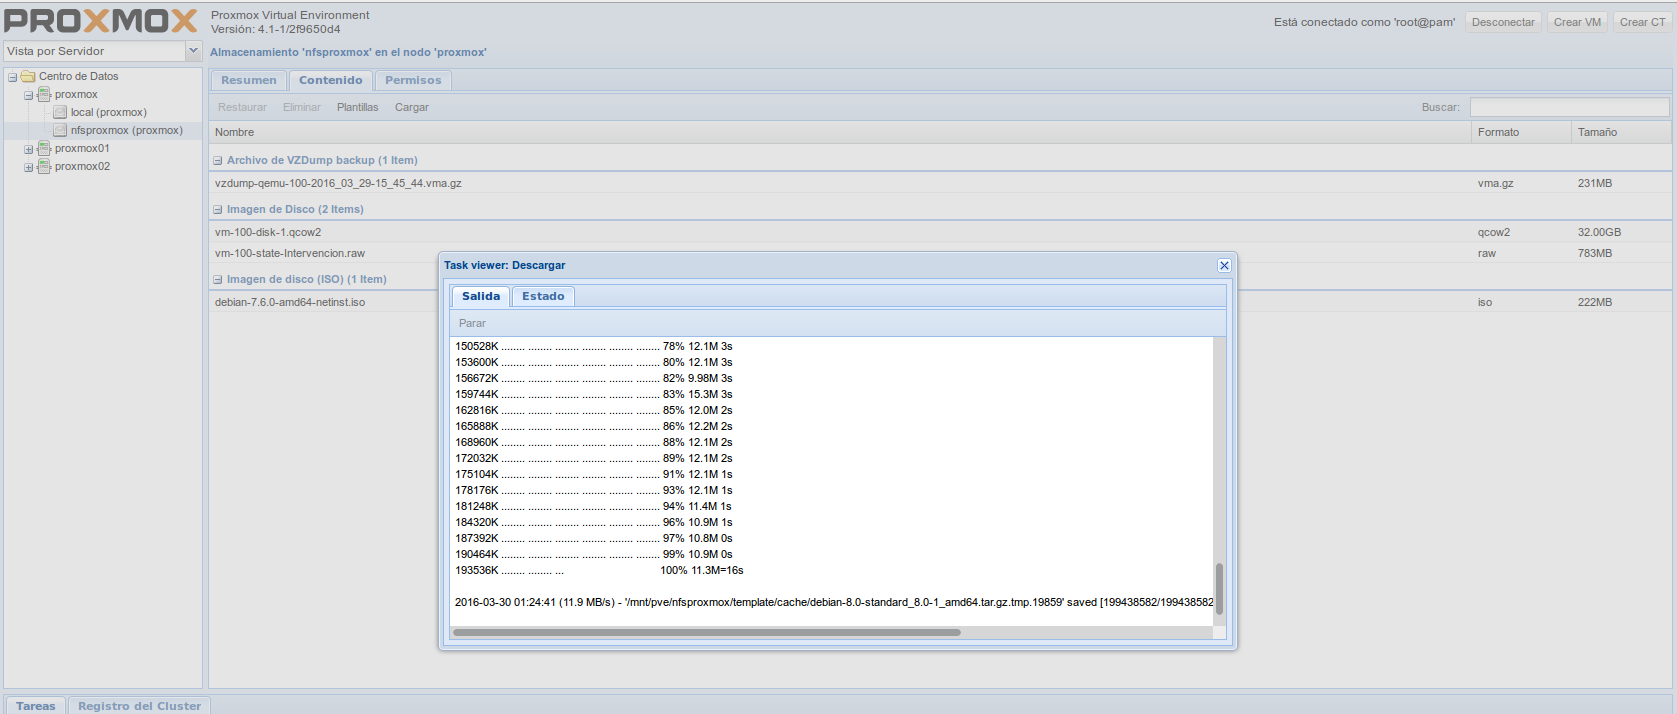
Captura de pantalla de 2016-03-30 01:29:47

Once downloaded, click on Create CT, located in the upper right
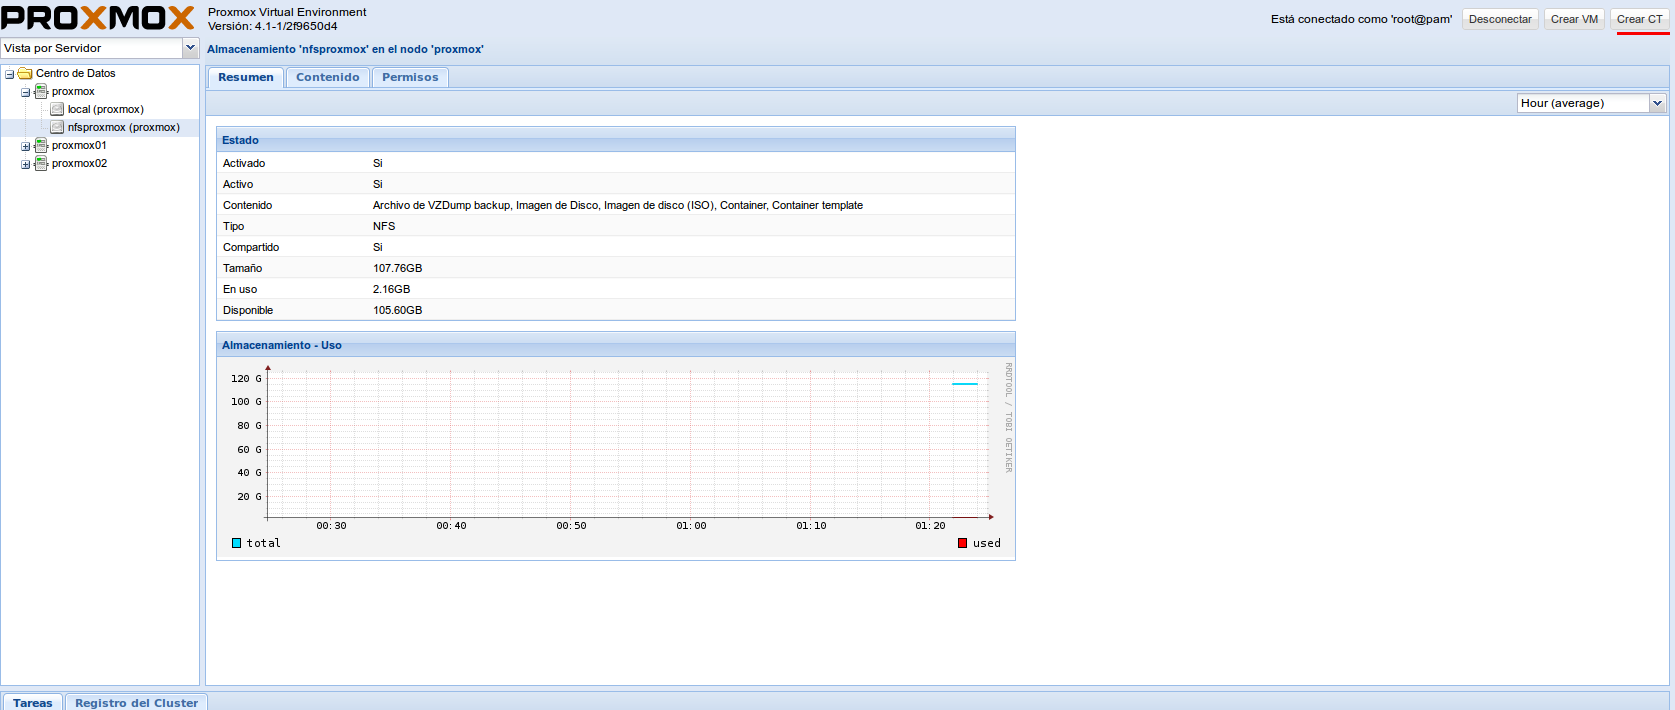
Captura de pantalla de 2016-03-30 01:30:02

It shows us an installation wizard, in which we configure the node where we are going to deploy our container, name and access password.
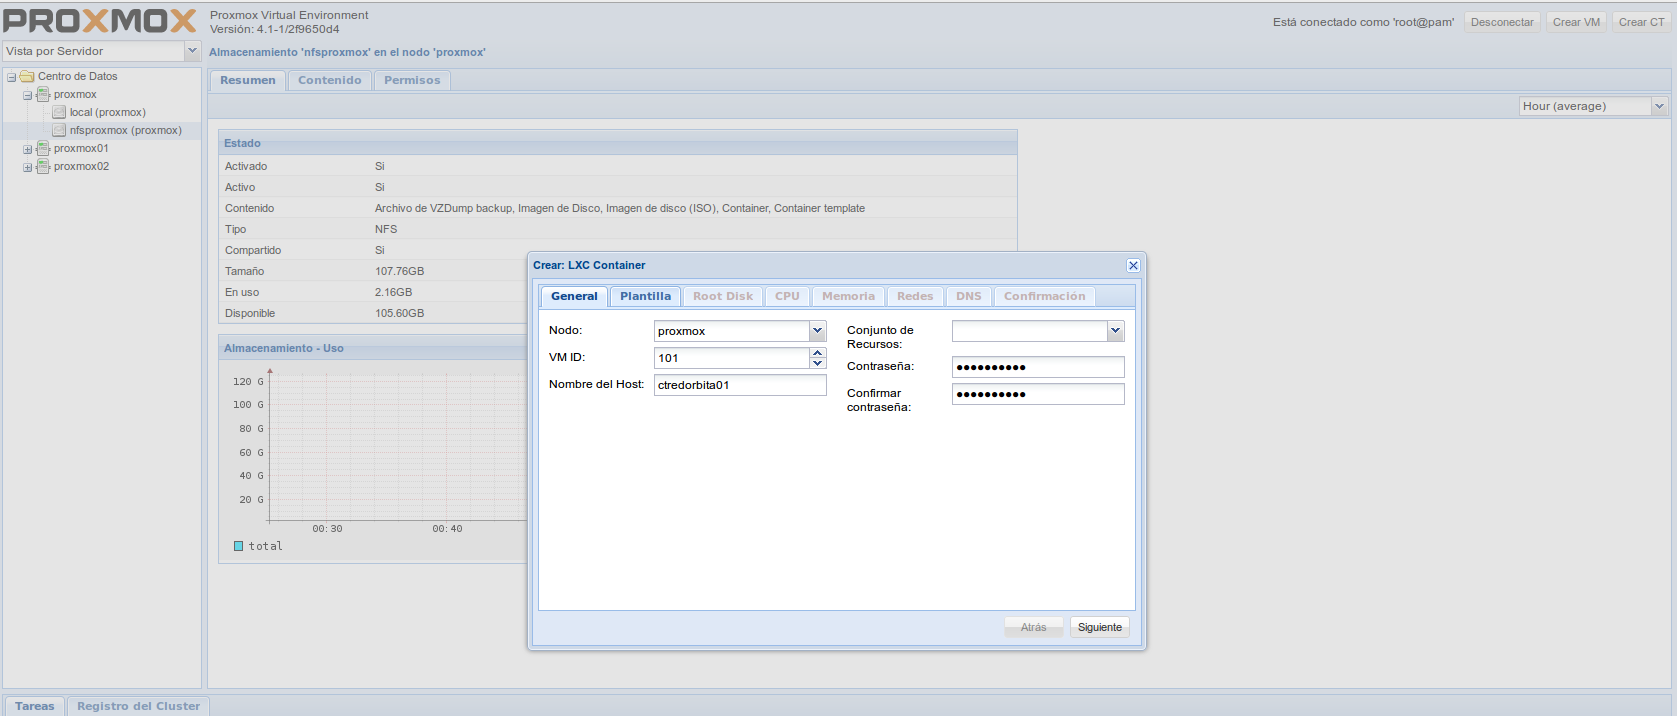
Captura de pantalla de 2016-03-30 01:30:31

We select the storage where we have downloaded it and the downloaded template.
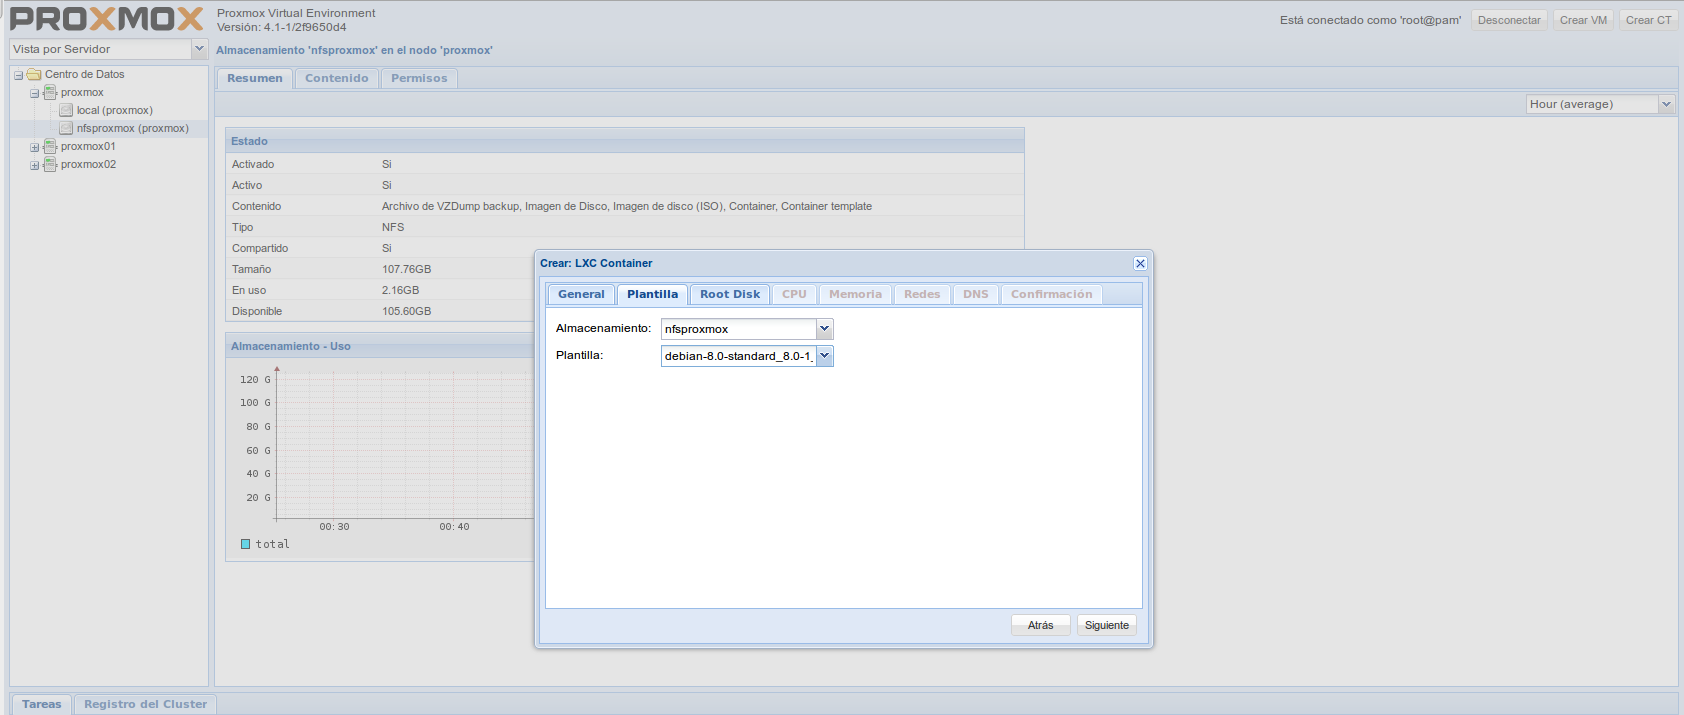
Captura de pantalla de 2016-03-30 01:30:39

We indicate where we want to carry out the installation
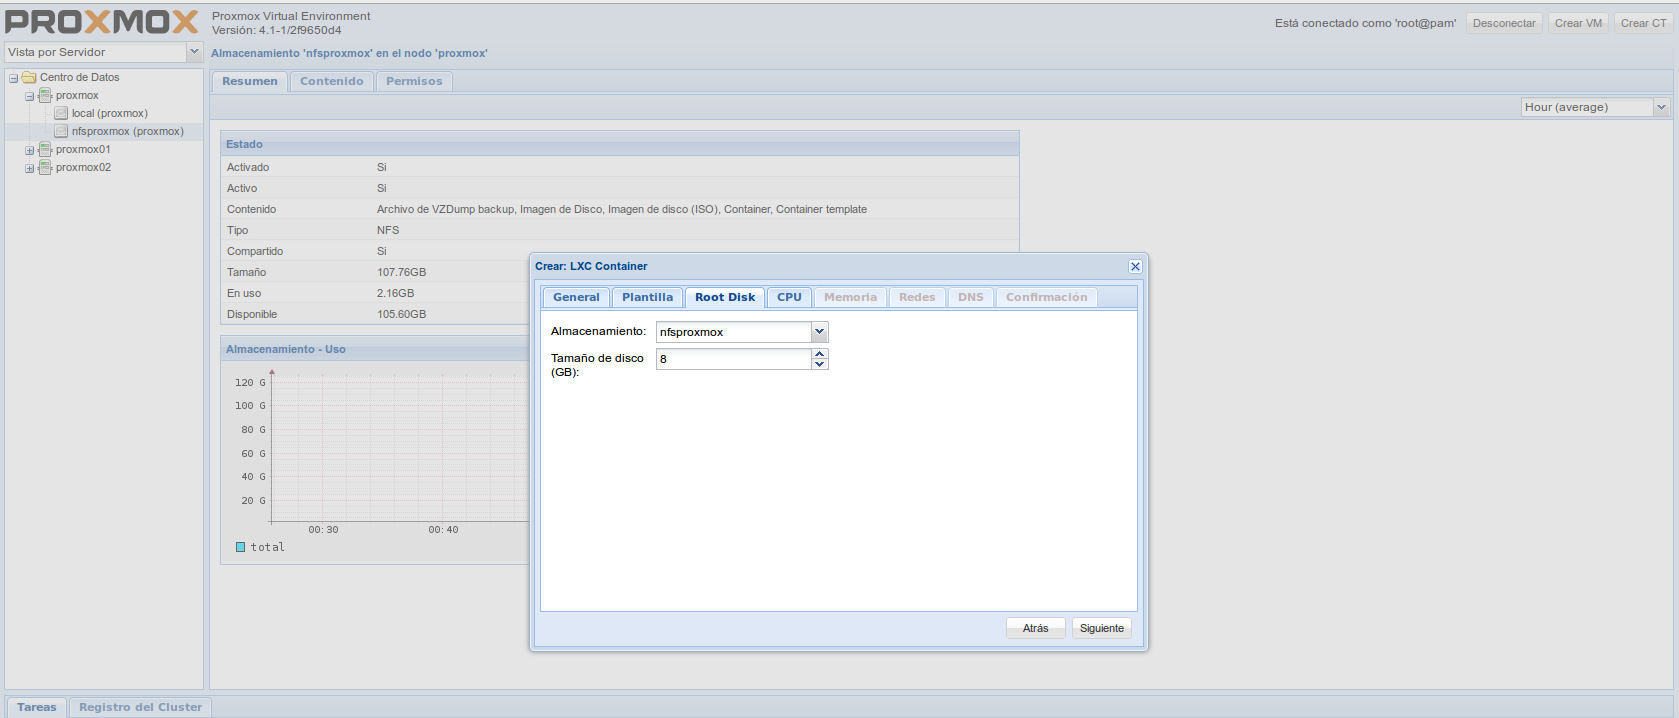
Captura de pantalla de 2016-03-30 01:30:50

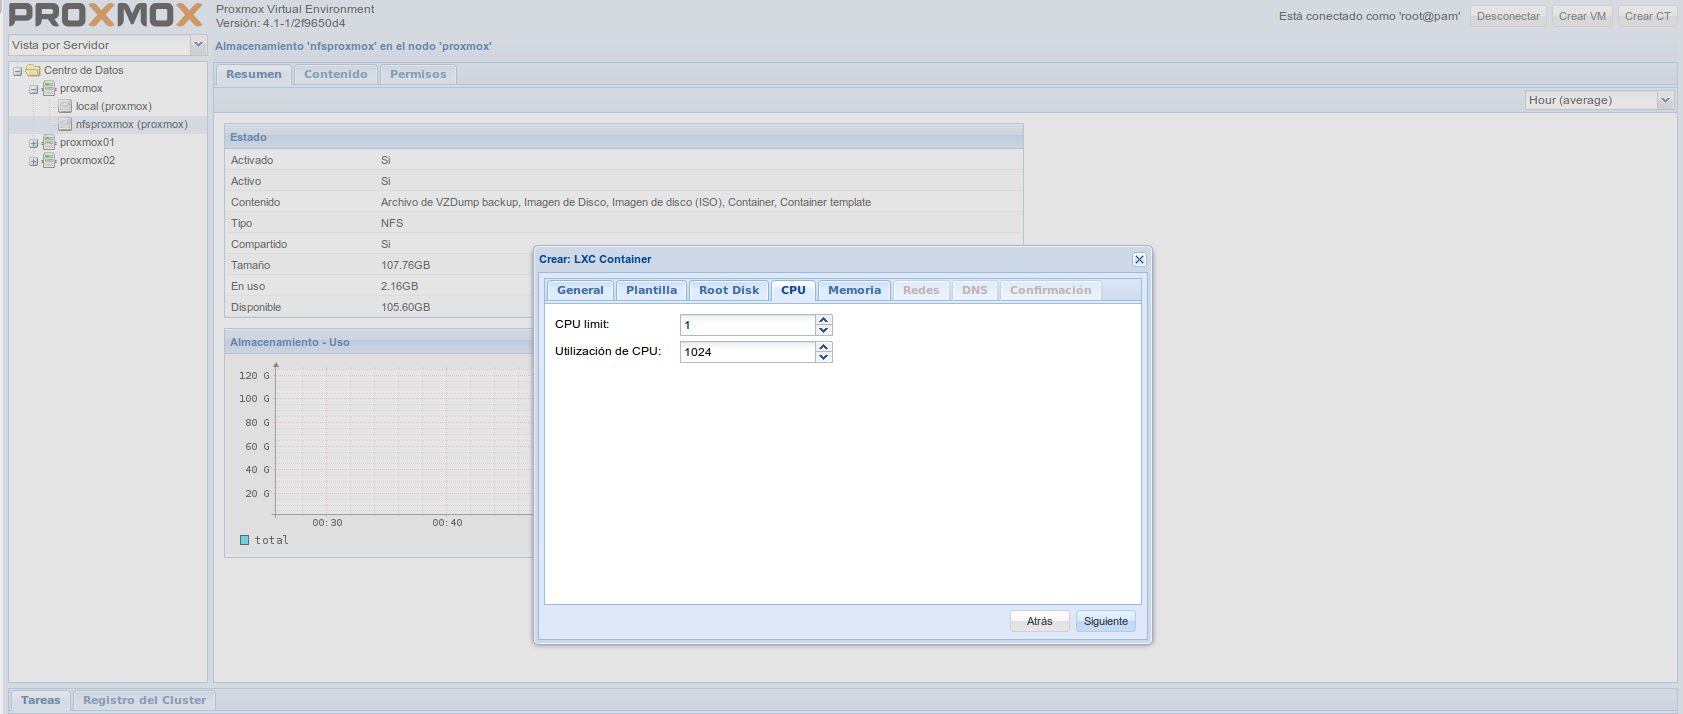
CPU Settings

Captura de pantalla de 2016-03-30 01:30:53

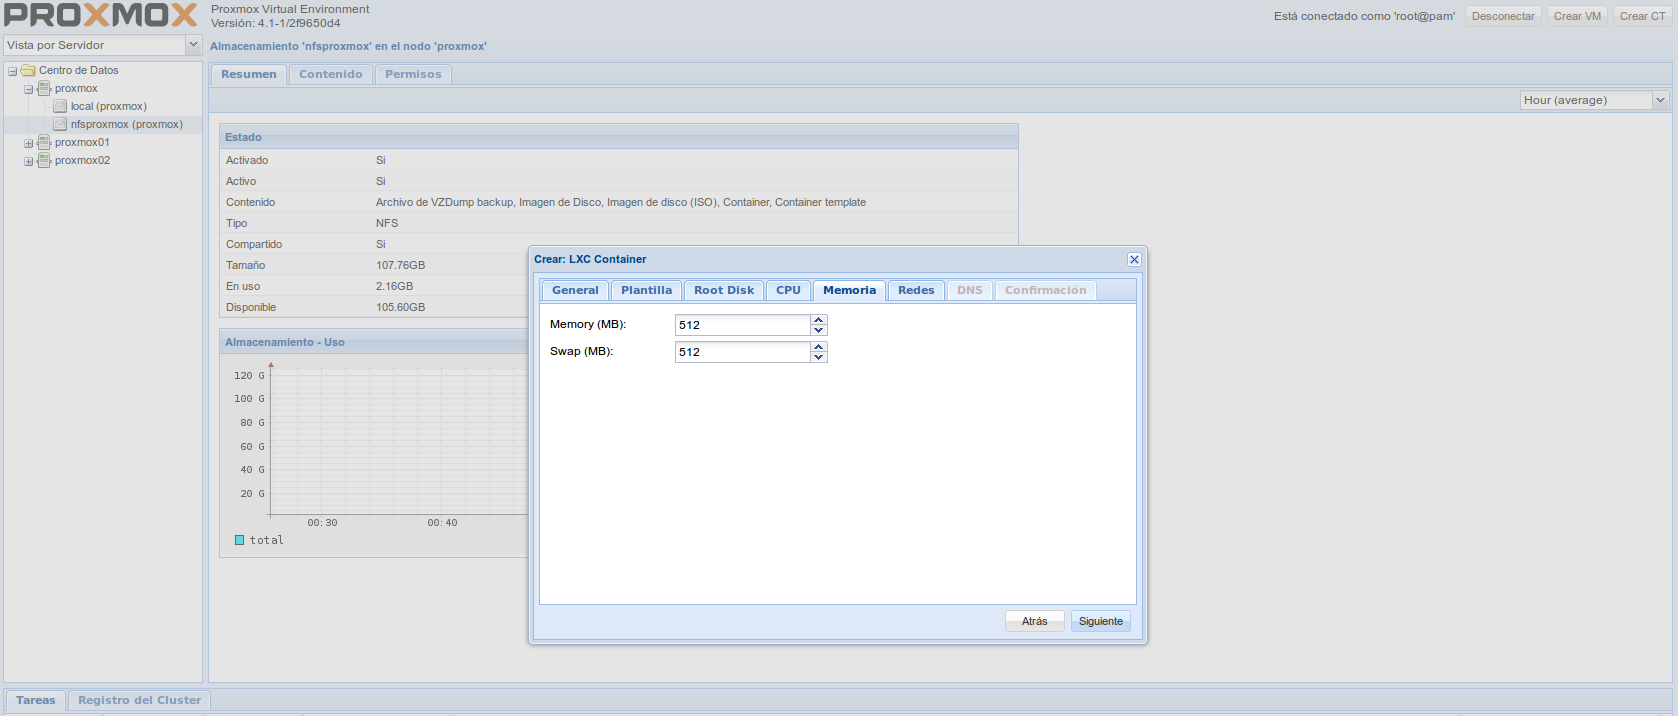
Memory Configuration

Captura de pantalla de 2016-03-30 01:30:58

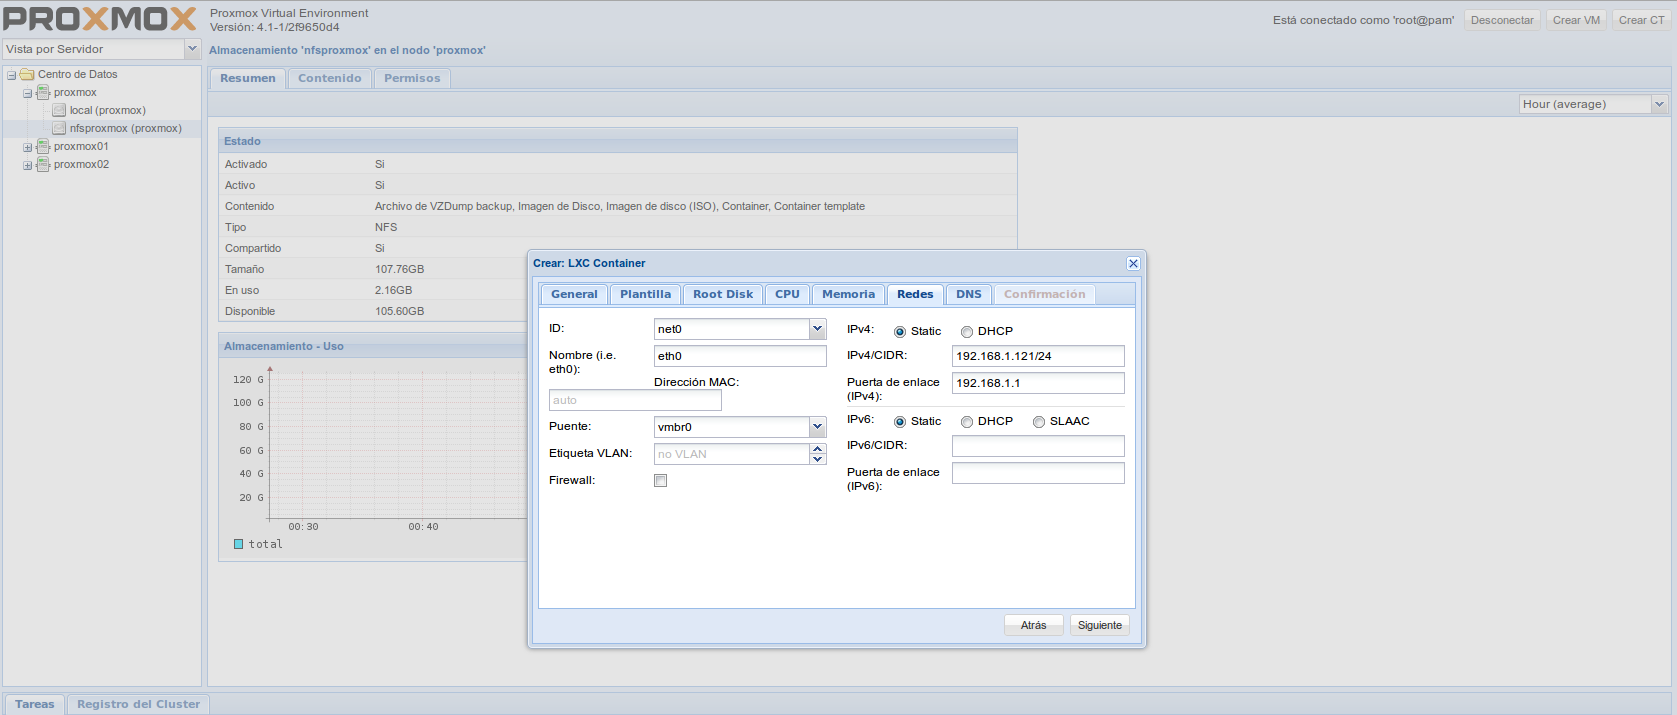
network interface configuration

Captura de pantalla de 2016-03-30 01:32:22

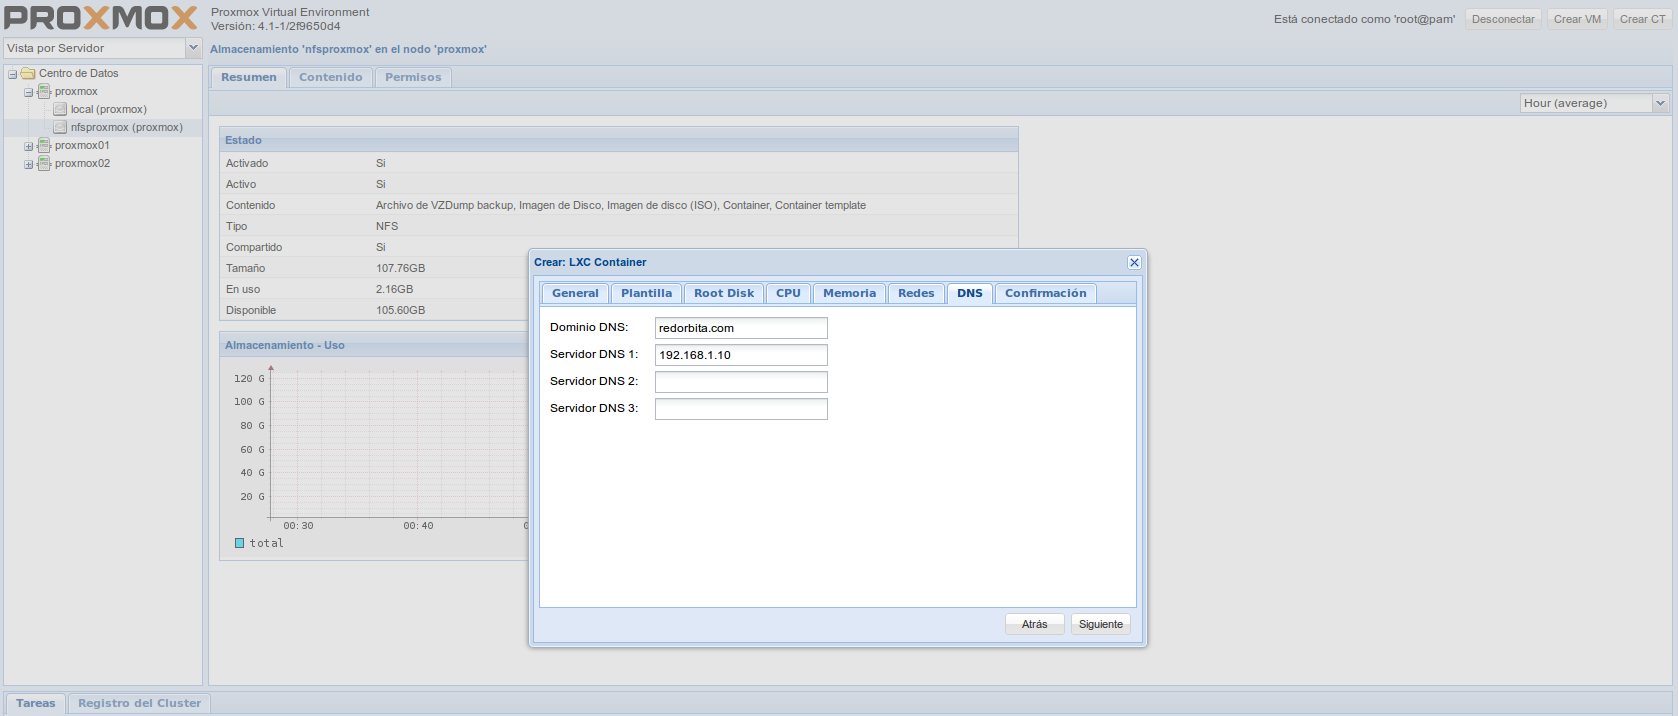
DNS settings

Captura de pantalla de 2016-03-30 01:32:42

A brief summary of configuration features
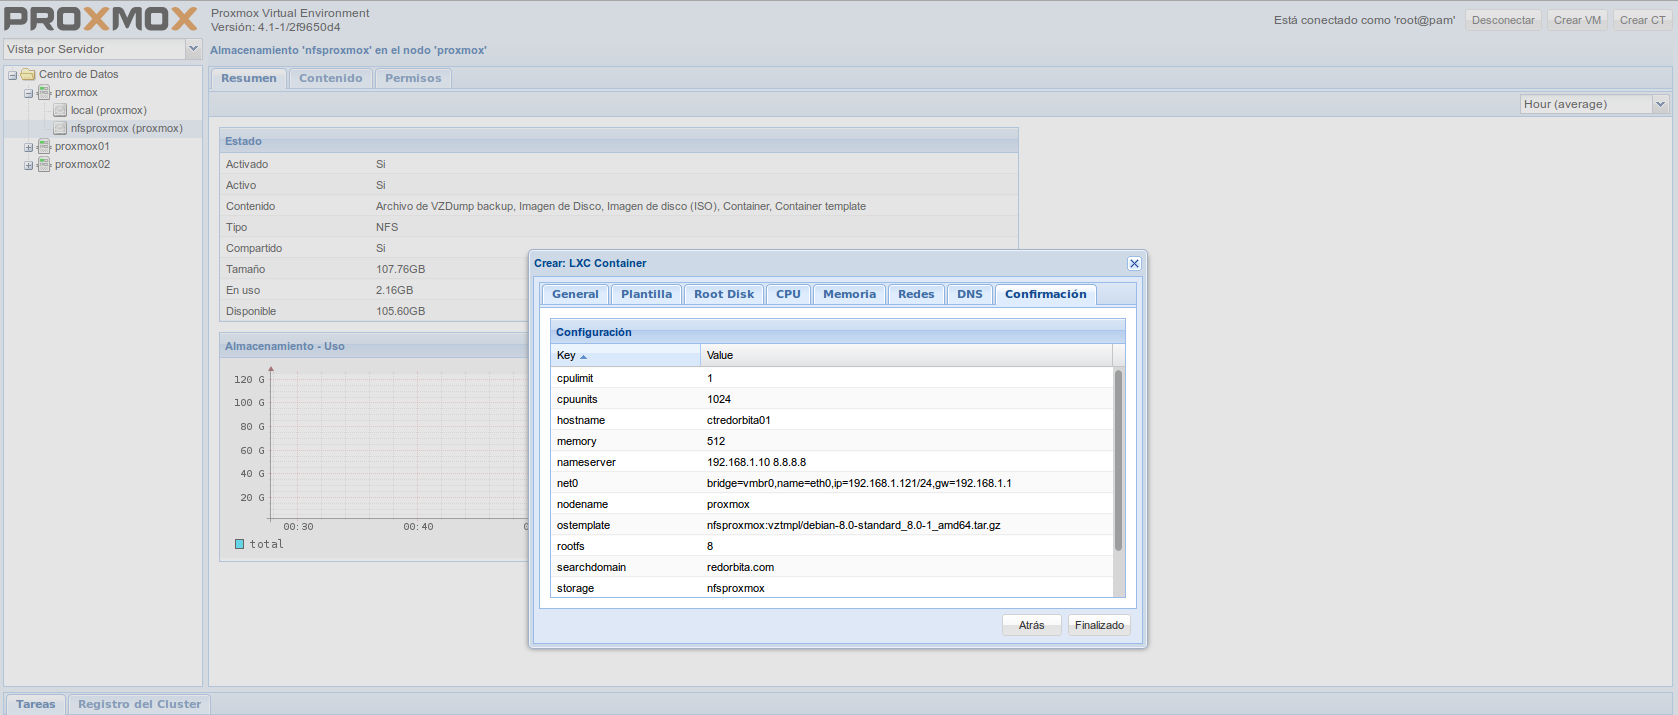
Captura de pantalla de 2016-03-30 01:32:52

We finish

Captura de pantalla de 2016-03-30 01:33:55

once the container is deployed, right click on it > Start
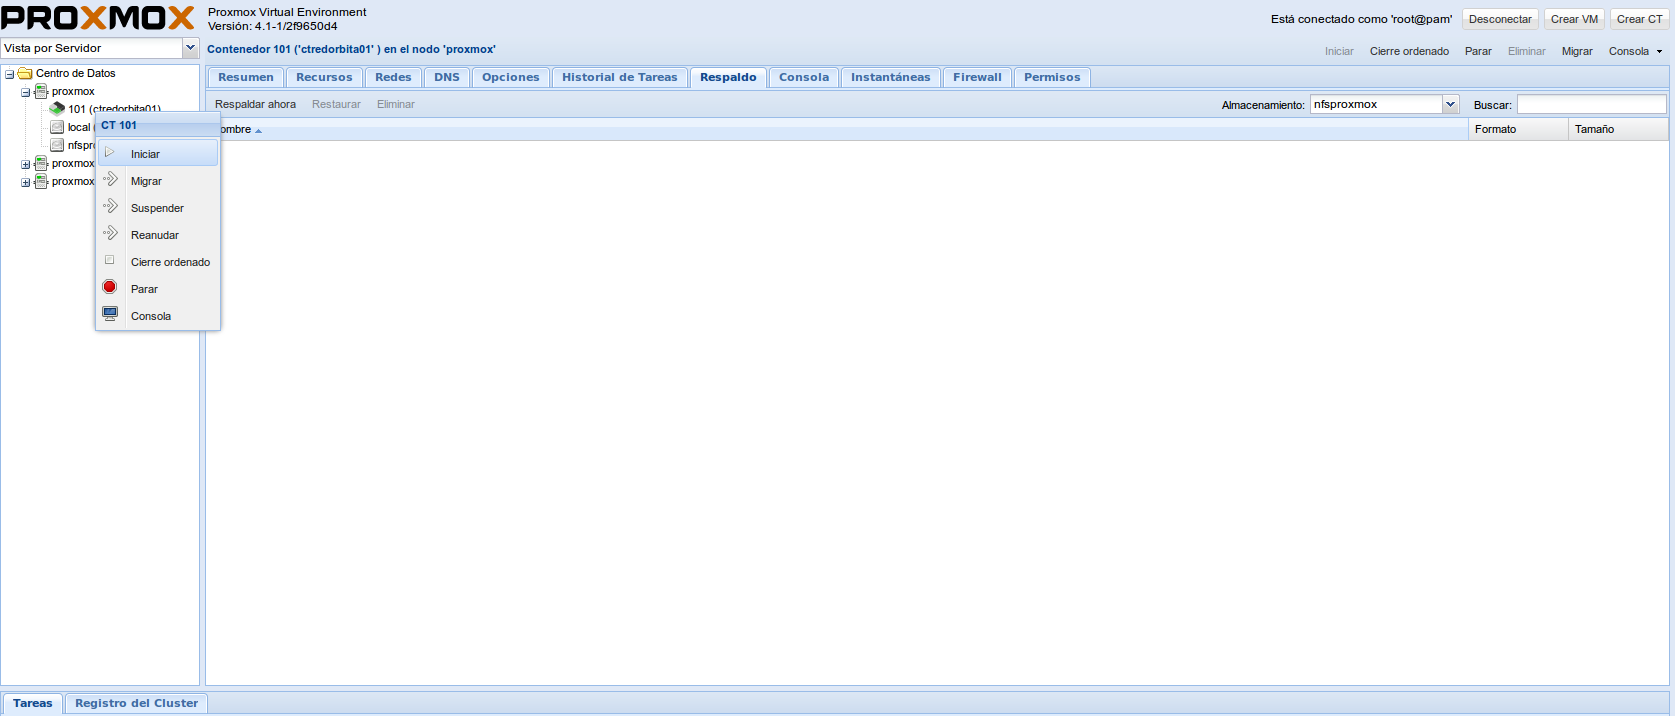
Captura de pantalla de 2016-03-30 01:34:32

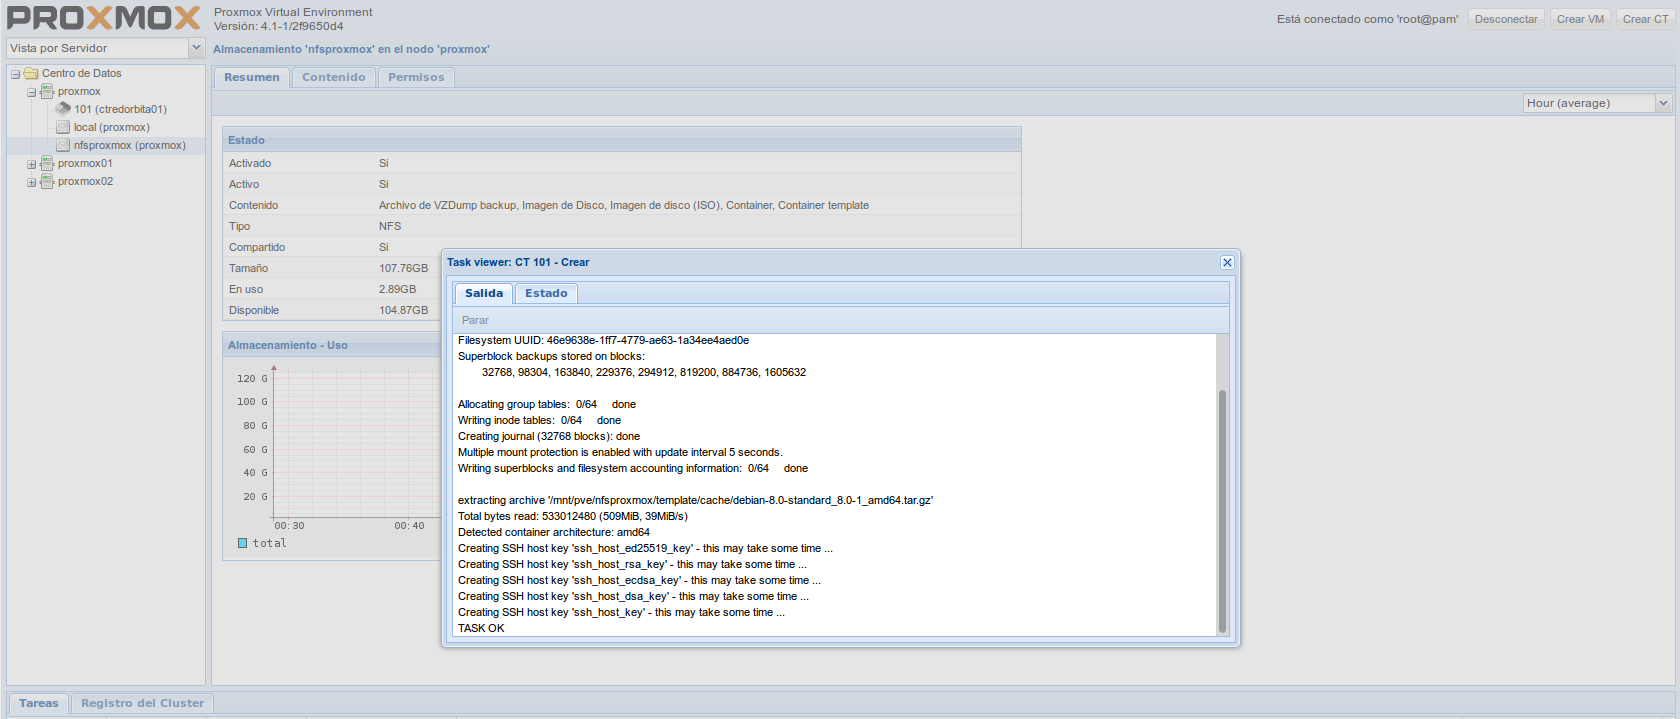
The container is now ready to start working!
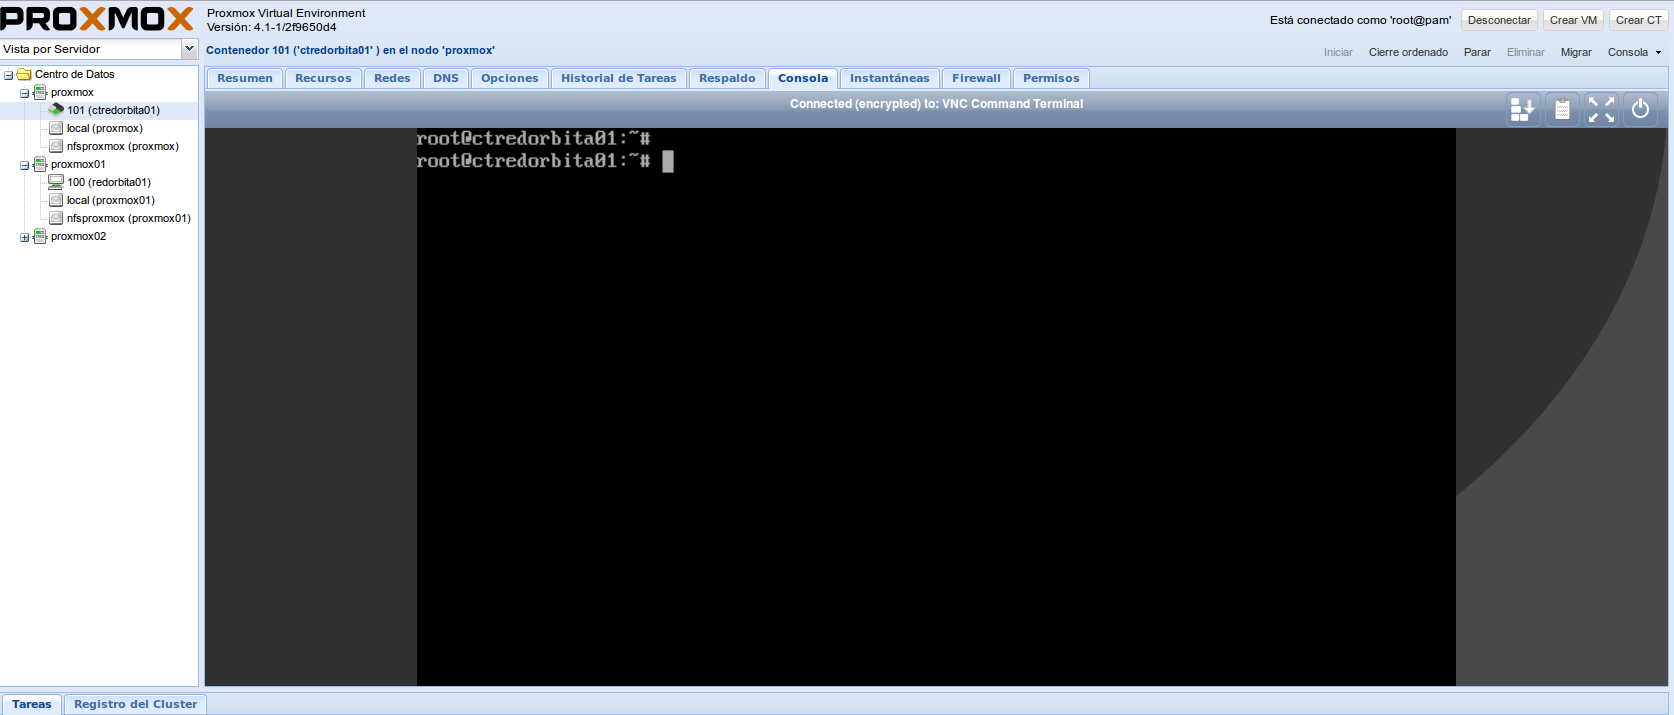
Captura de pantalla de 2016-03-30 01:53:23

All the best

:wq!

Comments