
Why configure Transparent Proxy?
Typically, proxies use port 3128 and therefore it must be configured on each client so that it can access the Internet through the proxy. On the other hand, in a transparent proxy it is not necessary to make any type of configuration on the client, all traffic is redirected to port 80, therefore, as its name indicates, it is transparent to the client.
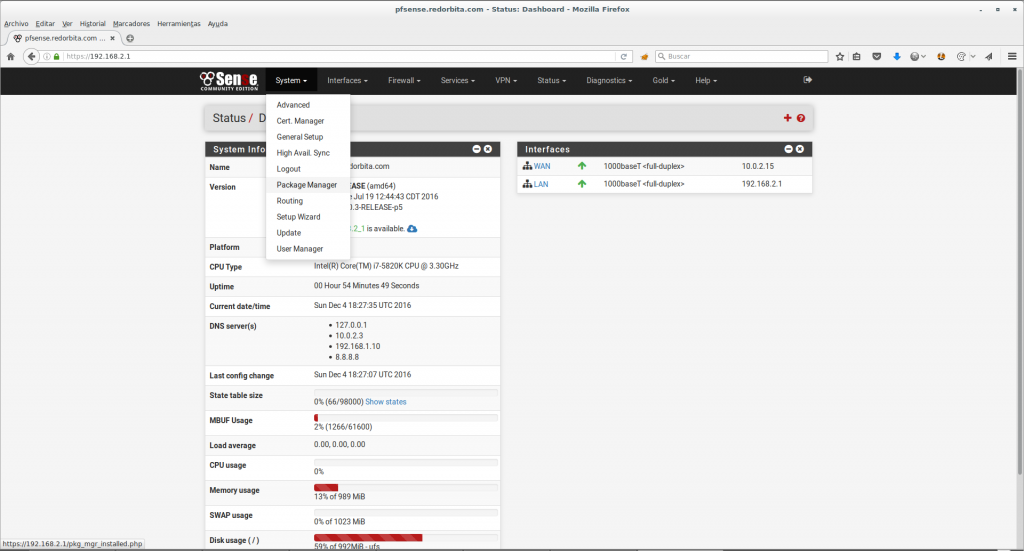
First of all we are going to install the Squid package, to do this we have to go: System > Package Manager
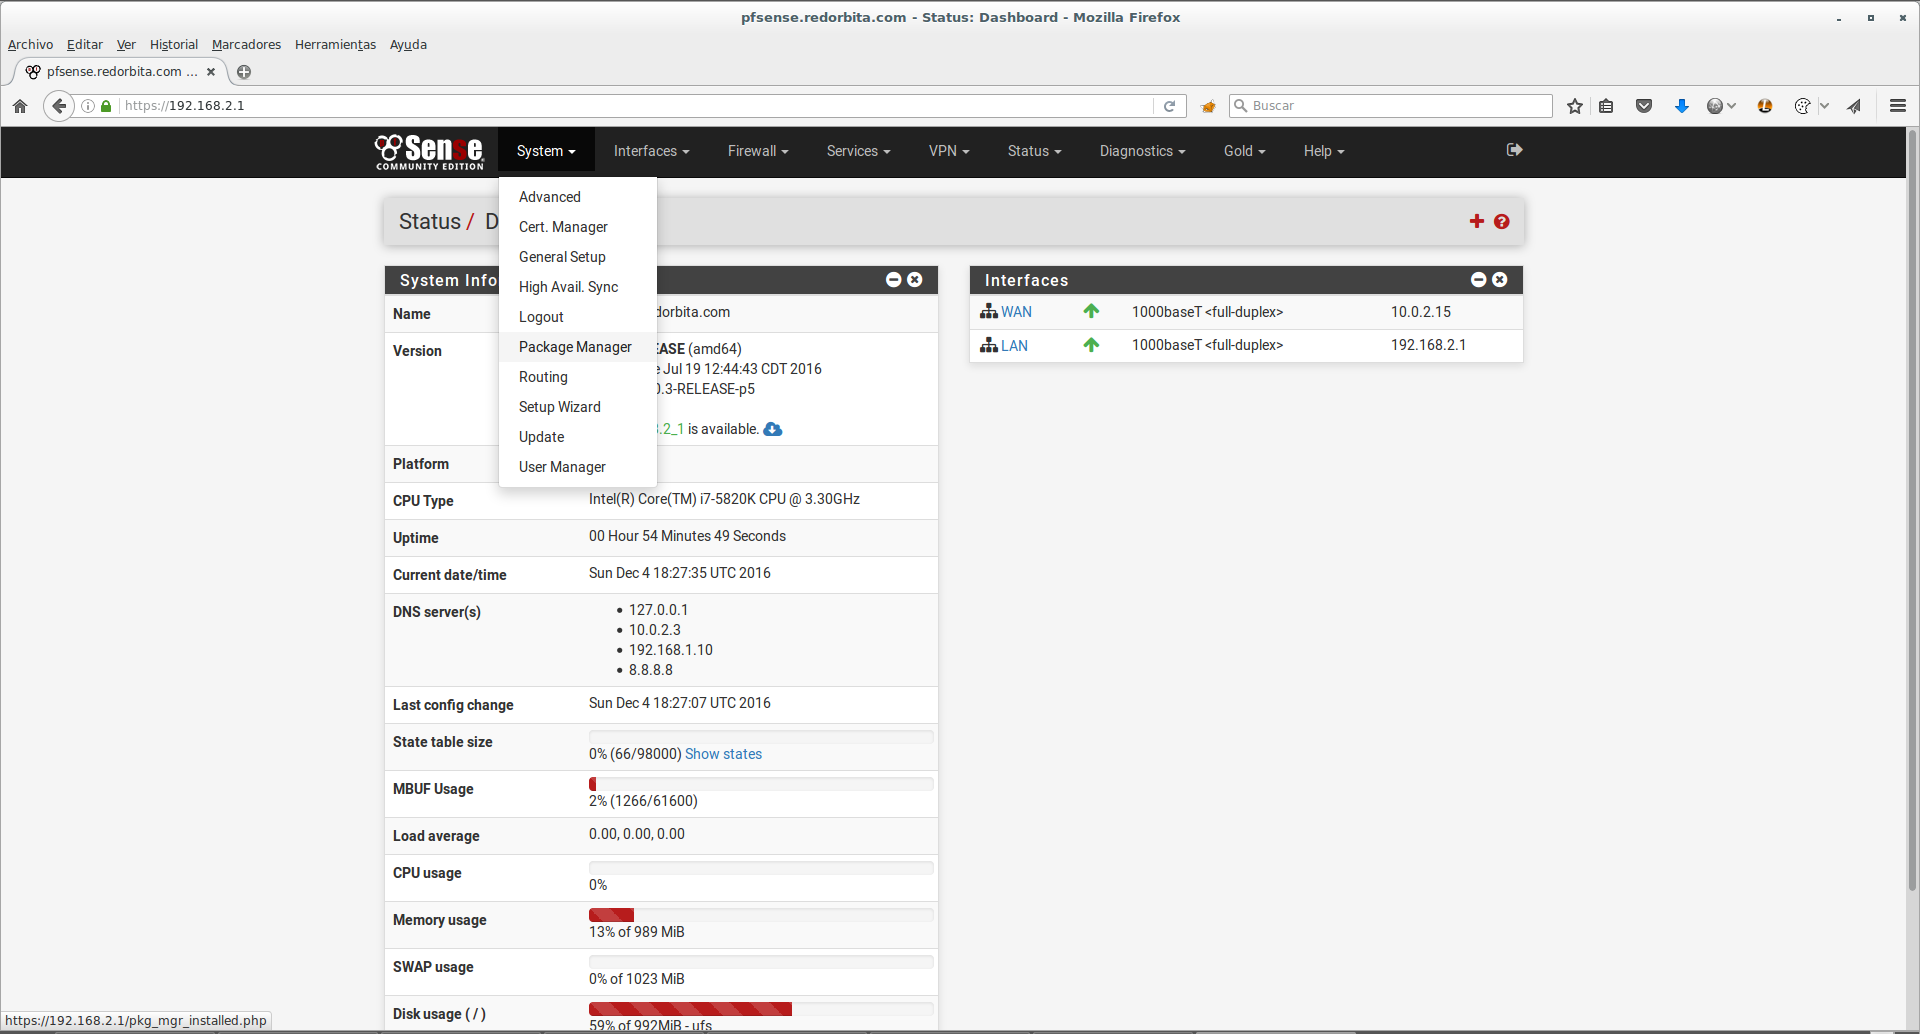
We press on Available Packages, In it we get a list of all the packages available to install, we look for squid and we click Install
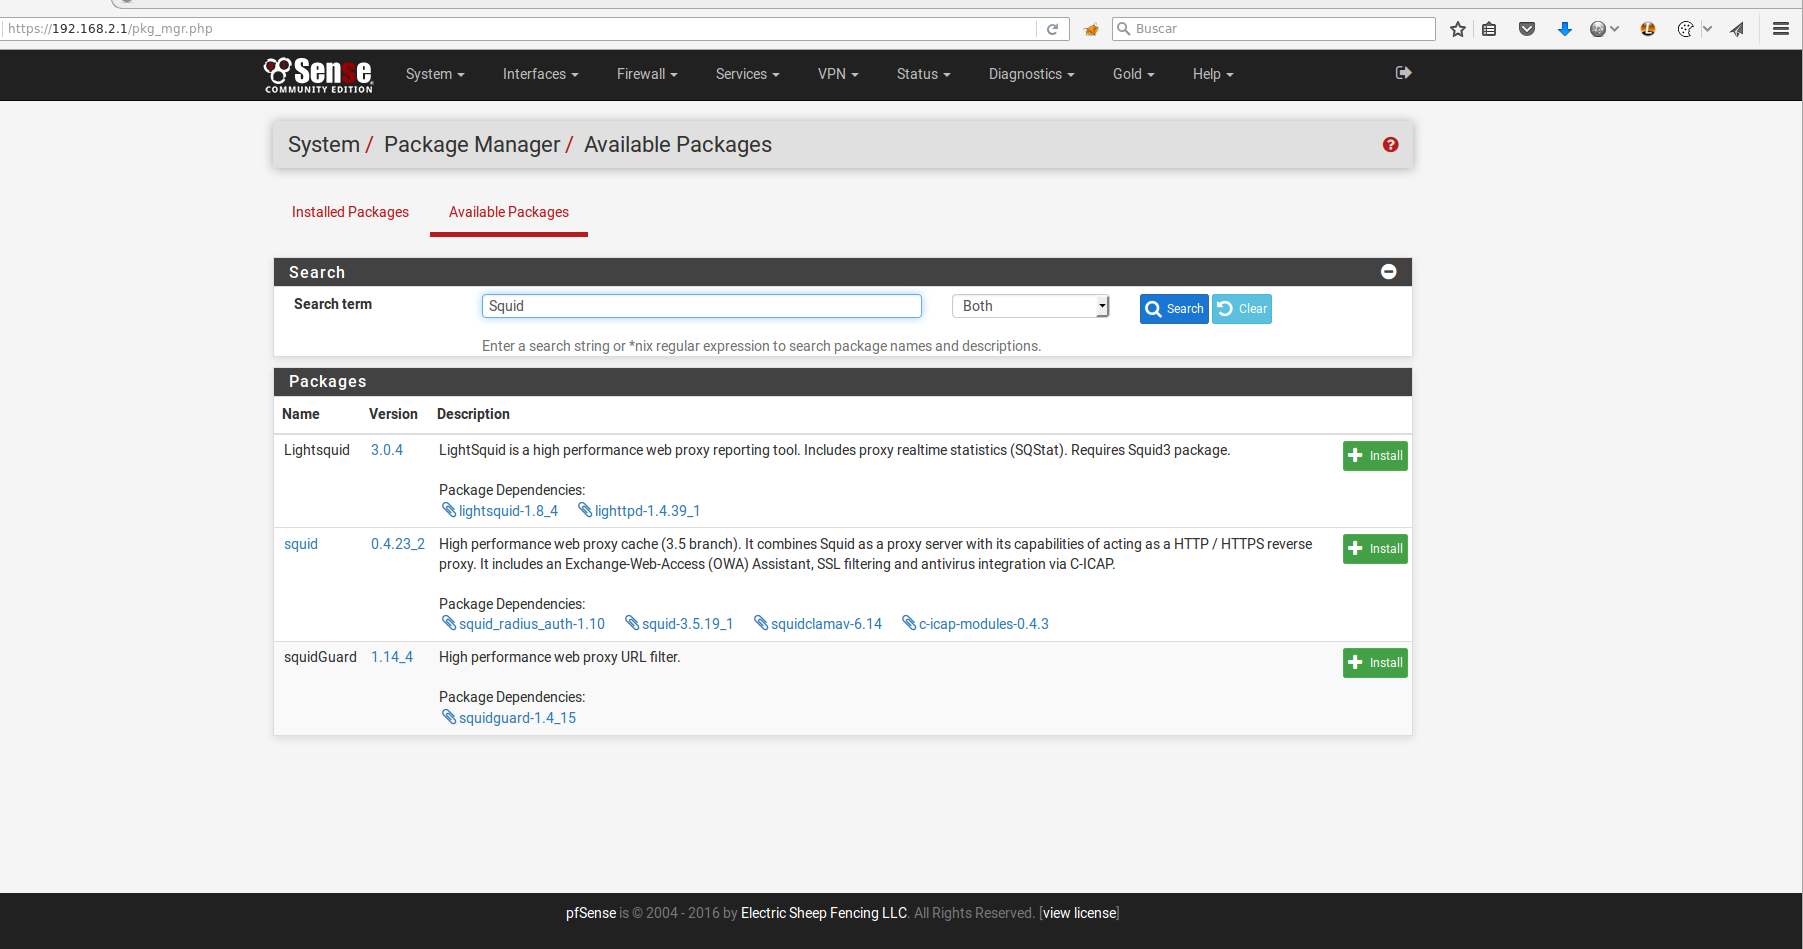
We confirm the installation.
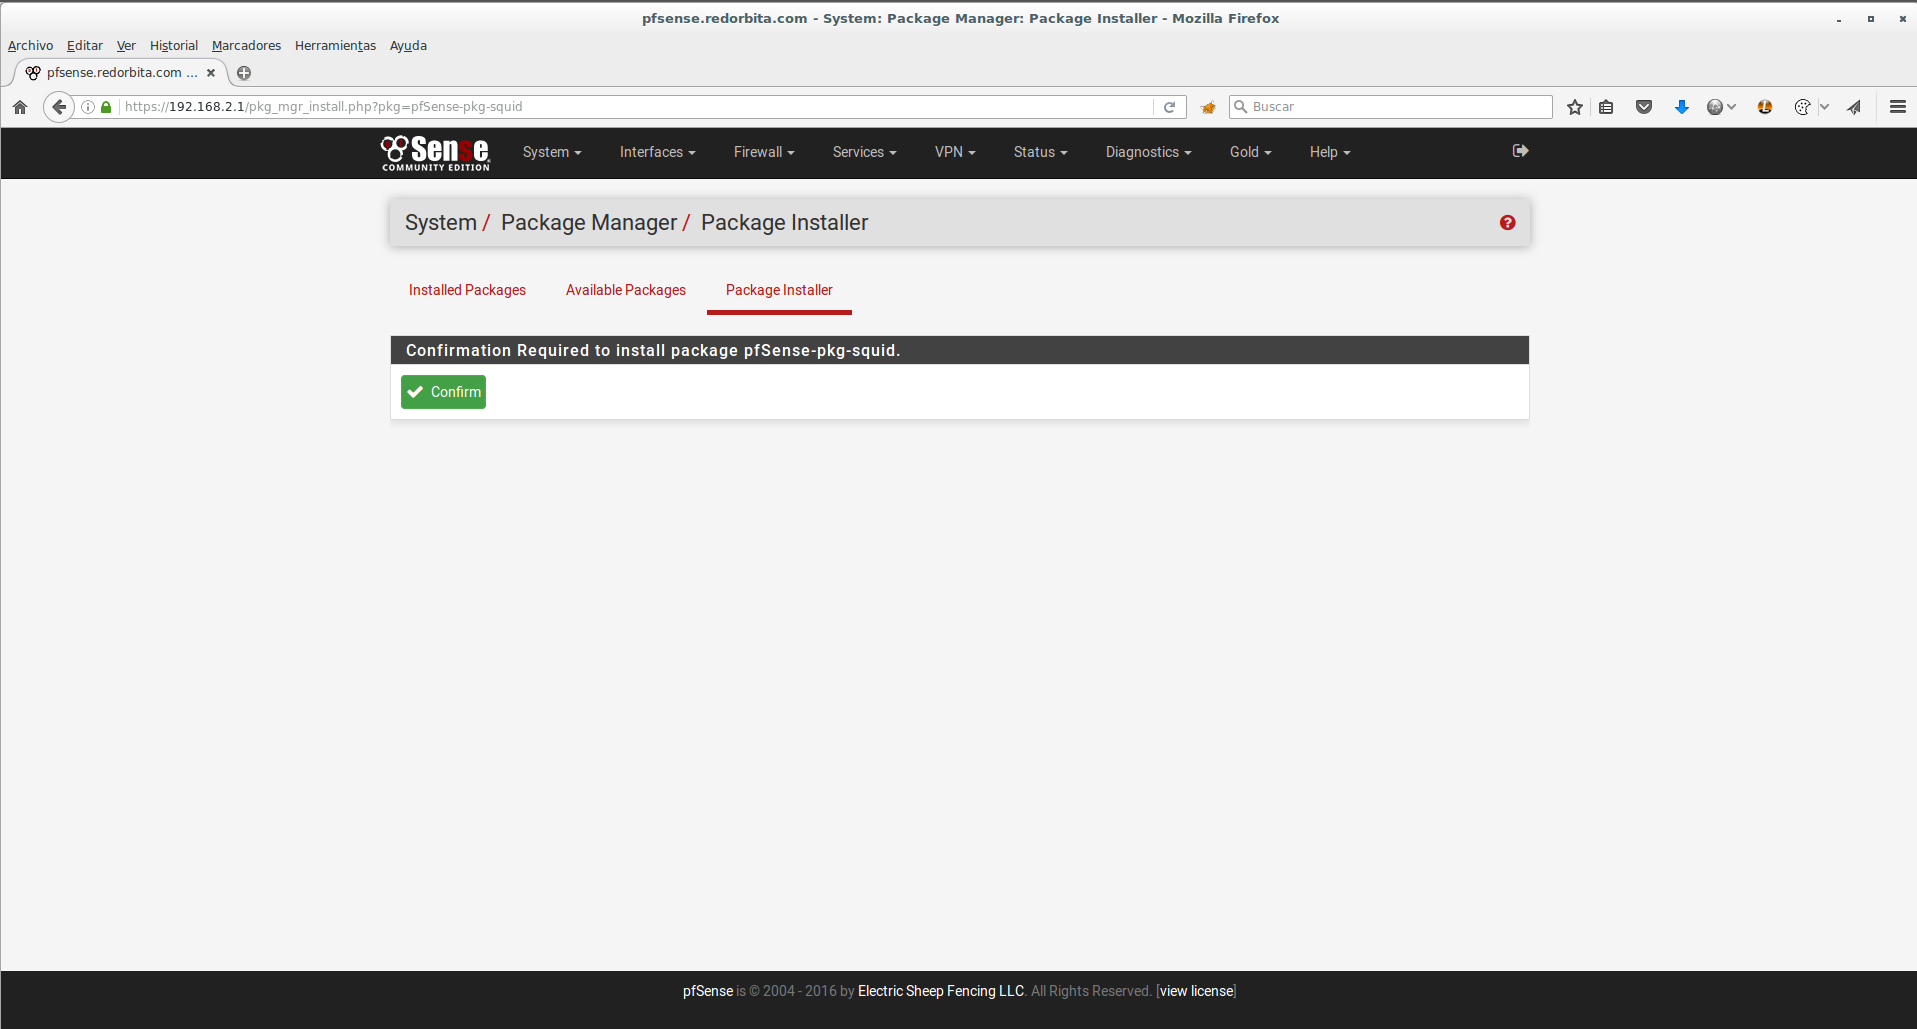
We wait for the installation to finish.
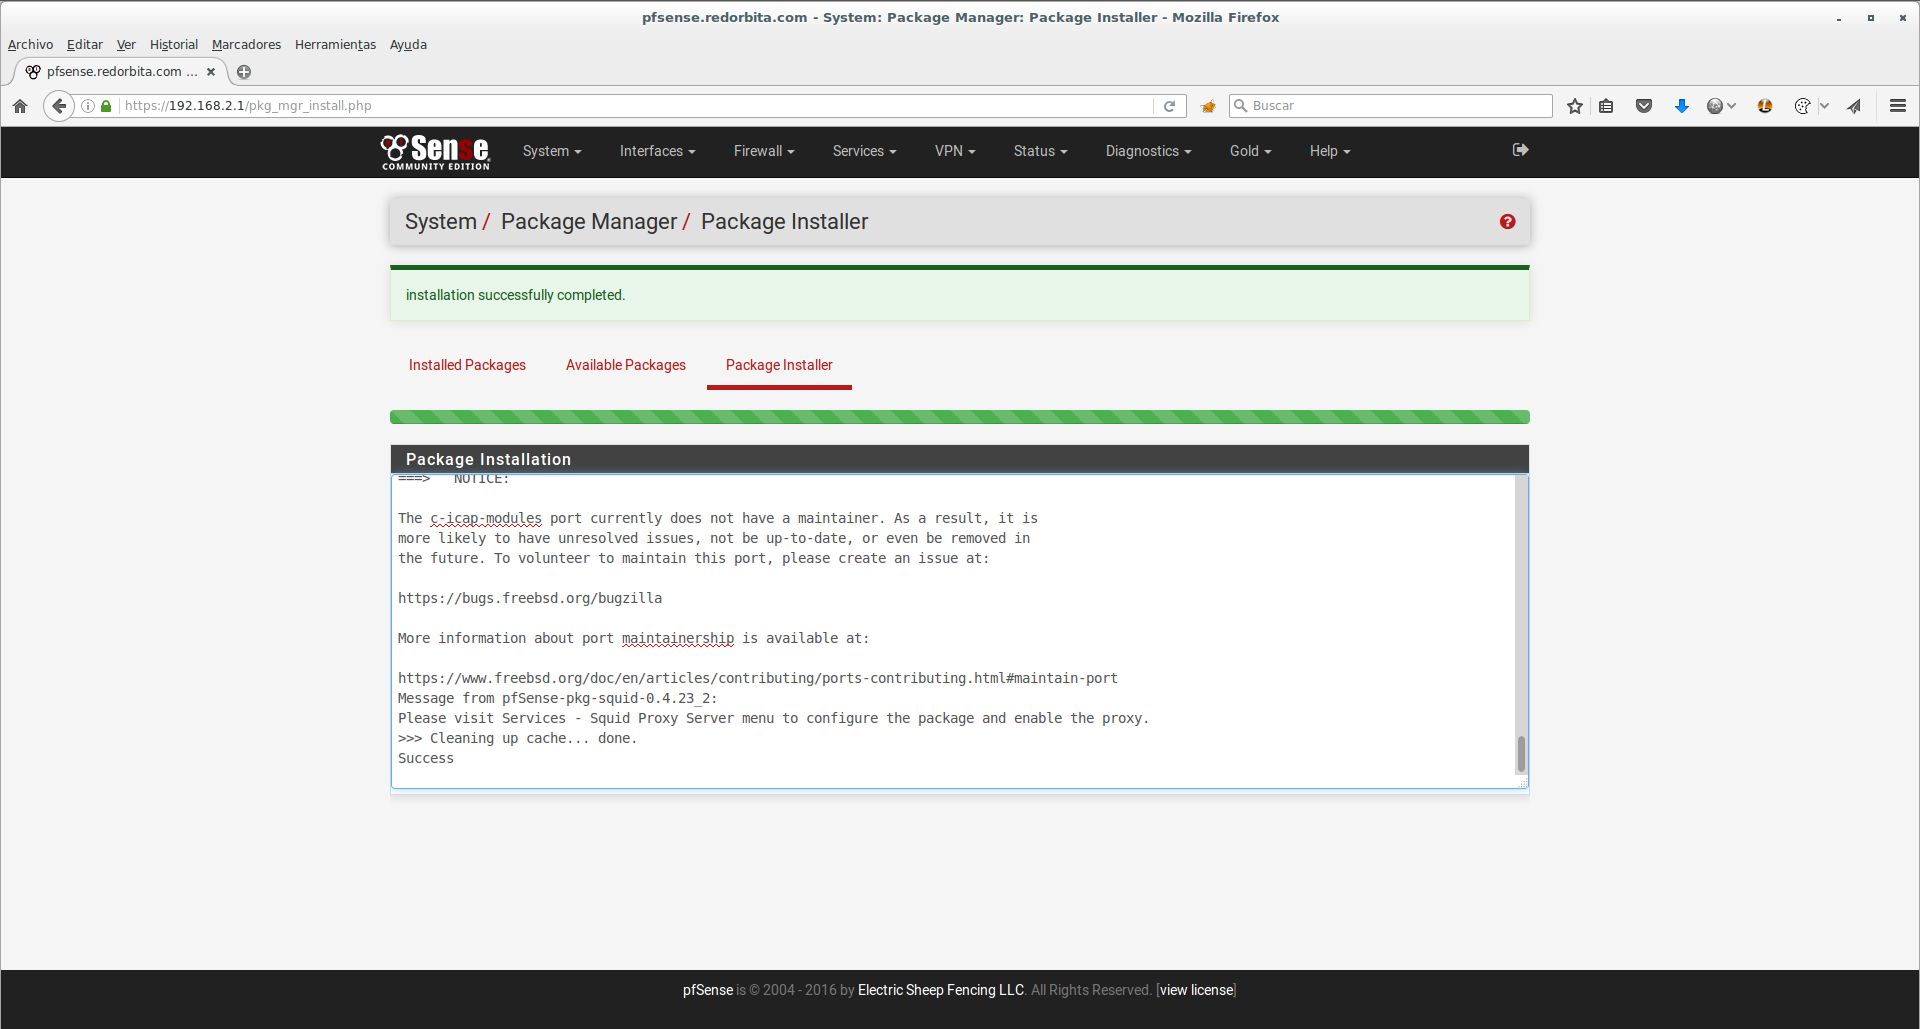
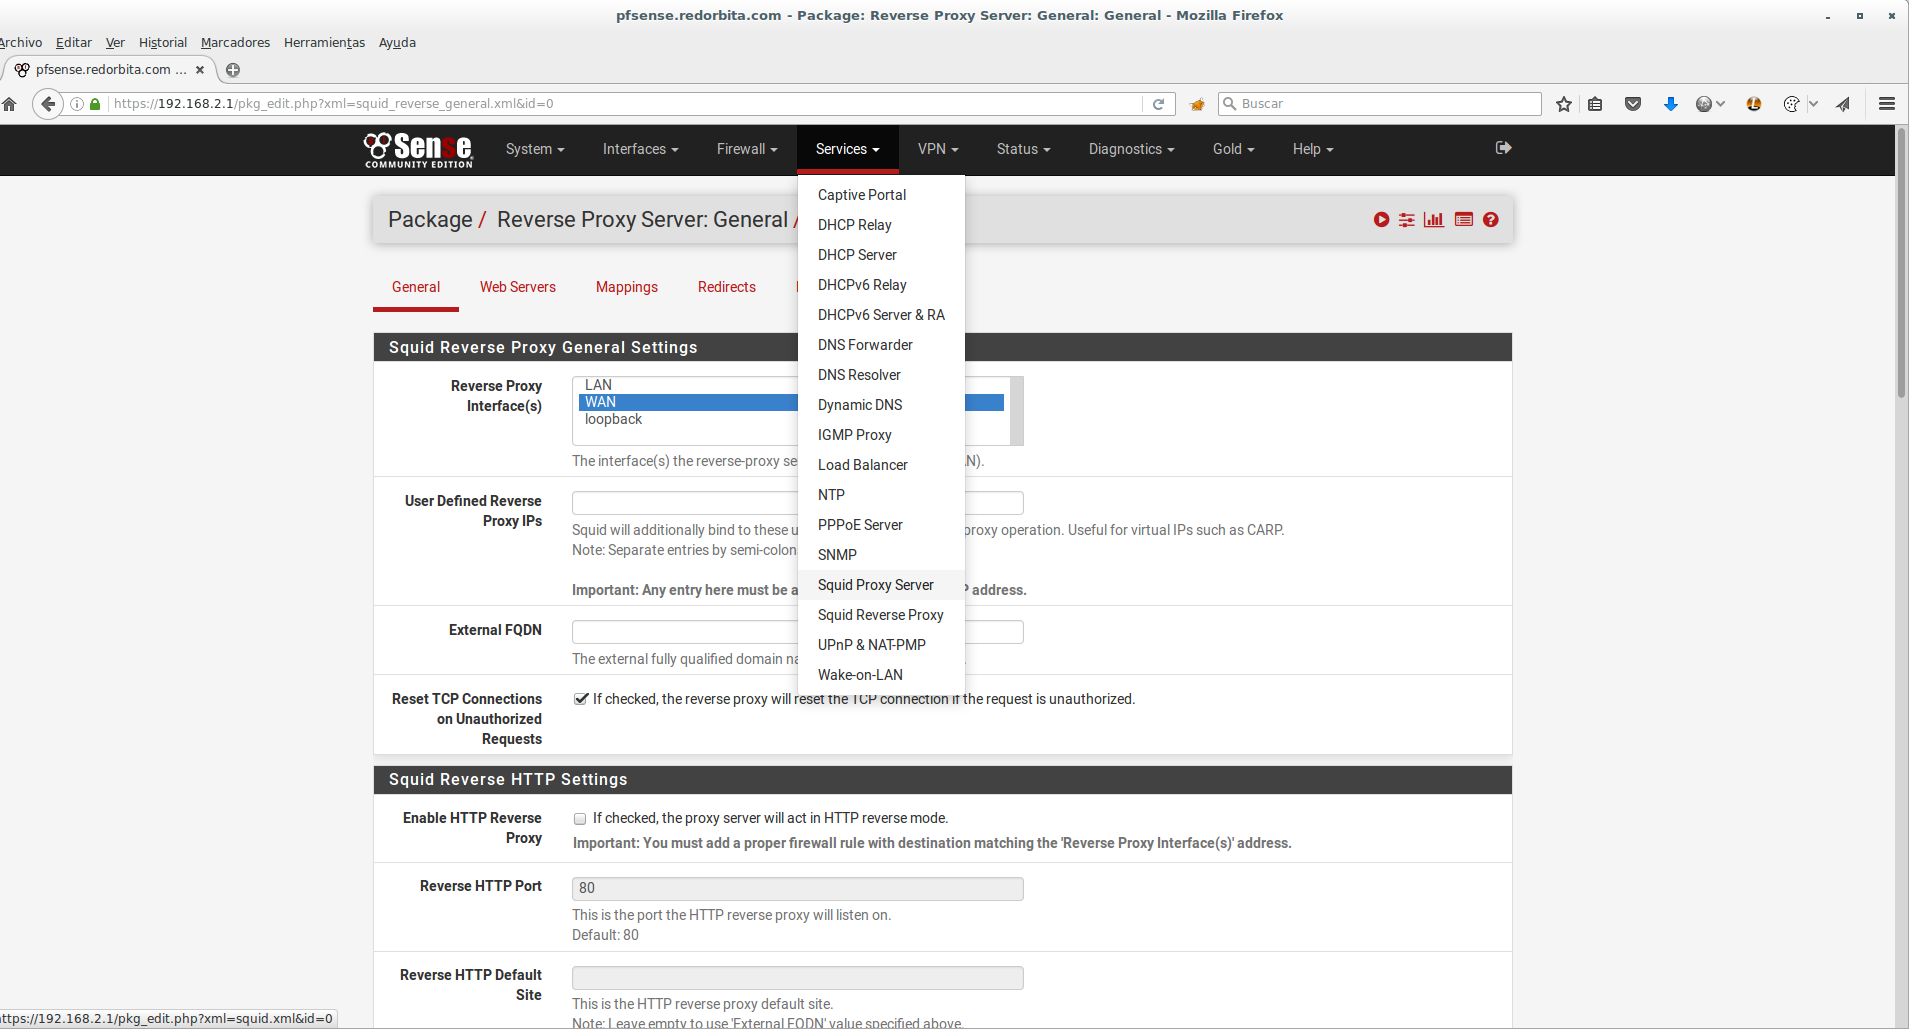
Once the installation is finished we will: Services > Squid Server Proxy
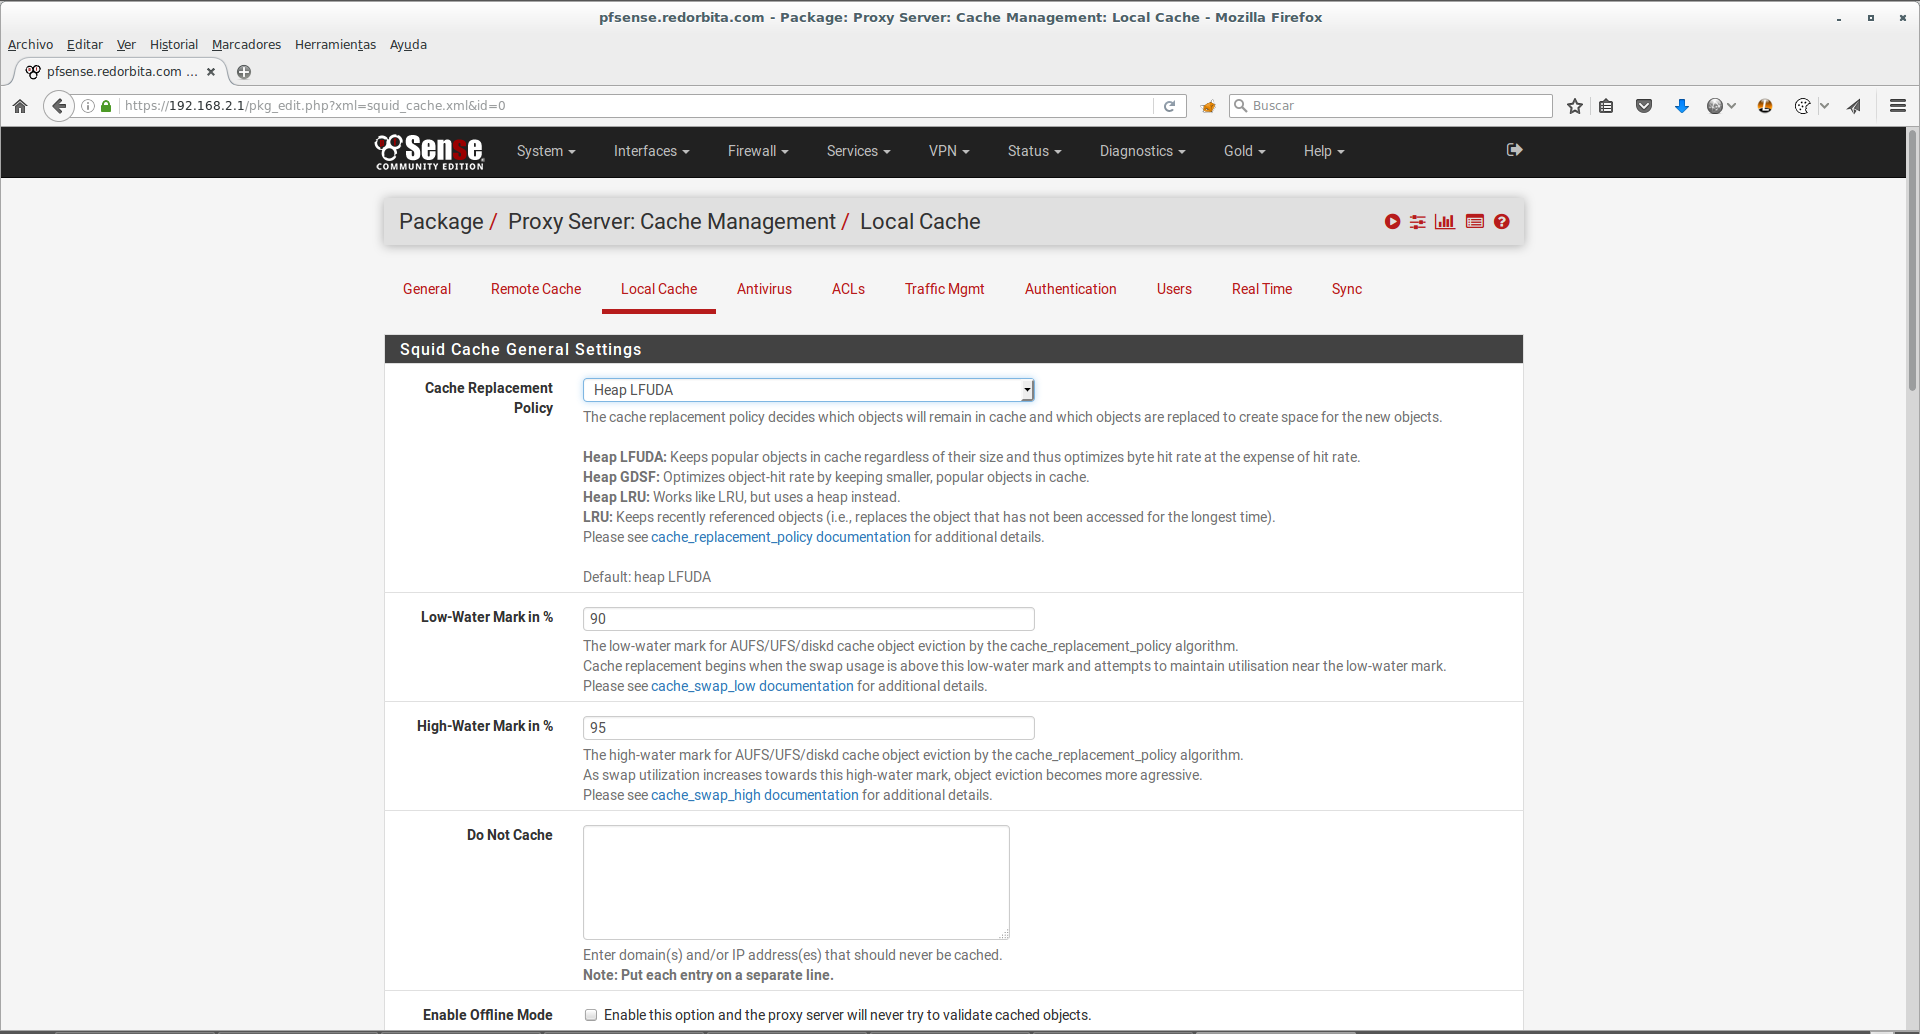
We click on Local Cache
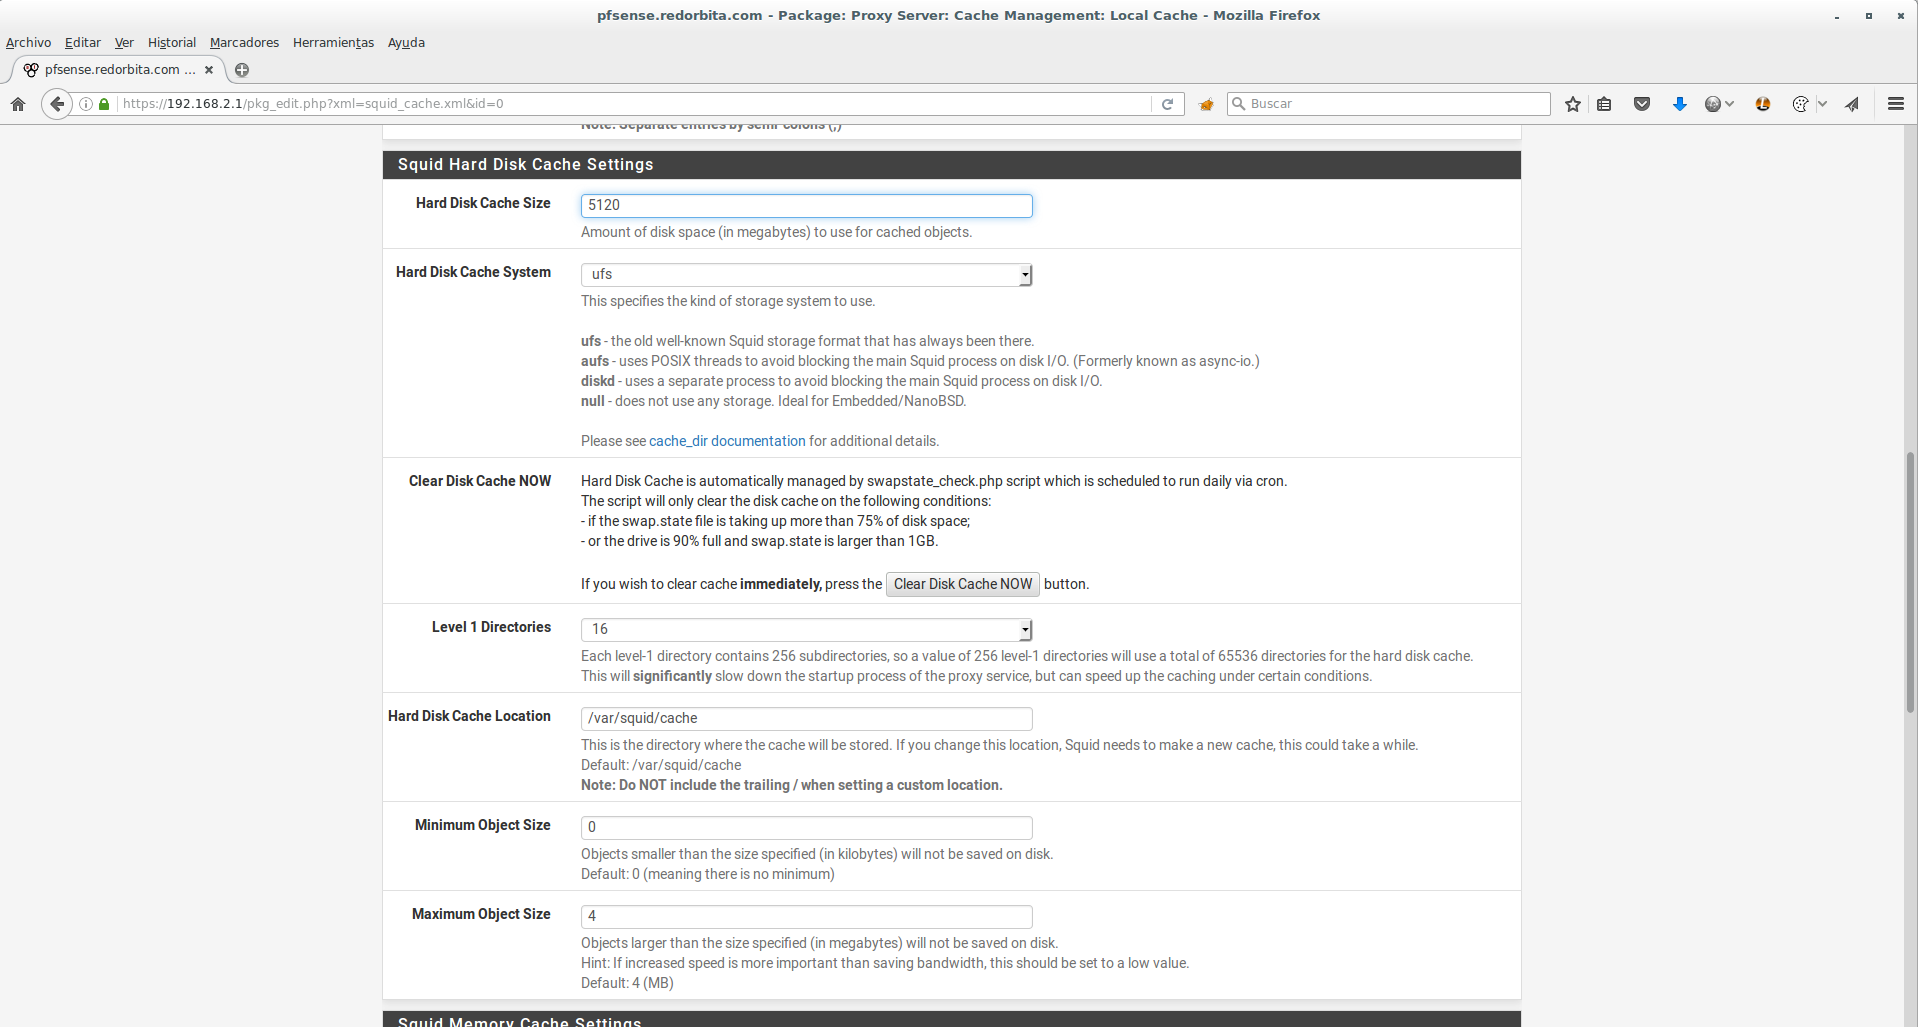
We modify Hard Disk Cache Size
We modify Memory Cache Size, this option will depend on the RAM memory you have, no more than 50% of the memory should be configured. Once configured we save the changes.
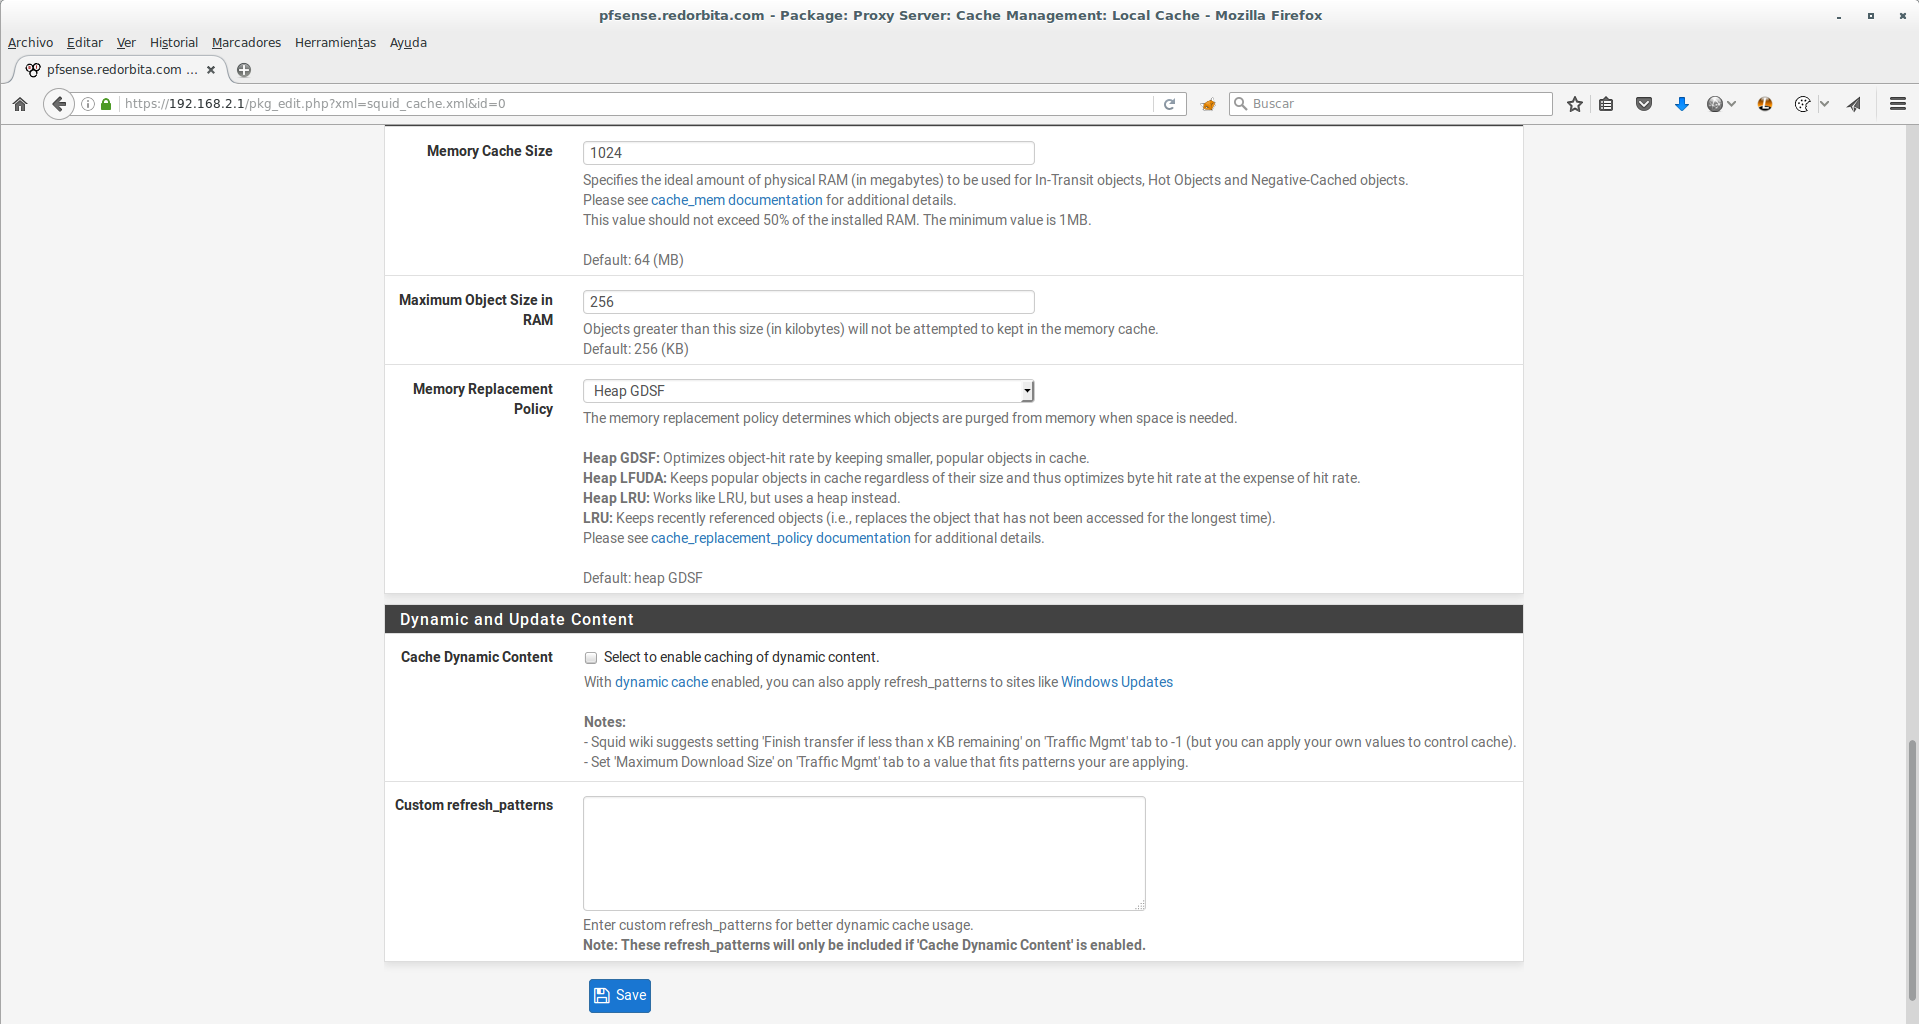
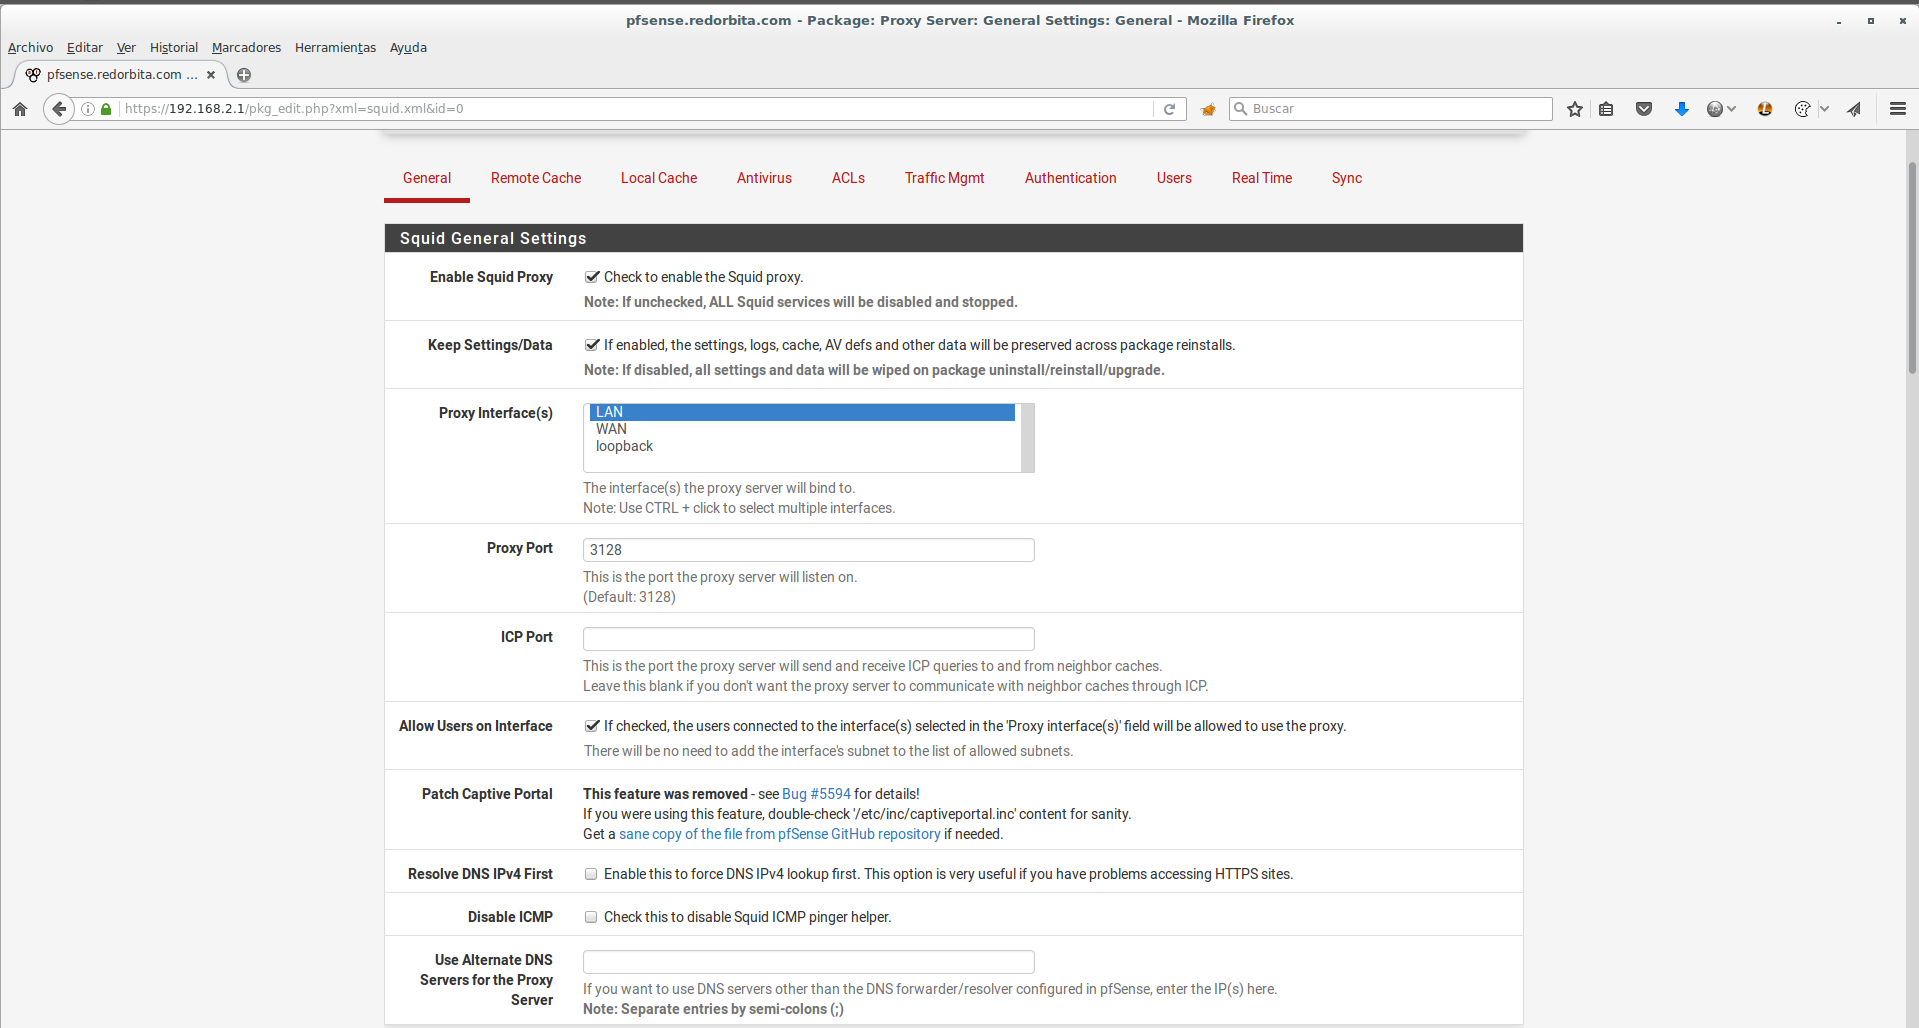
Once configured, we go to the General tab and we must activate the following options:
Check to enable the Squid Proxy.
If checked, the settings, logs, cache AV defs and other data will be preserved across package reinstalls.
Transparent HTTP Proxy.
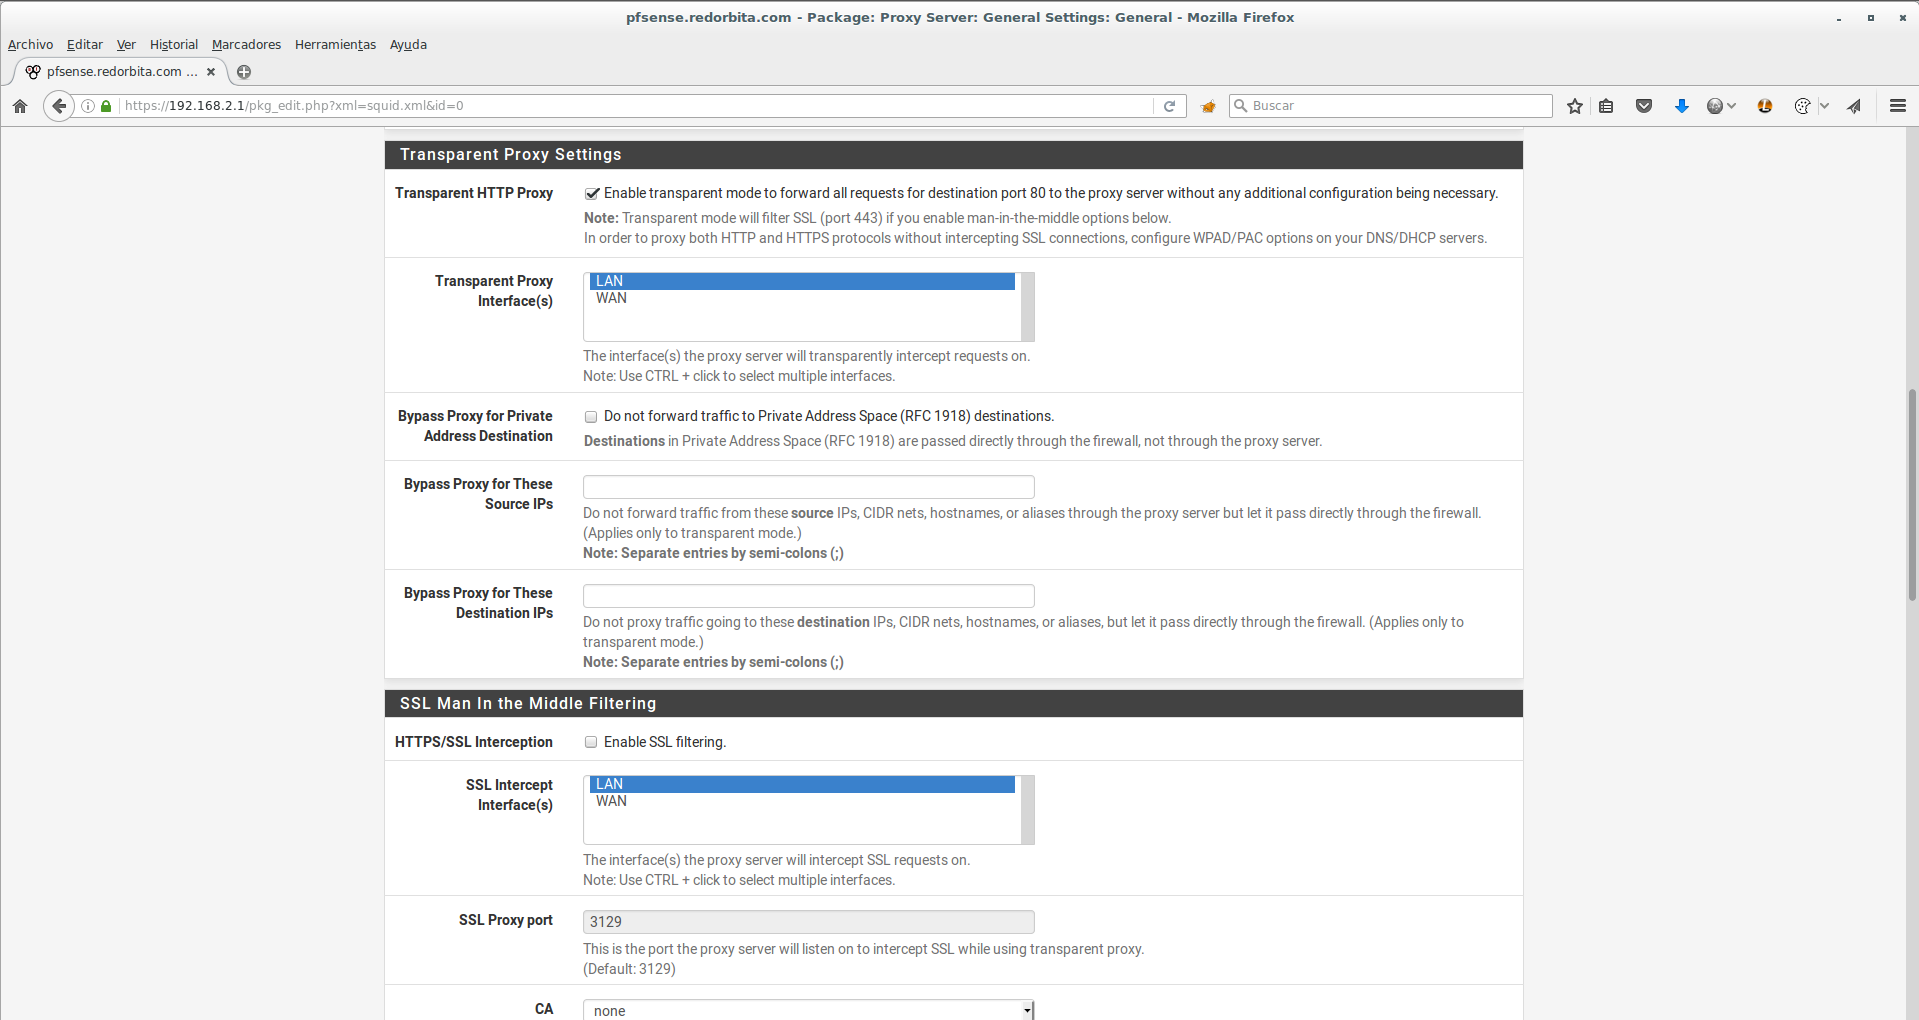
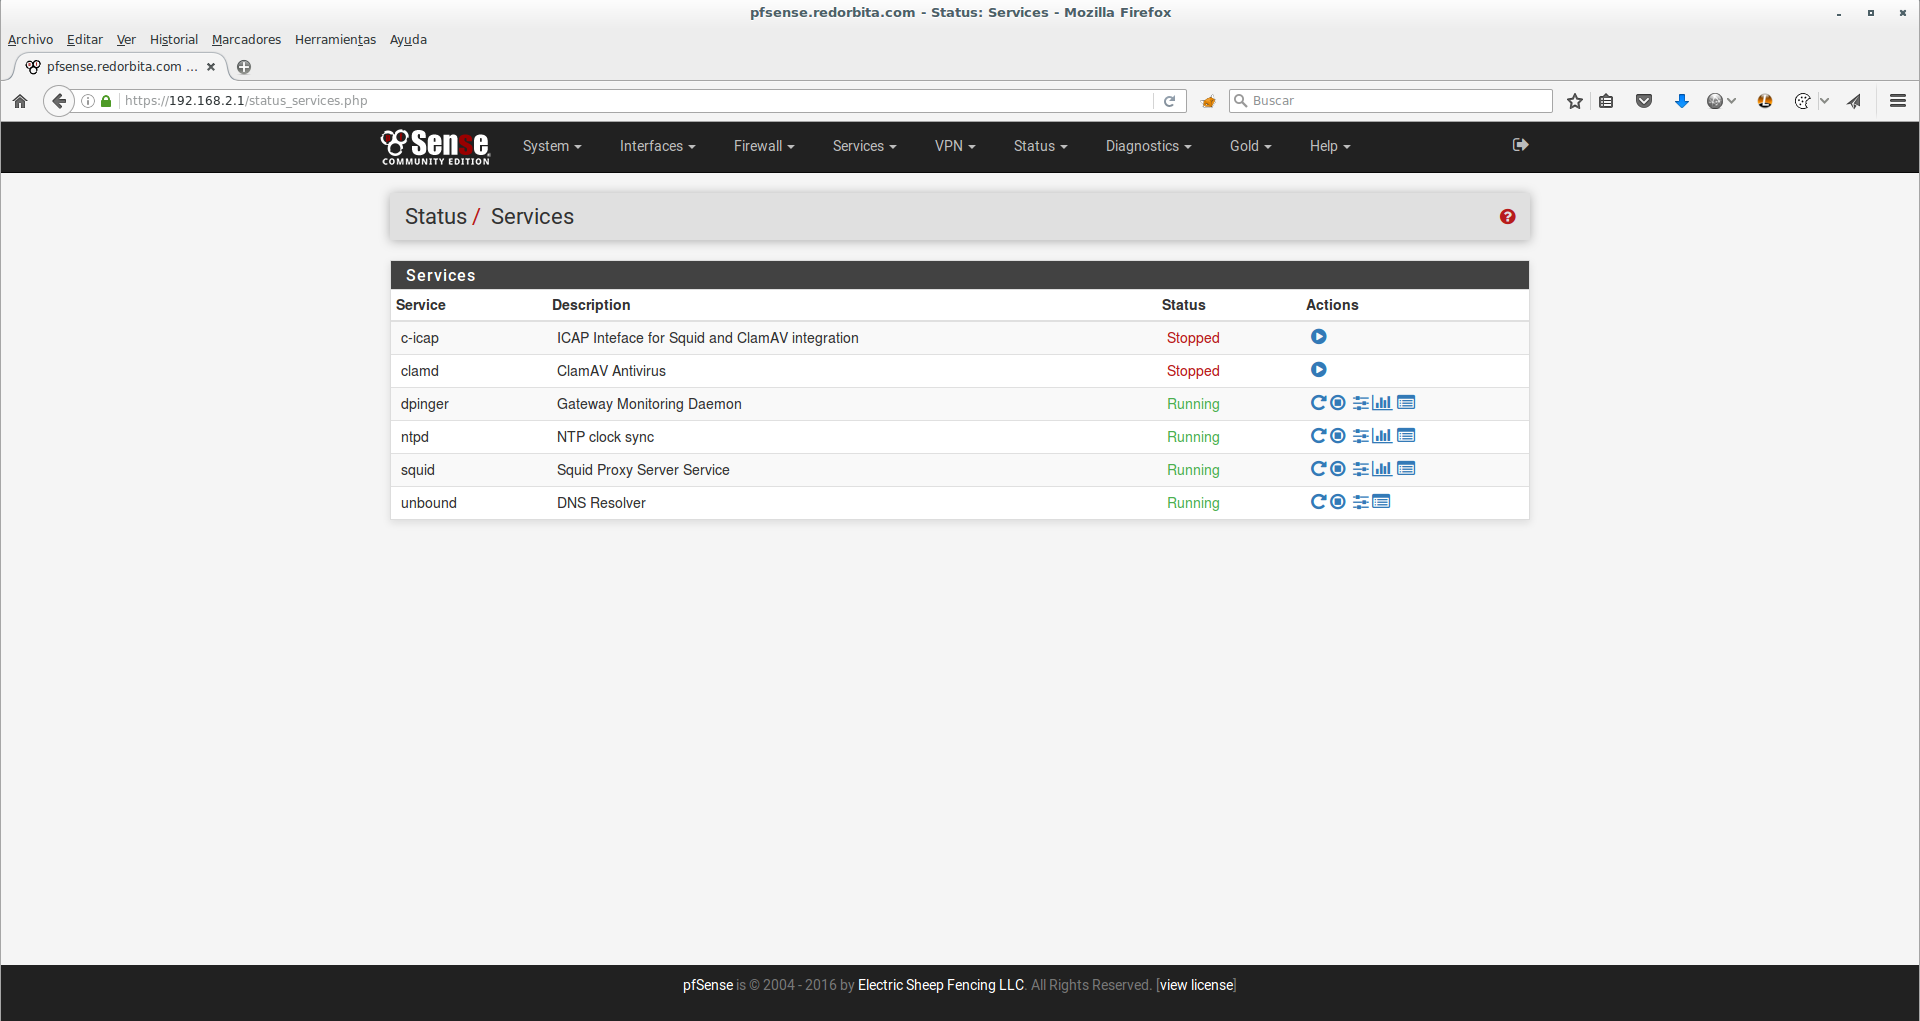
We verify that the service is started: Status > Services
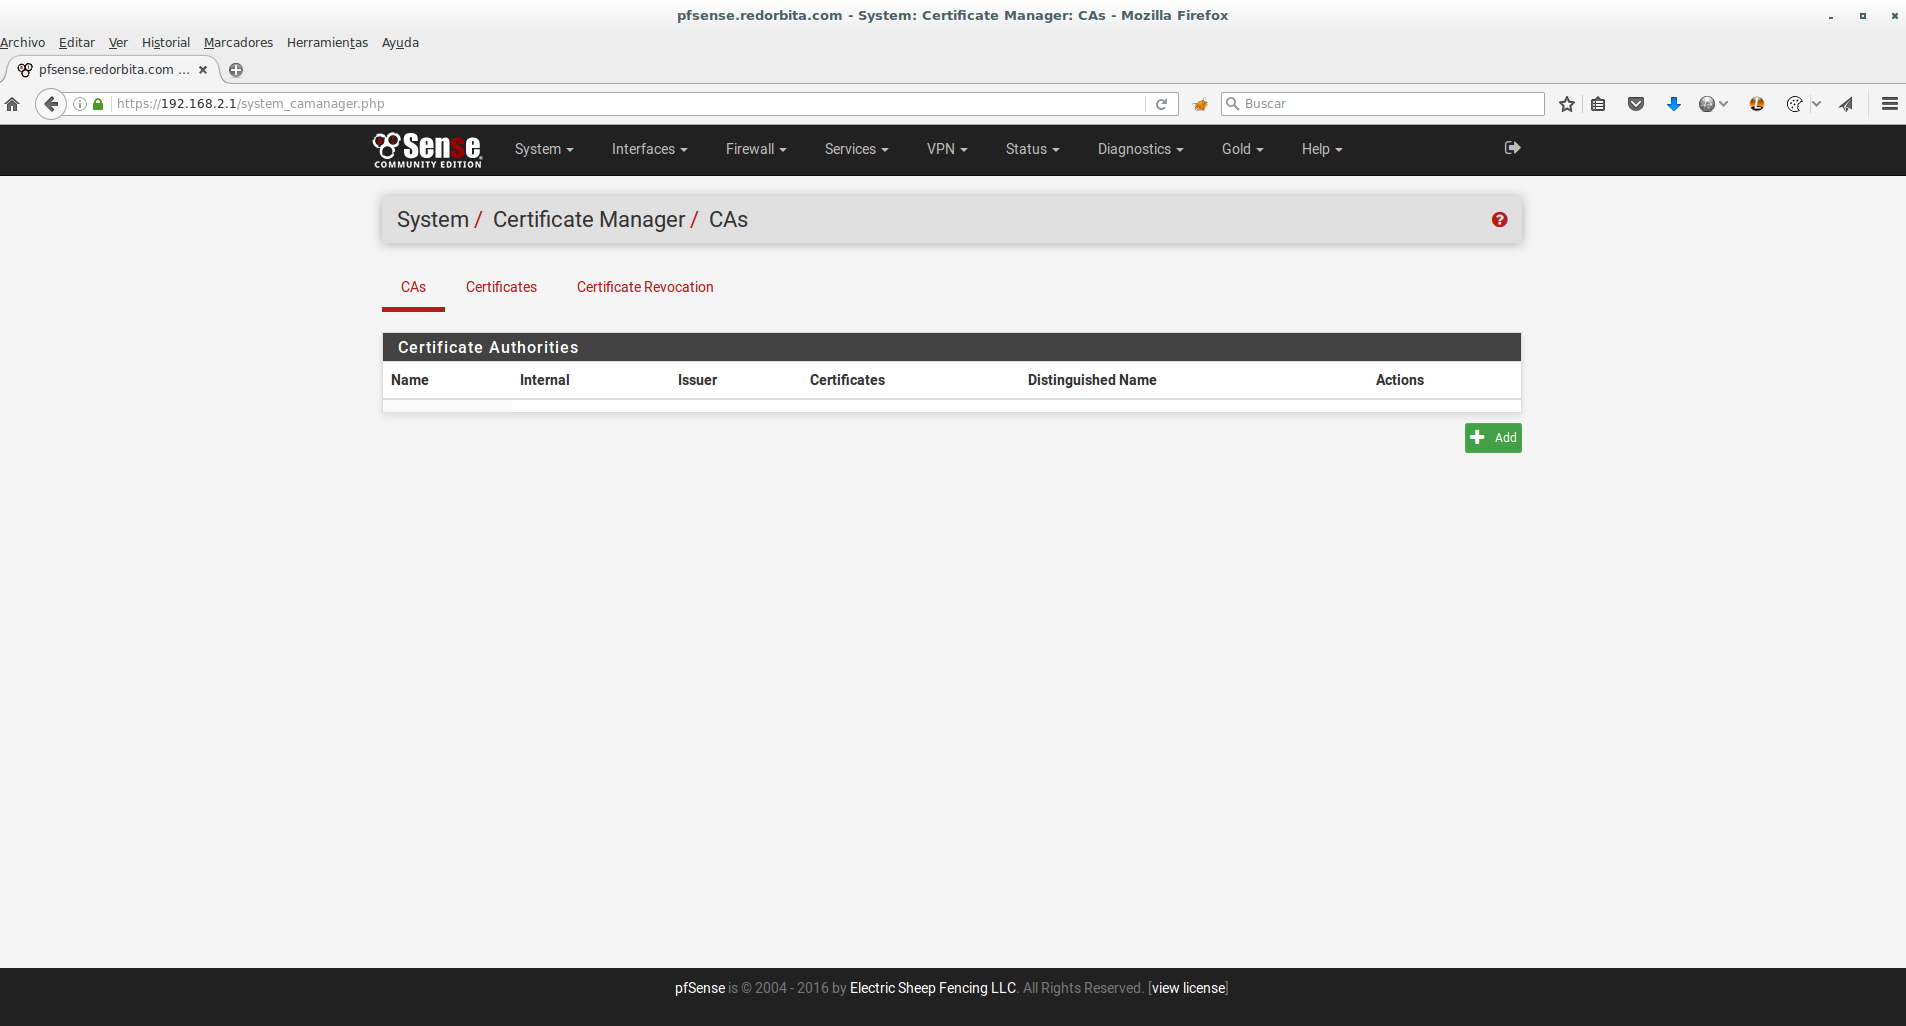
Next we are going to configure Squid Proxy HTTPS, to do this we first have to generate a certificate: System > Cert Manager
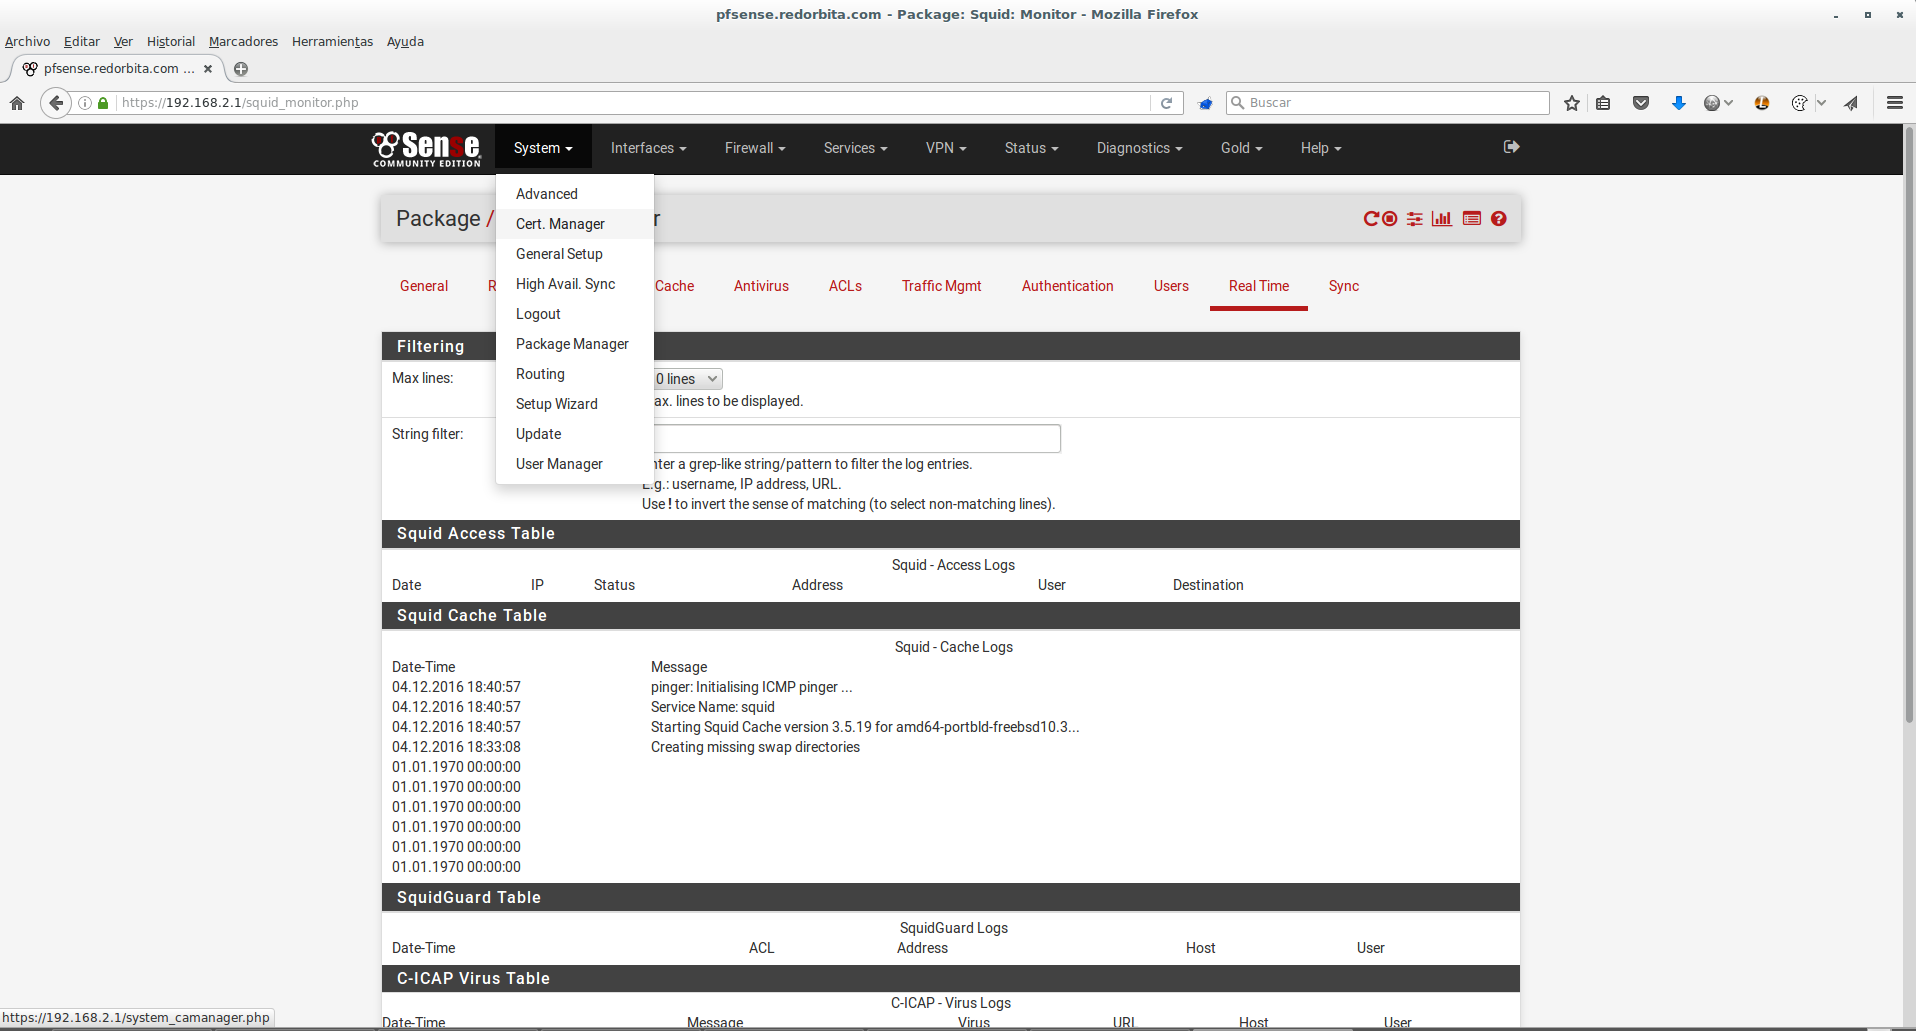
Add
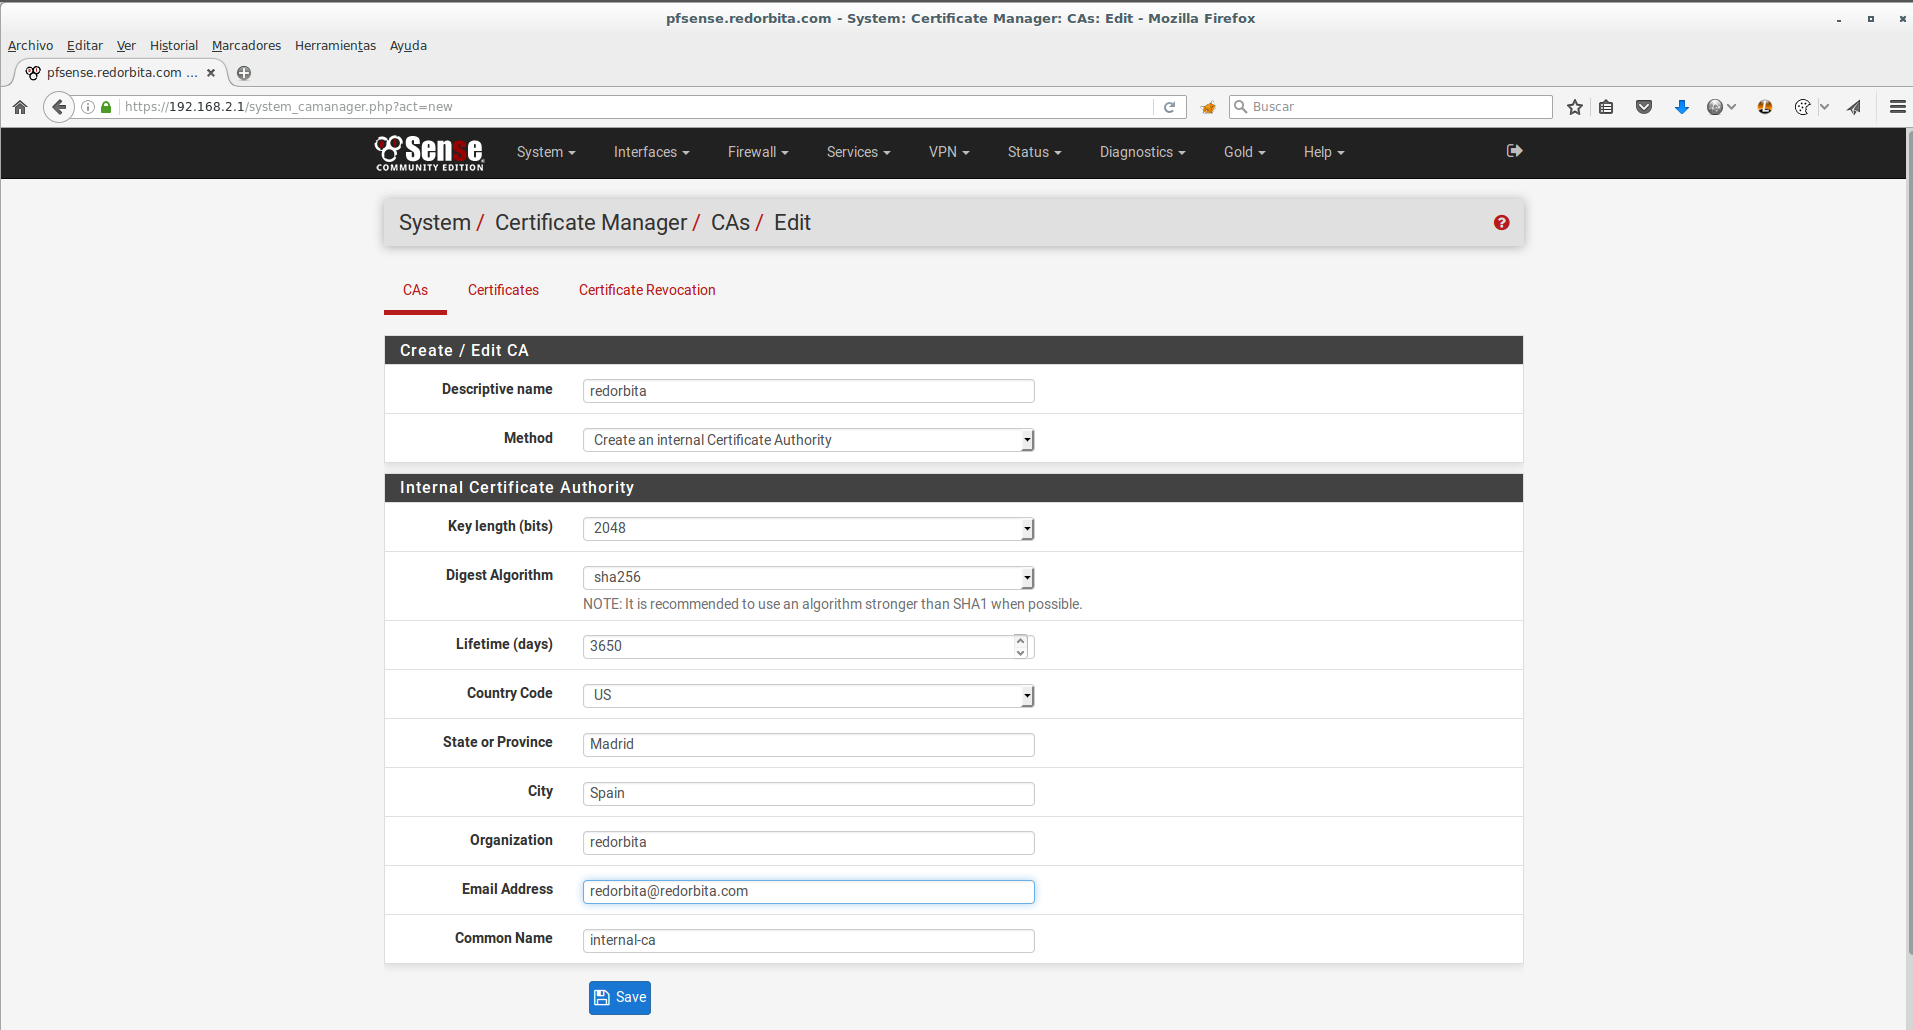
We configure the certificate, in my case:
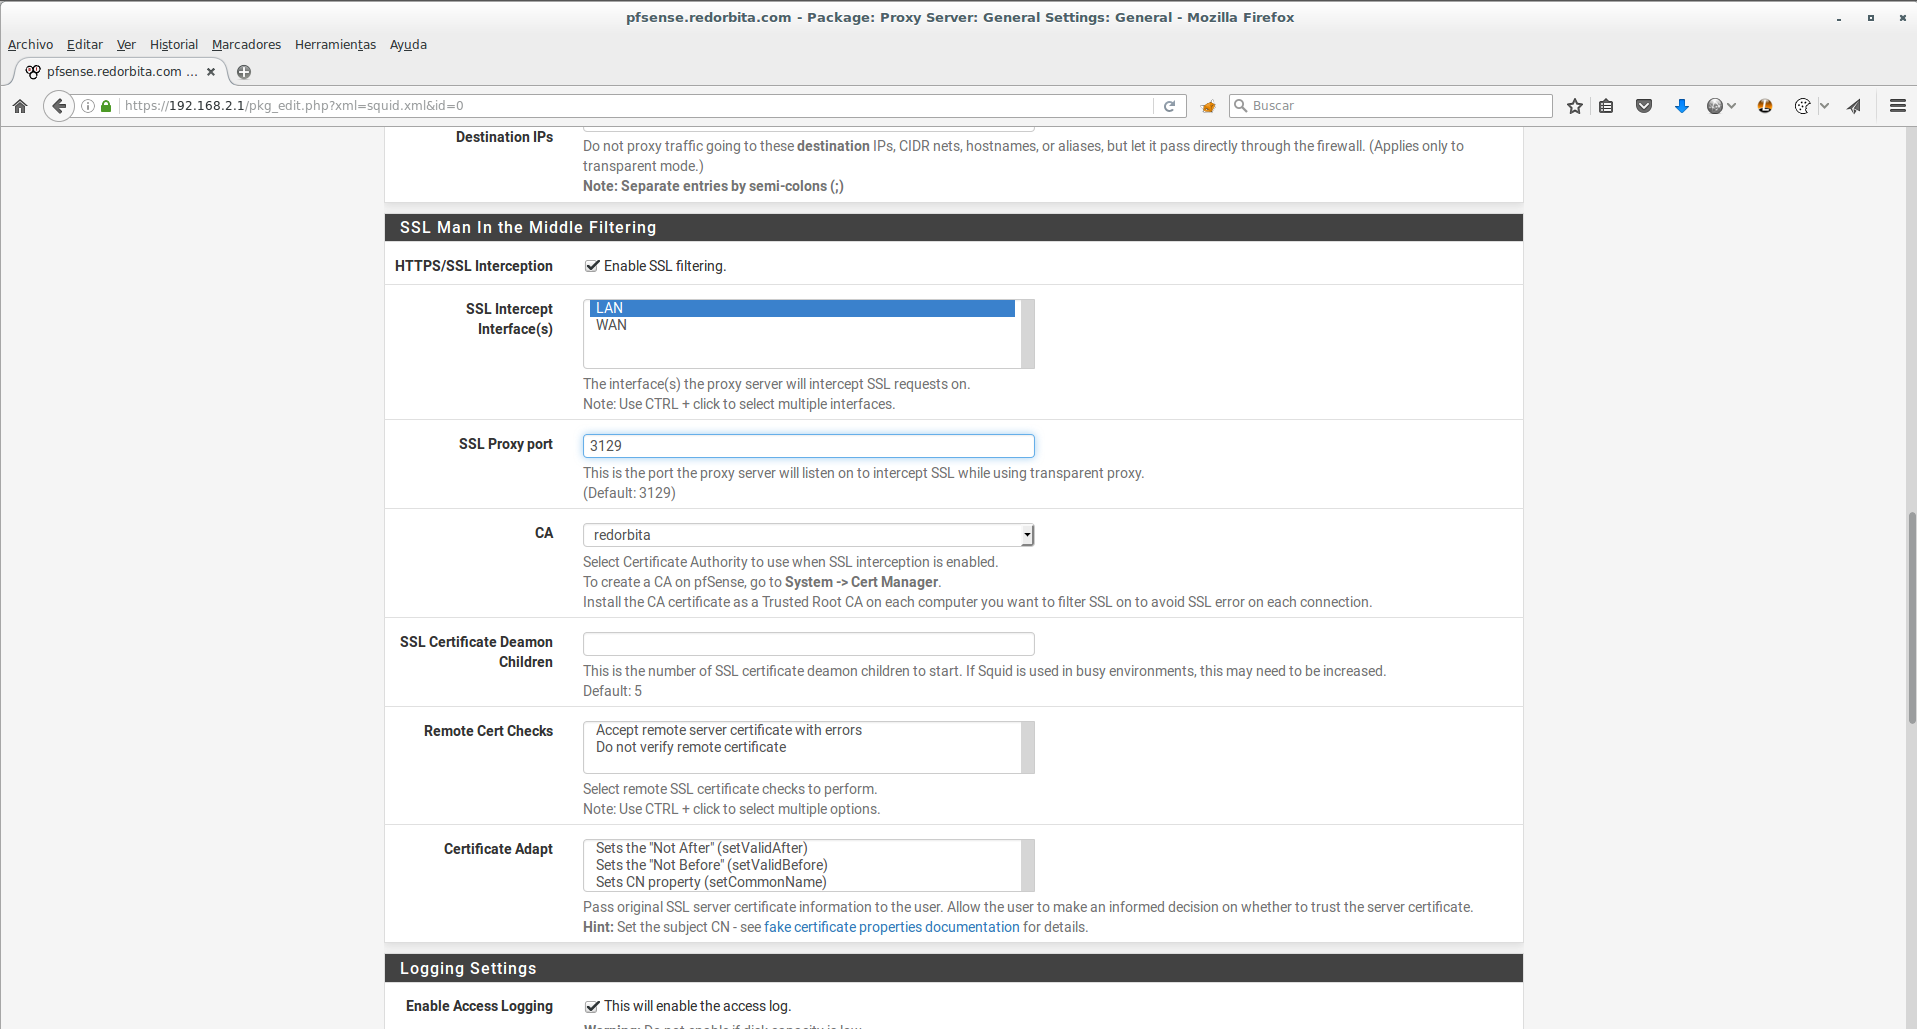
Once the certificate is created we must activate it in: Services > Squid Server Proxy > General and we activate: Enable SSL Filtering
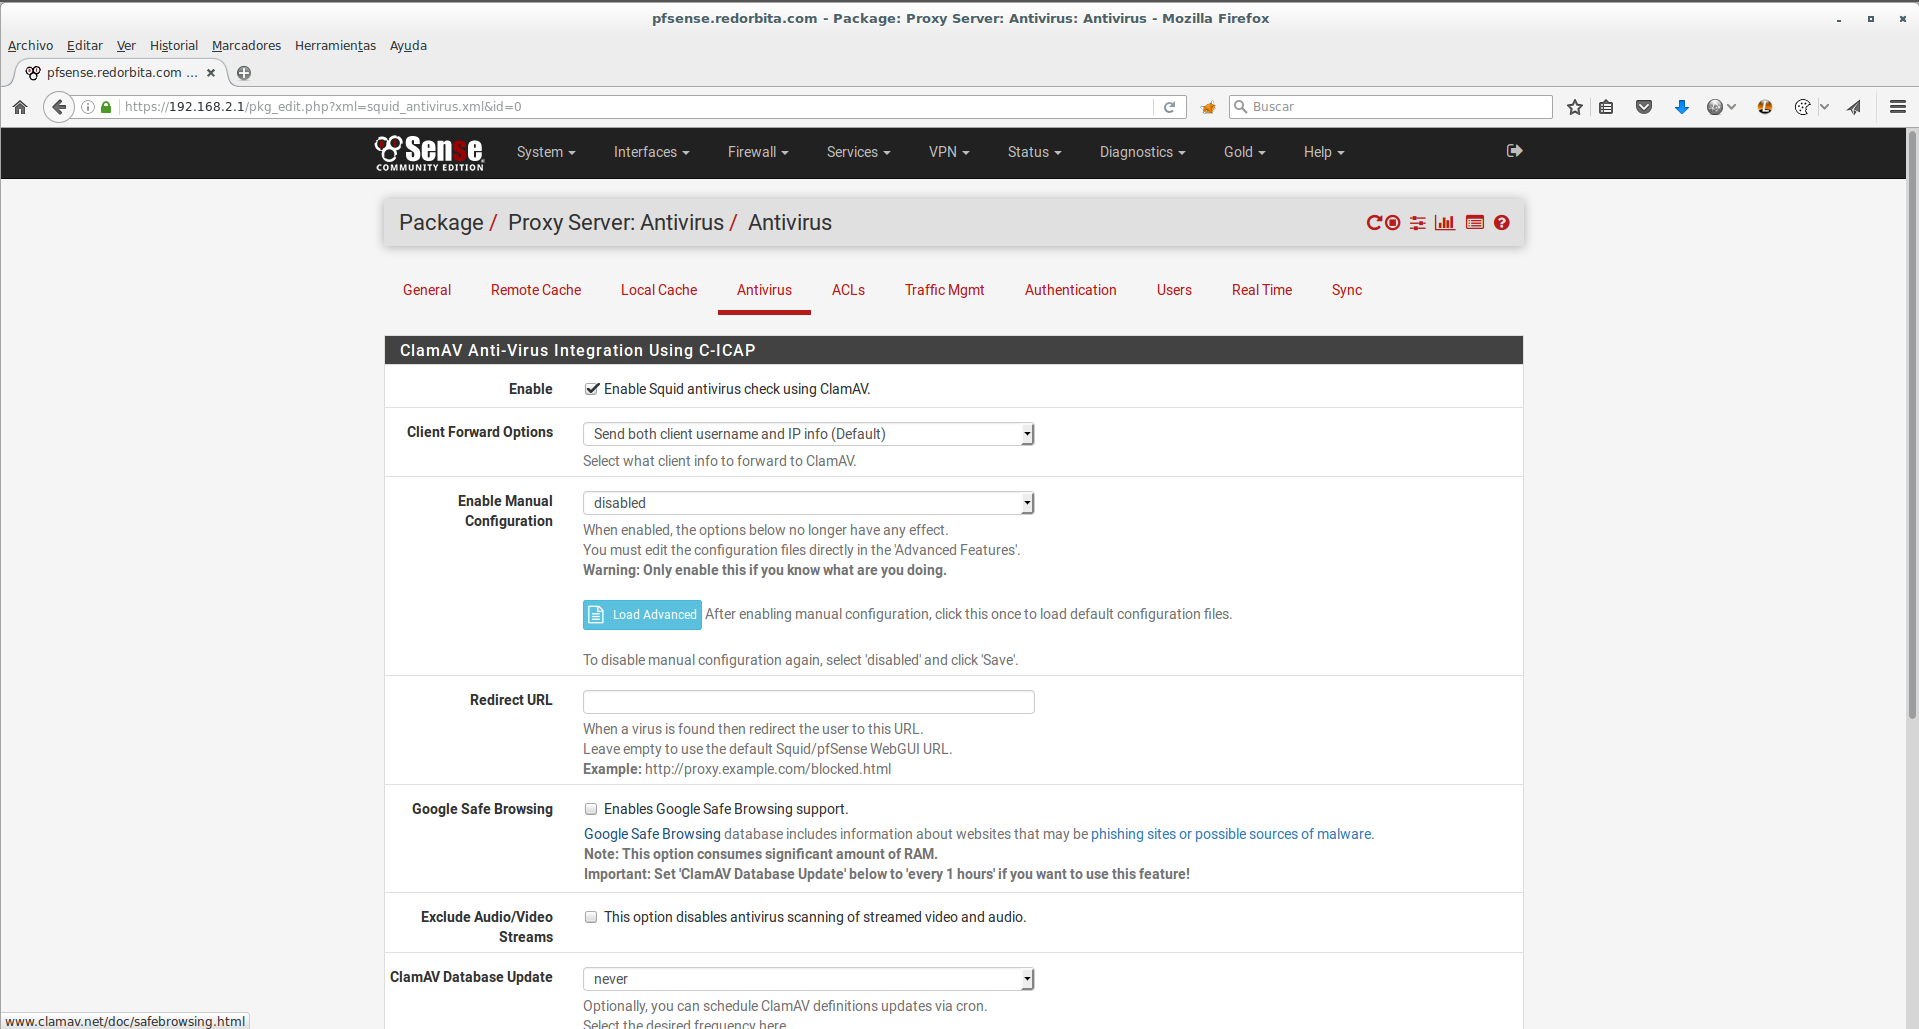
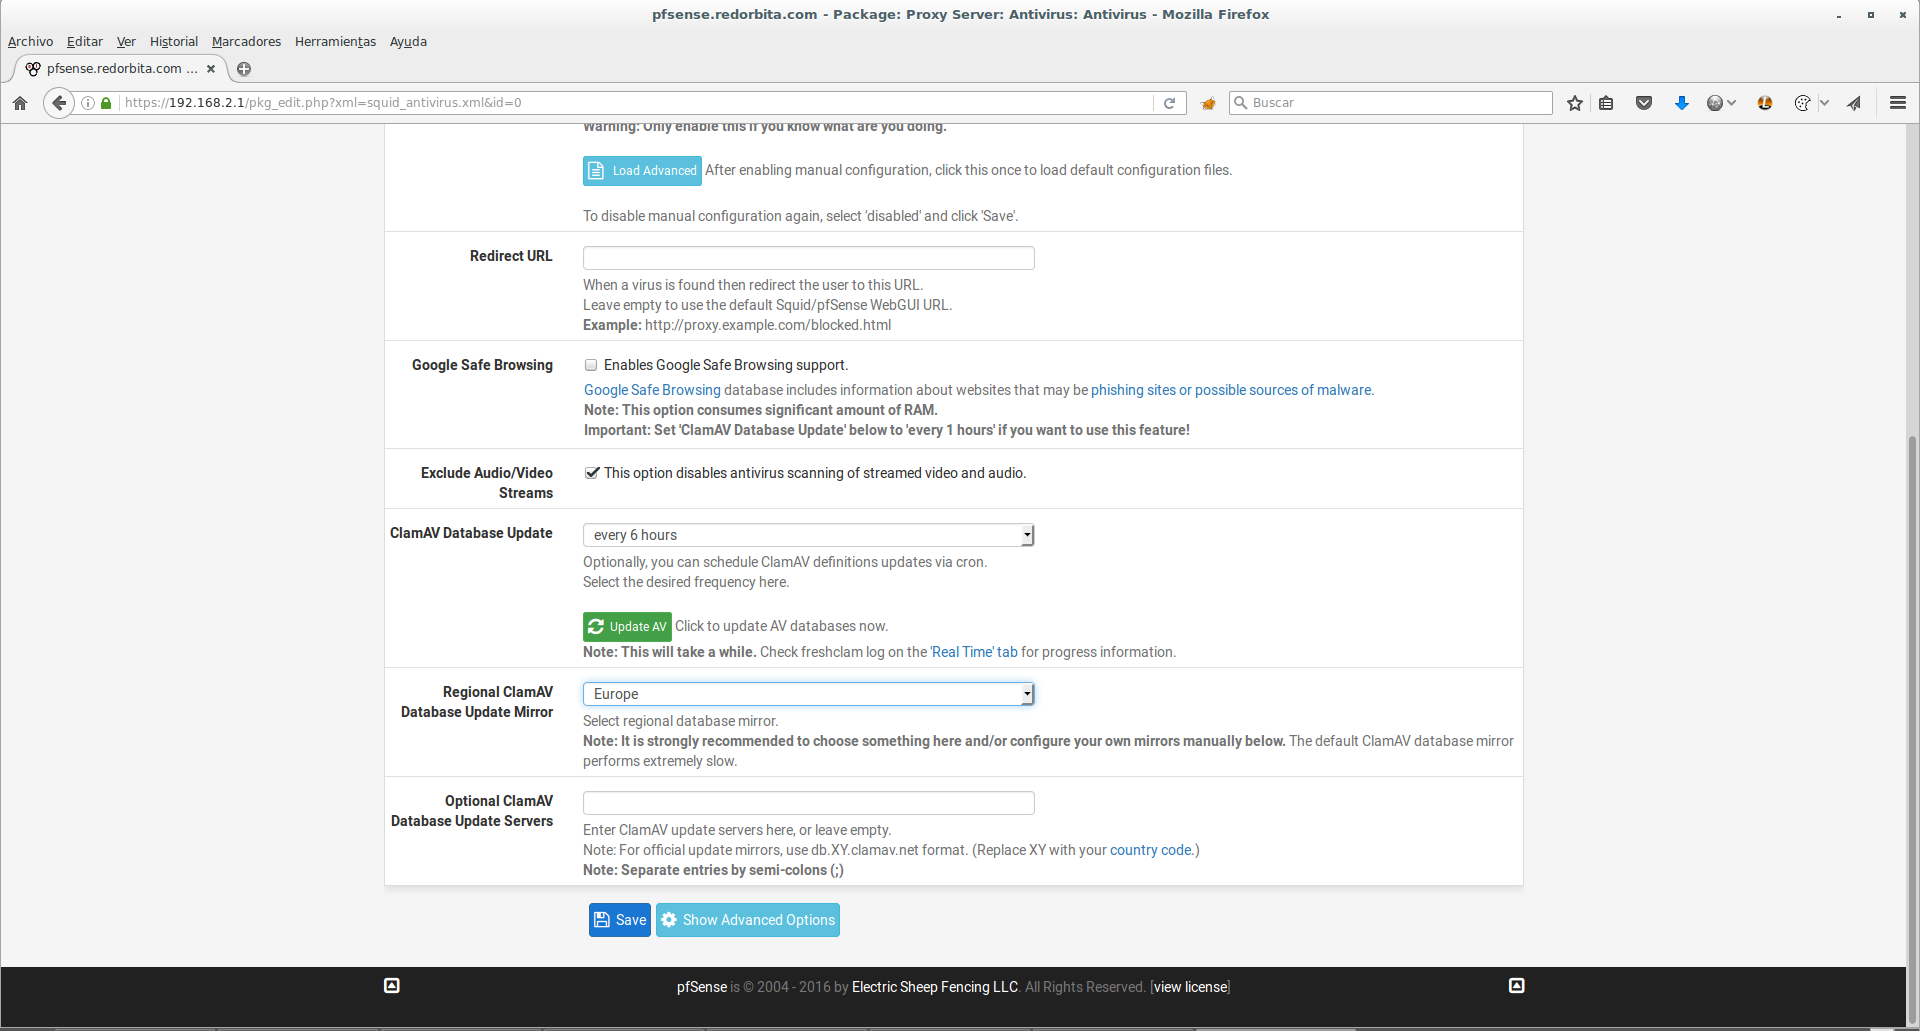
Finally we activate the antivirus, to do this we go to the Antivirus window and select:
Enable Squid Antivirus check using ClamAV
This option disable antivirus scanning of streamed video and audio
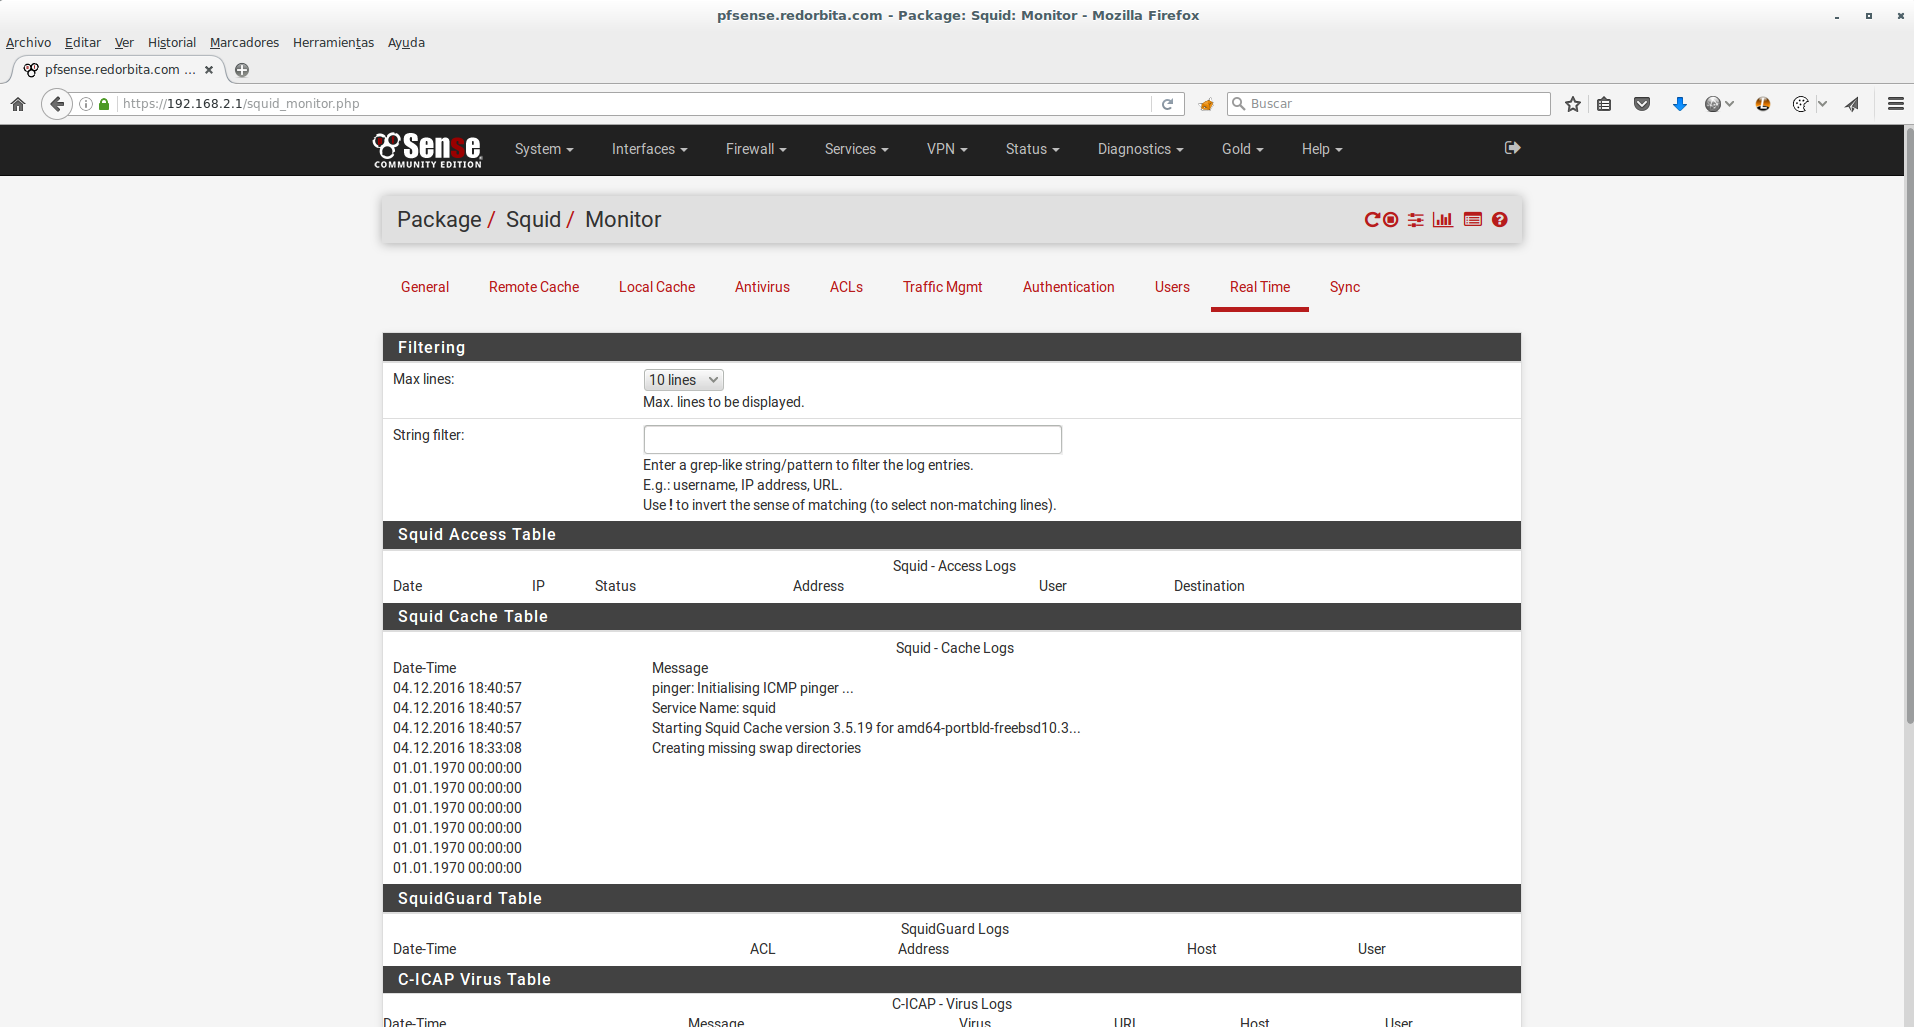
Once everything is installed and configured, we can monitor the logs in real time in: Services > Squid Proxy Server > Real Time
All the best.
:wq!
Comments