
What is pfSense?
 pfSense is a distribution personalized FreeBSD adapted for use as Firewall and Router. It is characterized by being open source, can be installed on a wide variety of computers, and also has a simple web interface for configuration. The project is supported commercially by Electric Sheep Fencing LLC.
Characteristics:
The following list shows some functionality that is included predefined in the system.
- Firewall
- State Table
- Network Address Translation (NAT)
- High availability
- Multi-WAN
- Load balance
- VPN that can be developed in IPsec, OpenVPN and in PPTP
- Server PPPoE
- Server DNS
- Captive Portal
- Server DHCP
PfSense It has a package manager to expand its functionalities. When you choose the desired package, the system automatically downloads and installs it. There are around seventy modules available, among which are the proxy Squid, IMSpector, Snort, ClamAV, among others.
Facility:
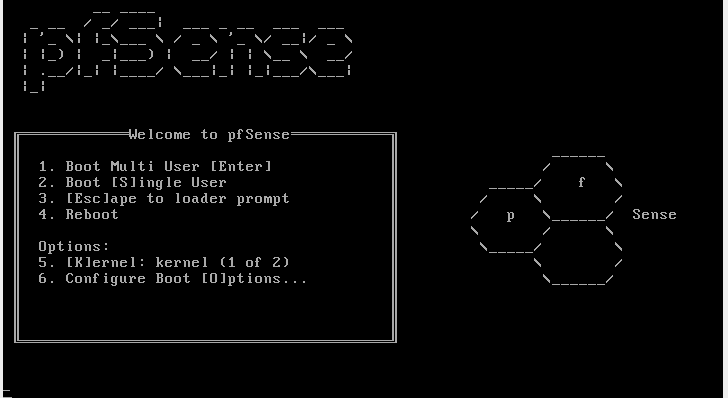
Once we start with the CD-ROM we select option 1 [Enter]
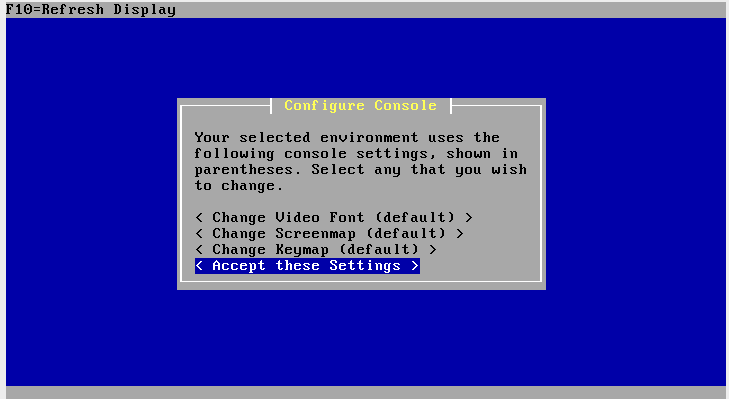
We move to the option <Accept these Settings>
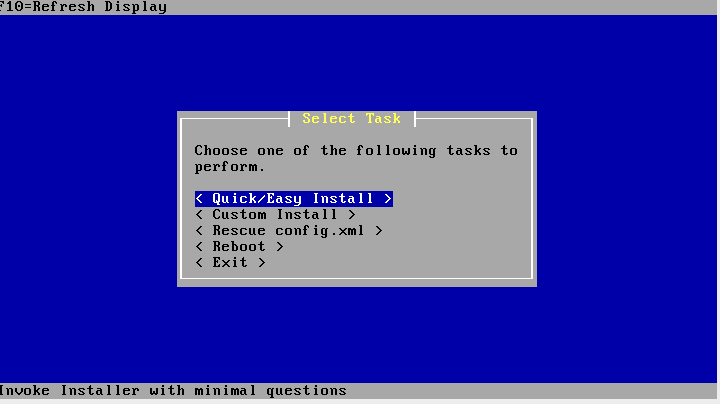
We choose the option <Quick/Easy install>
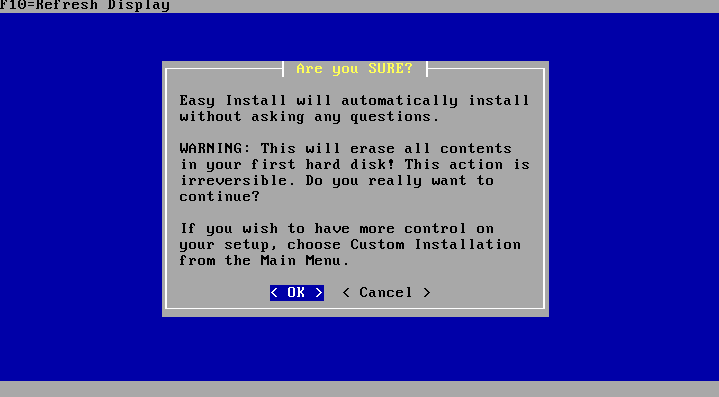
It warns us that it will proceed to erase the disk, OK
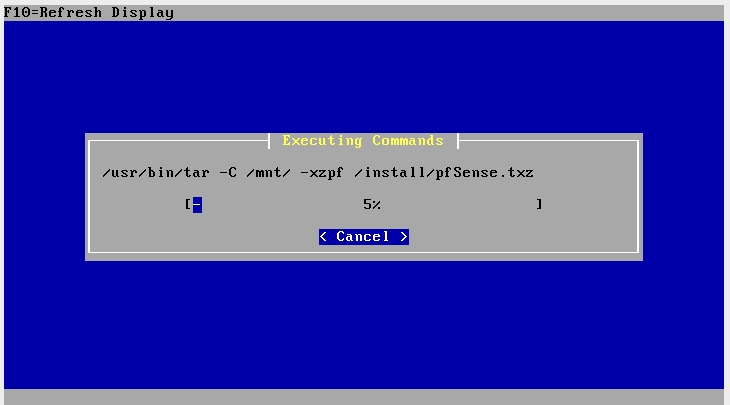
Installation begins
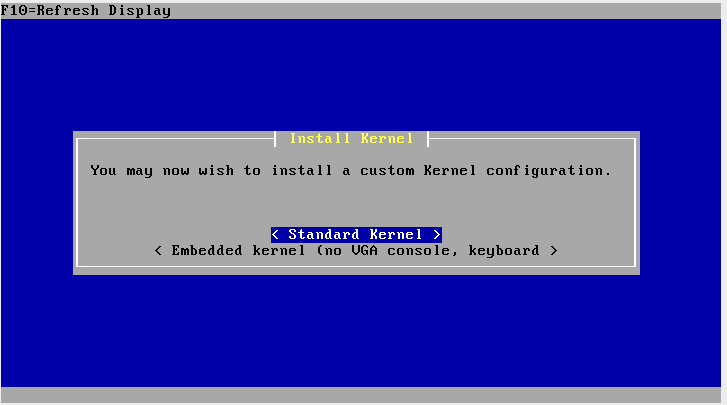
We select the standard version of the Kernel.
We restart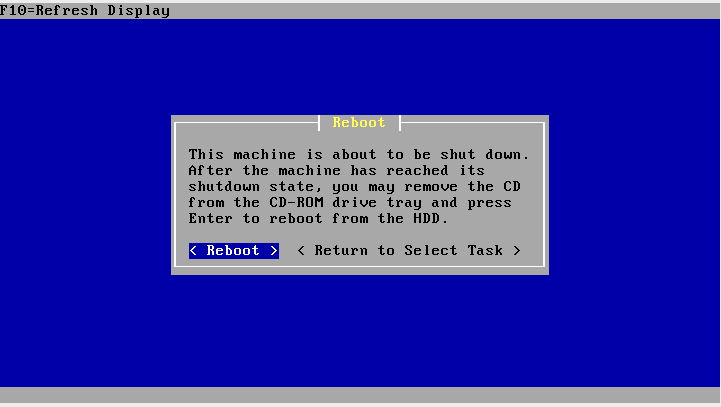
Once started, it detects the network interfaces. We proceed to configure the LAN interface
We select option 2 and interface 2 (LAN)
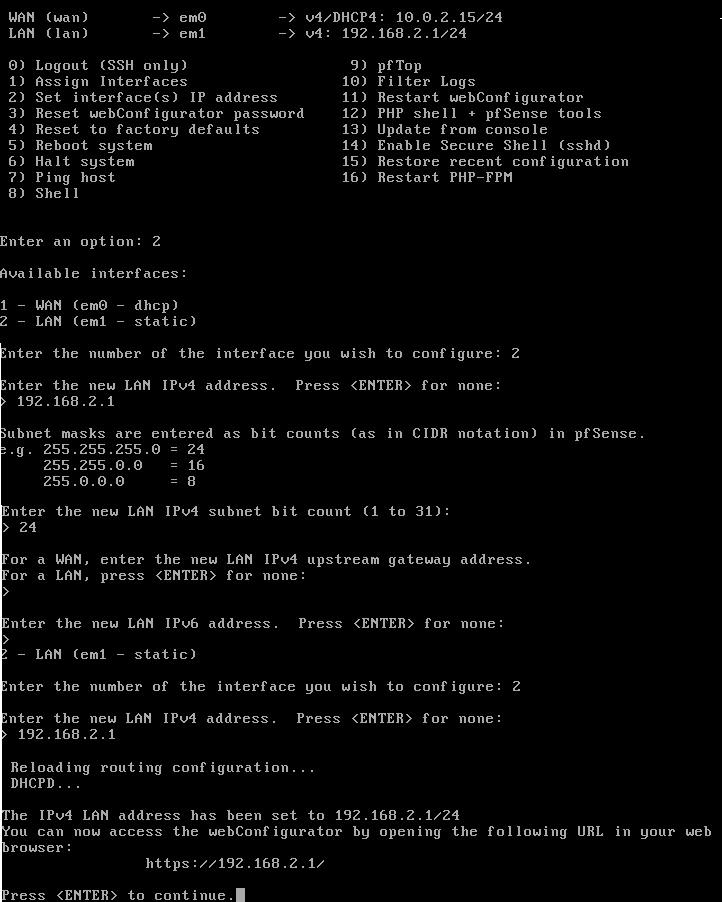
Once the network interface is configured, we access it through our browser (User admin password pfsense)
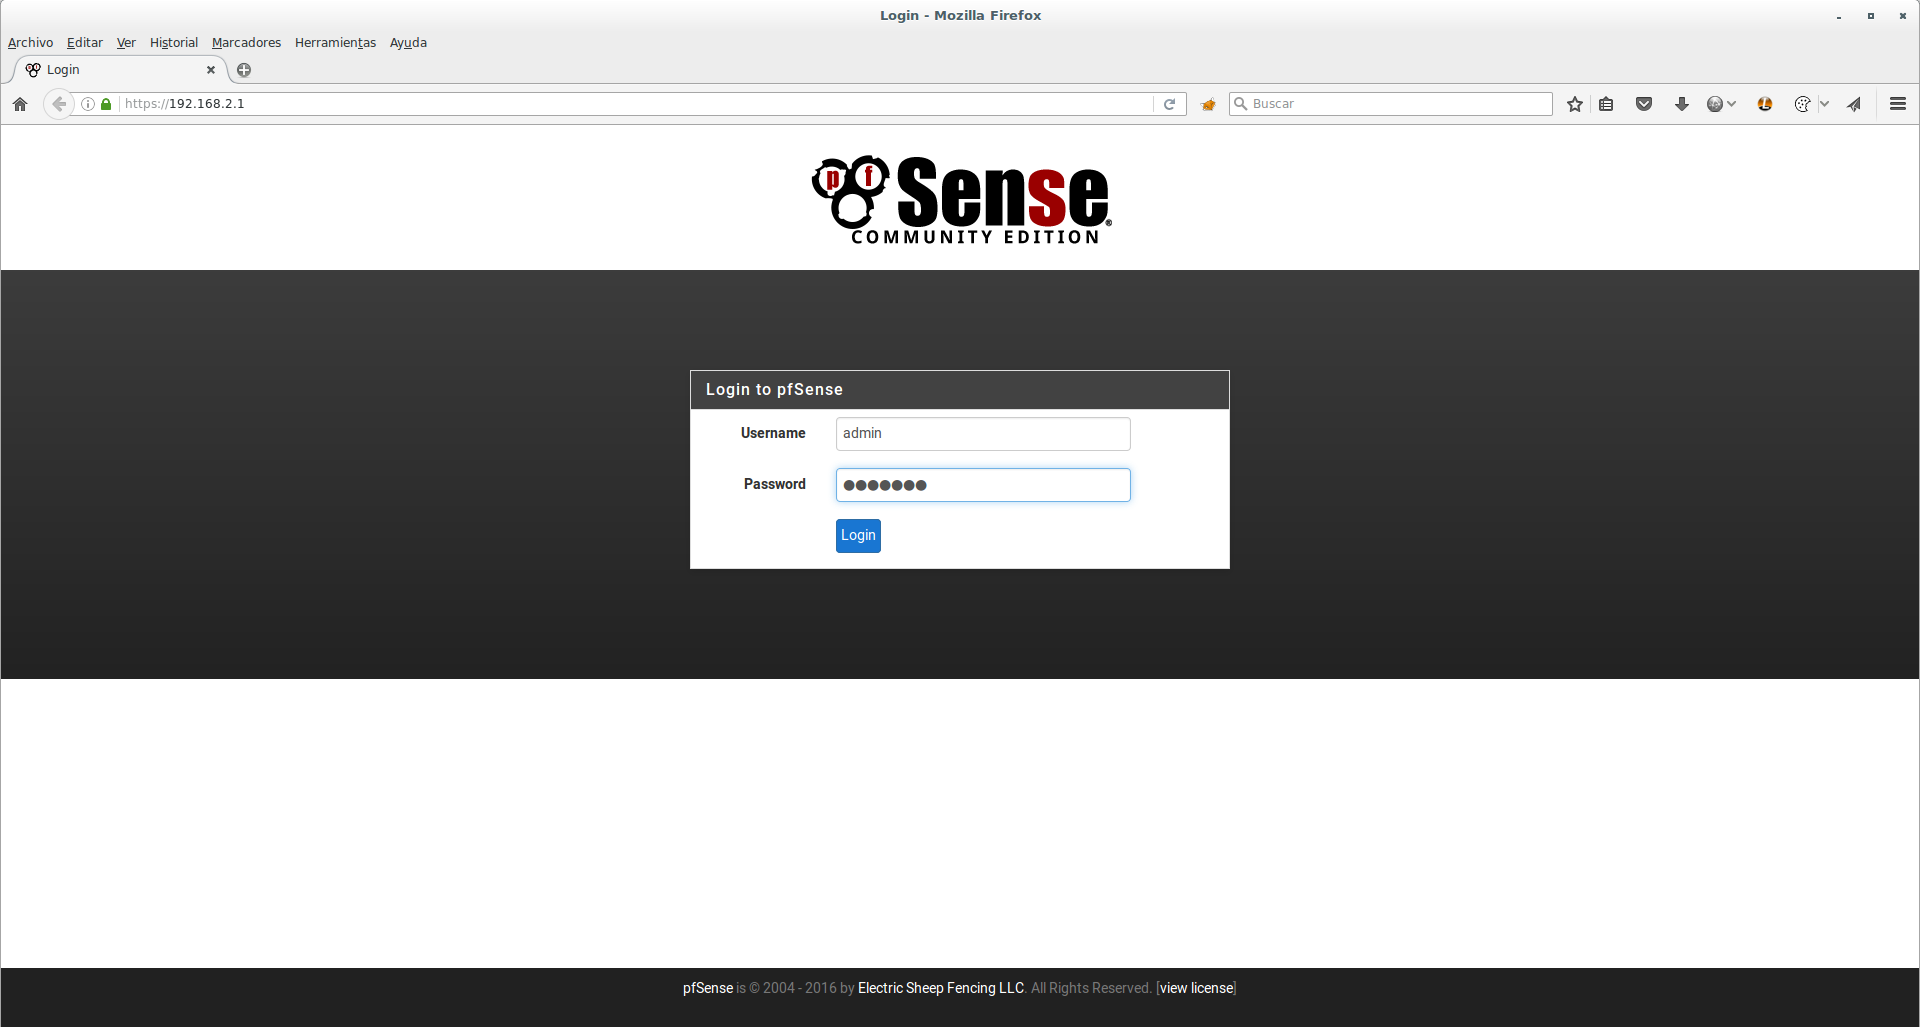
Once the first login has been completed, a configuration wizard opens.
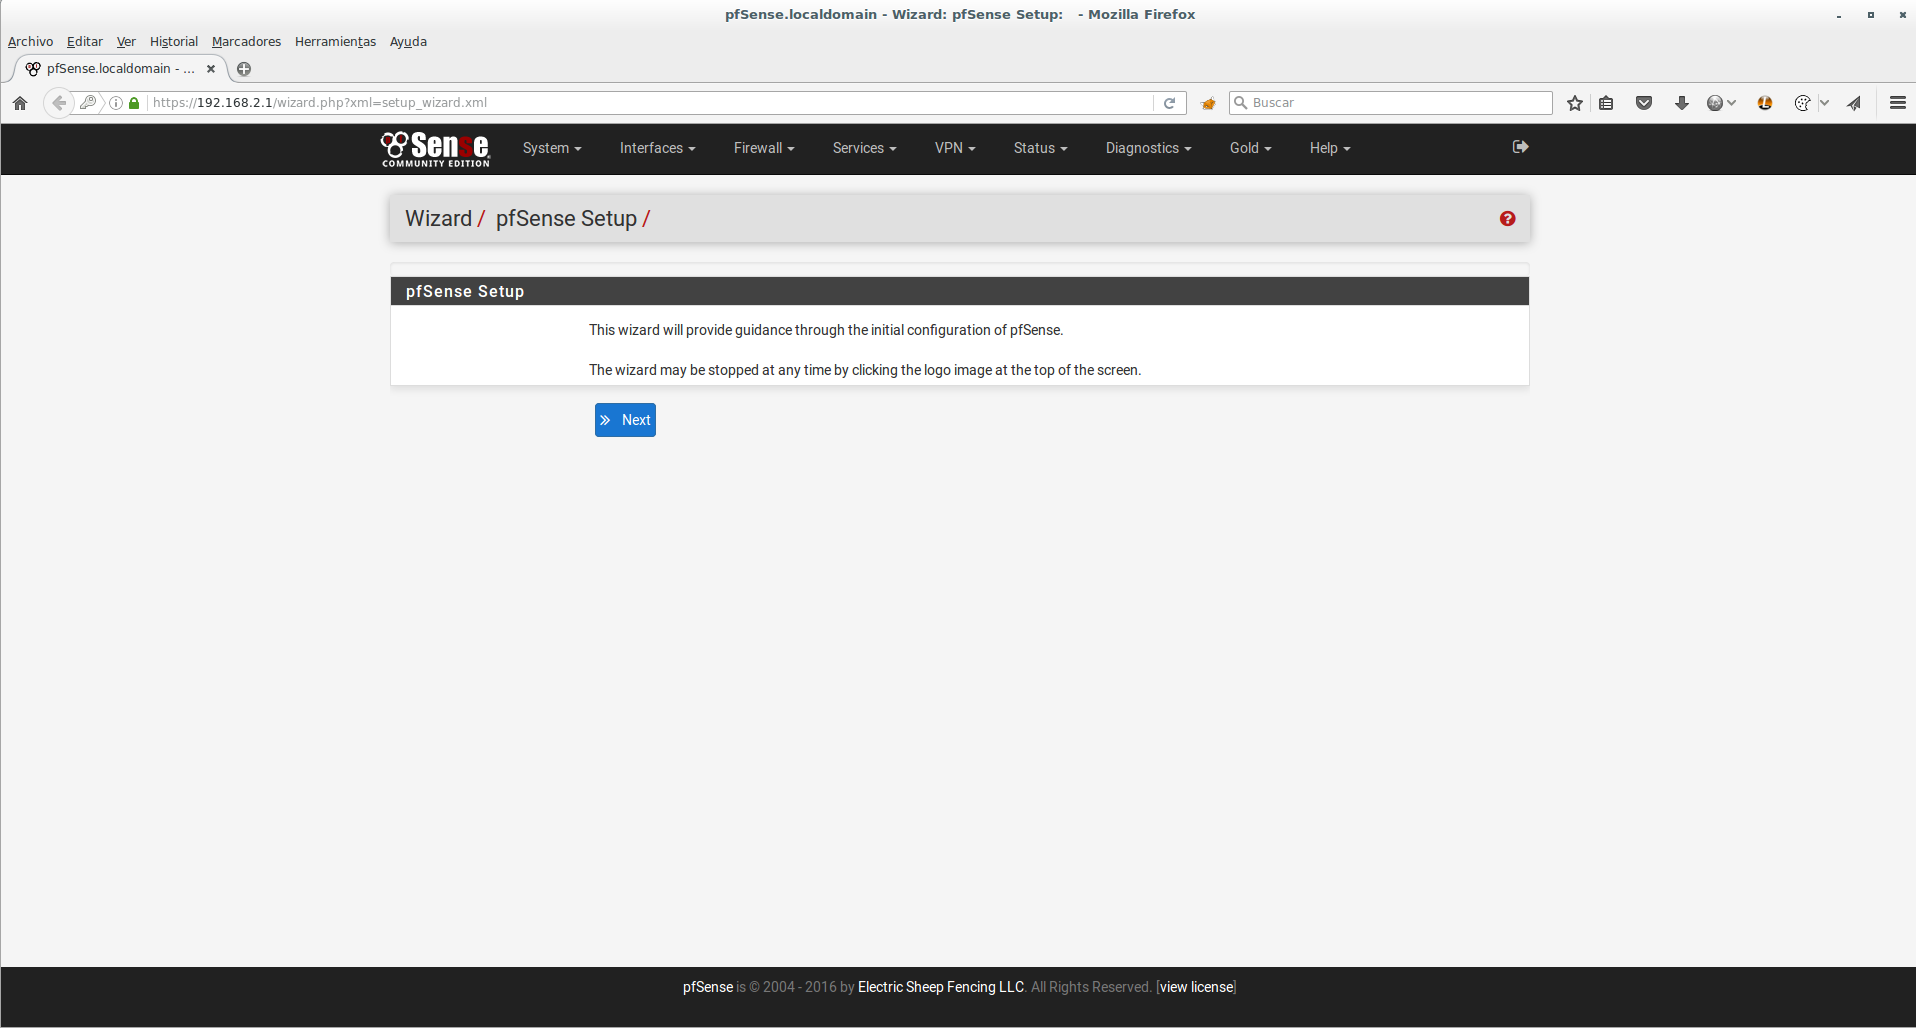
It tells us if we want to subscribe to official pfSense support, Next.
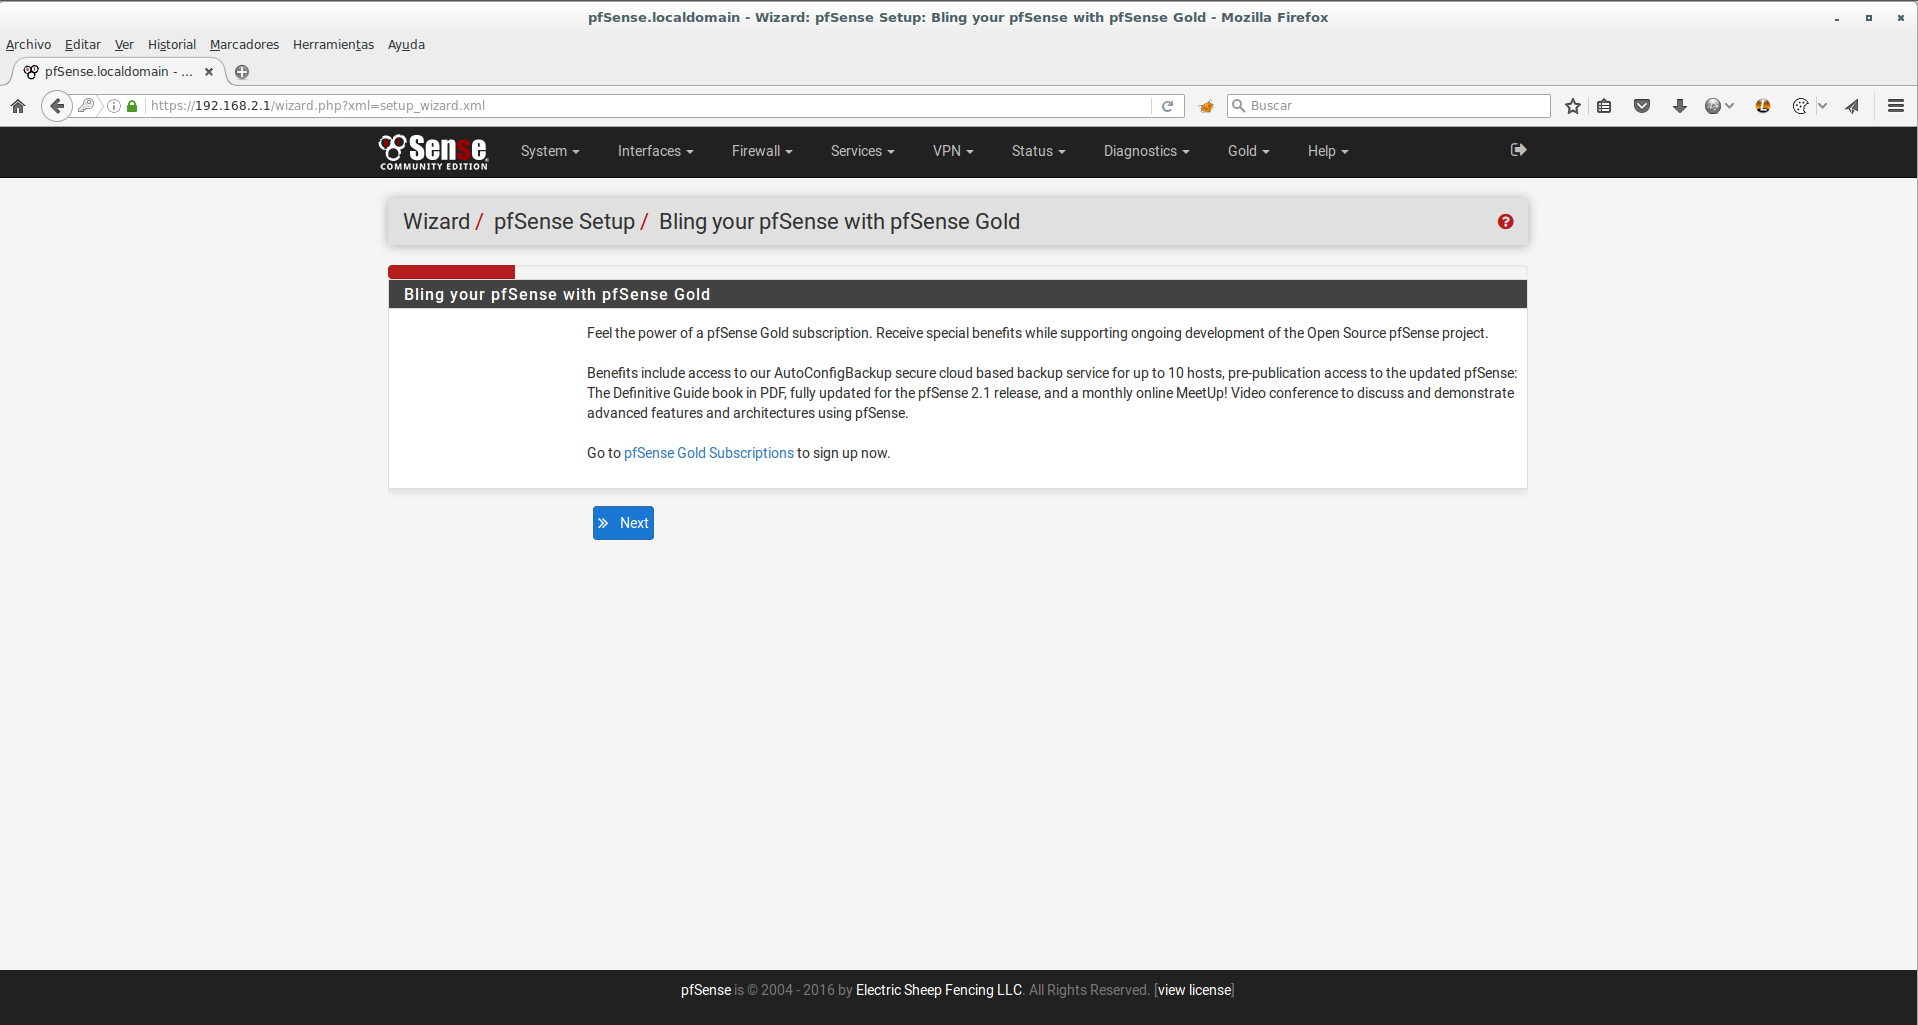
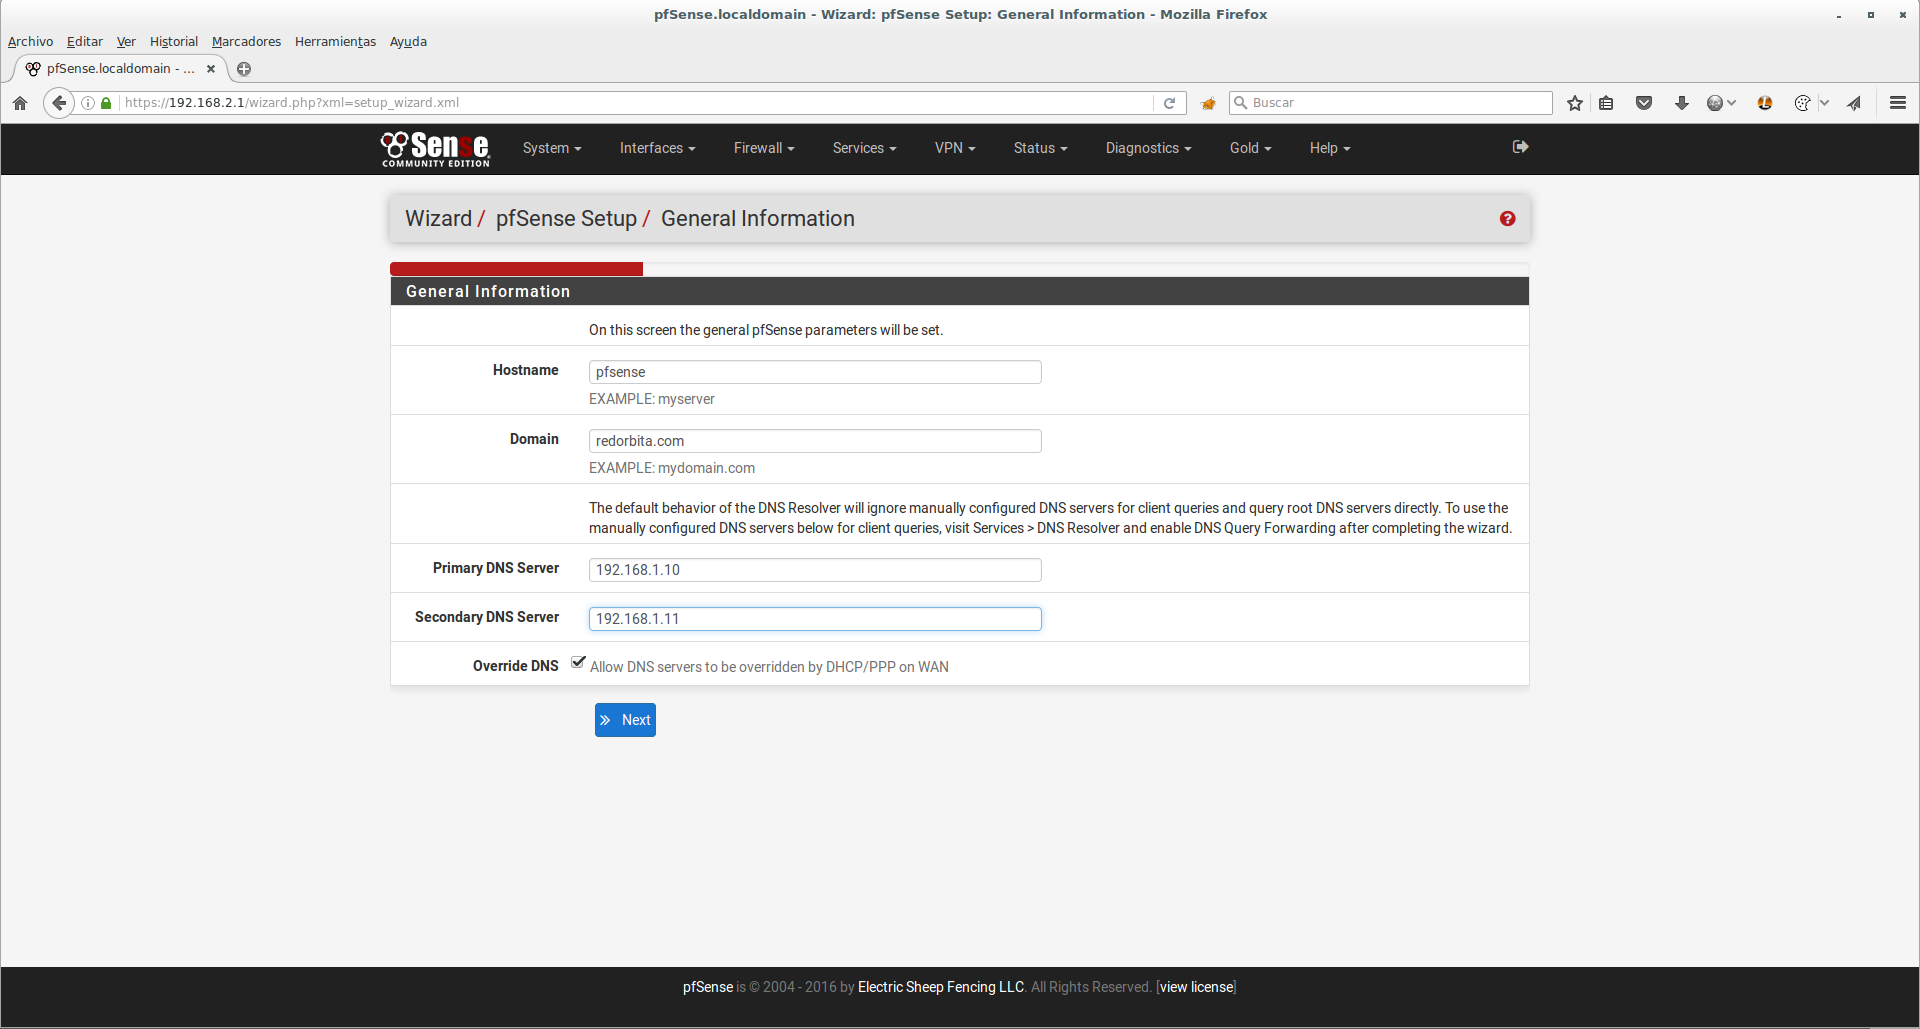
We configure the domain hostname and DNS server.
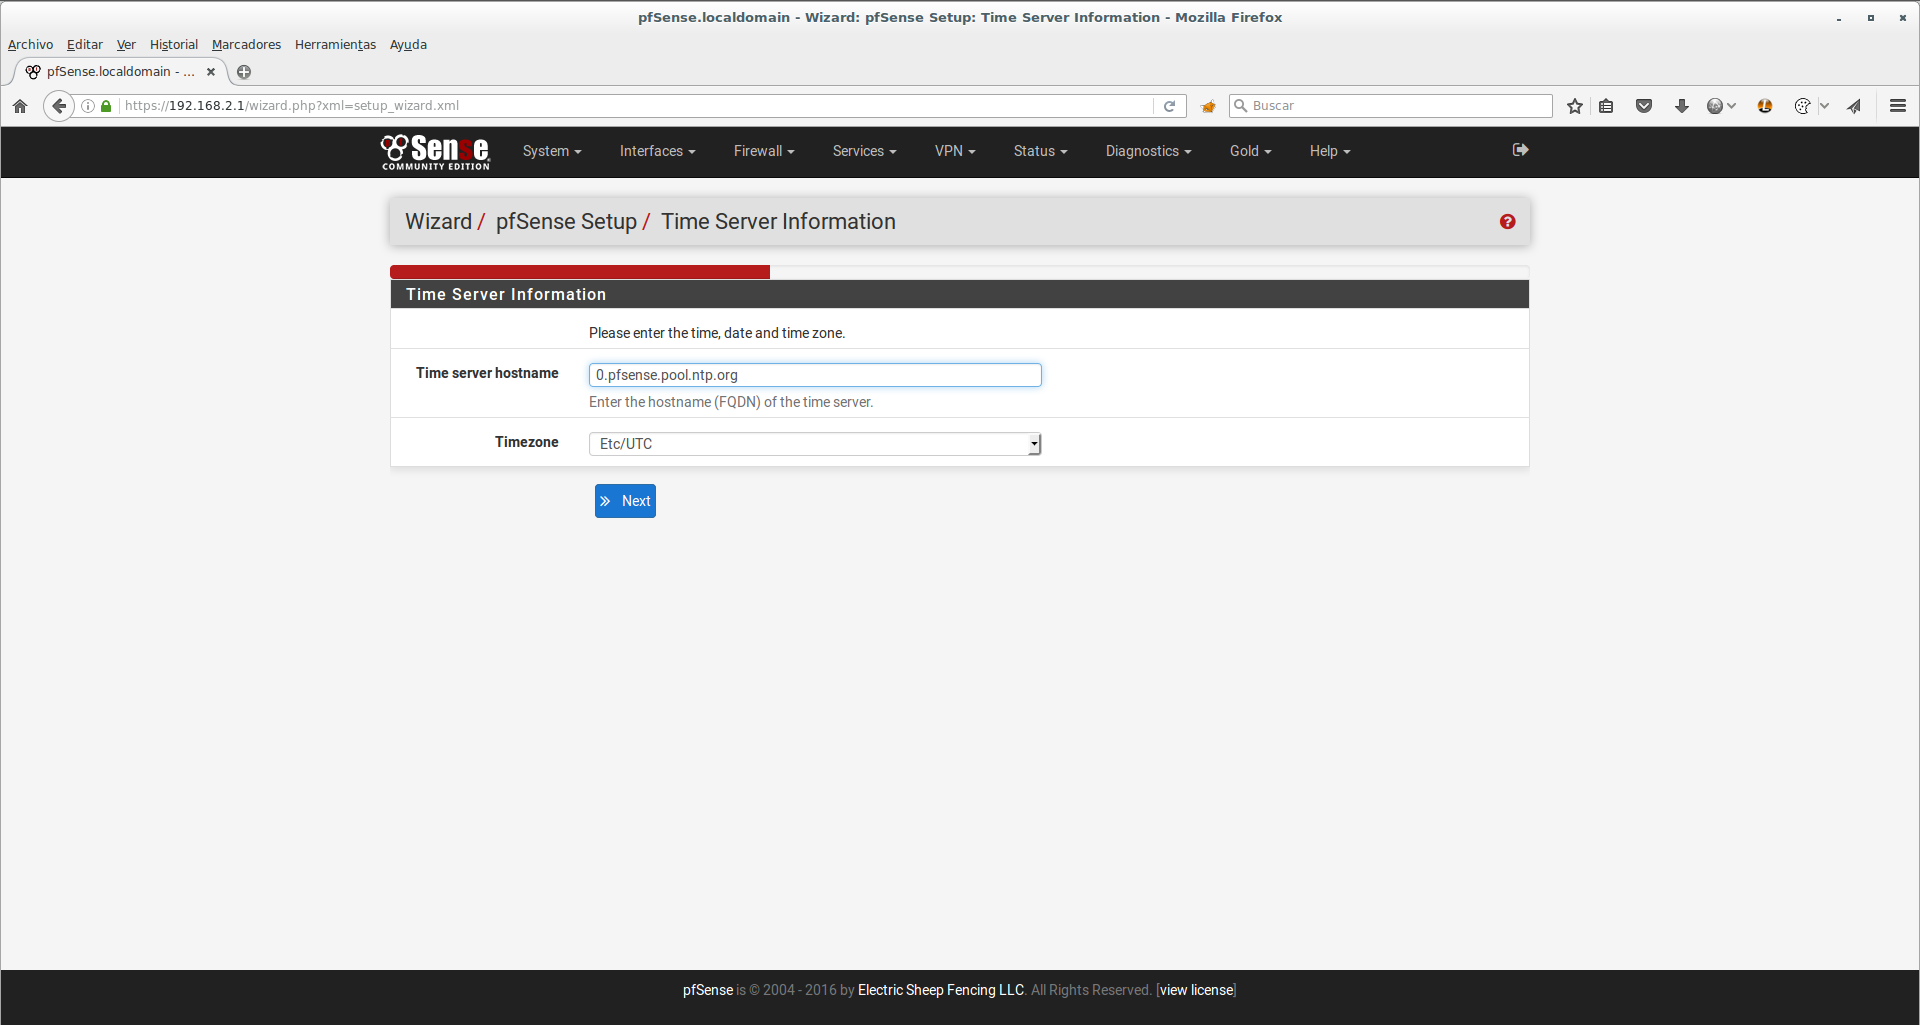
We choose the time zone
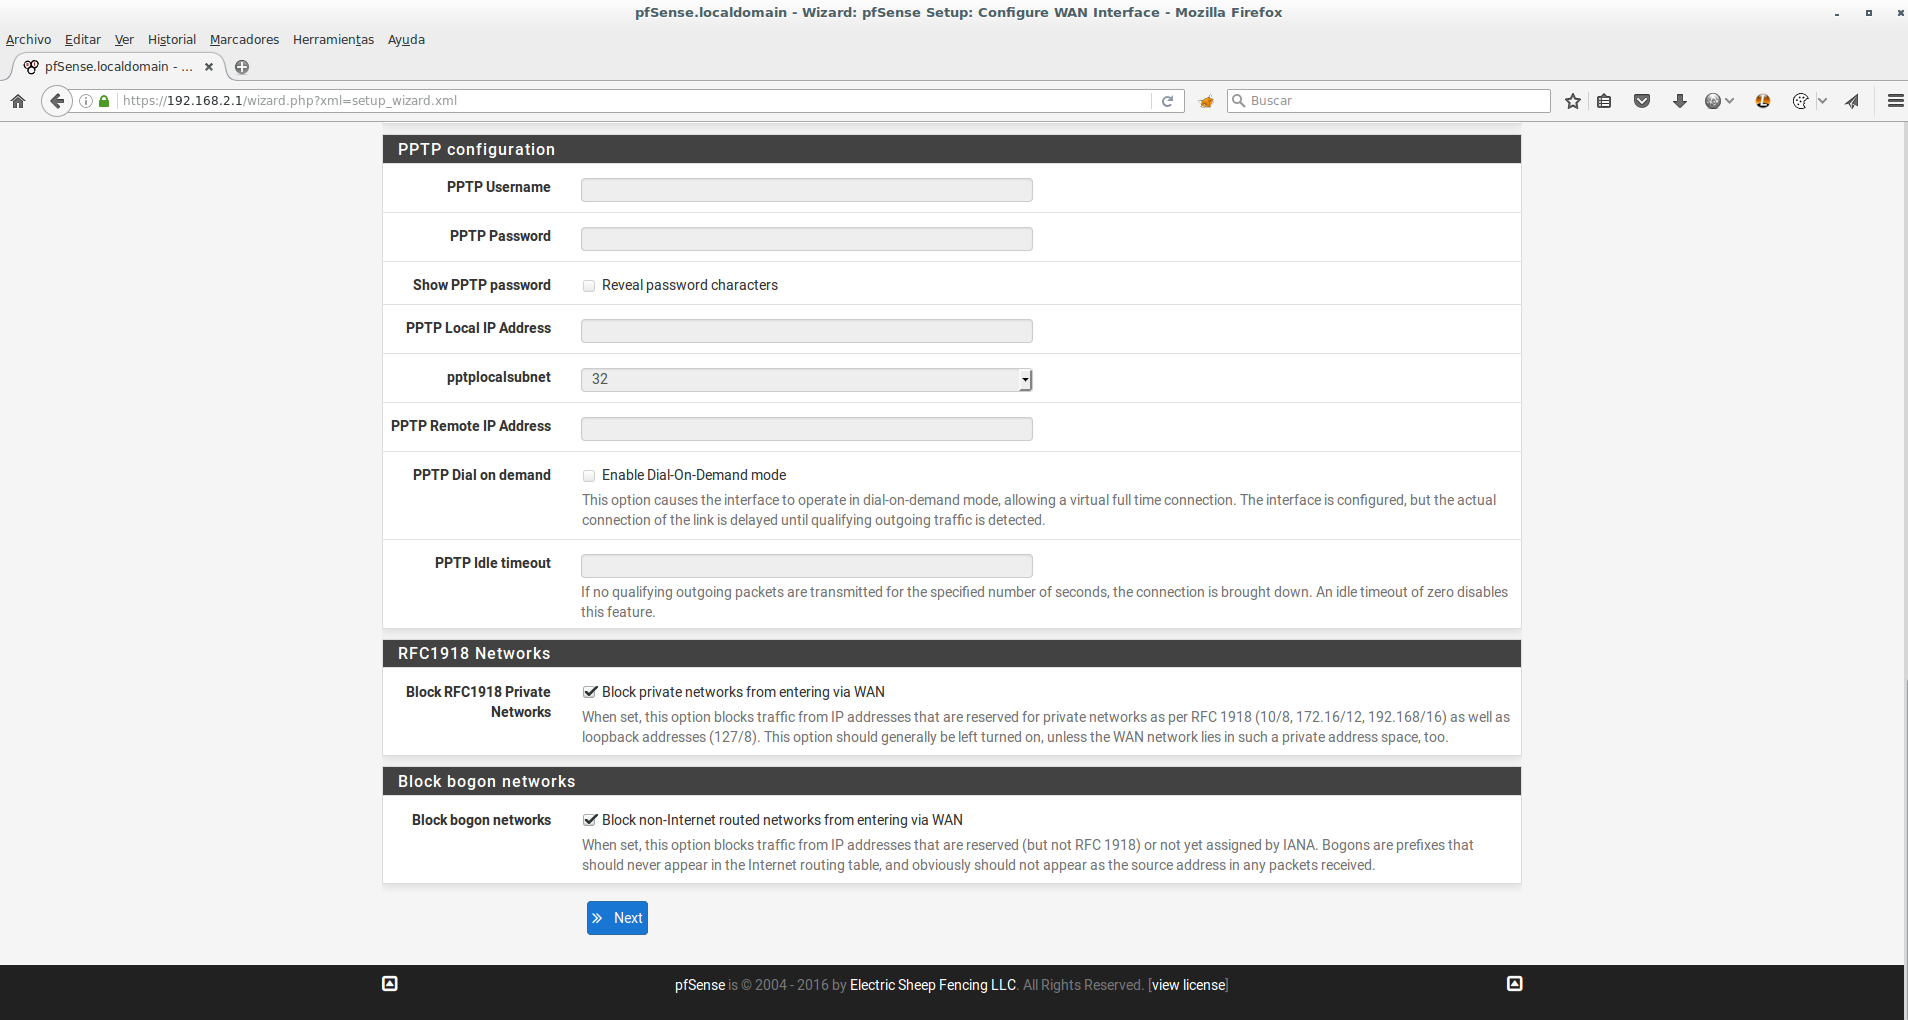
On this page we have the option to modify the options for the WAN network (I leave it by default)
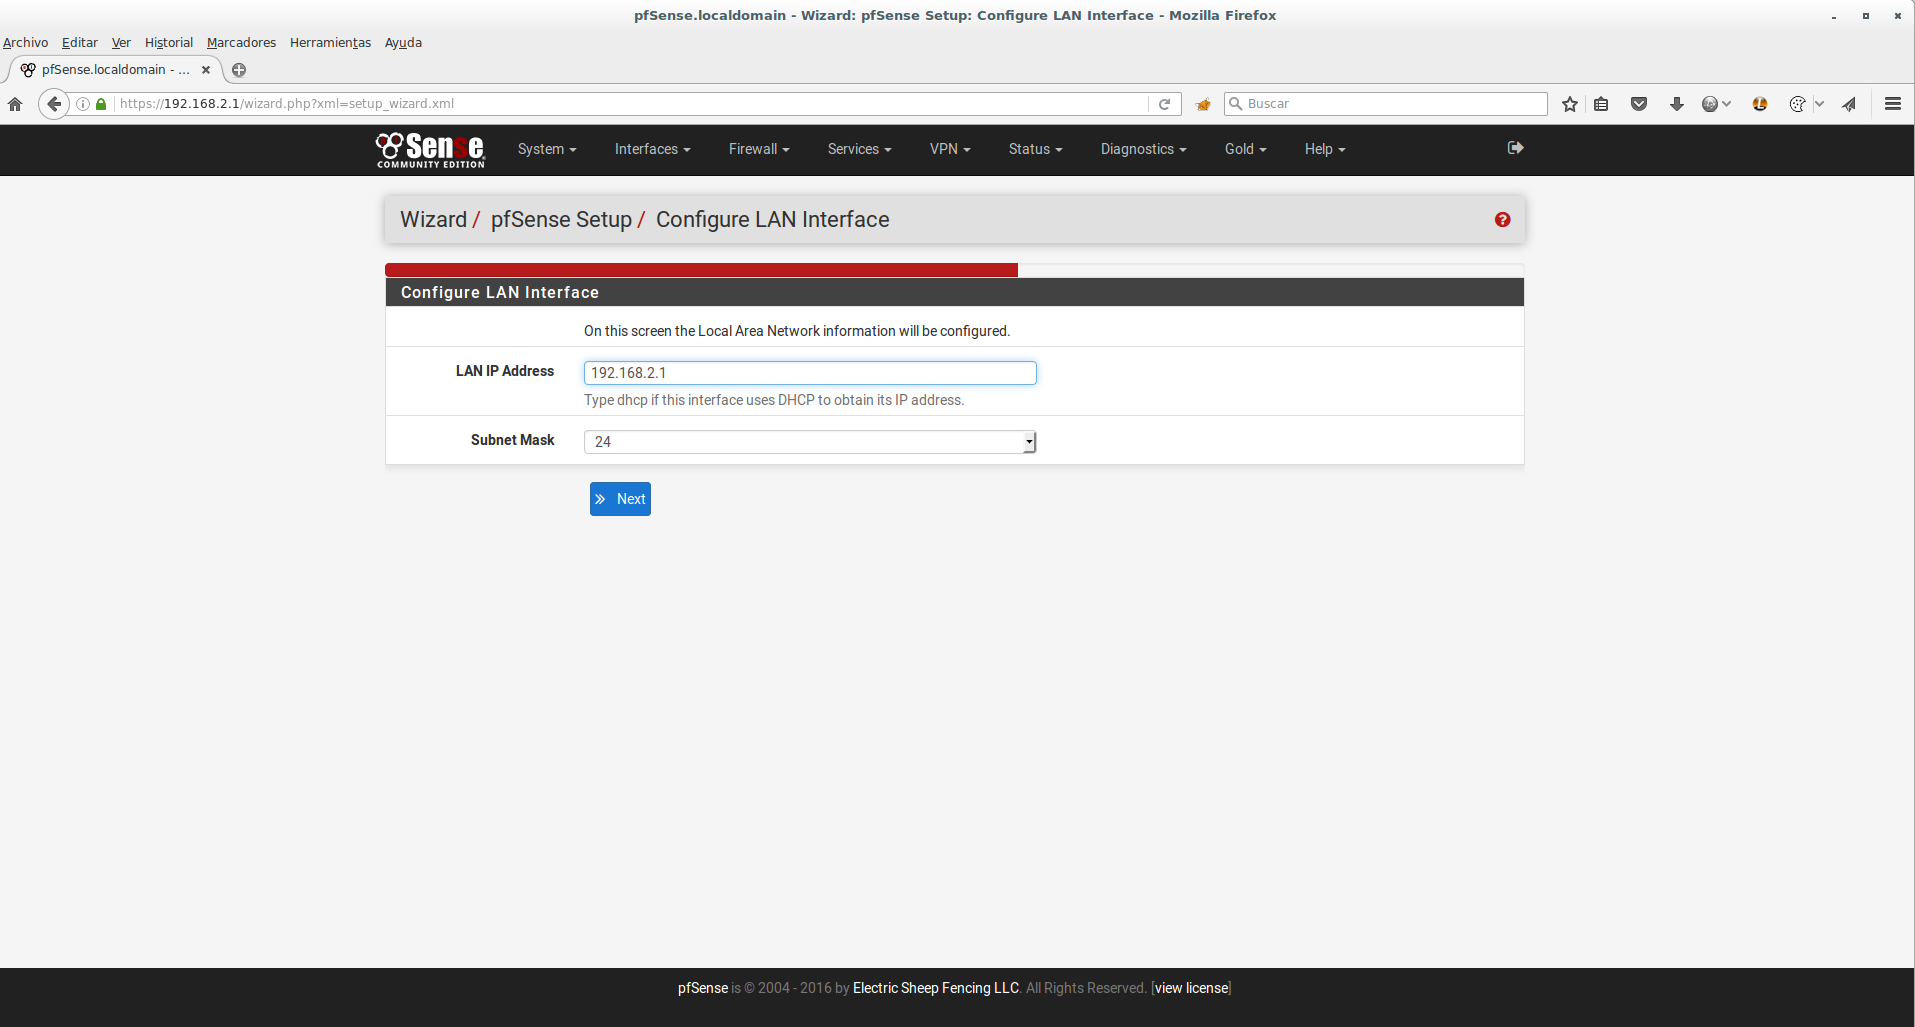
We verify that the LAN interface configuration is correct.
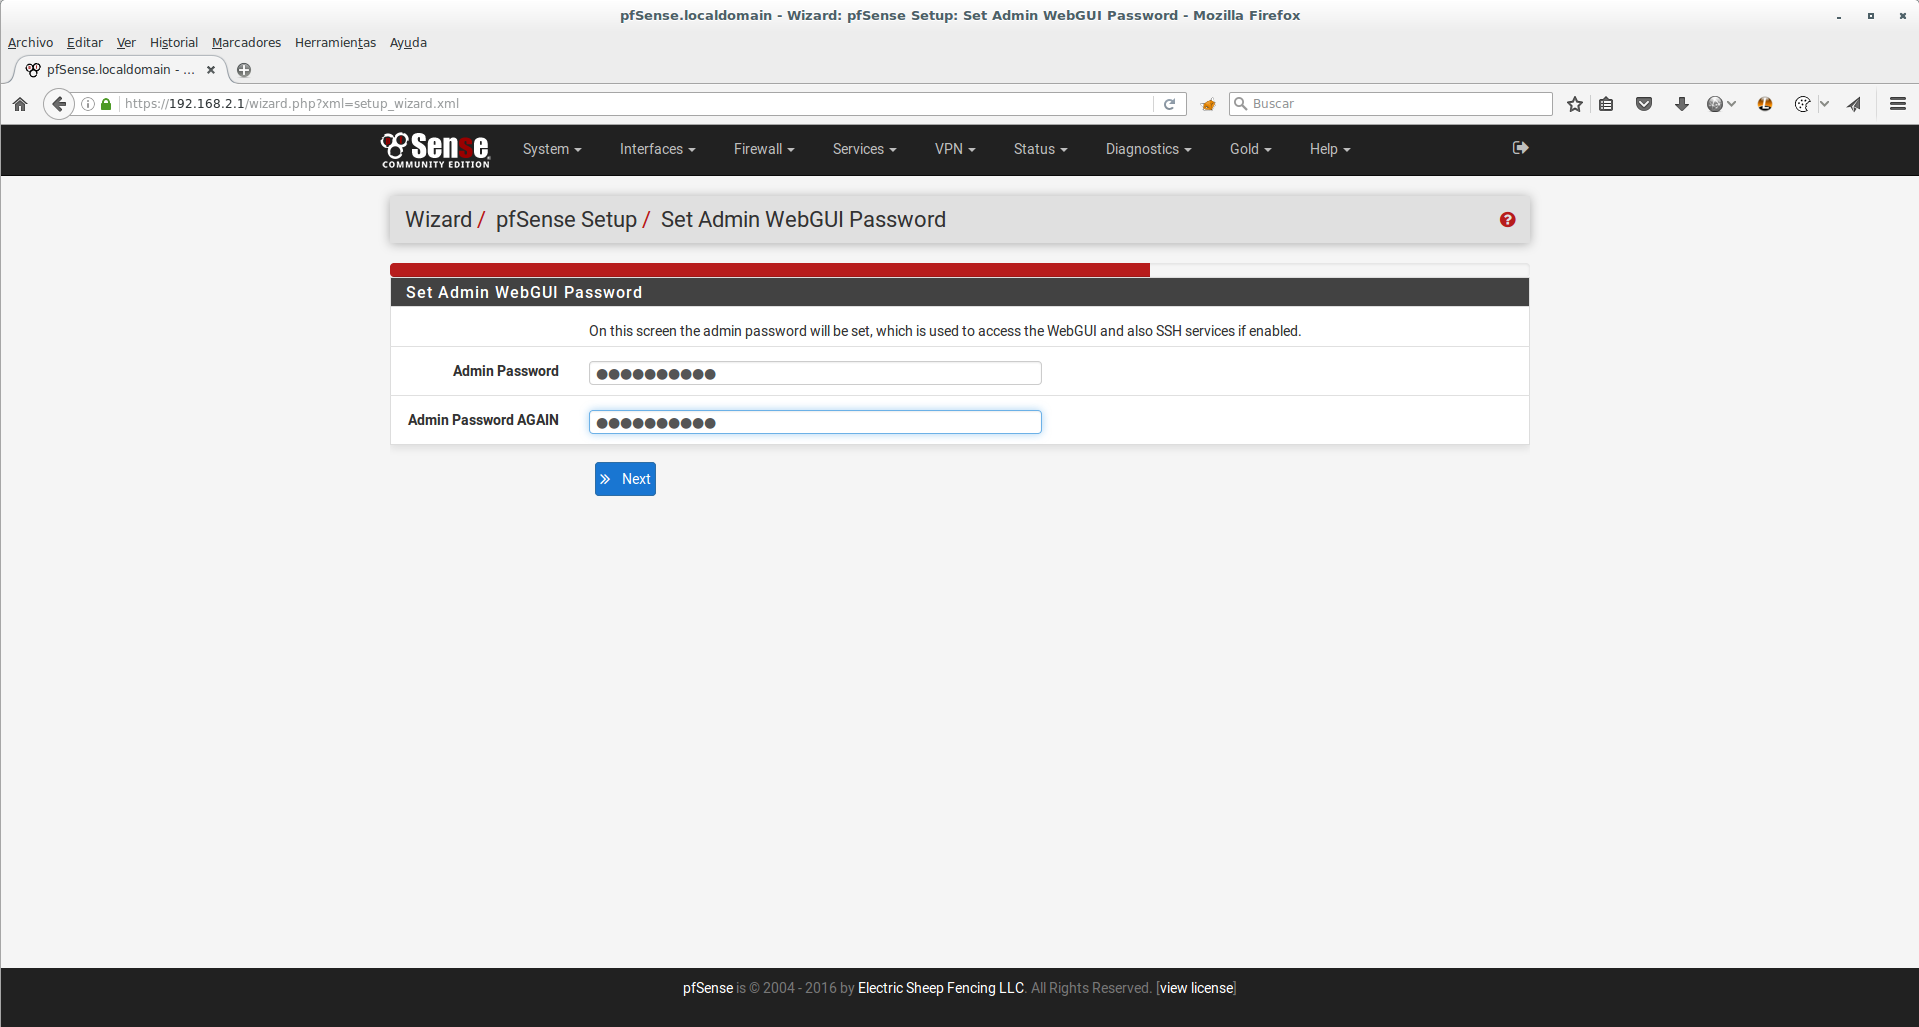
We change the access password.
We finish the configuration, Next
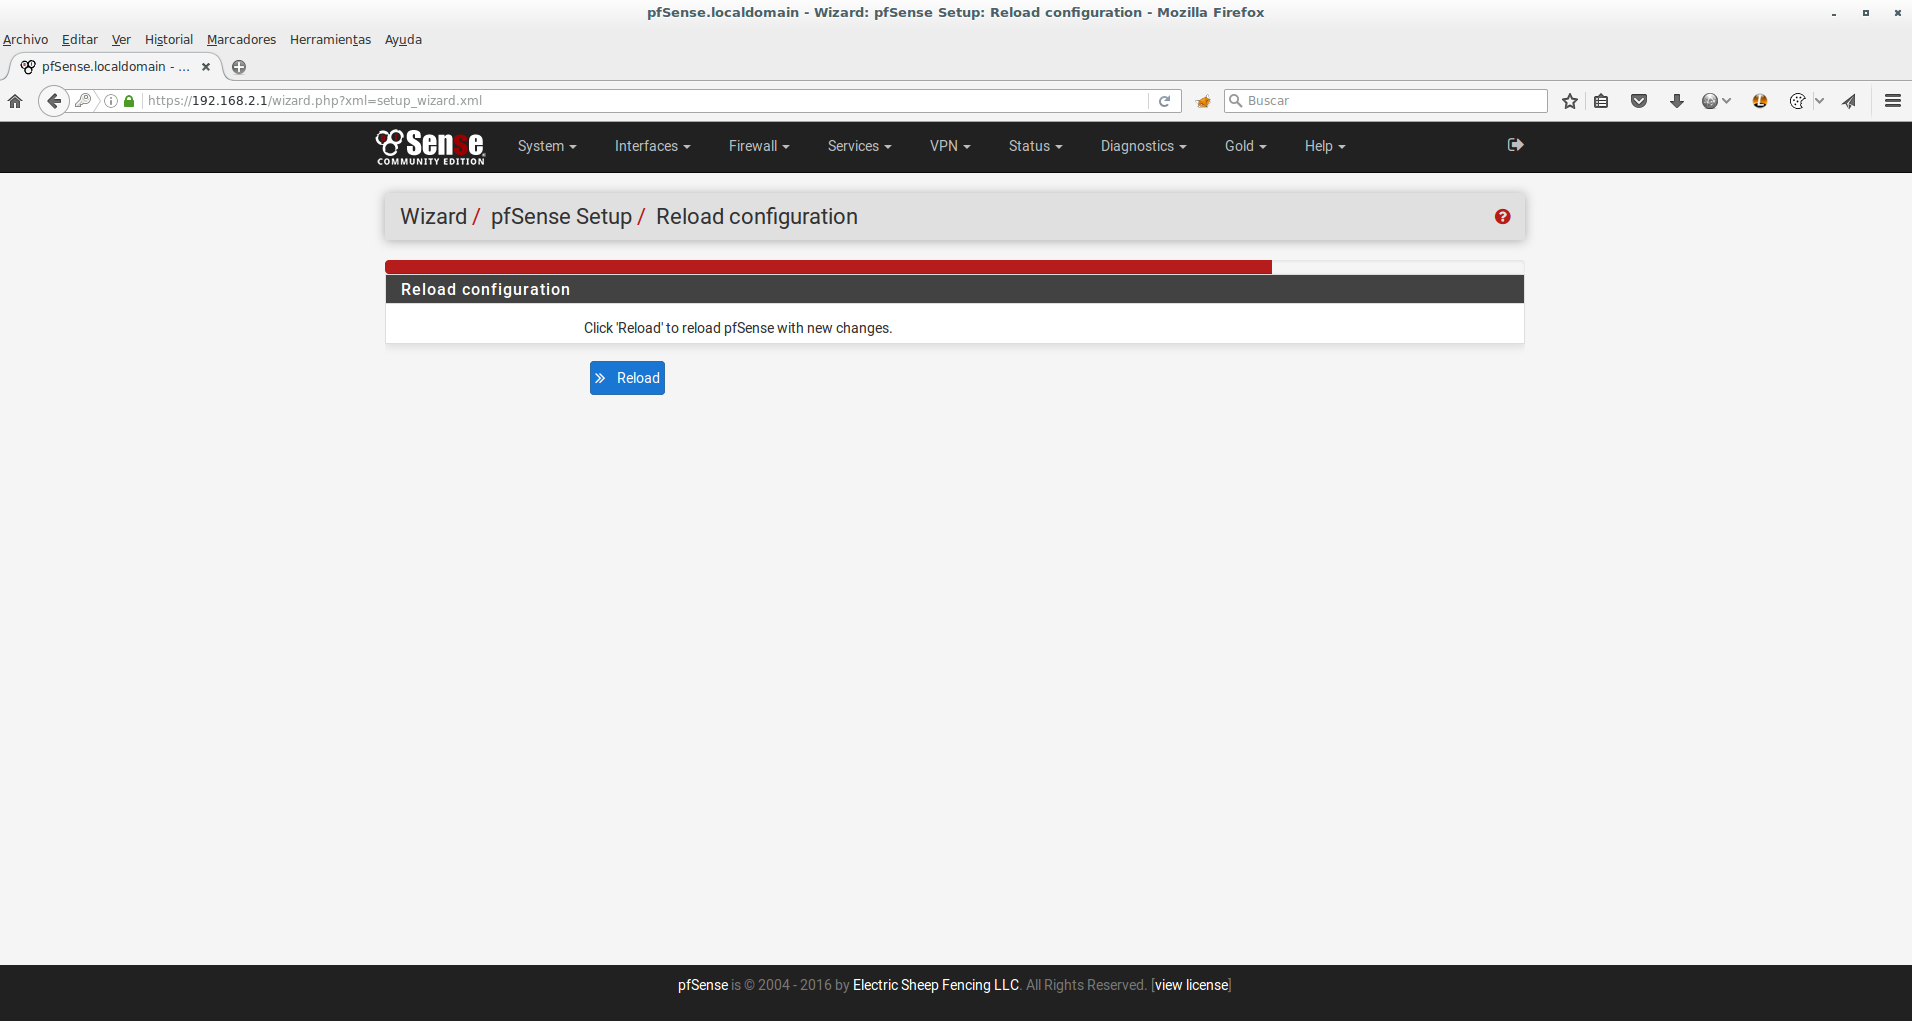
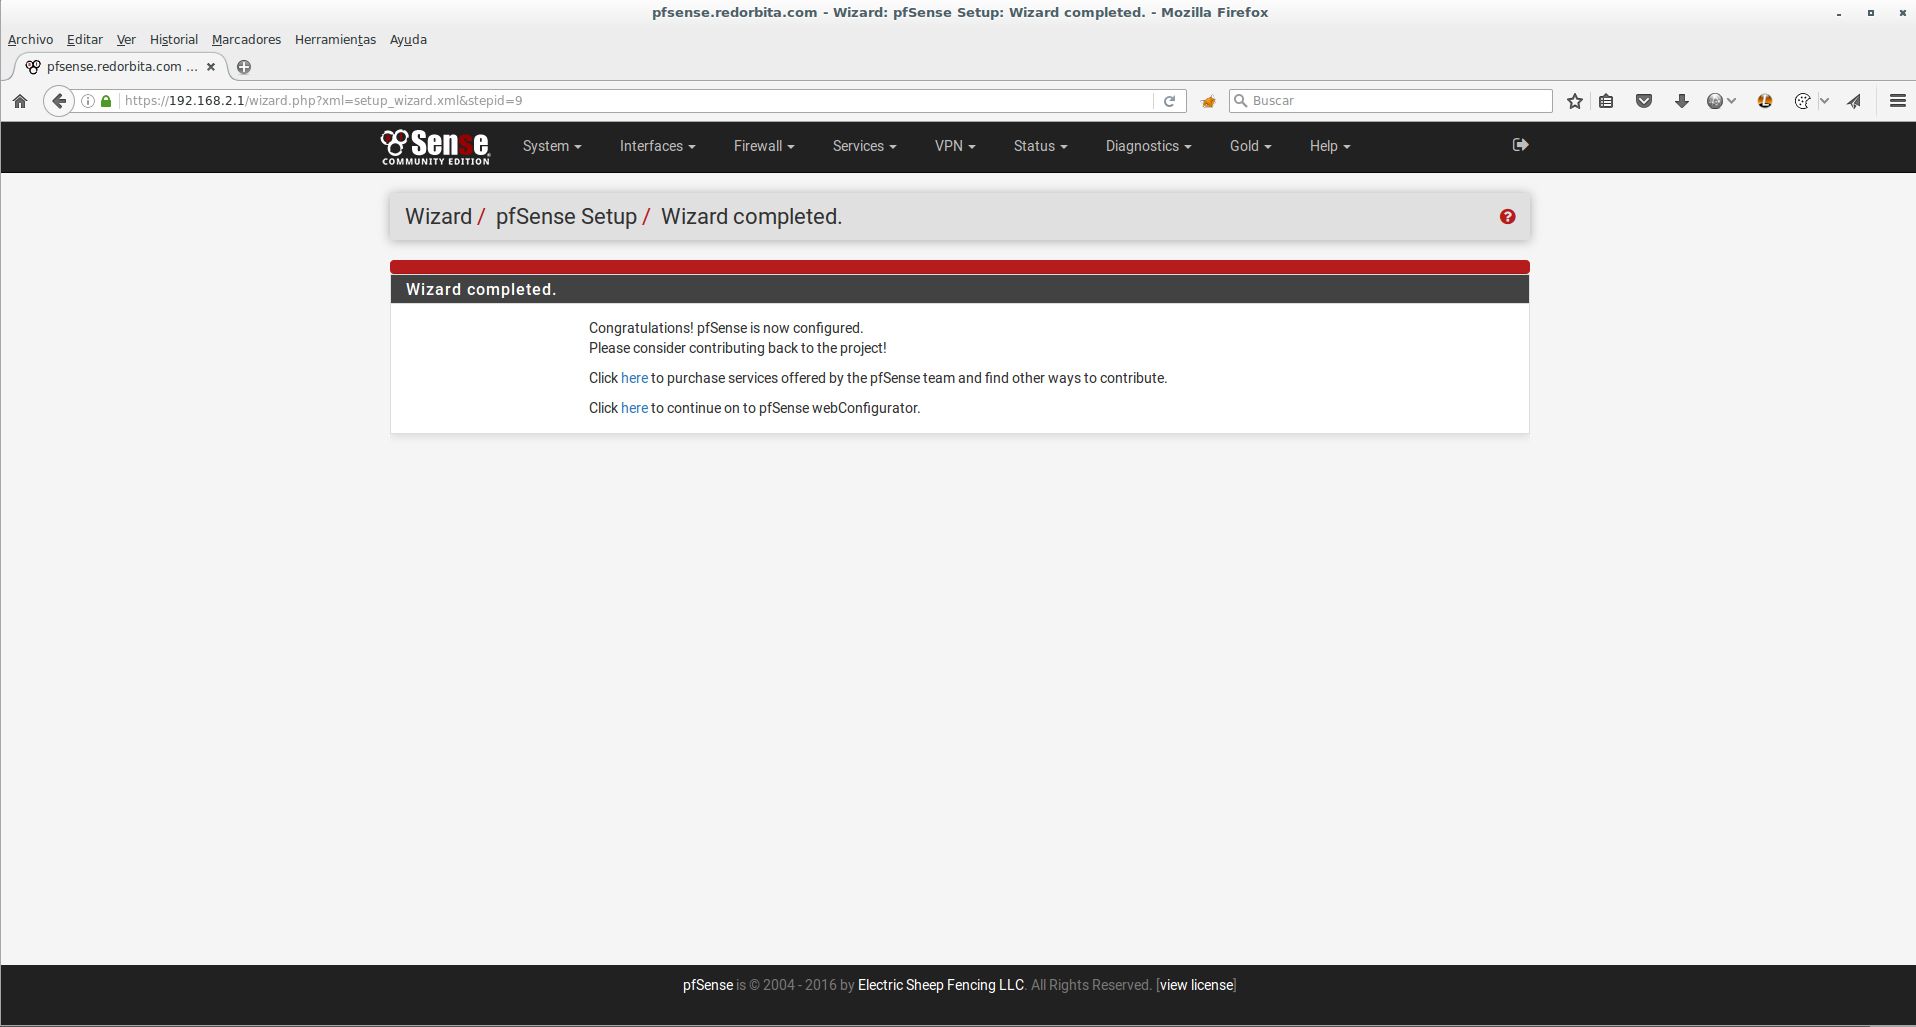
We finish the configuration, click on the link Click here to continue on to pfSense webConfigurator
All the best.
:wq!
Comments