
Previously we saw how to perform a basic configuration to secure our GNU/Linux servers (Basic hardening in GNU/Linux), and Hardening – Securing passwords with PAM in GNU/Linux In this case we are going to implement two-step authentication factor
What is 2FA?
2FA stands for 2-factor authentication (which in Spanish is known as two-step verification), which is part of something larger, called MFA or multi-factor authentication (multi-step verification). MFA refers to a way of authenticating a user's identity using multiple independent factors (or steps), which are validated to verify a person's identity. So in the case of 2FA there are two factors (two steps) that must be presented.
First of all we have to install Google Authenticator:
Debian and derivatives:
apt-get install libpam-google-authenticatorRedhat and derivatives:
yum install google-authenticatorGoogle Authenticator Settings:
It tells us if we want to enable two-step authentication and we say yes.
rokitoh@server01:~# google-authenticator
Do you want authentication tokens to be time-based (y/n)
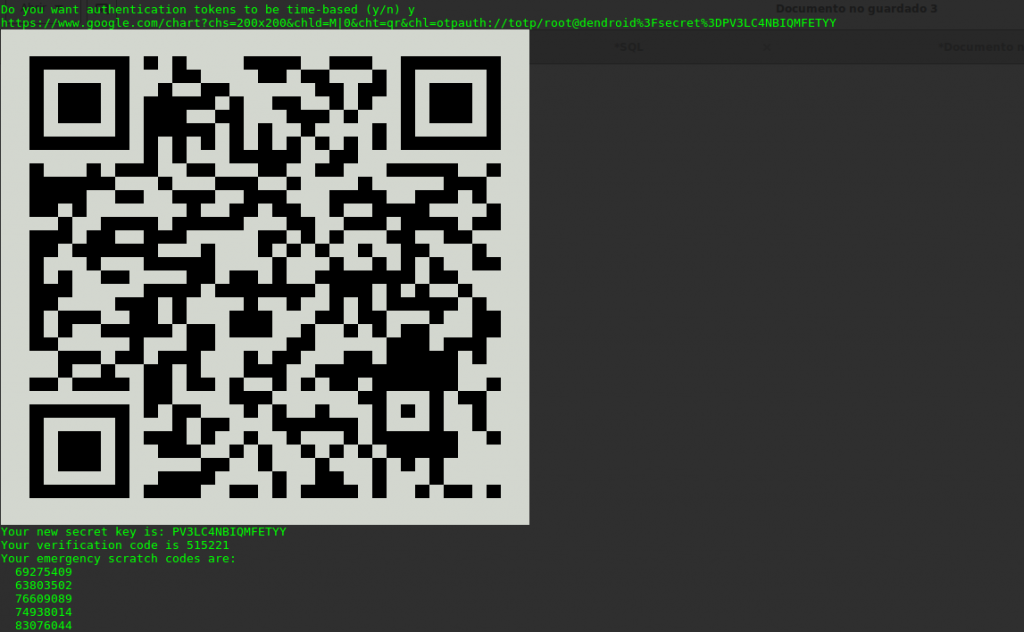
Below it shows us a code QRcode that through the application Google Authenticator we can read
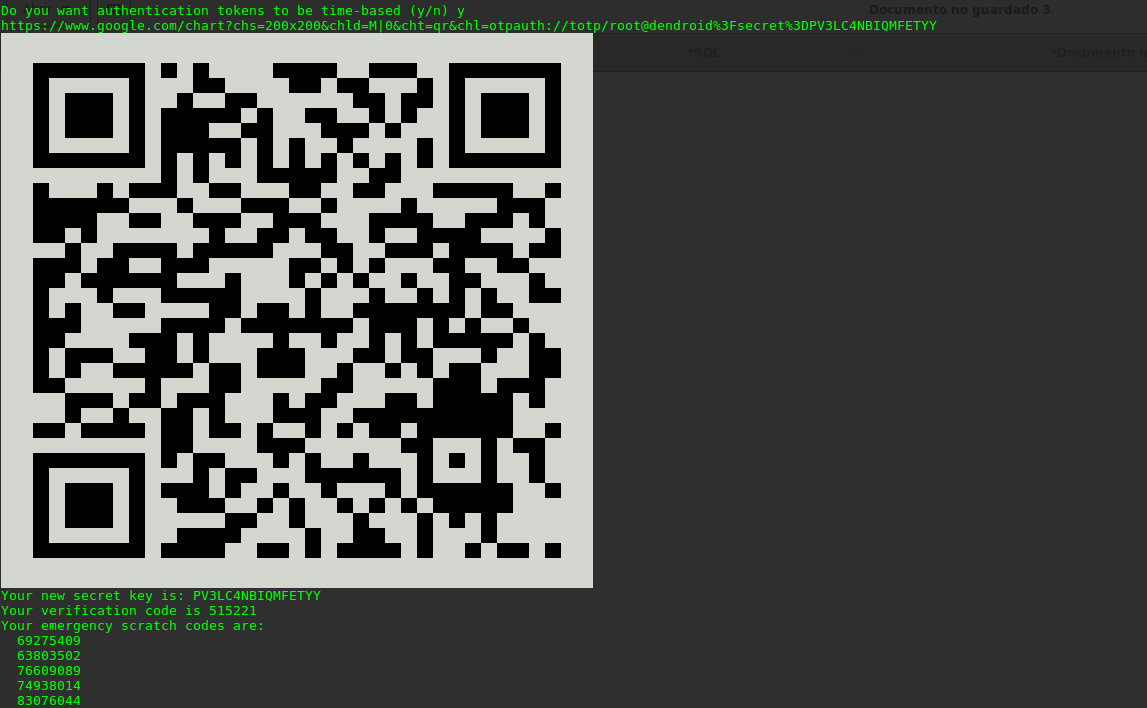
Save the backup codes, it will help you regain access if you lose your phone:
Your new secret key is: PV3LC4NBIQMFETYY

Your verification code is 515221

Your emergency scratch codes are:

69275409

63803502

76609089

74938014

83076044
We leave the configuration options as default. Google Authenticator
Do you want me to update your «/root/.google_authenticator» file (y/n) y
Do you want to disallow multiple uses of the same authentication

token? This restricts you to one login about every 30s, but it increases

your chances to notice or even prevent man-in-the-middle attacks (y/n) y
By default, tokens are good for 30 seconds and in order to compensate for

possible time-skew between the client and the server, we allow an extra

token before and after the current time. If you experience problems with poor

time synchronization, you can increase the window from its default

size of 1:30min to about 4min. Do you want to do so (y/n) y
If the computer that you are logging into isn’t hardened against brute-force

login attempts, you can enable rate-limiting for the authentication module.

By default, this limits attackers to no more than 3 login attempts every 30s.

Do you want to enable rate-limiting (y/n) y
Once configured Google Authenticator we have to make the configuration in the PAM and sshd
We make a backup before touching any configuration file:
cp /etc/pam.d/sshd /etc/pam.d/sshd.bckWe add the following line to the end of the file:
auth required pam_google_authenticator.soIn the same way we make a backup copy of the ssh service configuration
cp /etc/ssh/sshd_config /etc/ssh/sshd_config.bckWe access the file sshd_config and we search ChallengeResponseAuthentication, this line has to be configured as:
ChallengeResponseAuthentication yesWe restart the ssh service
sudo service ssh restartWe already have everything ready to access, we connect to the server and it has to ask us for the password and then the verification code which we have to see from our mobile phone through the application Google Authenticator
rokitoh@lusy:~$ ssh rokitoh@192.168.1.18

Password:

Verification code:
The programs included with the Debian GNU/Linux system are free software;

the exact distribution terms for each program are described in the

individual files in /usr/share/doc/*/copyright.
:wq!
Comments