
On this occasion we move a little away from our comfort zone (from the world of free software and GNU/Linux) for the implementation of a low high availability Cluster in a Windows Server 2012 environment.
Since in our work environment we have to deal with platforms with multiple operating systems and unfortunately not all of them are free software, I have decided to make this entry.
What is High Availability Cluster?
High Availability Cluster. To achieve redundancy and protection against system failures, the first measure usually taken is to replicate its most critical hardware components. For example, in the case of a server, RAID disk configurations, redundant power supplies, several network interfaces are used. bonding, etc. And the same concept of redundancy also applies to the rest of the components such as the network electronics or the electrical system.
These measures undoubtedly increase the availability level of a system, but to achieve an even higher level, advanced hardware and software configurations such as High Availability clusters are usually used.
A High Availability Cluster It is a set of two or more servers, which is characterized by sharing the storage system, and because they are constantly monitoring each other. If a hardware or service failure occurs on any of the machines that make up the cluster, the high availability software is capable of automatically restarting the services that have failed on any of the other computers in the cluster. And when the failed server recovers, services are migrated back to the original machine.
IP addressing
Windows IP Configuration
Host Name . . . . . . . . . . . . : winclus01
Ethernet adapter Red de almacenamiento:
IPv4 Address. . . . . . . . . . . : 192.168.2.100(Preferred)

Subnet Mask . . . . . . . . . . . : 255.255.255.0
Ethernet adapter Red de cluster:
IPv4 Address. . . . . . . . . . . : 192.168.3.100(Preferred)

Subnet Mask . . . . . . . . . . . : 255.255.255.0
Ethernet adapter Red de servicio:
IPv4 Address. . . . . . . . . . . : 192.168.1.100(Preferred)

Subnet Mask . . . . . . . . . . . : 255.255.255.0

Default Gateway . . . . . . . . . : 192.168.1.1
DNS Servers . . . . . . . . . . . : 192.168.1.180

192.168.1.170Windows IP Configuration
Host Name . . . . . . . . . . . . : winclus02
Ethernet adapter Red de almacenamiento:
IPv4 Address. . . . . . . . . . . : 192.168.2.101(Preferred)
Subnet Mask . . . . . . . . . . . : 255.255.255.0
Ethernet adapter Red de cluster:
IPv4 Address. . . . . . . . . . . : 192.168.3.101(Preferred)
Subnet Mask . . . . . . . . . . . : 255.255.255.0
Ethernet adapter Red de servicio:
IPv4 Address. . . . . . . . . . . : 192.168.1.101(Preferred)
Subnet Mask . . . . . . . . . . . : 255.255.255.0
Default Gateway . . . . . . . . . : 192.168.1.1
DNS Servers . . . . . . . . . . . : 192.168.1.180
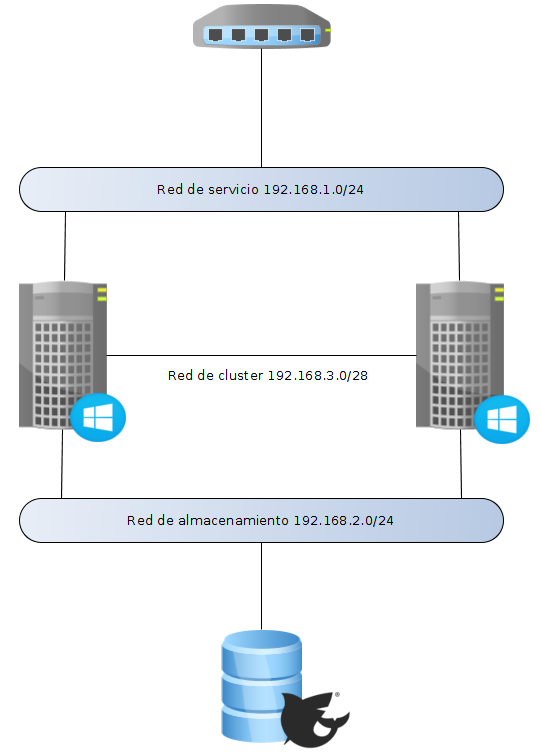
192.168.1.170Network diagram:
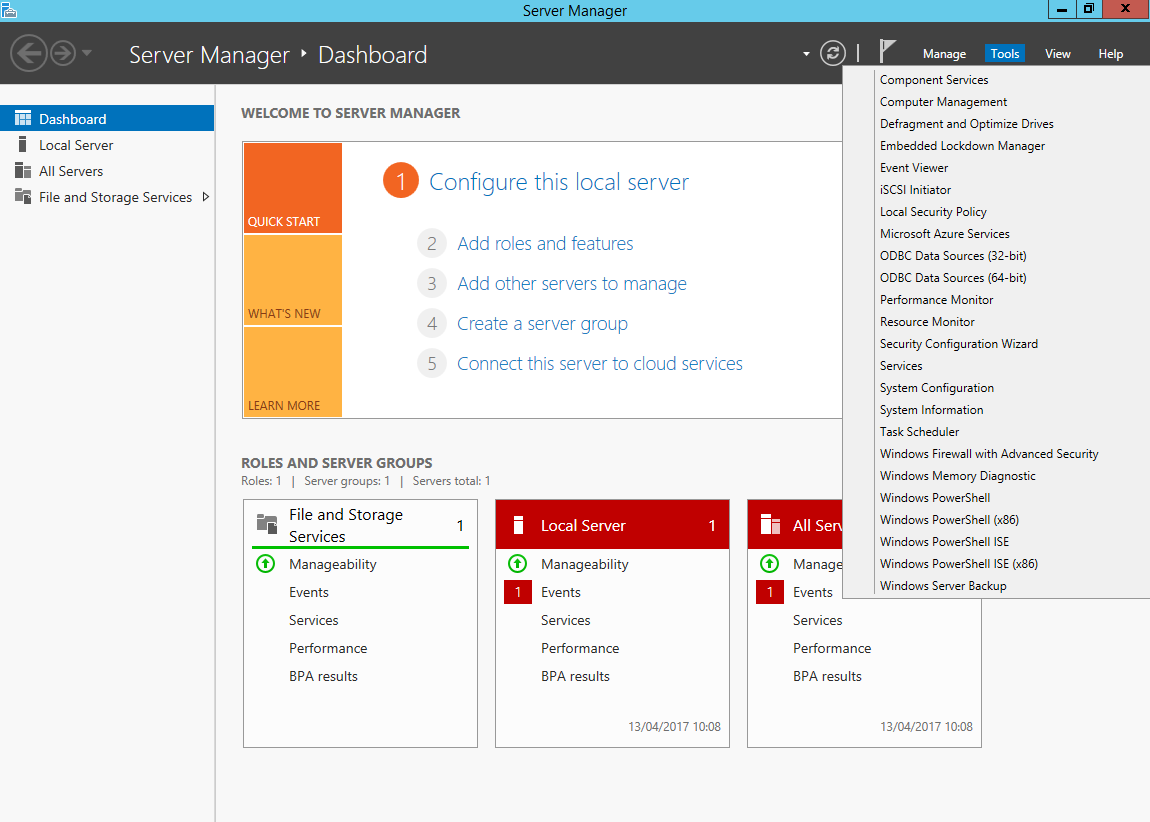
We proceed to configure the iSCSI disks (on both nodes), to do this we go to: Tools > iSCSI Initiator
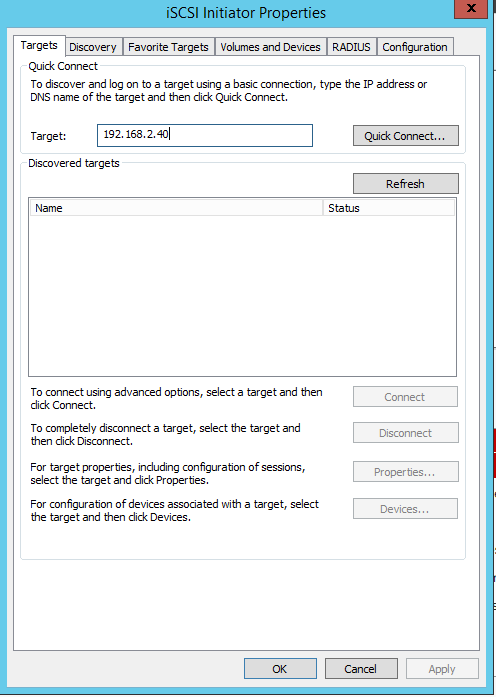
In the Targets tab, we add the IP of our storage server and press Quick Connect.
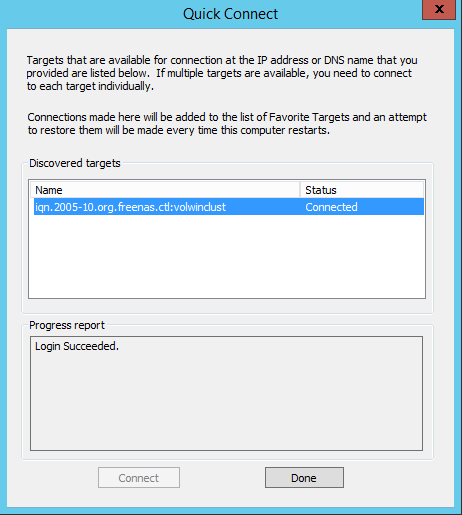
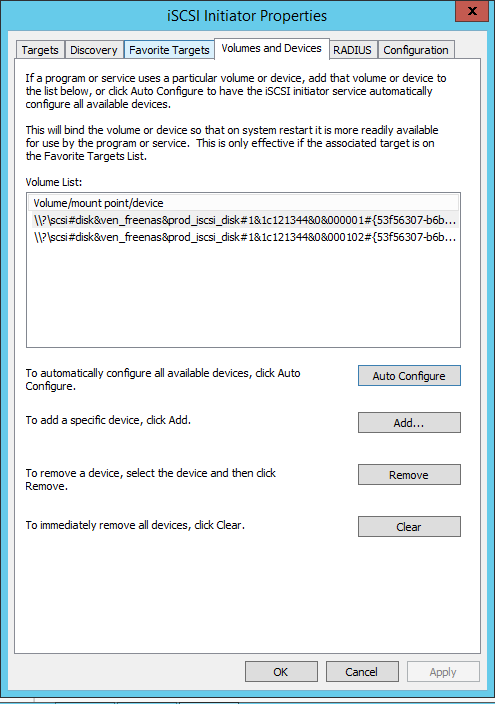
We go to the Volumes And Devices tab and click on Auto Configure.
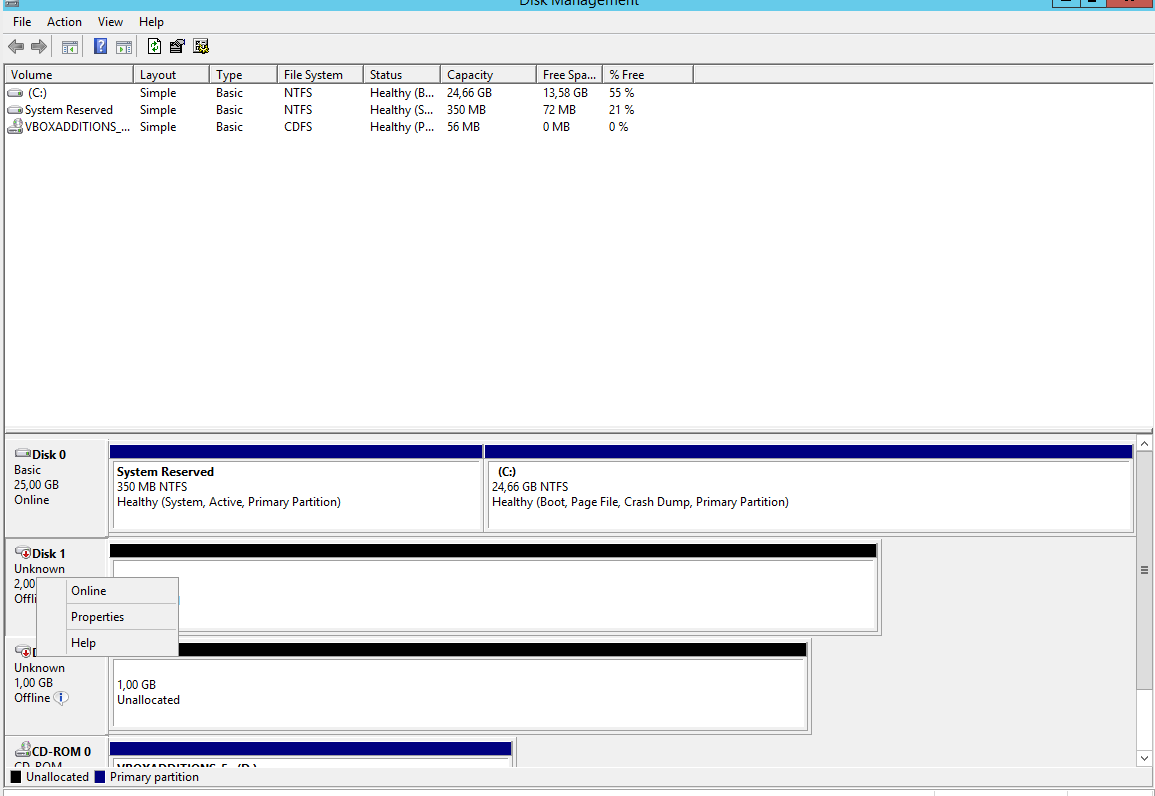
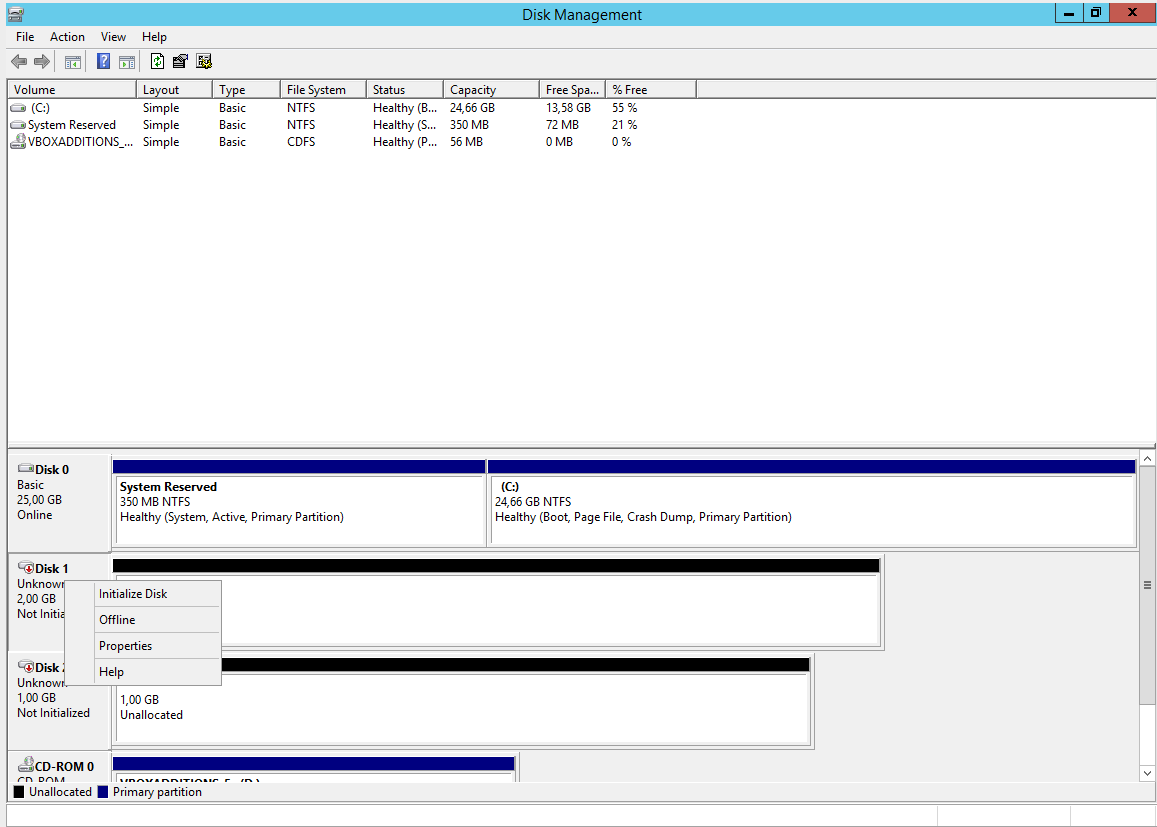
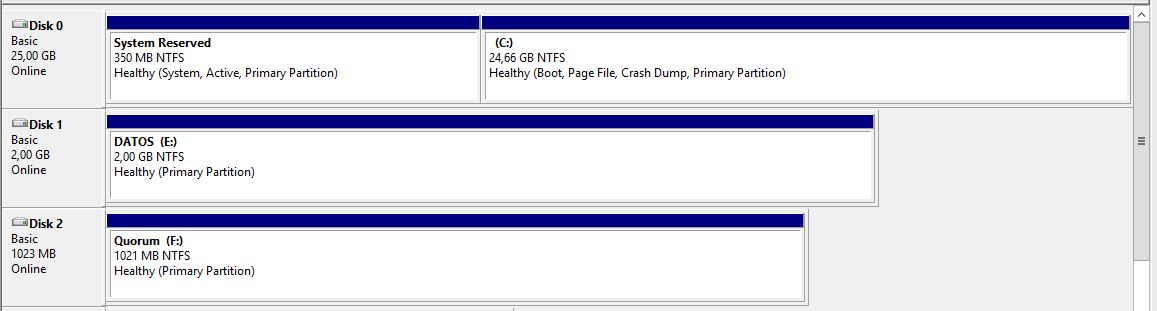
Once ISCSI is configured, we must activate the disks in Disk Management (on both nodes).
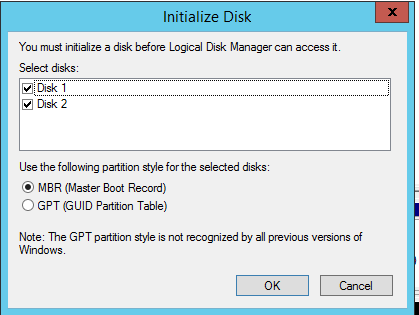
We activate and initialize the disk.
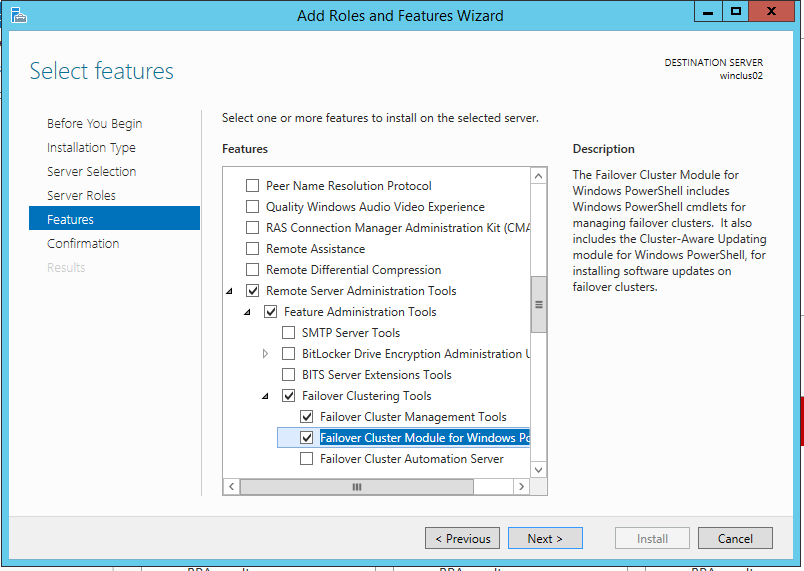
Now we need to install the Failover Cluster Feature on both nodes.
To do this we have to go to Add Roles and Features > Features > Remote Server Administration tools > failover Clustering Tools
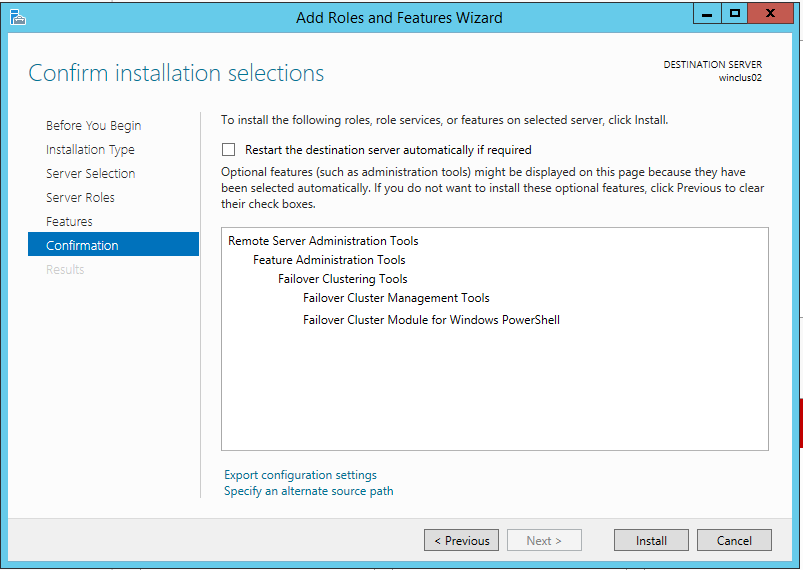
Installation using Powershell
Install-WindowsFeature -Name Failover-Clustering –IncludeManagementTools
Check if it has been installed correctly:
Get-WindowsFeature Failover*
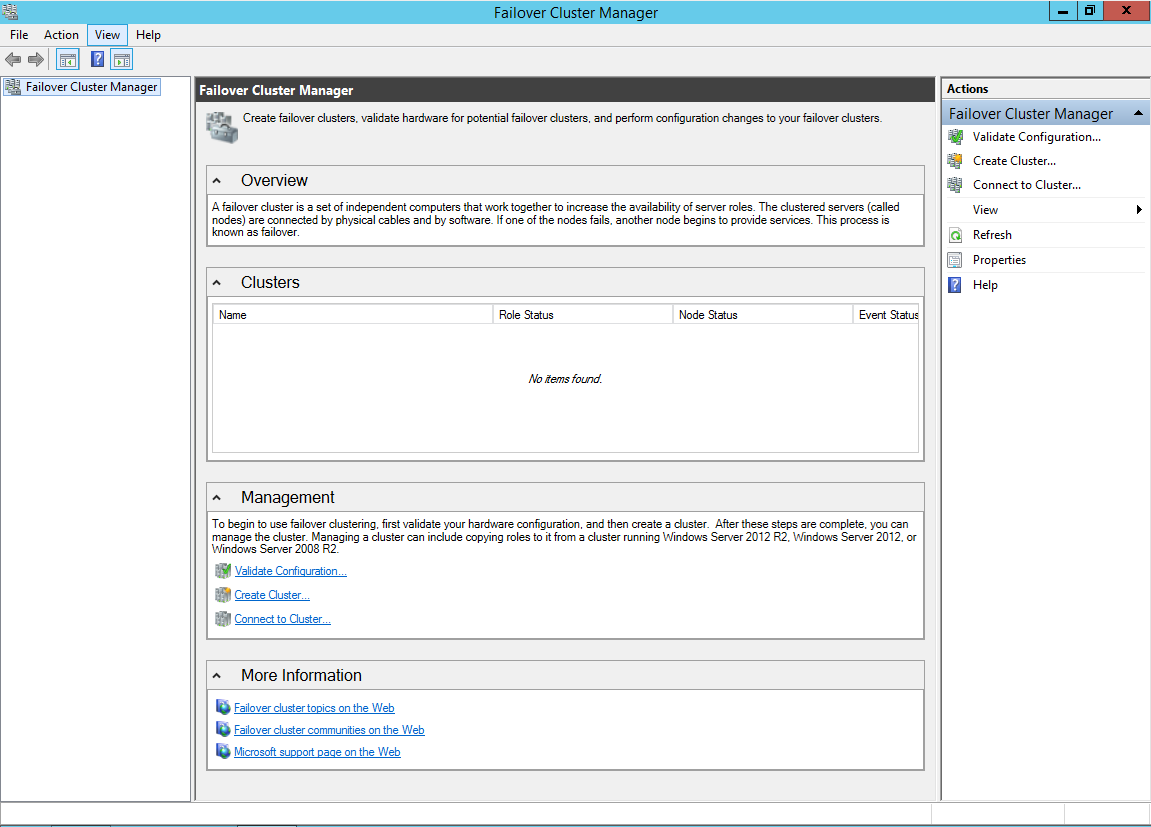
We move on to configure the cluster: Tools > Failover Cluster Manager
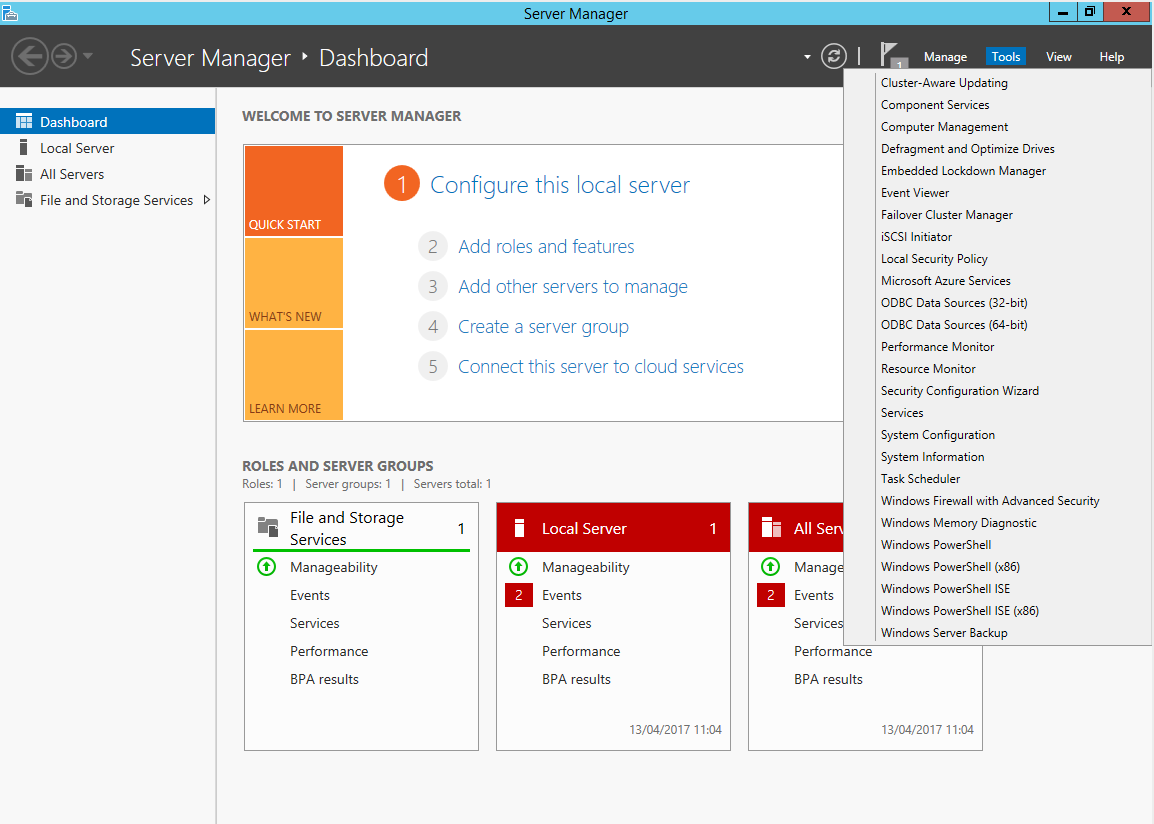
First of all we have to carry out the validation, to do this we press Validate Configuration
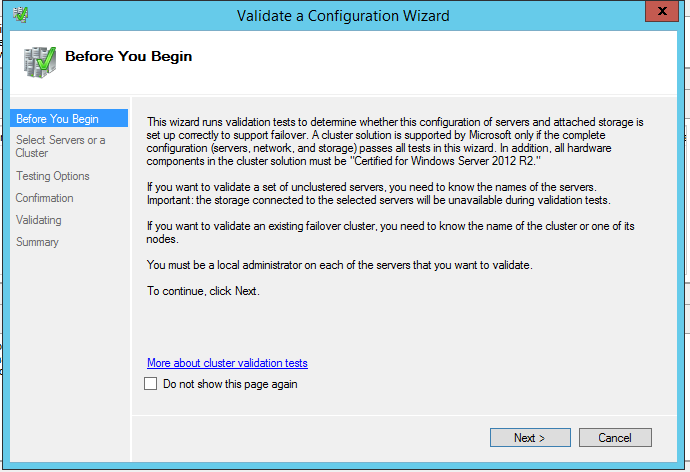
Following
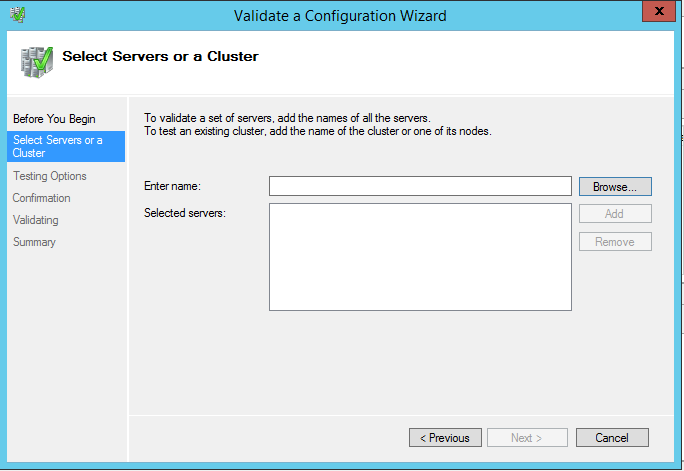
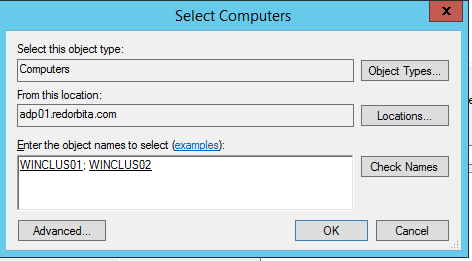
We click on Browse and select the two nodes of the cluster.
Following.
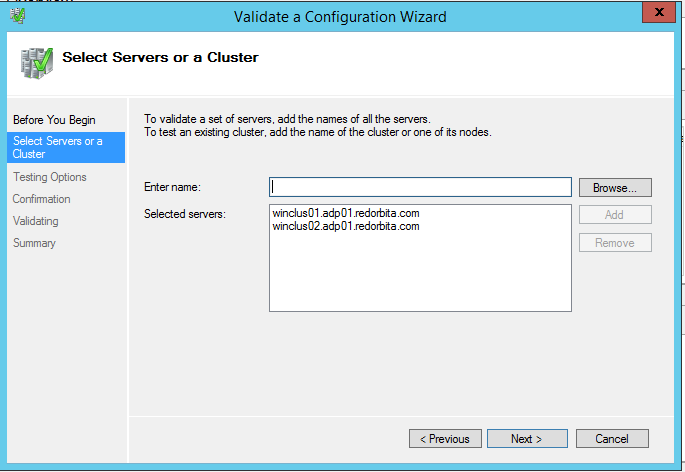
Following
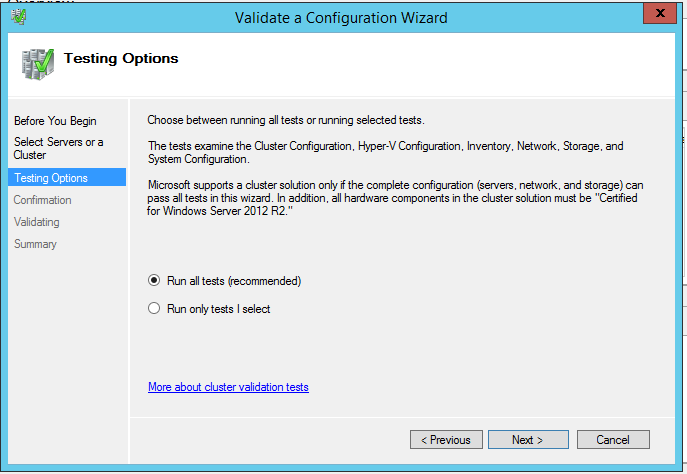
Following
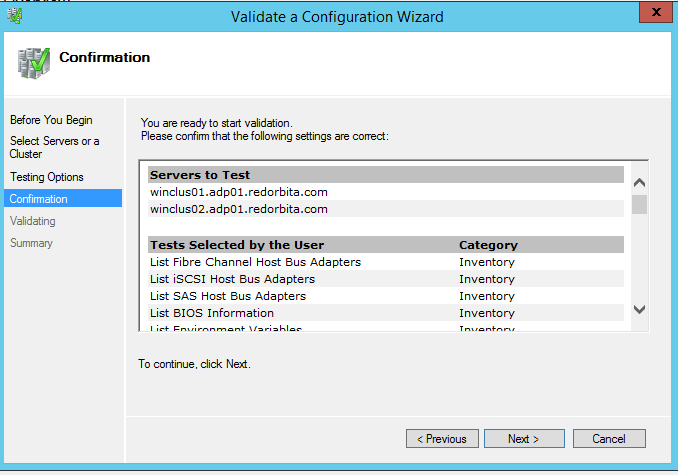
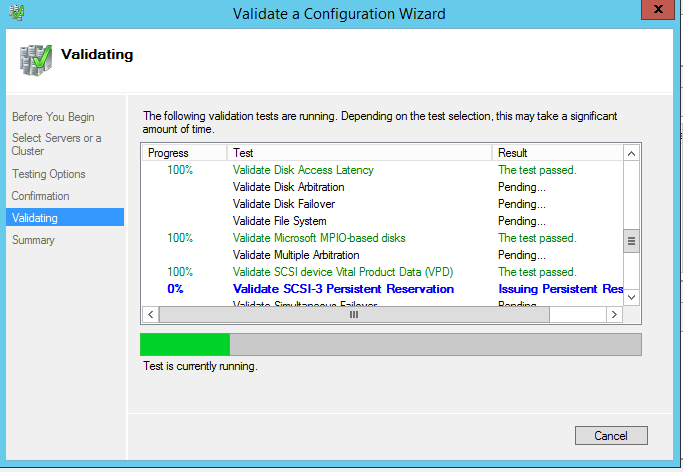
We finish the installation and proceed to create the cluster.
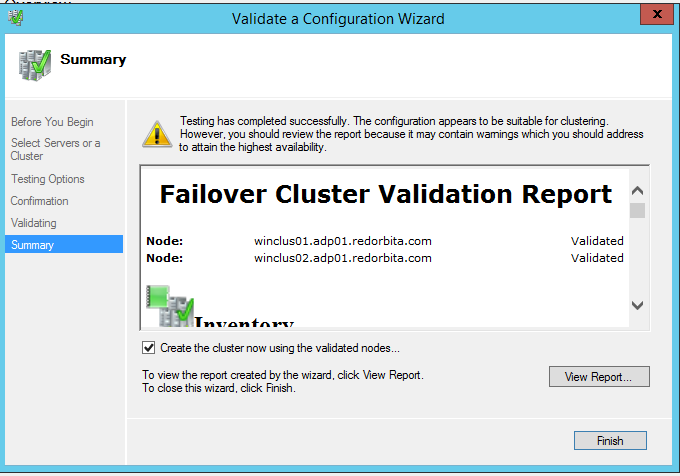
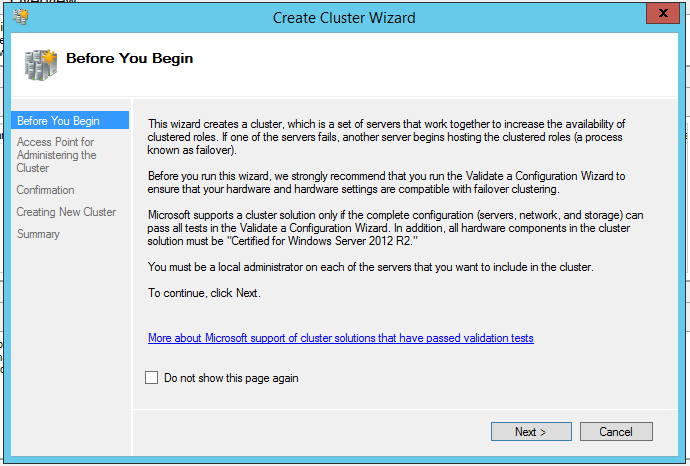
The wizard opens to create the cluster.
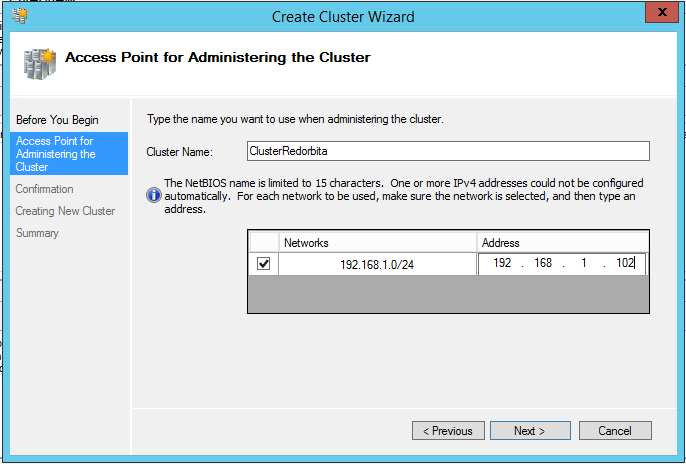
We assign a cluster name and IP.
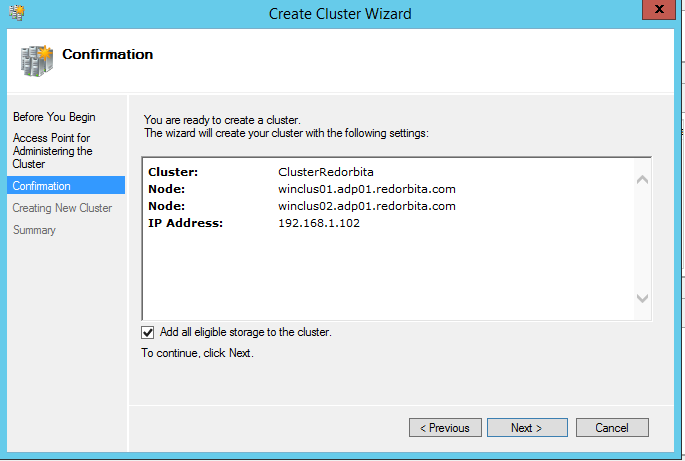
It shows us a small summary, Next.
Start creating the cluster.
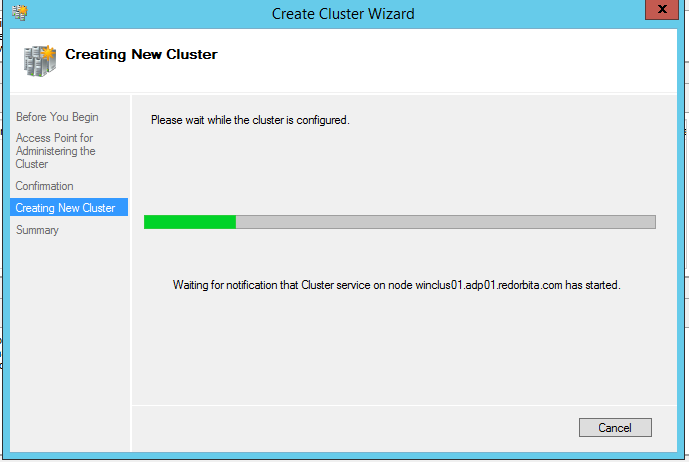
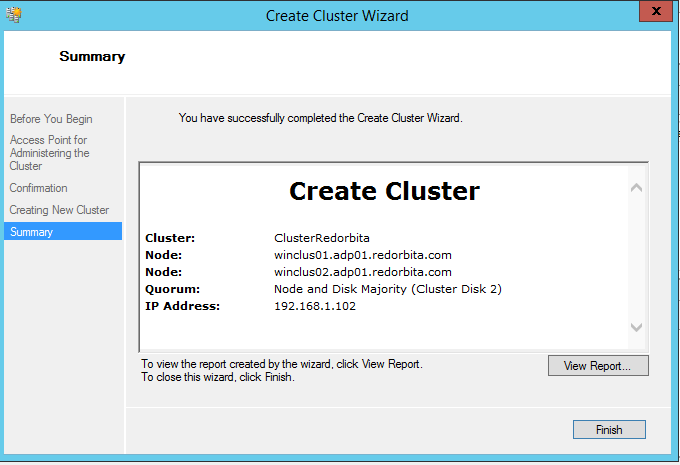
We finish the creation of the cluster.
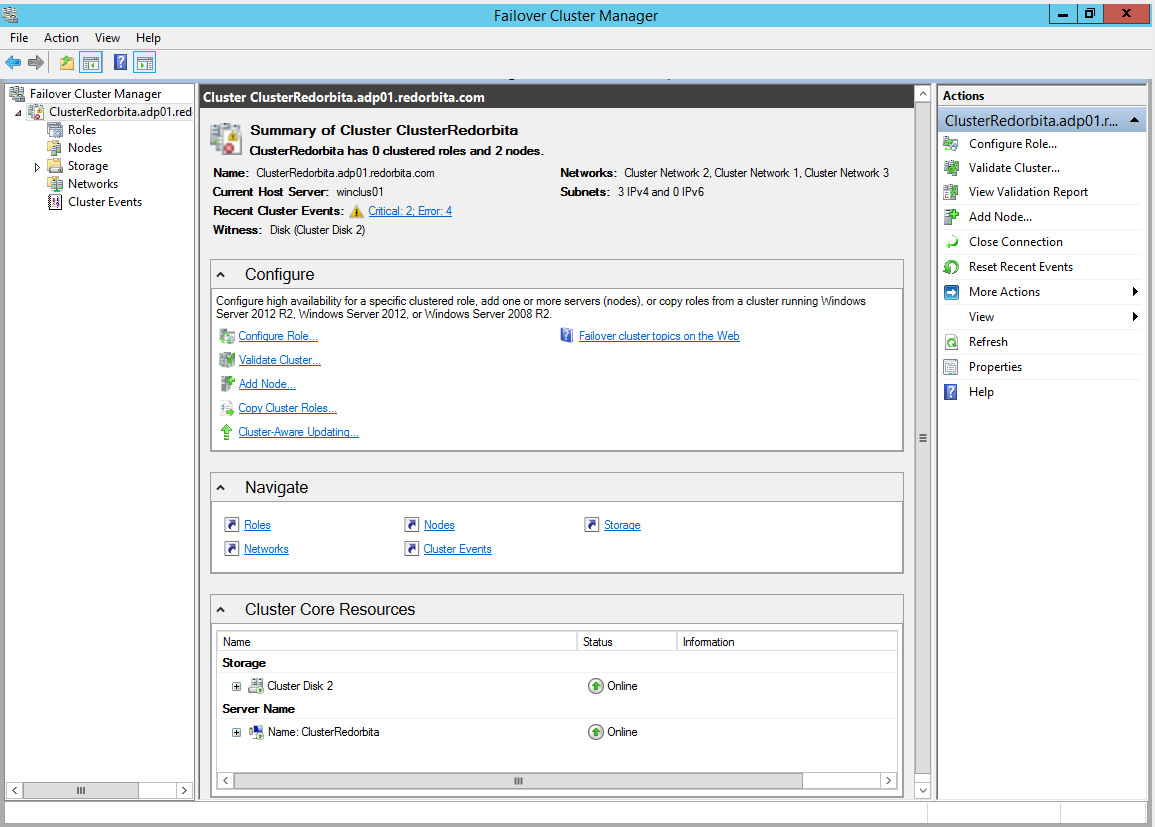
Finally we have to configure the cluster services. So that this tutorial does not take too long, I am only going to create a file server role.
To do this, click on Configure Role…
Following
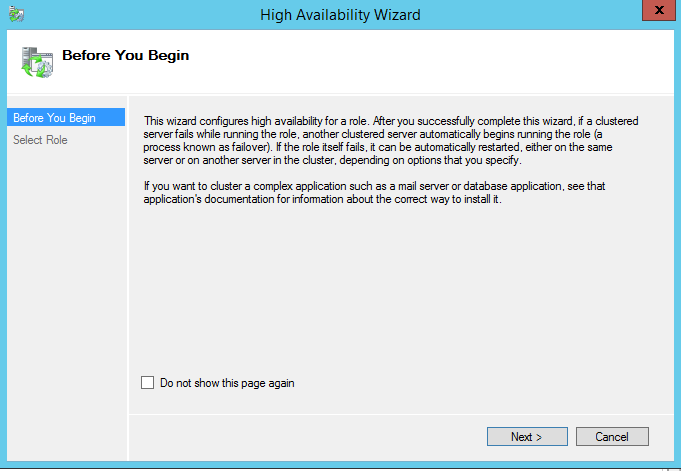
We select the role we want to configure.
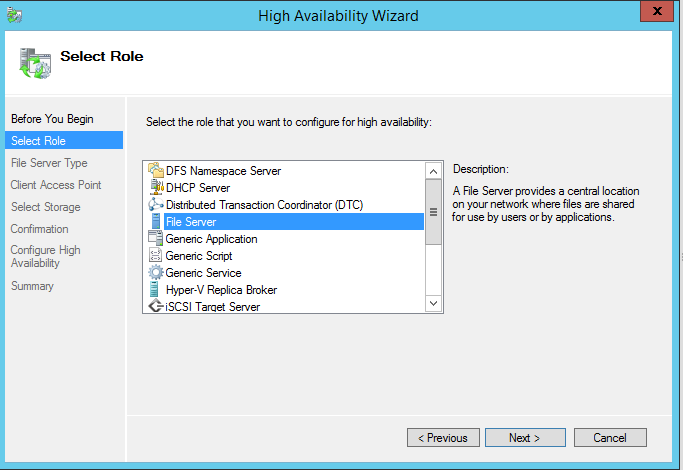
Following.
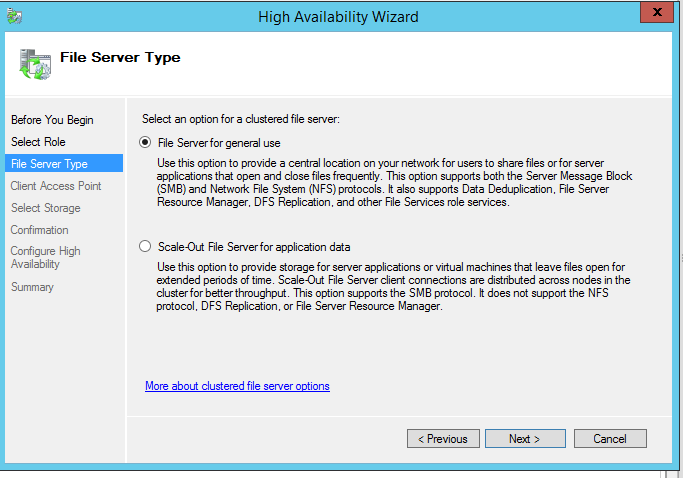
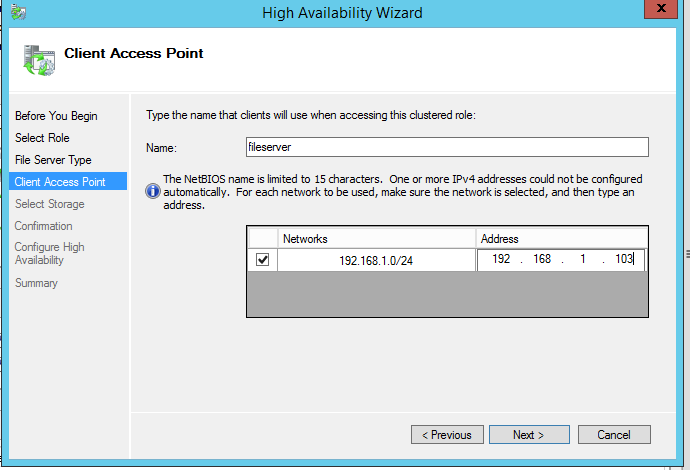
We give a name for that resource and an IP address
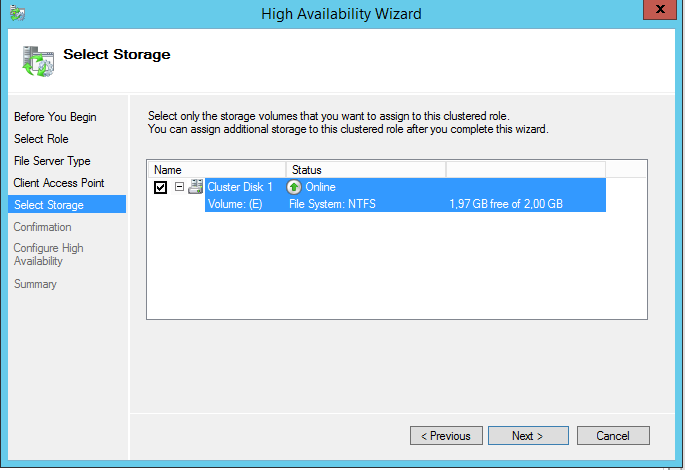
We select the unit.
It shows us a brief summary, following.
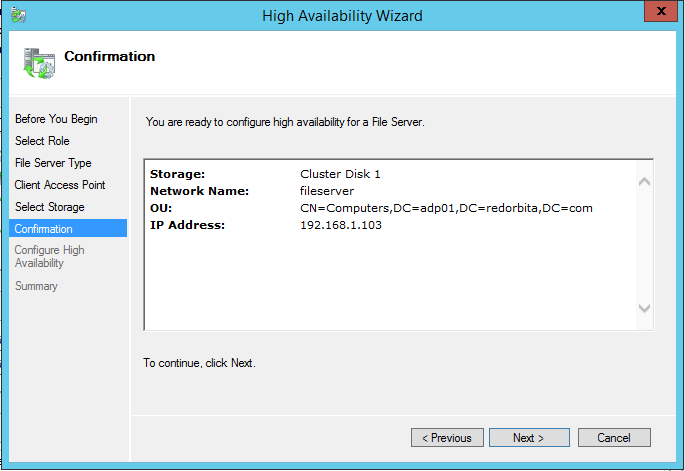
We finish.
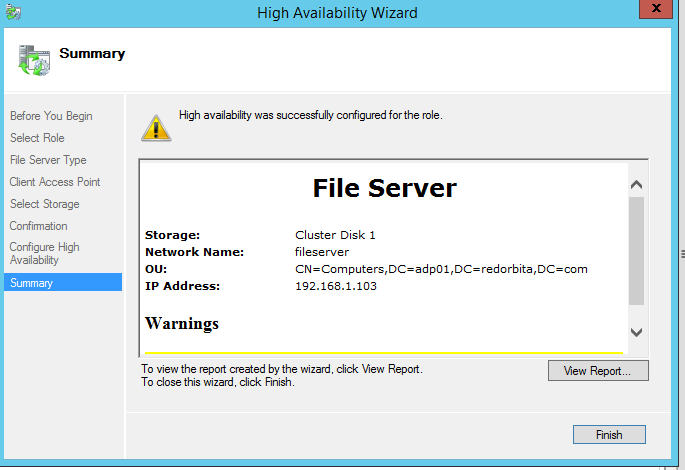
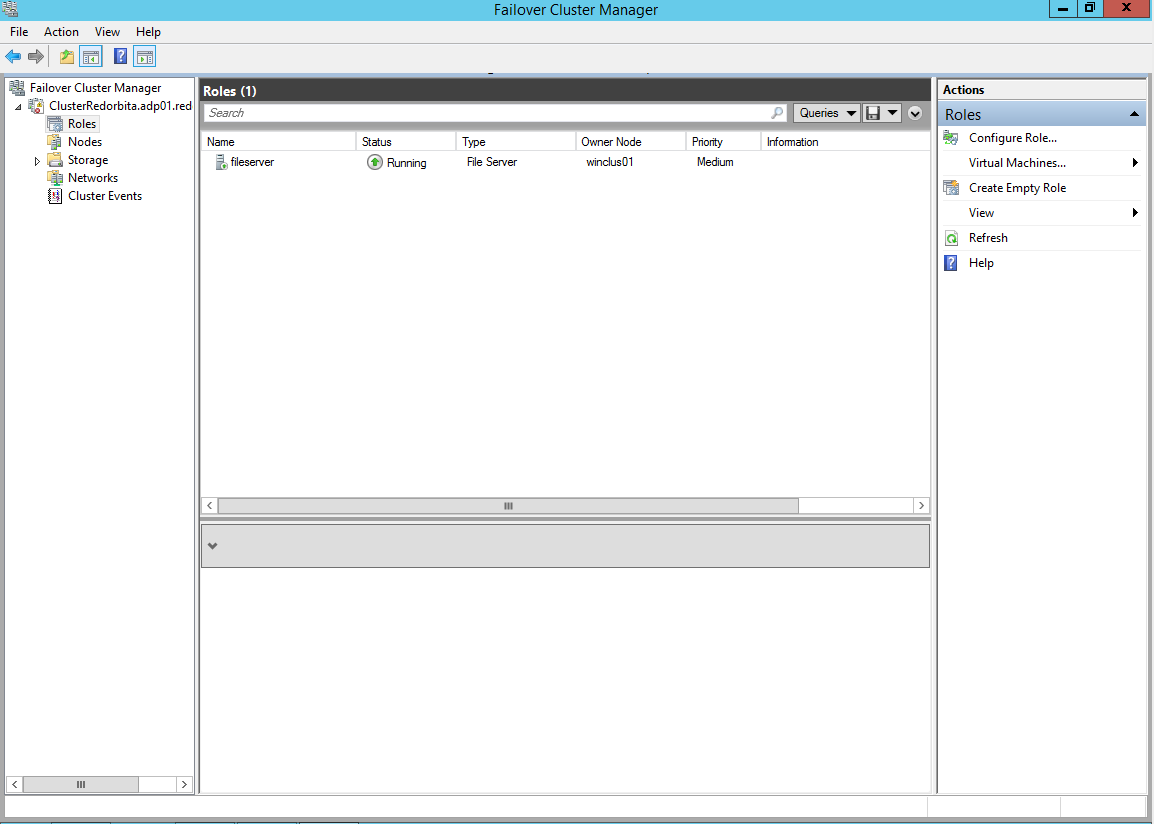
All the best.
:wq!
Comments