
Graylog2 is an Open Source system (GPLv3) that allows us to centralize the logs of related systems to facilitate real-time analysis of our systems.
Facility:
We add the repositories
echo «deb http://ftp.debian.org/debian jessie-backports main» > /etc/apt/sources.list.d/backports.list

apt-get update && sudo apt-get upgrade
We install the necessary software:
apt-get install -t jessie-backports apt-transport-https openjdk-7-jre-headless uuid-runtime pwgenWe install the DB
apt-get install mongodb-serverAdd Elasticsearch repositories
wget -qO – https://packages.elastic.co/GPG-KEY-elasticsearch |  apt-key add –

echo «deb https://packages.elastic.co/elasticsearch/2.x/debian stable main» |  tee -a /etc/apt/sources.list.d/elasticsearch-2.x.list
We update the repositories and install Elasticsearch
apt-get update && apt-get install elasticsearchWe access the configuration file /etc/elasticsearch/elasticsearch.yml and we look for the line where it says: cluster.name, we uncomment it and configure a name.
cluster.name: graylogWe start the service
systemctl daemon-reload

systemctl enable elasticsearch.service

systemctl restart elasticsearch.service
Next we will proceed to the installation of graylog.
wget https://packages.graylog2.org/repo/packages/graylog-2.2-repository_latest.deb

dpkg -i graylog-2.2-repository_latest.deb

apt-get update && sudo apt-get install graylog-server
For graylog to start we must configure a password in /etc/graylog/server/server.conf, To do this we must add our password in: password_secret and root_password_sha2
Leaving it as follows:
We generate our secret code to password_secret
pwgen -N 1 -s 96

yo6iGdv0uCQ9Nw92GXTKJNViEpi6IGKi2O0obRtWJyDHKIWnyxlcdiRfOYZogokA3dT9BE57ZZyUEKQmJEoKTXGg5VGzjrHL
We generate the hash for root_password_sha2
echo -n TUPASSWORD | sha256sum

e1fda59fe47ff5f479b724f9f054829701eb062bd0b104e92f50d2de2e872925  –
We configure the password:
cat /etc/graylog/server/server.conf | grep -i password_secret

password_secret = 0wDp5a5Yj6dqawrZAzq7uxKB5XJ19AS9ZaLLTAbcA6FCEKEVmV3HTcES2Znjwy1mDWGc7CFDTMXvCpYtVBsO8rxsxJxXhdM6

cat /etc/graylog/server/server.conf | grep -i root_password_sha2

root_password_sha2 = e1fda59fe47ff5f479b724f9f054829701eb062bd0b104e92f50d2de2e872925
Now we are going to configure graylog, to do this we access the file /etc/graylog/server/server.conf
Since in our example we only have one Elasticsearch we are going to modify elasticsearch_shards and assign it the value 1
elasticsearch_shards = 1We head to the line elasticsearch_cluster_name and we assign it the name that we have given to the server
elasticsearch_cluster_name = graylogWe configure the network interface, to do this we must modify the following entries in the configuration file:
rest_listen_uri = http://192.168.1.177:12900/

rest_transport_uri = http://192.168.1.177:12900/

web_listen_uri = http://192.168.1.177:9000/
We start graylog
systemctl daemon-reload

systemctl enable graylog-server.service

systemctl start graylog-server.service
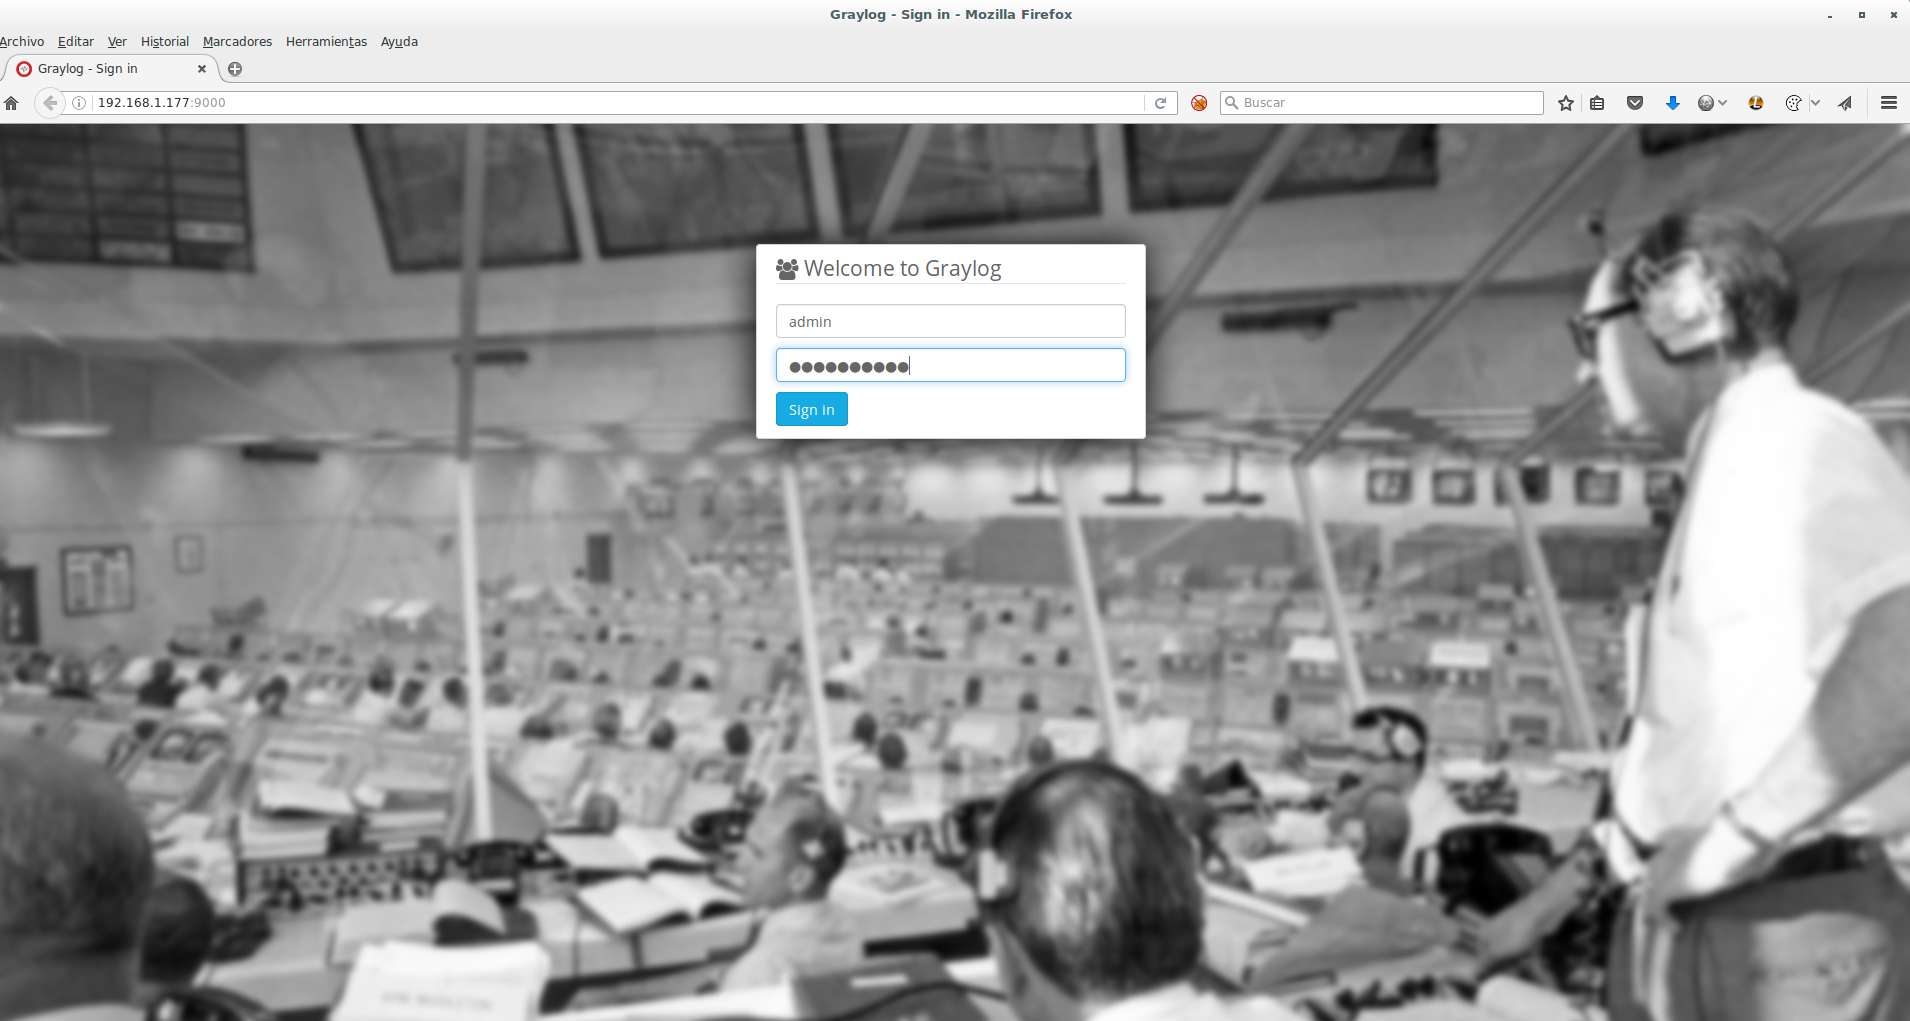
Through our web browser we can access to start working with graylog:
We configure the sending of logs through RSYSLOG
We download and install:
If we do not have rsyslog installed in our Linux distribution, we install it:
Debian and derivatives:
apt-get intall rsyslogRedhat and derivatives
yum install rsyslogSuse Enterprise
zypper install rsyslogWe create a configuration file for graylog, in which we have to configure the IP of the graylog server and the port where we are going to configure it to listen.
cat /etc/rsyslog.d/90-graylog2.conf

$template GRAYLOGRFC5424,»%protocol-version% %timestamp:::date-rfc3339% %HOSTNAME% %app-name% %procid% %msg%\n»

*.* @192.168.1.177:12500;GRAYLOGRFC5424
We restart the rsyslog service
service rsyslog restartUsing our web browser we go to the console graylog > System > Inputs
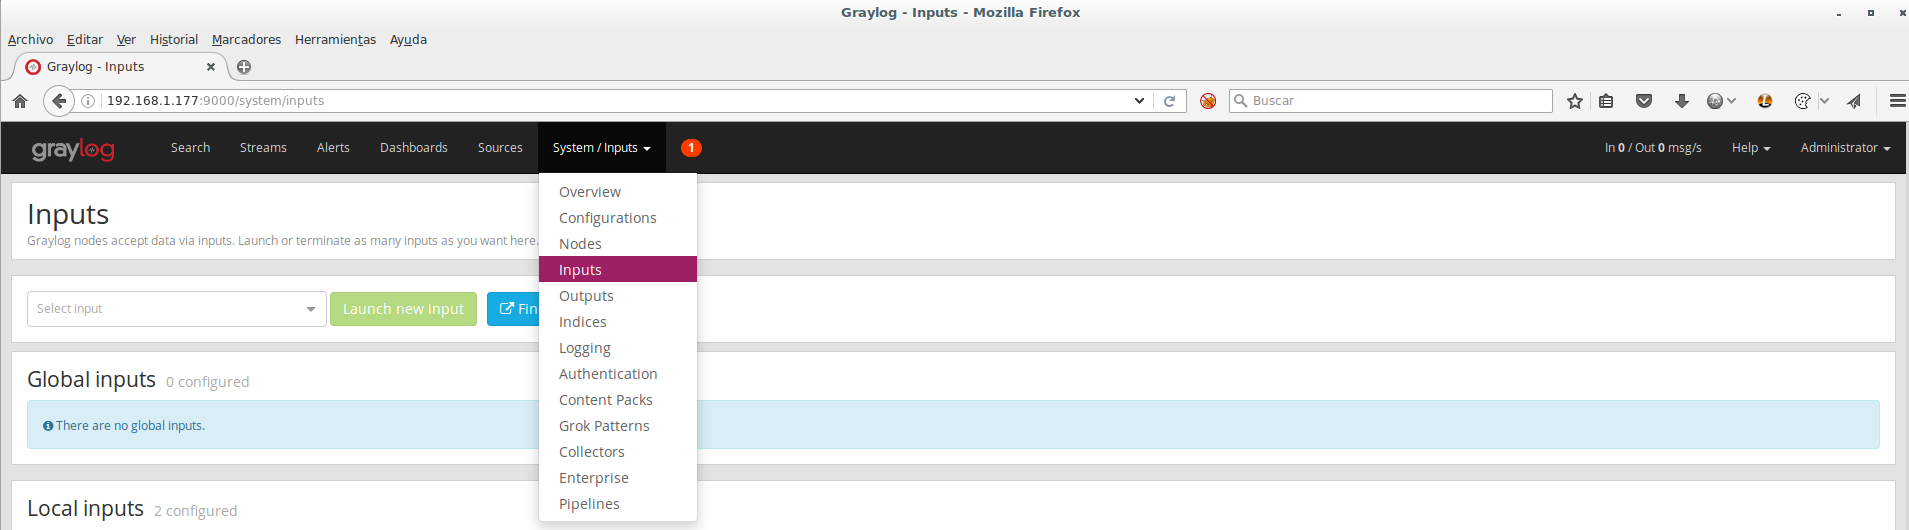
In inputs we select SYSLOG UDP and click on Launch new input

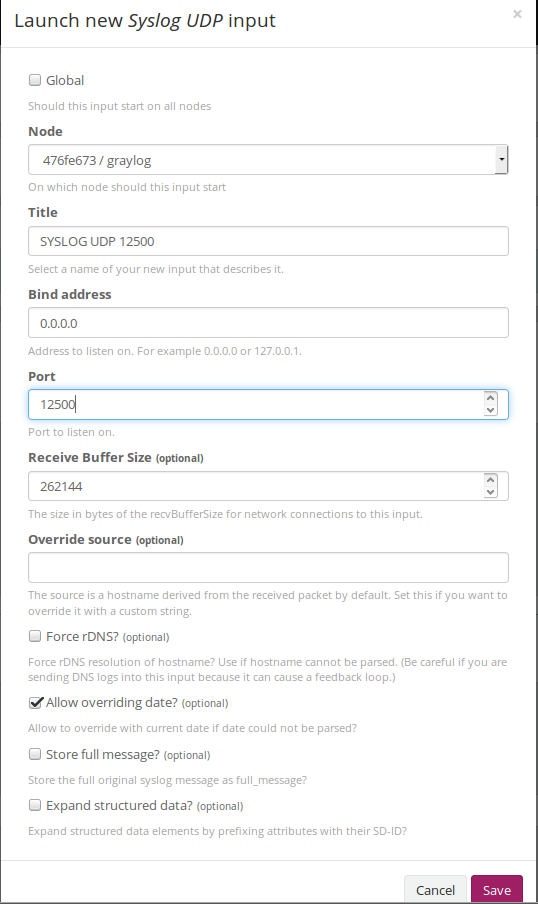
A configuration wizard will open, in which we only have to add a title and the port which we have previously configured in RSYSLOG, which in our case is: 12500
Once configured, we are going to create a stream to be able to characterize the events. This allows us to add a TAG which will allow us to search more quickly.
For this we are going to stream > Create Stream

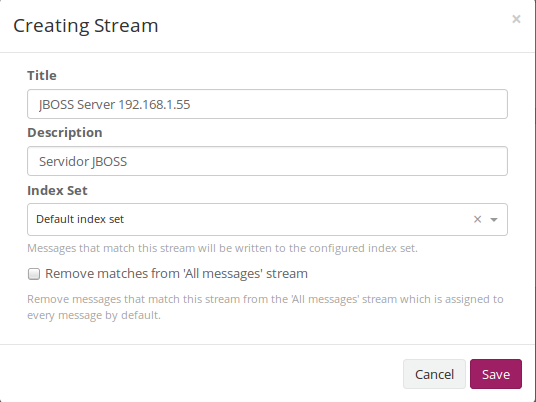
Once created, we must create rules, we click on Manager Rules

We select the server that we want to add the Streams > Load Message > Add Stream rule
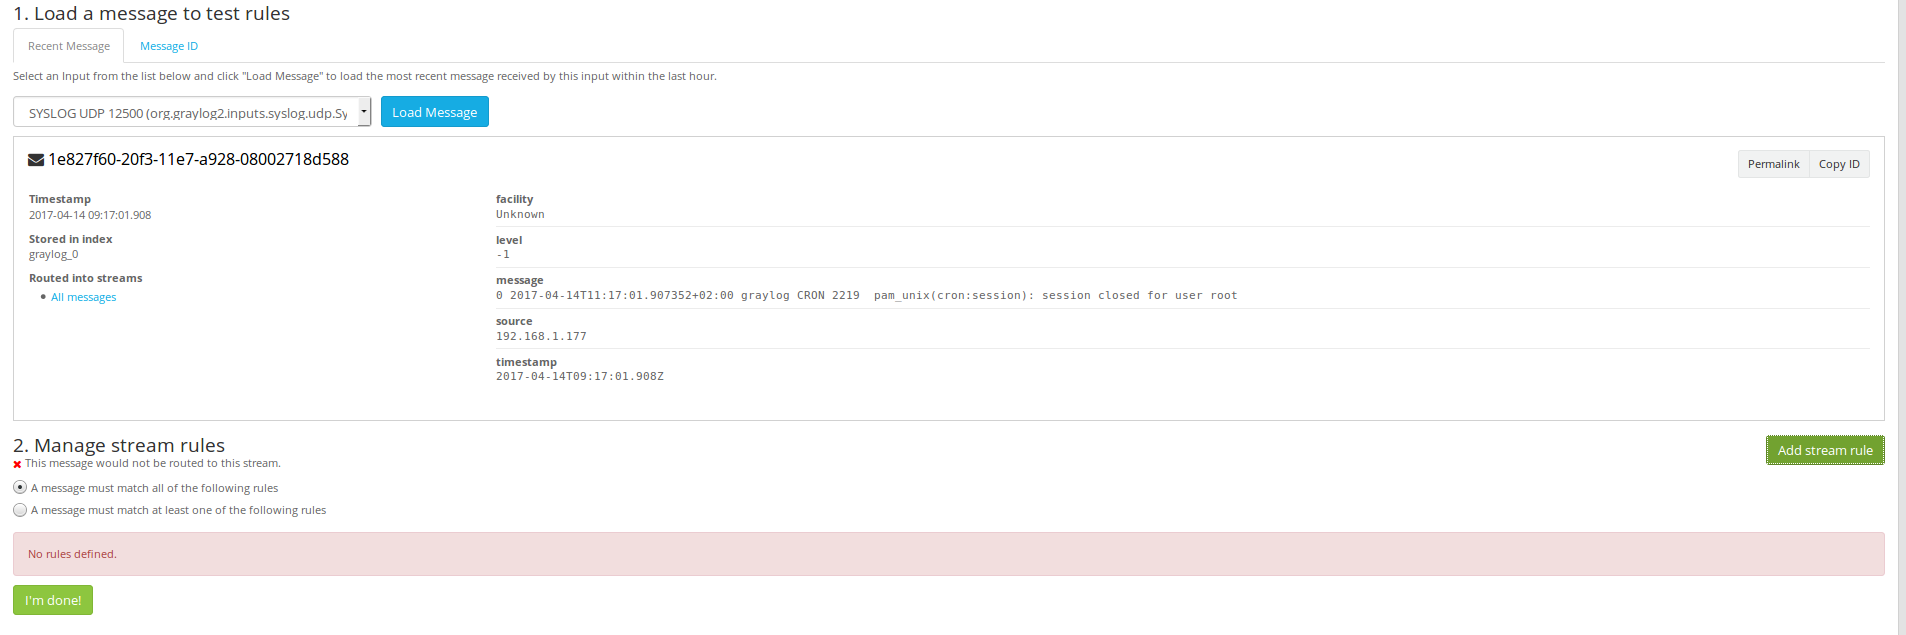
The configuration wizard opens:
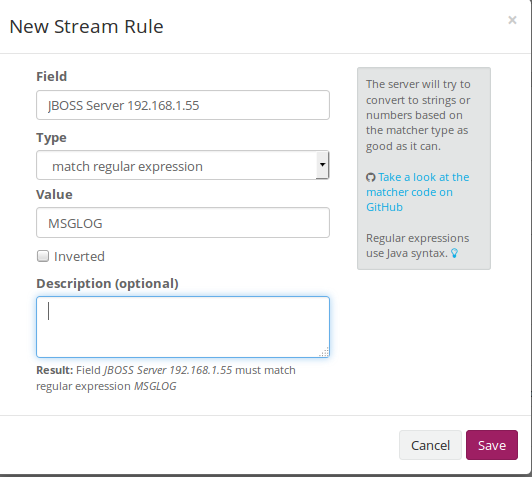
Once configured, we start. We double click on the created rule and click on: Add

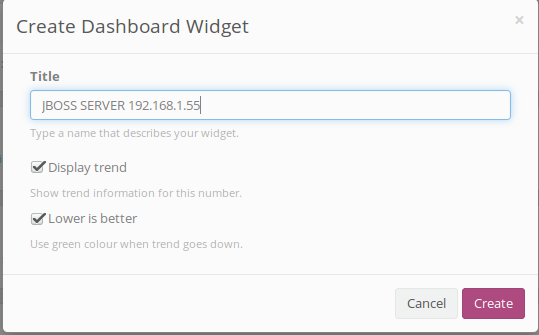
Installing NXLOG on Windows
We access the NXLOG website and download the software http://nxlog.co/products/nxlog-community-edition/download
Once installed we must C:\Program Files (x86)\nxlog\conf\nxlog.conf, in this configuration file we only have to modify the host and the port
<Output out>

Module      om_udp

Host        192.168.1.177

Port        12201

OutputType  GELF

</Output>
We save the document and restart the service.

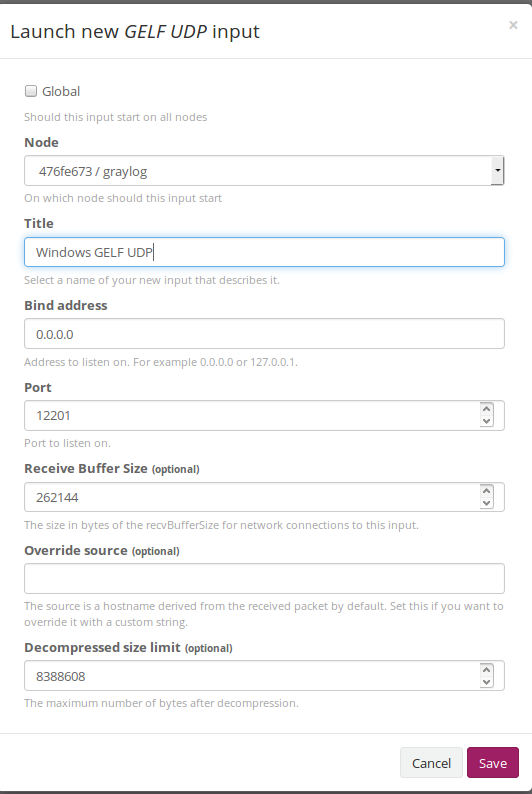
Again we go to our web browser System > Inputs > select GELF UDP > Launch new input

All the best.
:wq!
Comments