
SUSE Manager 3 is the latest Linux server management software that provides comprehensive lifecycle management and monitoring of Linux servers across different distributions, hardware architectures, virtual platforms and cloud environments. SUSE Manager 3 includes Salt automation software and enhanced configuration management features, easier subscription management, and optimized monitoring capabilities.
Characteristics
- Allows you to manage multiple Linux distributions (Red Hat and SUSE®) from a single centralized console
- Supports a wide variety of hardware in physical, virtual and cloud environments
- Easily maintain and comply with internal security policies and external regulations
- Standard method to safeguard Linux security
- Simple, automated software and hardware inventory with advanced reporting
Minimum requirements:
Version SO: SLES 12 SP2

Memoria:4096 GB

CPU’s: 2

File System:
101    GB    /var/spacewalk

50     GB    /var/lib/pgsql

24     GB    /

4 GB          swap
We assume that we already have the operating system installed and it meets all these prerequisites.
We register the operating system
We register the team and add the repositories
susemanager:~ # SUSEConnect -e <USUARIO> -r <CODIGO DE REGISTRO>
Registered SLES 12.2 x86_64
To server: https://scc.suse.com
We add the Suse Manager Server repositories
susemanager:~ # SUSEConnect -p SUSE-Manager-Server/3.0/x86_64 -r <CODIGO DE REGISTRO SUSE MANAGER>
Registered SUSE-Manager-Server 3.0 x86_64
To server: https://scc.suse.com
We add sum_server to the repositories
zypper in -t pattern suma_serverWe add the Salt repositories
cat /etc/zypp/repos.d/systemsmanagement_saltstack.repo

[systemsmanagement_spacewalk]

name=Spacewalk (SLE_12_SP2)

enabled=1

autorefresh=0

baseurl=http://download.opensuse.org/repositories/systemsmanagement:/spacewalk/SLE_12_SP2/

type=rpm-md

gpgcheck=1

gpgkey=http://download.opensuse.org/repositories/systemsmanagement:/spacewalk/SLE_12_SP2//repodata/repomd.xml.key
We refresh the repositories
We refresh
zypper ref -sWe start with the installation of Suse Manager Server
yast2 susemanager_setup
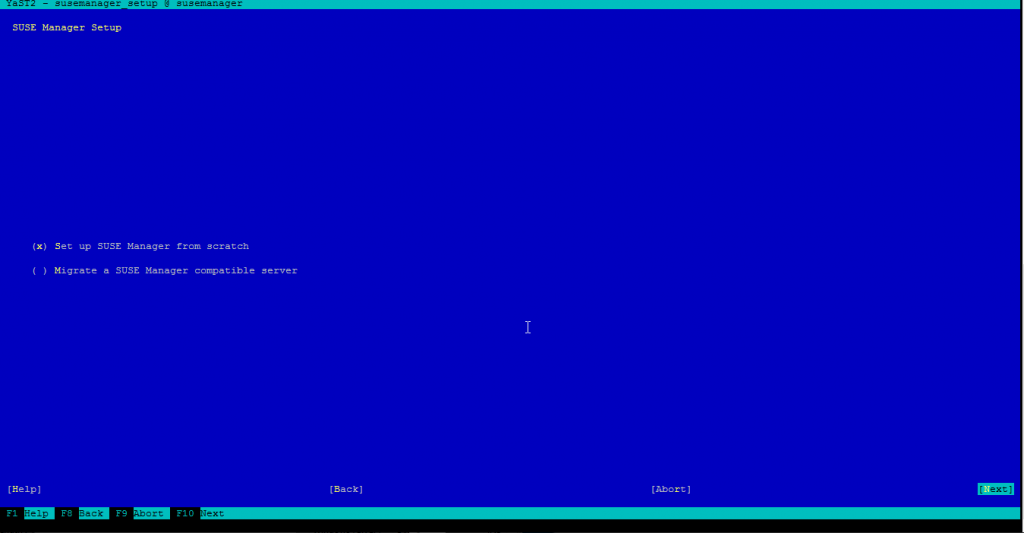
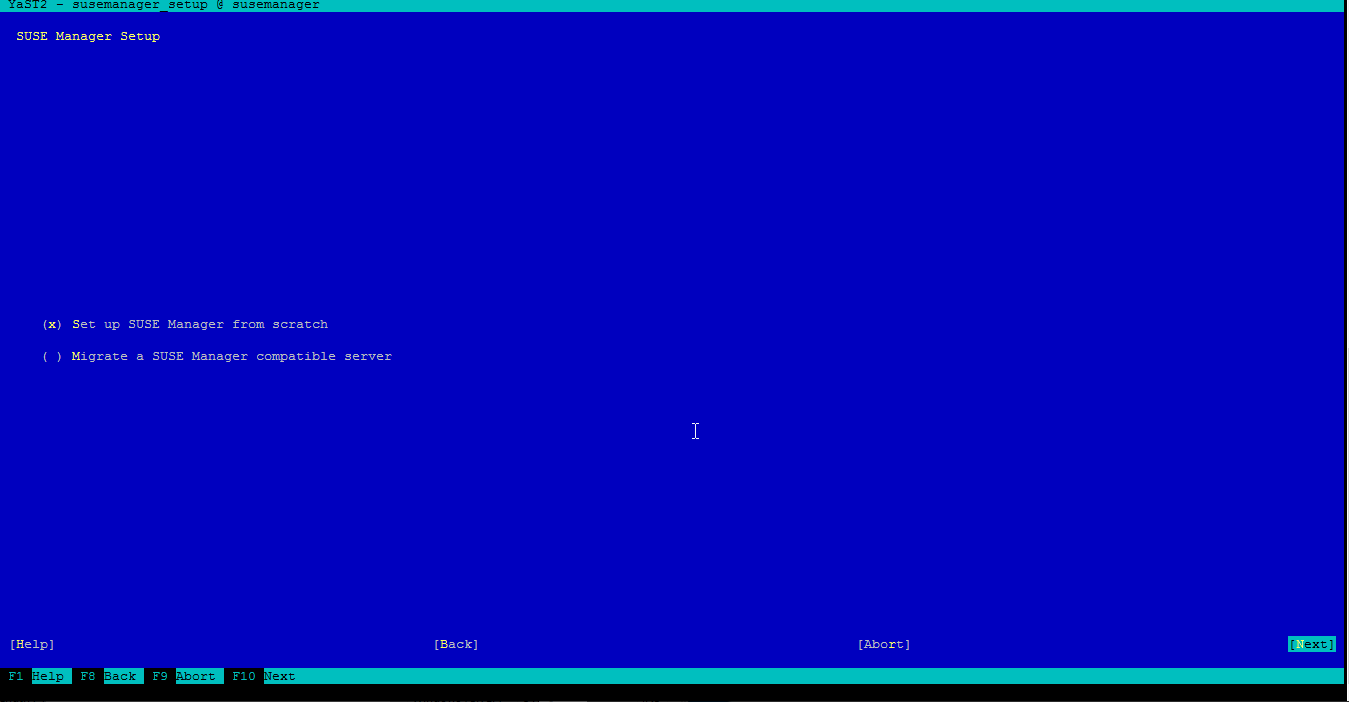
The installation wizard opens, since this is an installation from scratch and we do not want to perform any migration, we select the first option. Next
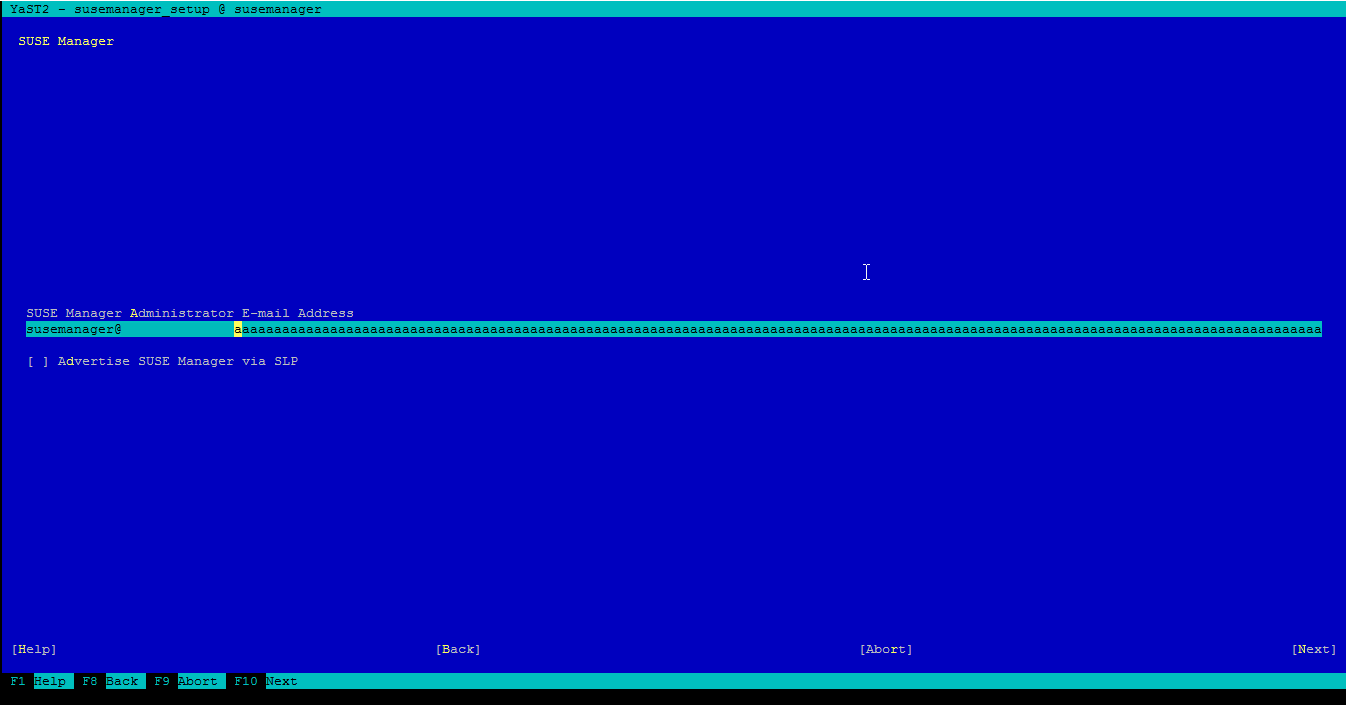
It tells us to configure the email
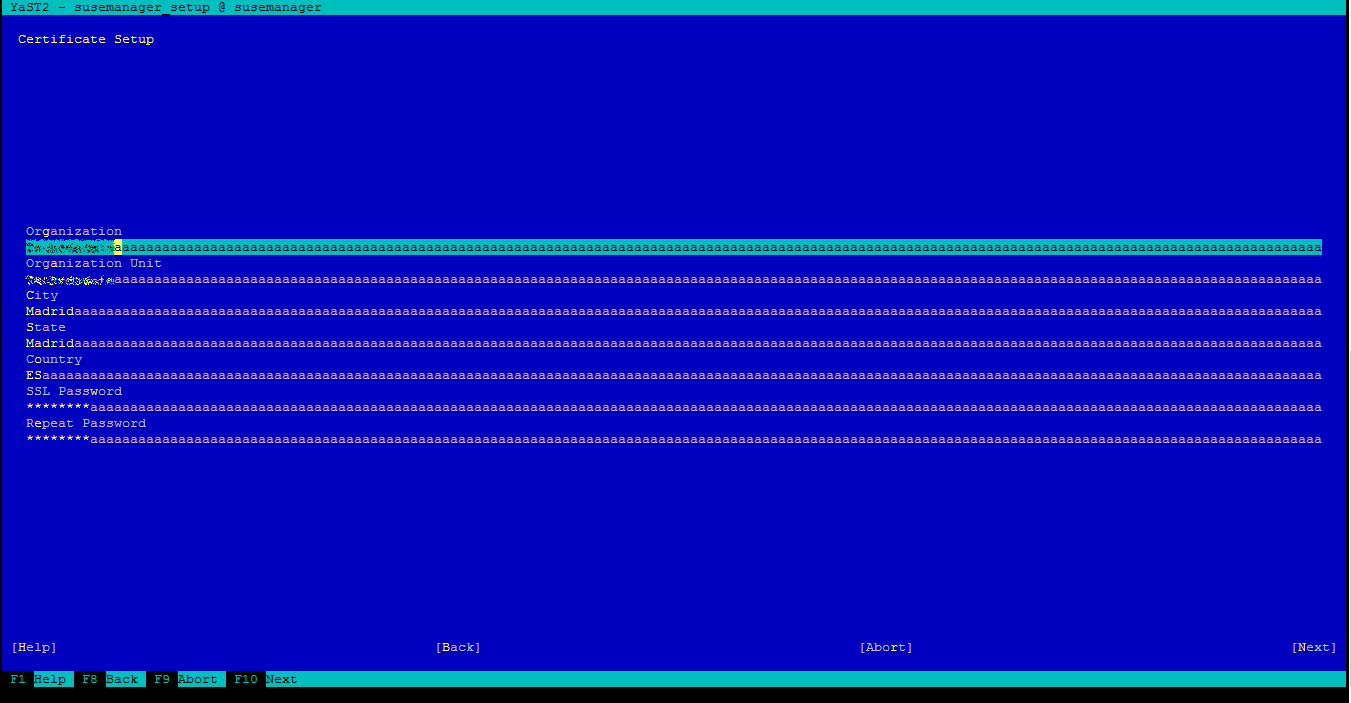
We generate the certificate
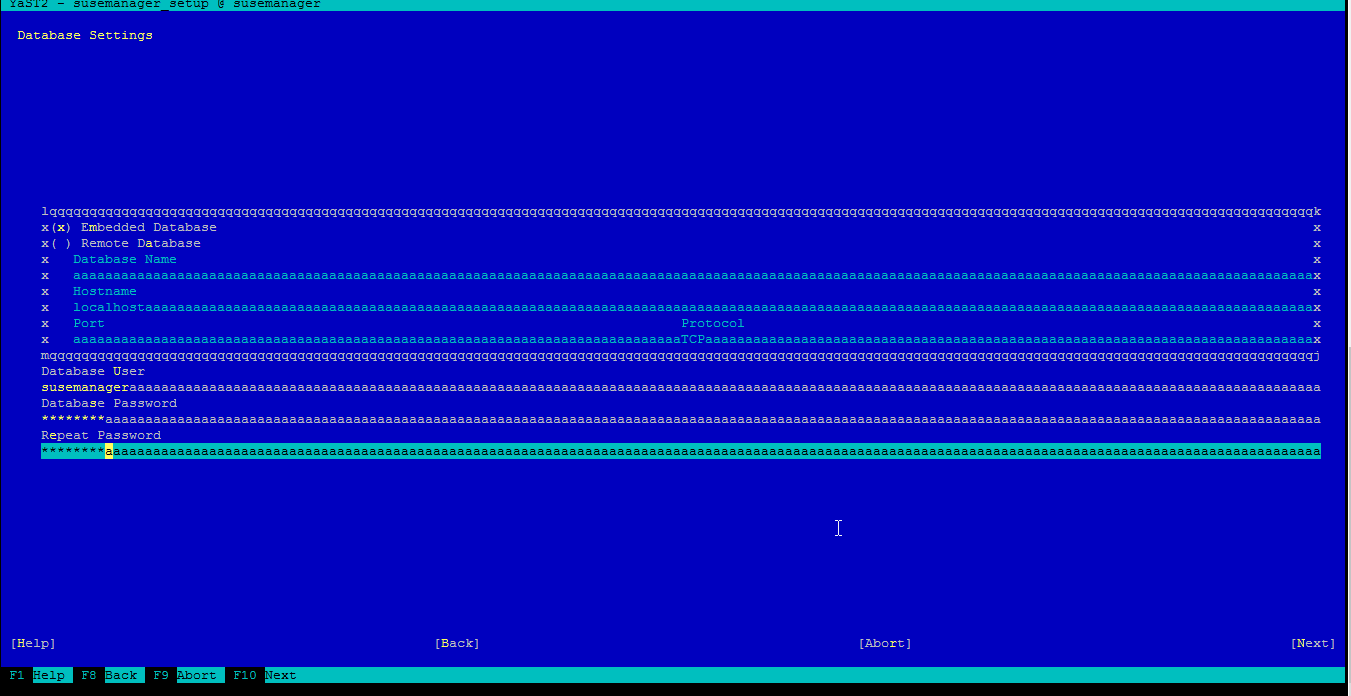
We configure the necessary data for the database
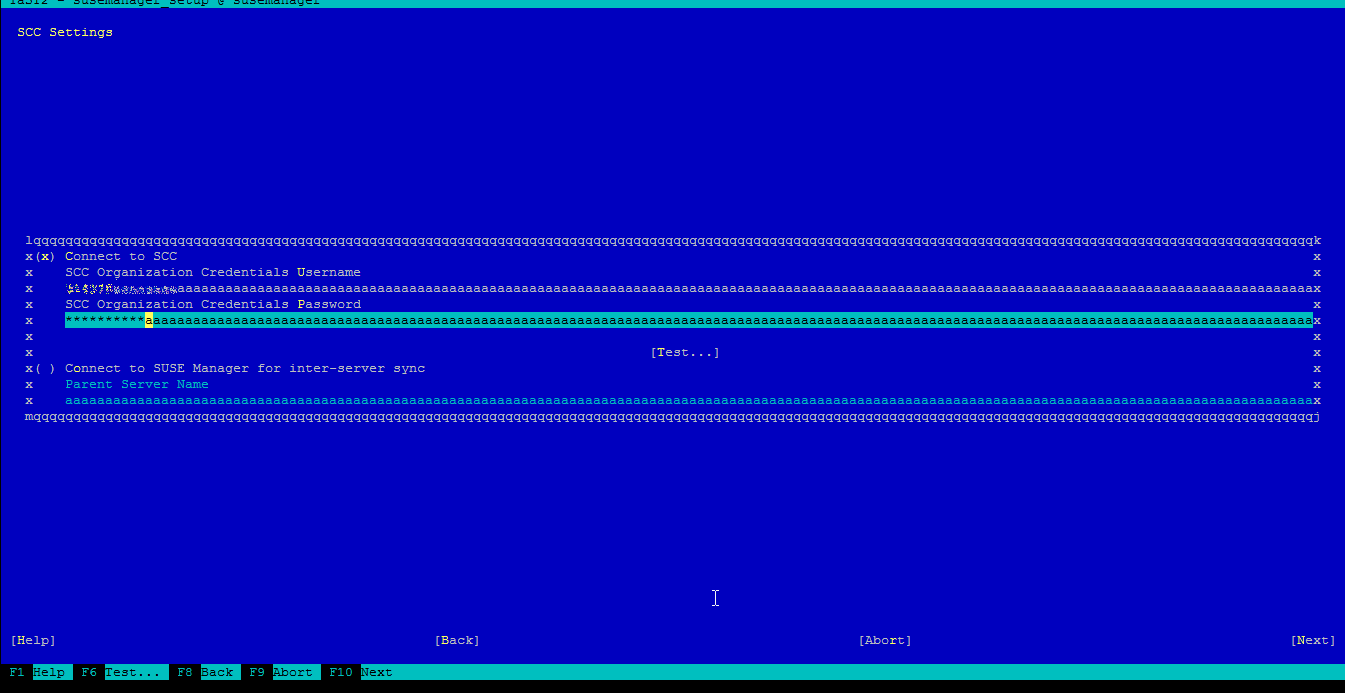
We enter the credentials to access SCC
After completing the basic configuration, the installation begins
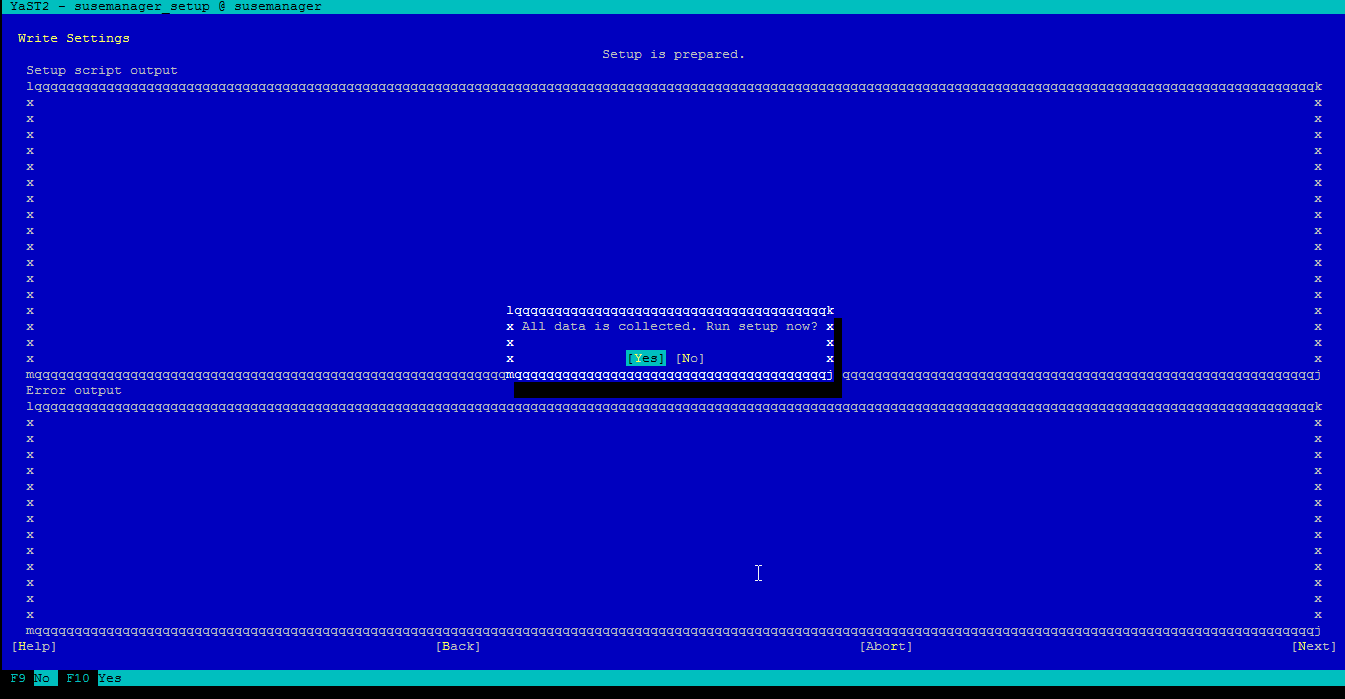
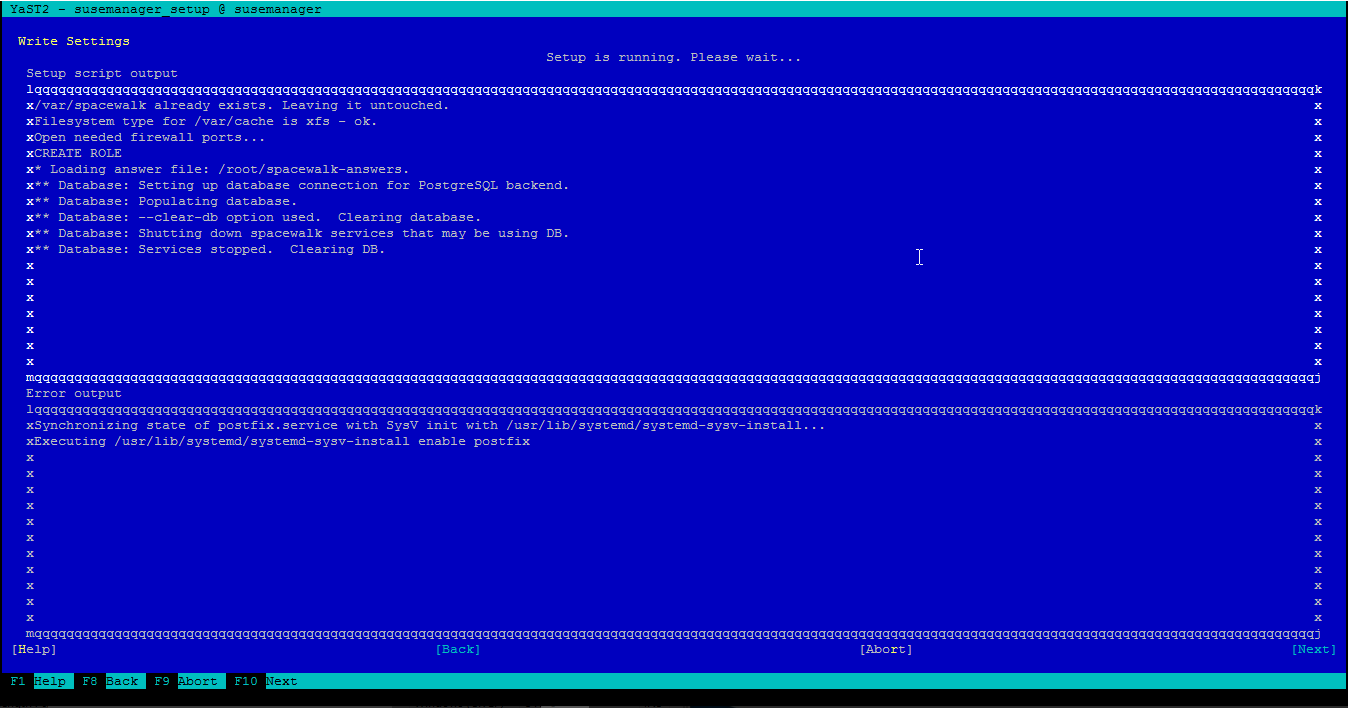
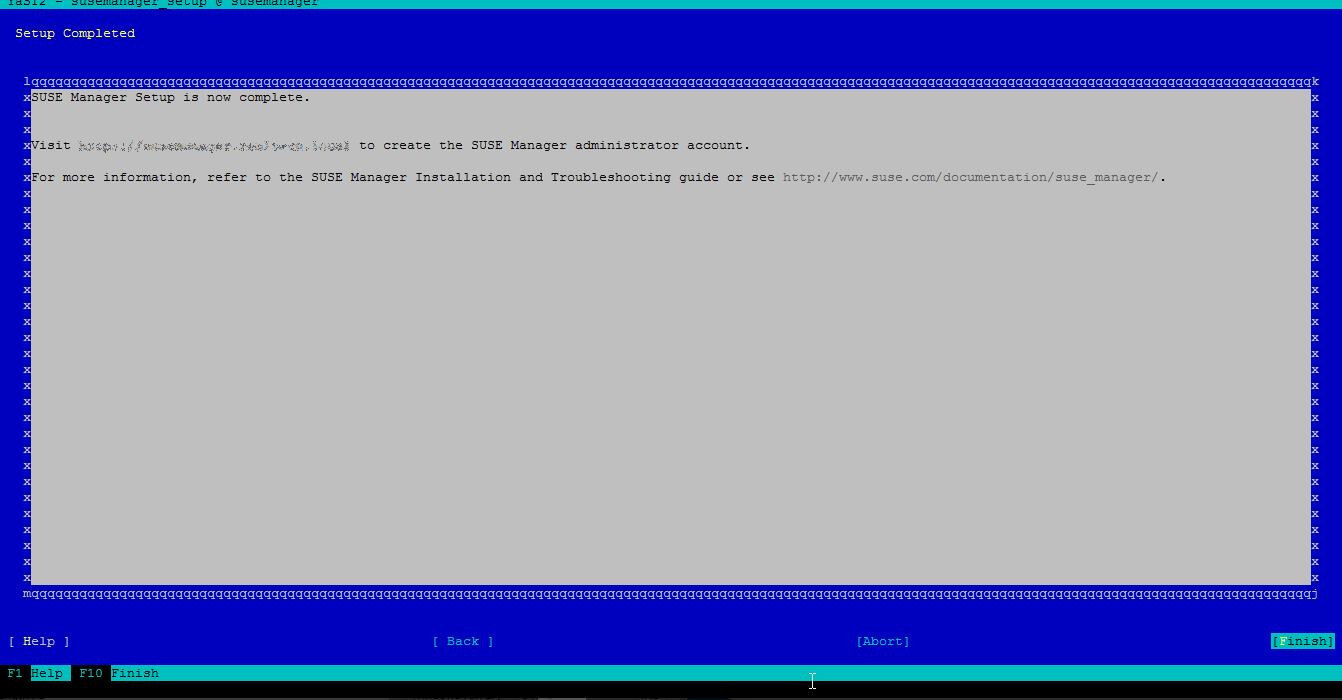
Once the installation is complete, we finish the wizard.
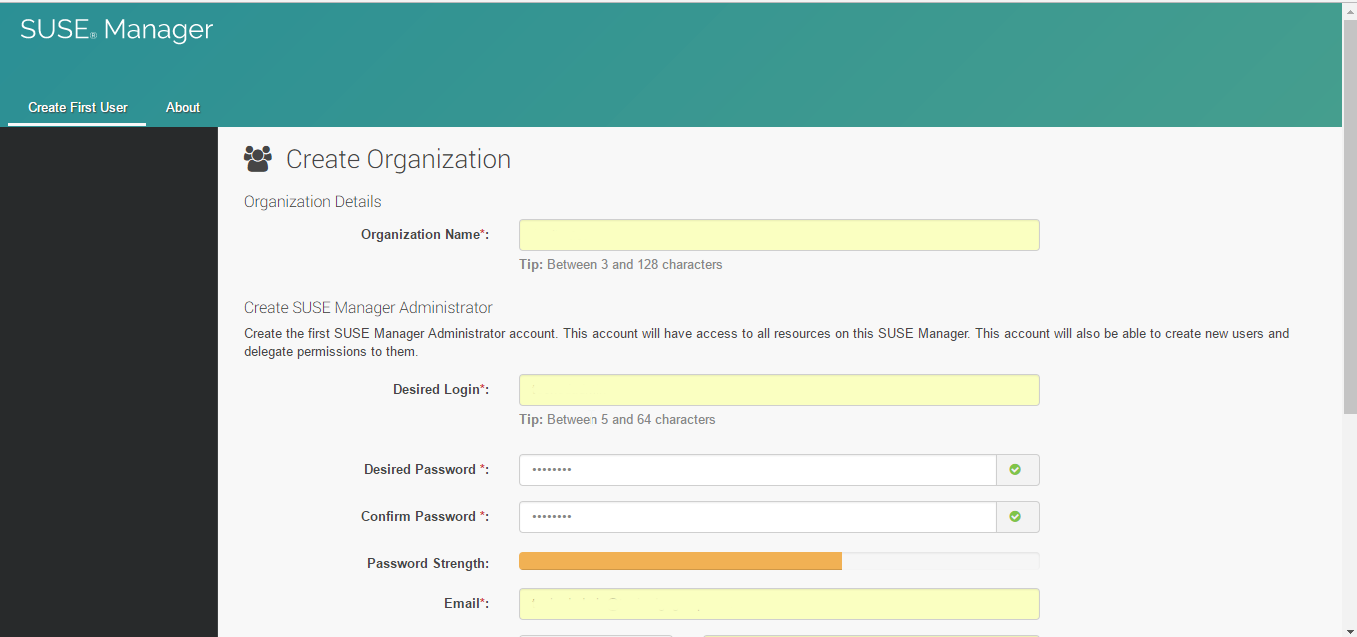
We access through our browser and configure the administrator user with which we will access the server.
Once accessed to our server, the first thing we have to do is synchronize with SUSE Customer Center.
From there we will create all the repository collections we need.
Admin > Setup Wizard > Suse Products
We must select the repository and add using the plus (+)
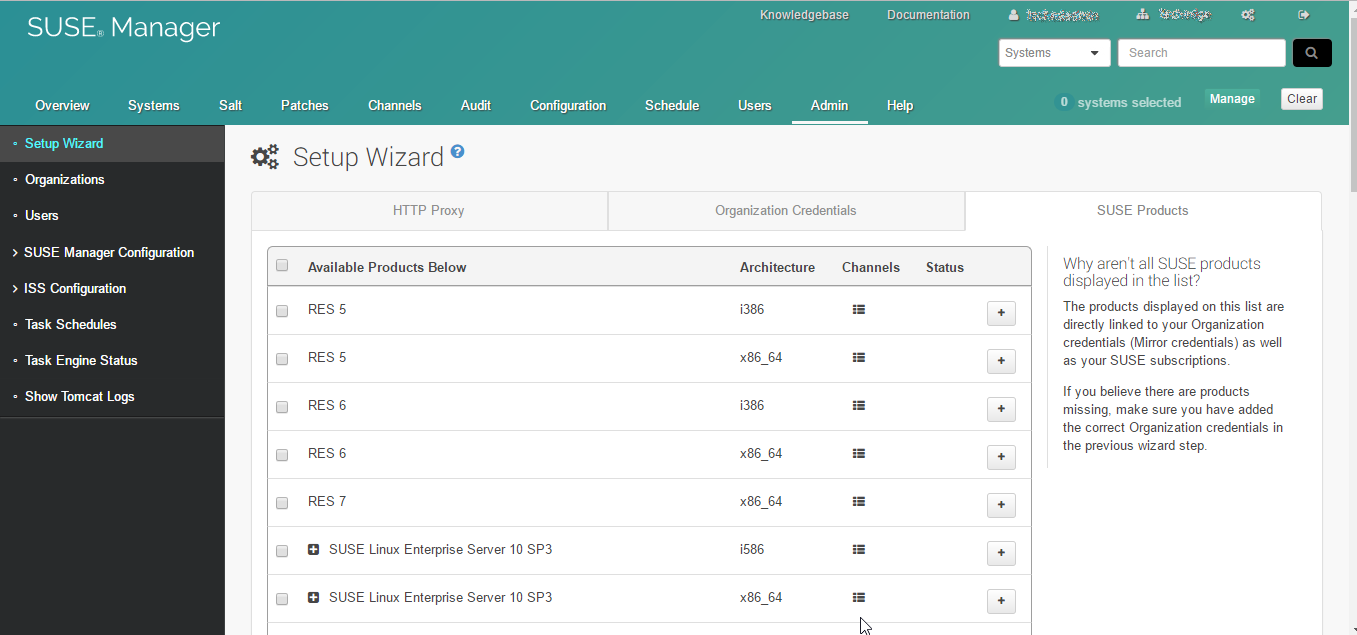
If it doesn't show us any, we have to go to Admin > Setup Wizard > Organization Credentials and add the credentials to access SCC
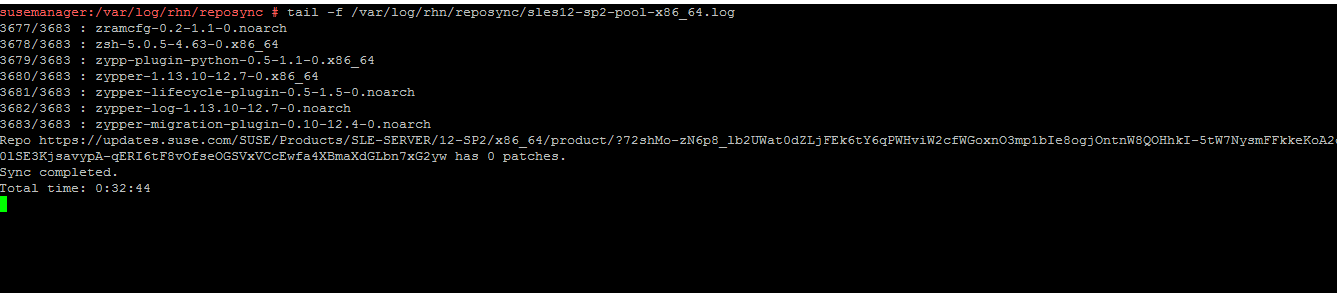
We can check the download of the packages in the logs located in: /var/log/rhn/reposync/<repository>.log
Generate key
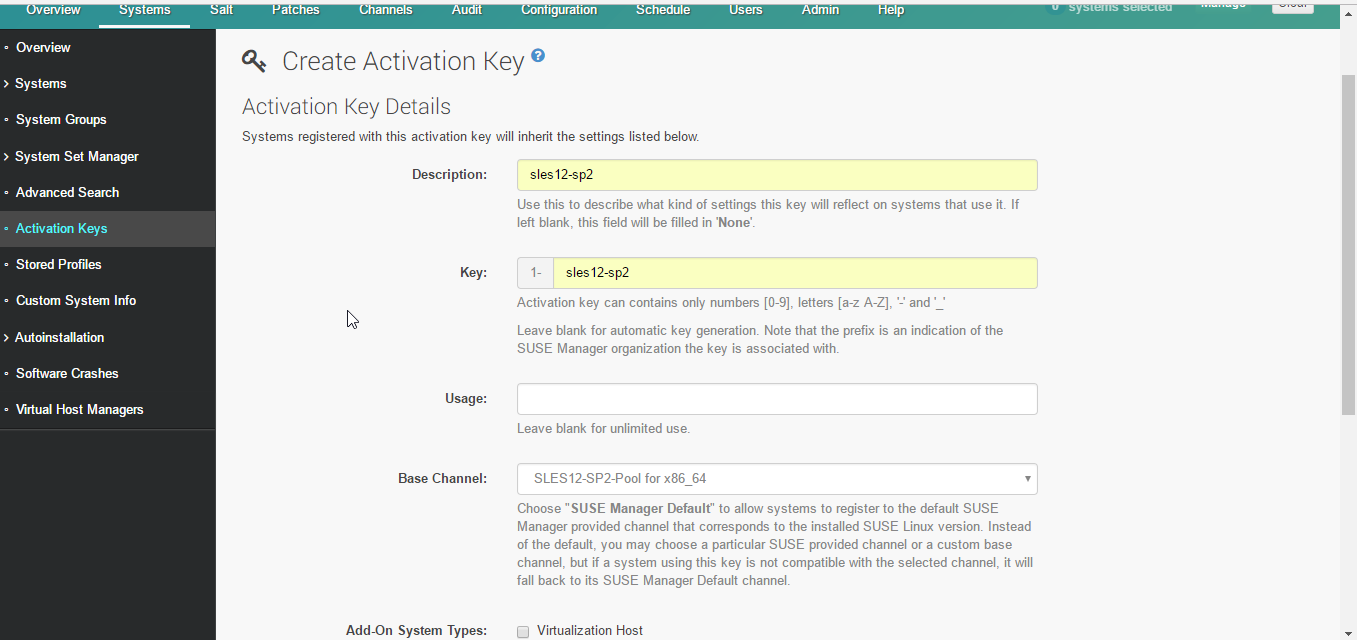
We create a key which will help us configure the channels.
In my case I have generated a key for the SLES 12 SP2 channels
Overview > Manage Activation Keys > Create Key
SUSE Manager Tools repository creation
This repository serves to provide the software necessary for the installation of the different clients.
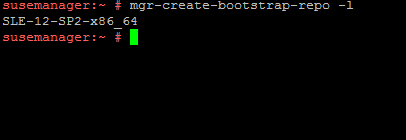
We list the available repositories, in my case I only have SLES 12 SP2 since it is the only one I have downloaded.
To list the available repositories we execute: mgr-create-bootstrap-repo -l
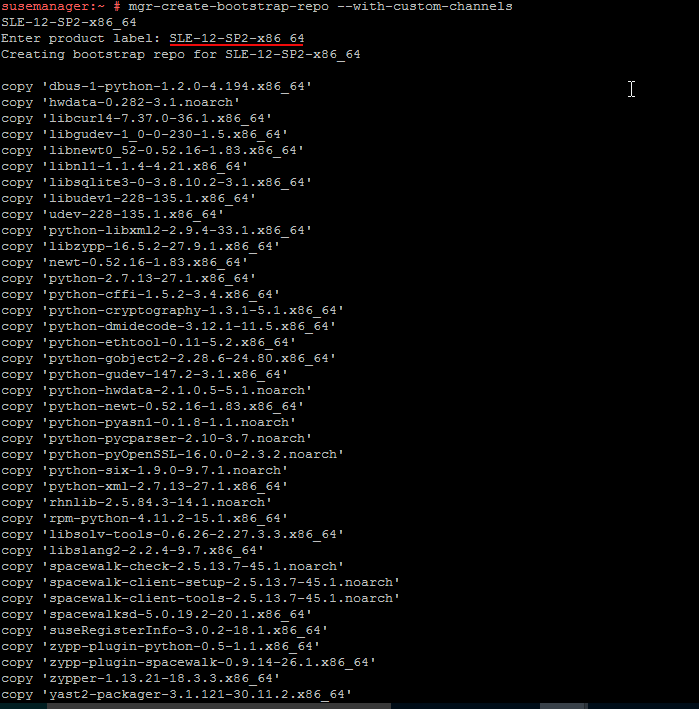
We create the repository: mgr-create-bootstrap-repo –with-custom-channels
Generation of the script for client installation
Admin >SUSE Manager Configuration > Bootstrap Script
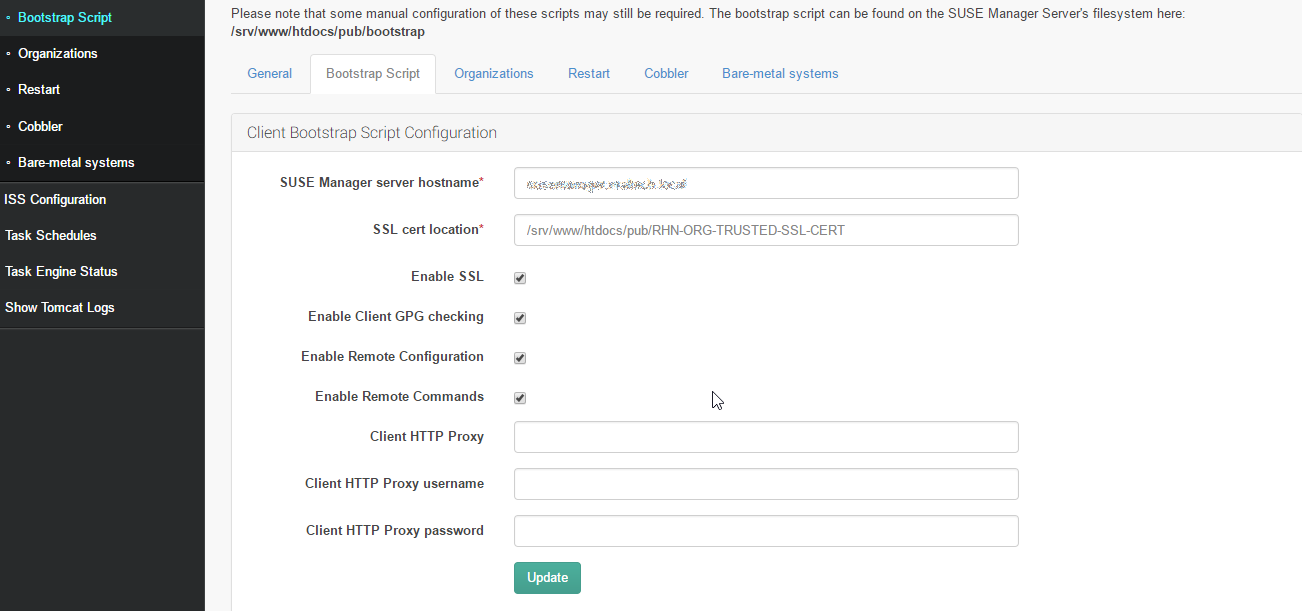
in the directory /srv/www/htdocs/pub/bootstrap/ Creates the script for the installation of the clients: bootstrap.sh

We make a copy of the file, since if we generate the file again it will crush the configuration.

We access the bootstrap-sles12-sp2.sh file and modify the following lines:
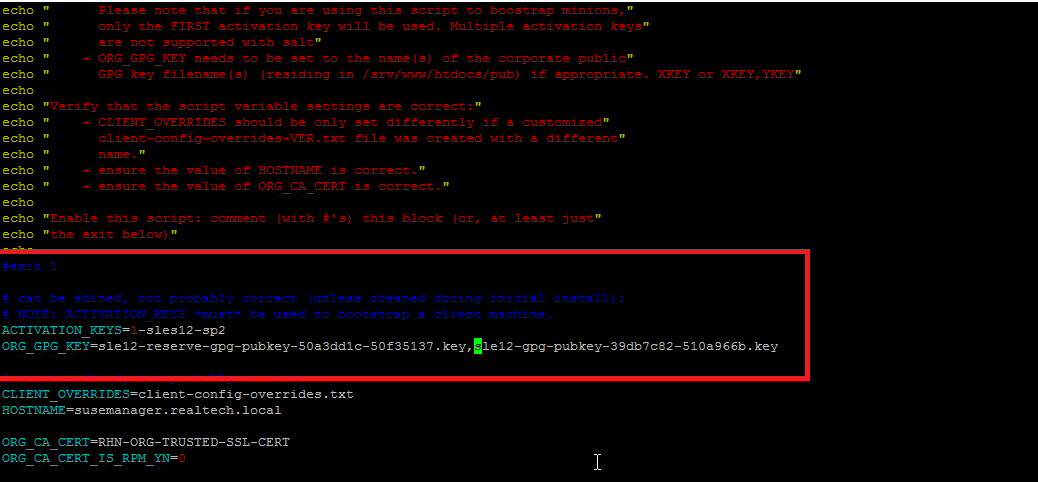
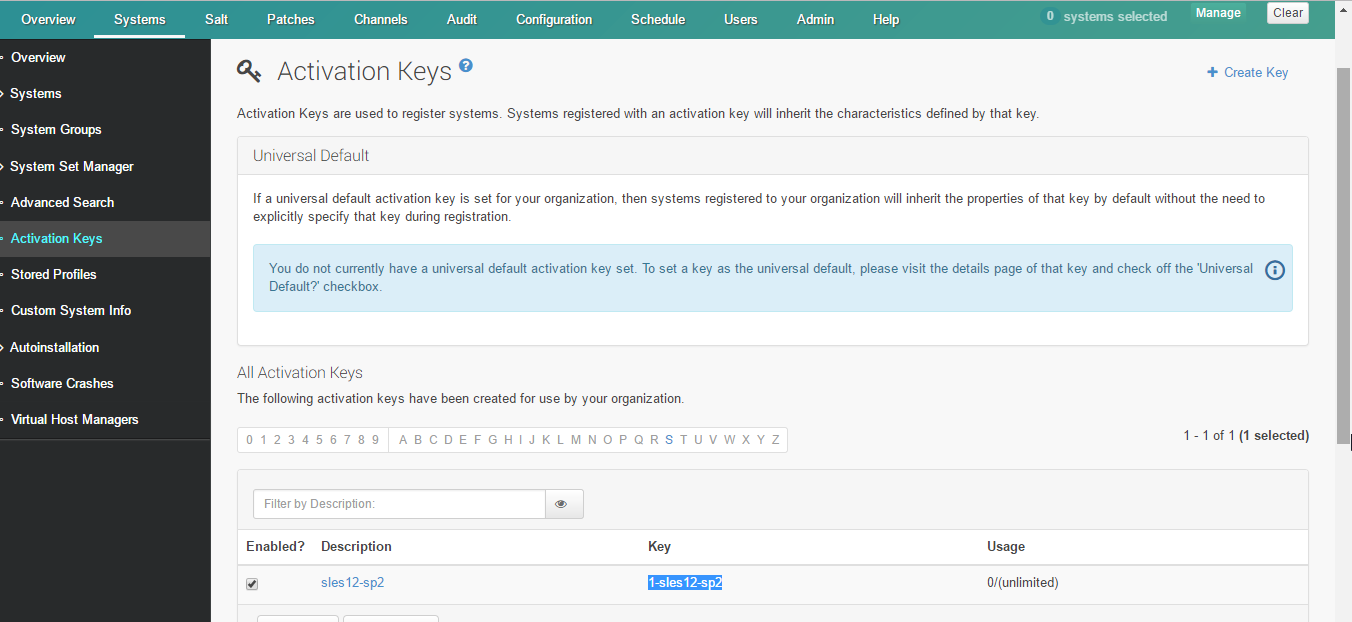
ACTIVATION_KEYS= we must add the key created previously
Systems > Activation Keys
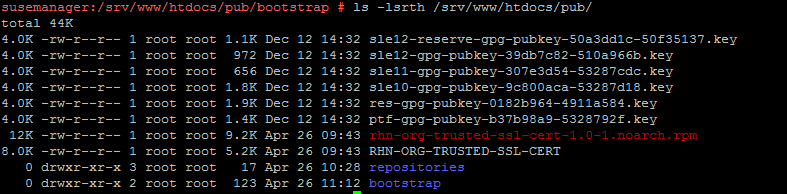
ORG_GPG_KEY= we must add the files with the keys, which are located in: /srv/www/htdocs/pub/
Client installation (Bootstrap)
We download the script created above from our server
wget https://192.168.1.20/pub/bootstrap/bootstrap-sles12-sp2.sh –no-check-certificateWe execute the script: sh bootstrap-sles12-sp2.sh
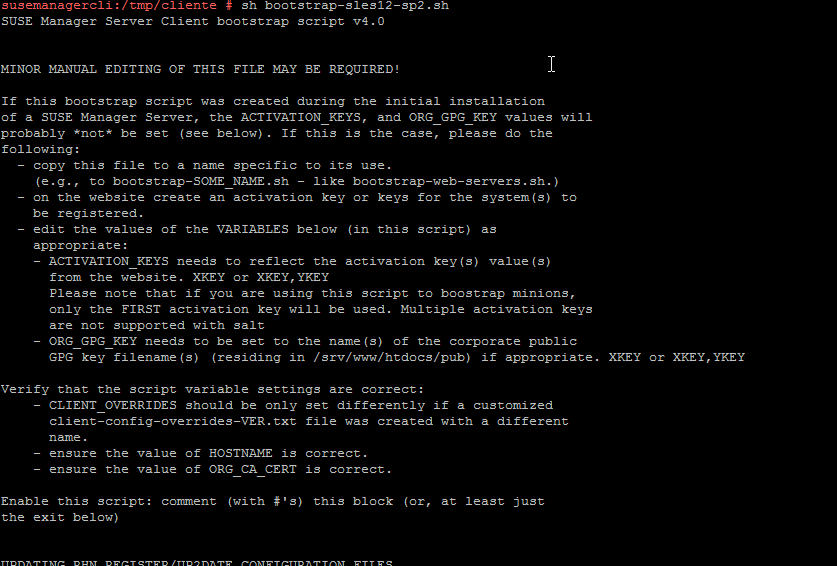
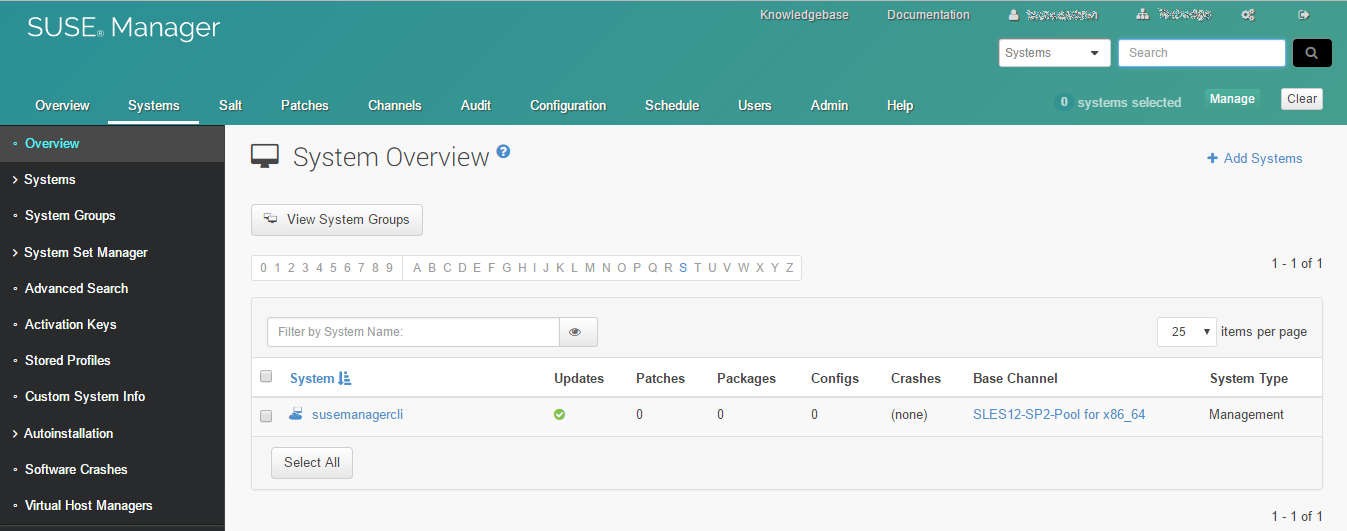
Once it has been installed, we access the Suse manager panel: Systems
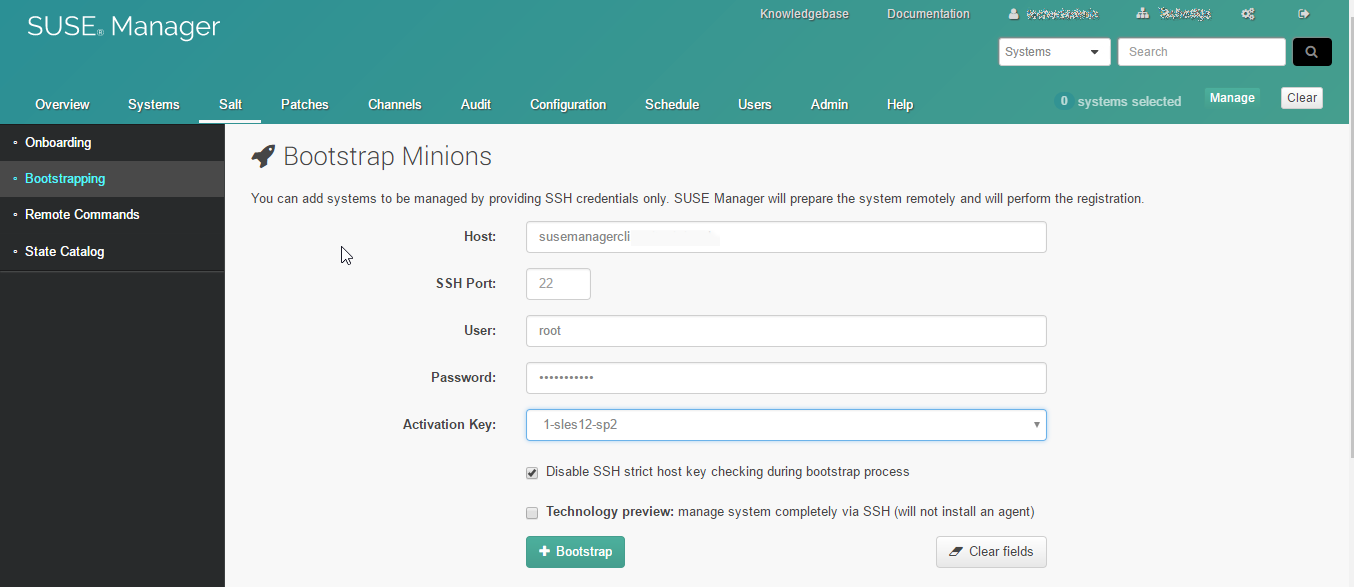
Installing the client using Salt
Salt > Bootstrapping
If we do not have the normal client installed, it gives us the possibility of installing the Salt client through SSH, for this we should select the second check
All the best
:wq!
Comments