
In this example we are going to show how to implement a load balancer using AWS.
Through this configuration we will be able to horizontally scale the application servers and thus increase performance, reduce latency and provide tolerance to failure.
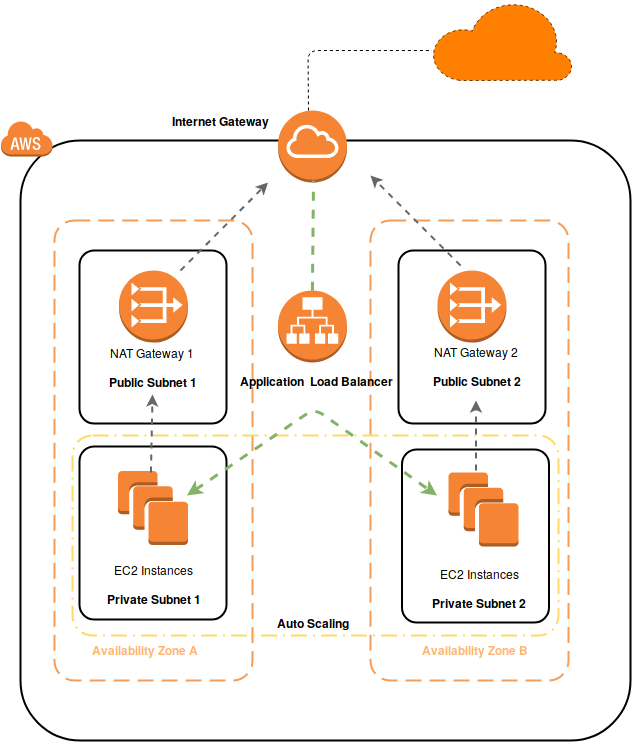
Previously we saw how to set up a load balancer which had two public subnets and a balancer. This time we are going to complicate things a little more and we will have four subnets, a balancer and two nat gateways.
Network diagram:
Network settings:
| VPC | |
|---|---|
| Name tag: | RedOrbita VPC |
| IPv4 CIDR block: | 10.200.0.0/20 |
| Subnet | |
|---|---|
| Name tag: | Public Subnet 1 |
| IPv4 CIDR block: | 10.200.0.0/24 |
| Name tag: | Public Subnet 2 |
| IPv4 CIDR block: | 10.200.1.0/24 |
| Name tag: | Public Private 1 |
| IPv4 CIDR block: | 10.200.10.0/24 |
| Name tag: | Public Private 2 |
| IPv4 CIDR block: | 10.200.11.0/24 |
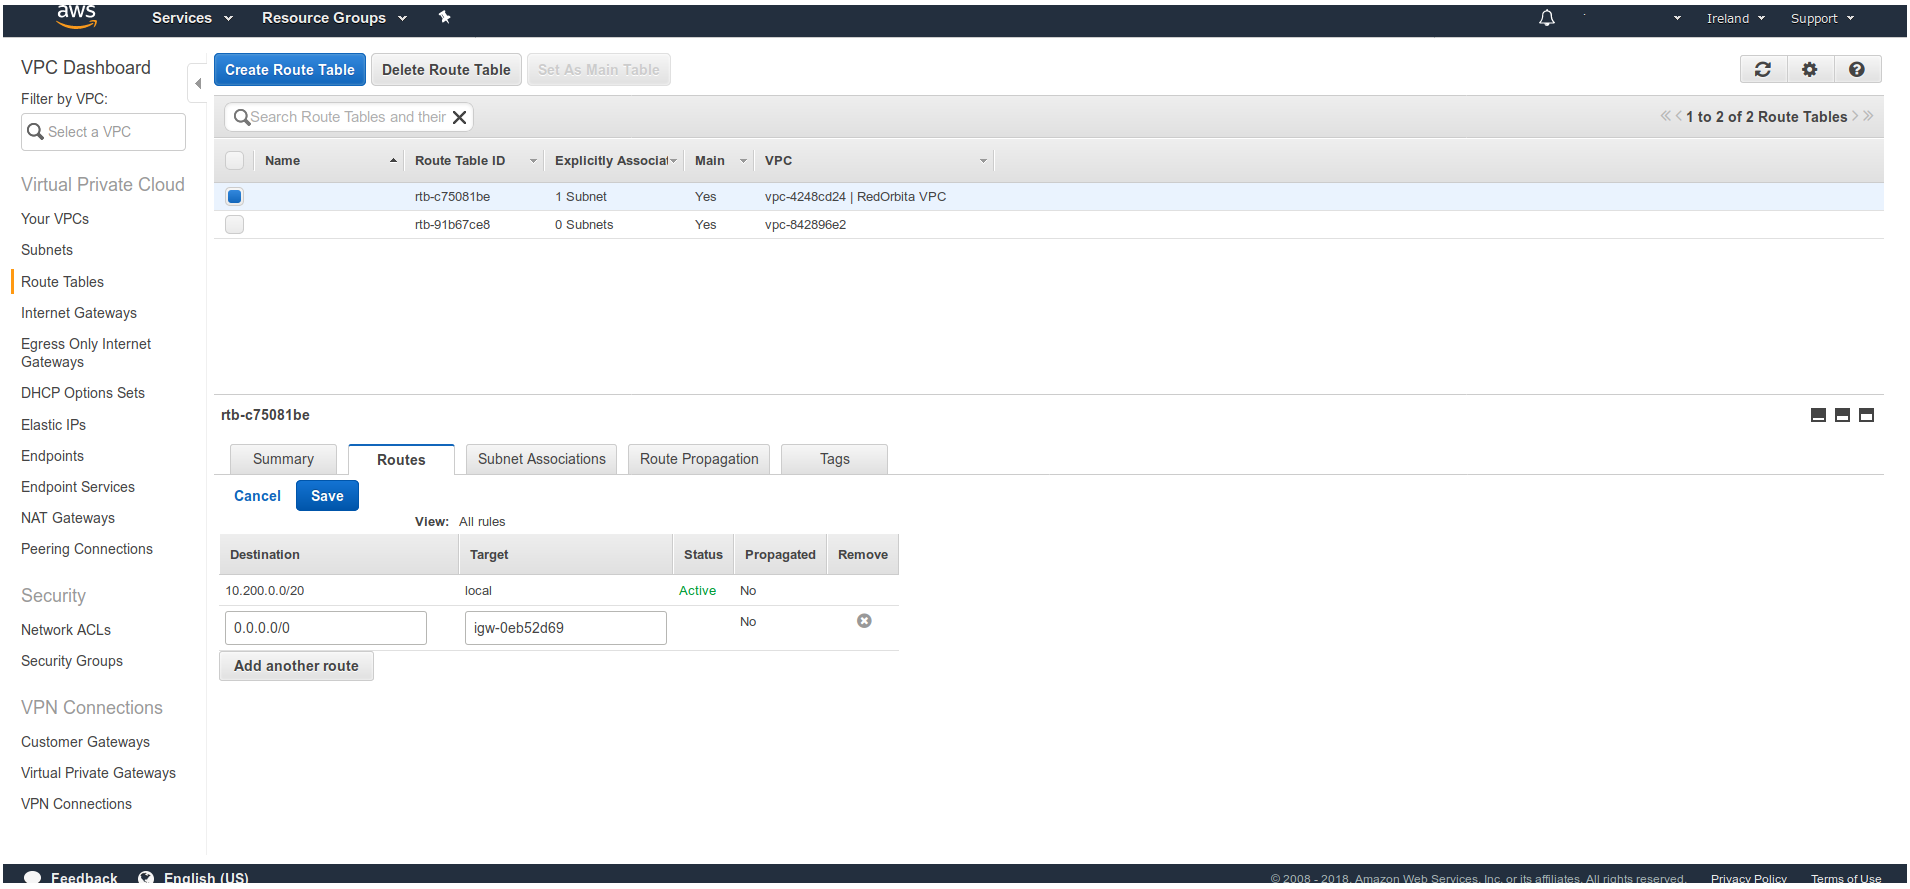
| Route Table | |
|---|---|
| Destination: | 0.0.0.0/0 |
| Target: | Internet Gateway |
We begin with the deployment of the infrastructure
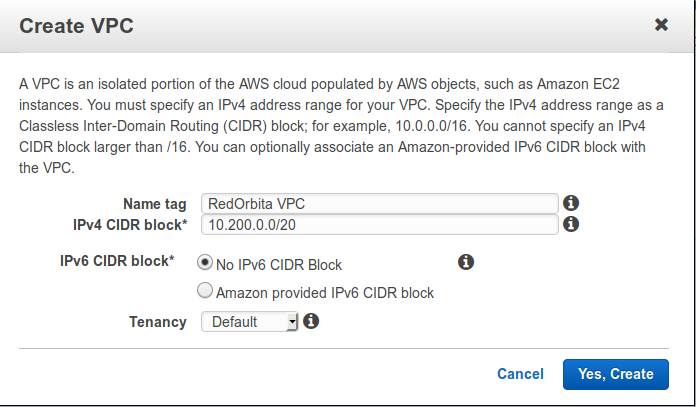
We create the VPC:
To deploy a new server we have to go to Service > VPC > Your VPCs > Create VPC
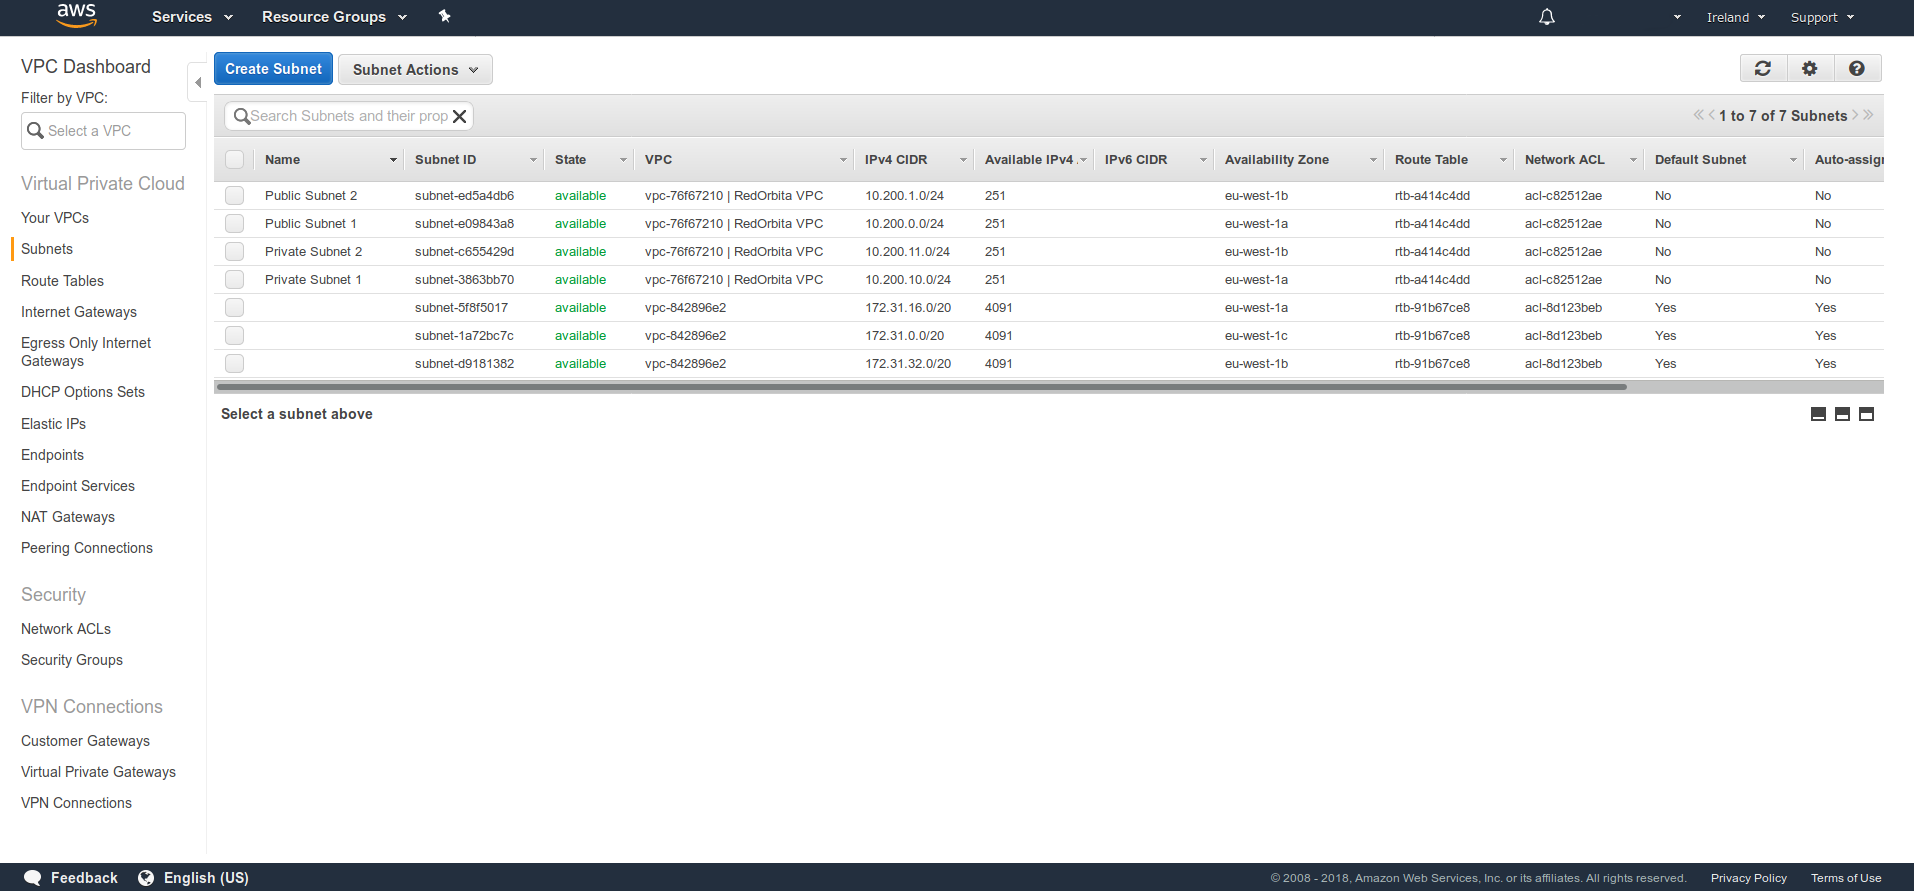
We create the two public subnets: Services > VPC > Subnets > Create Subnet
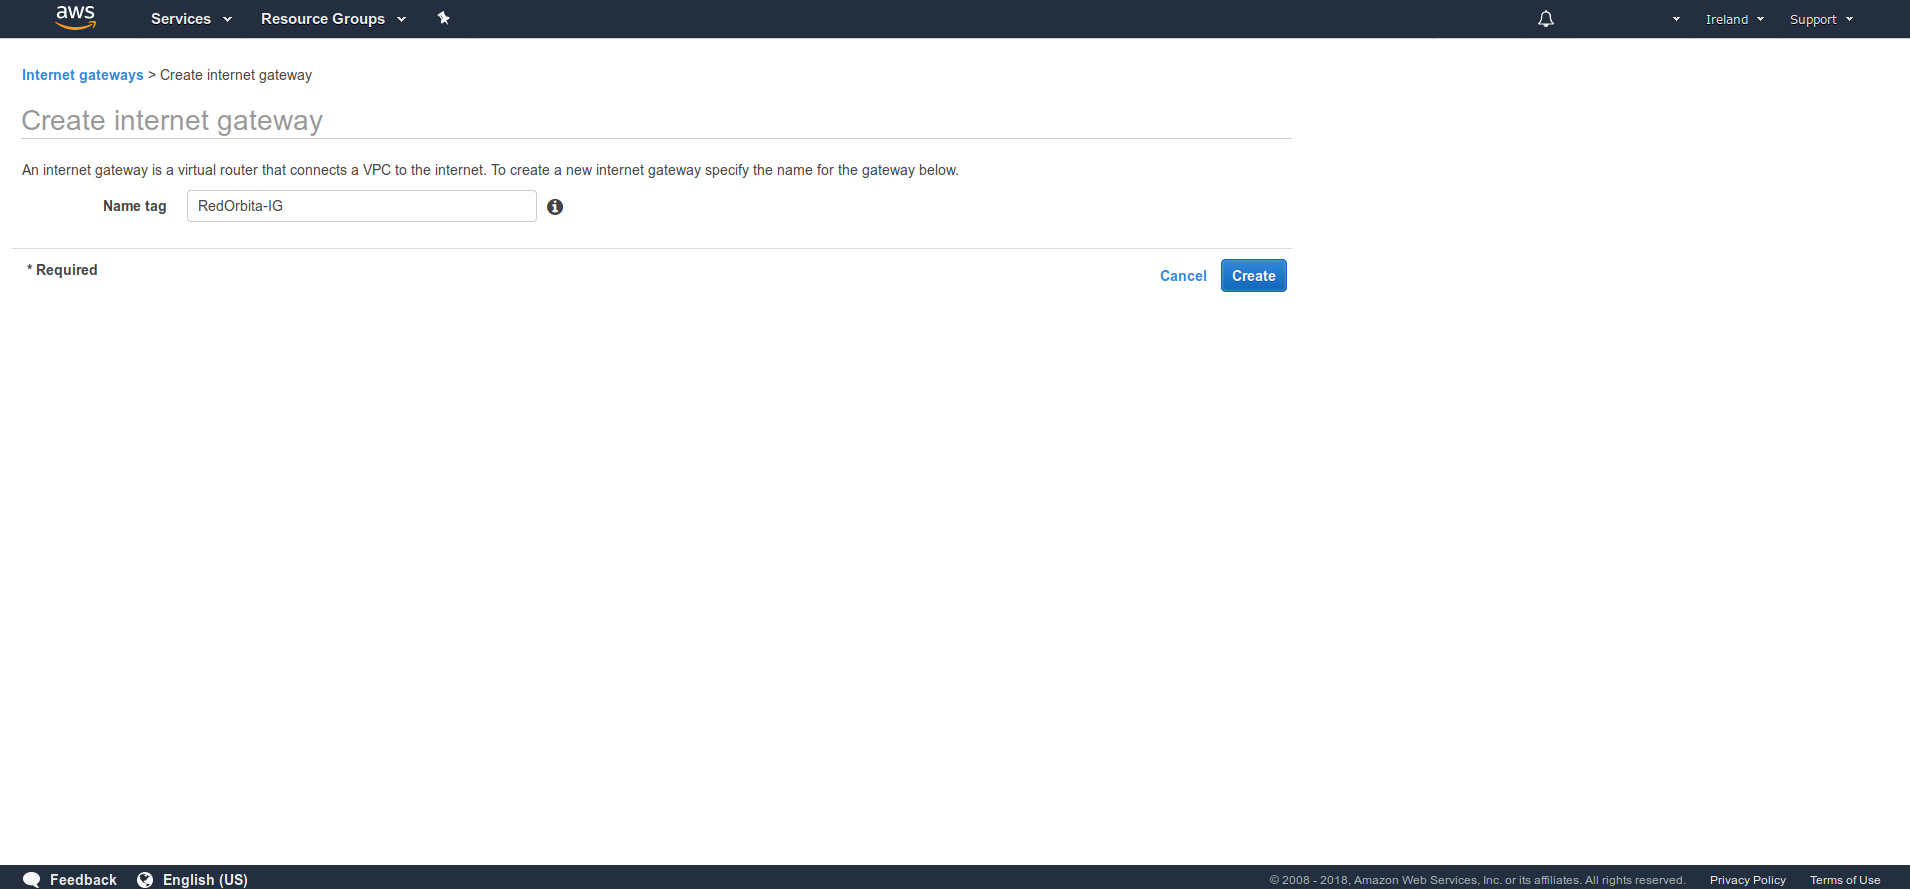
We generate the Internet Gatewa: Services > VPC > Internet Gateway > Create Internet Gateway
We attach the Internet Gateway to the VPC. We select the Internet Gateway created > Actions > Attach VPC
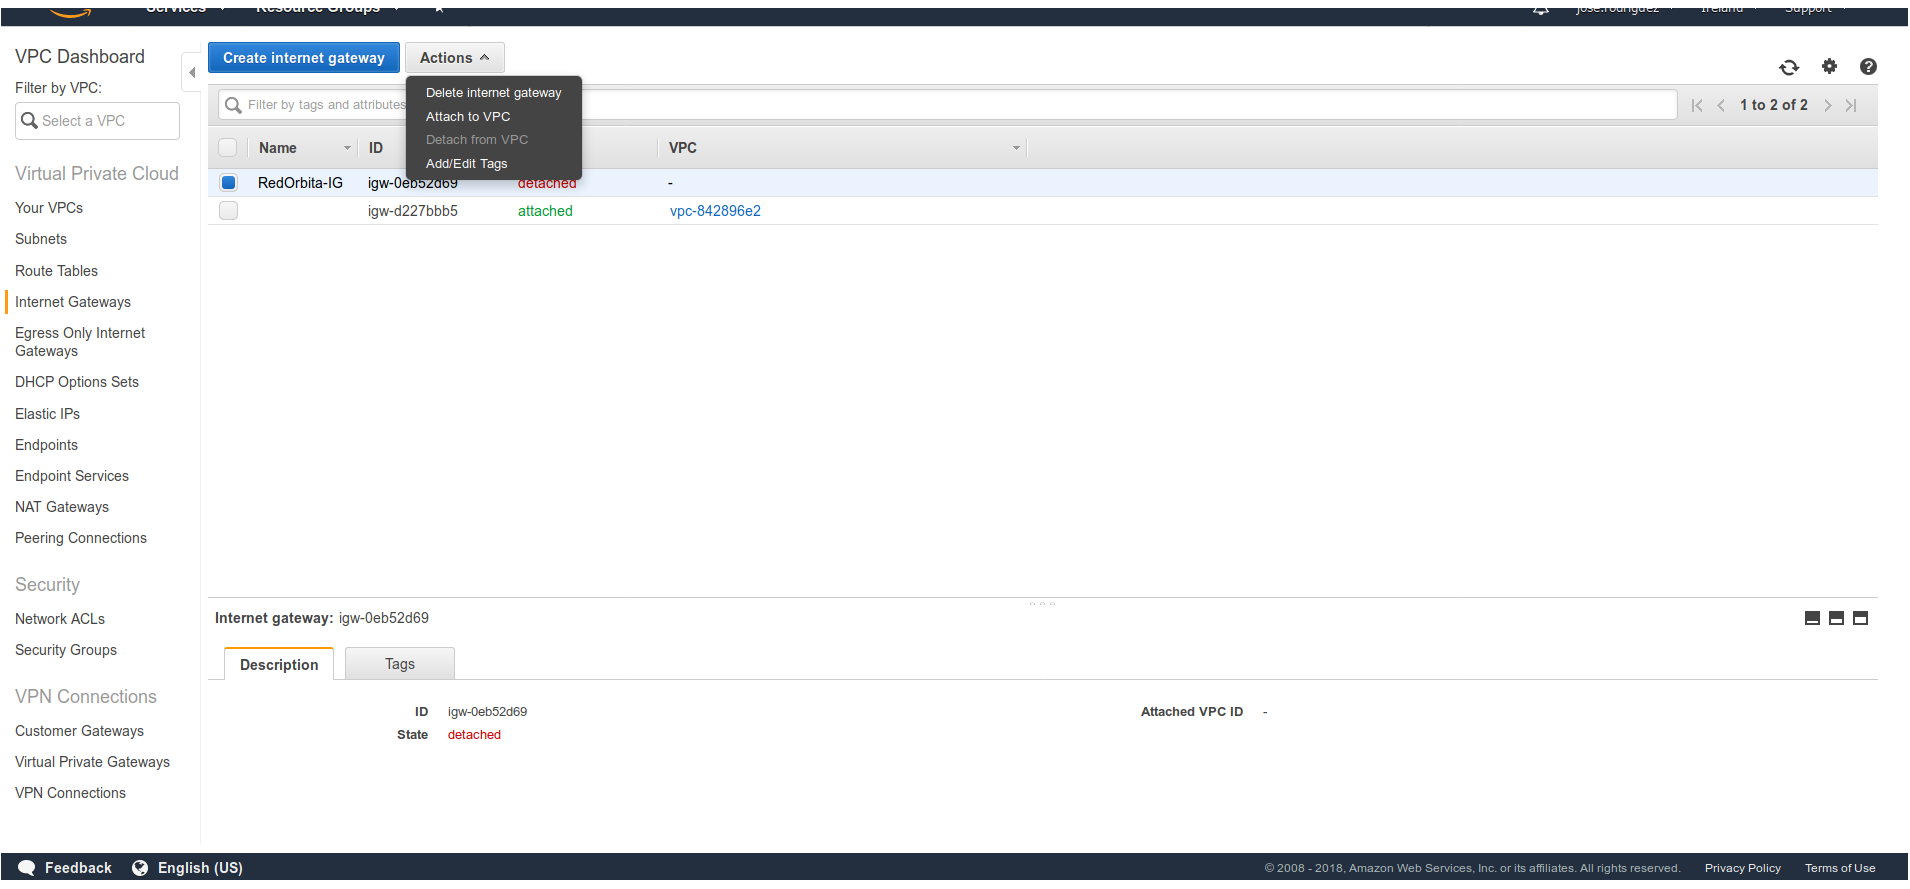
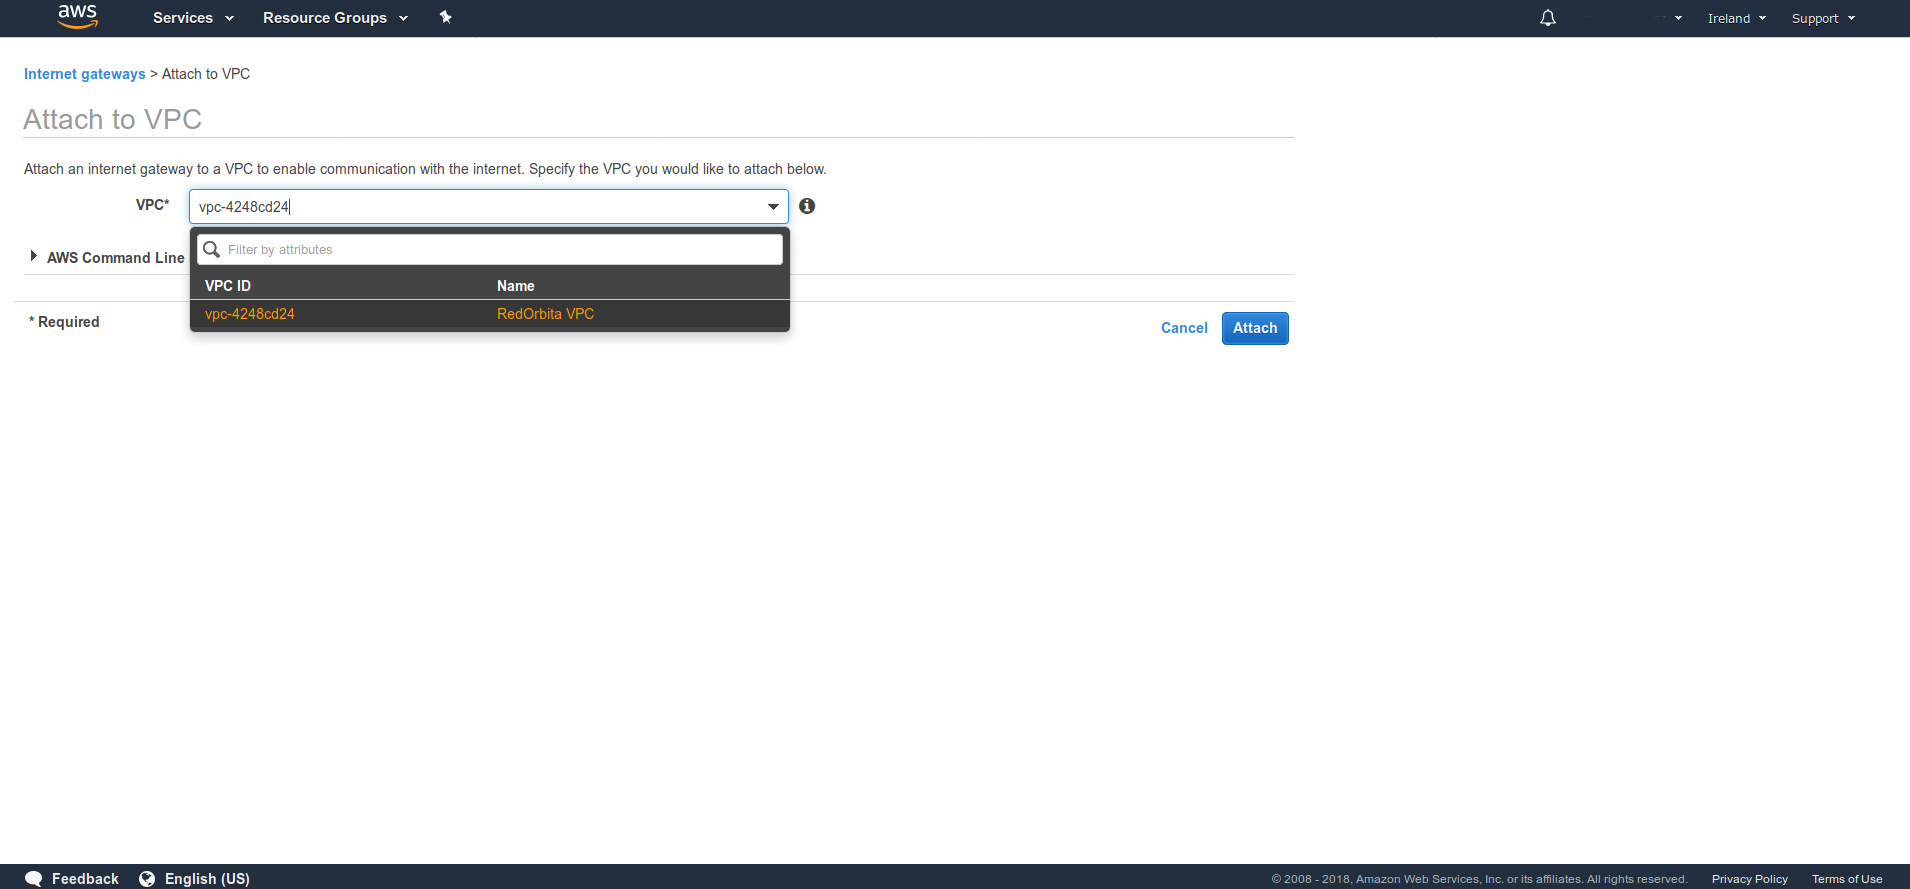
We select the VPC created previously.
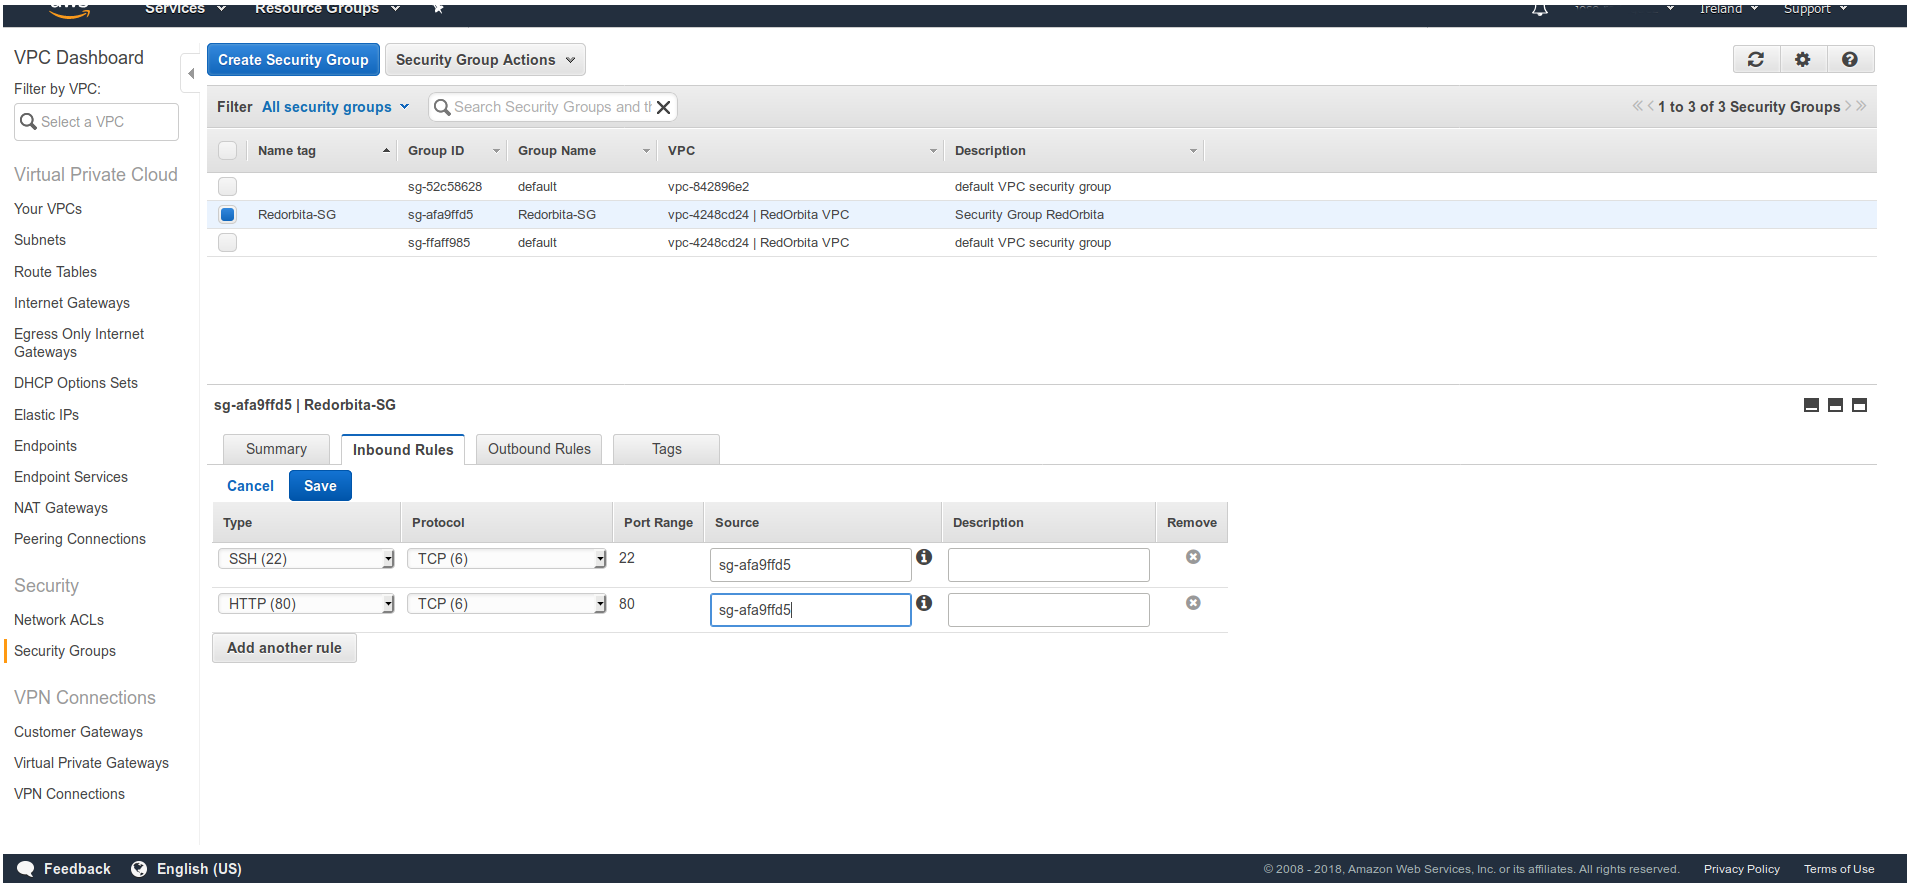
We configure the Security Group with the corresponding permissions: Service > VPC > Security Group > Create Security Group and once created at the bottom we create the corresponding rules
We create the route table: Service > VPC > Route Tables > Create Route Tables. once created we will Routes and we configure the necessary routes:
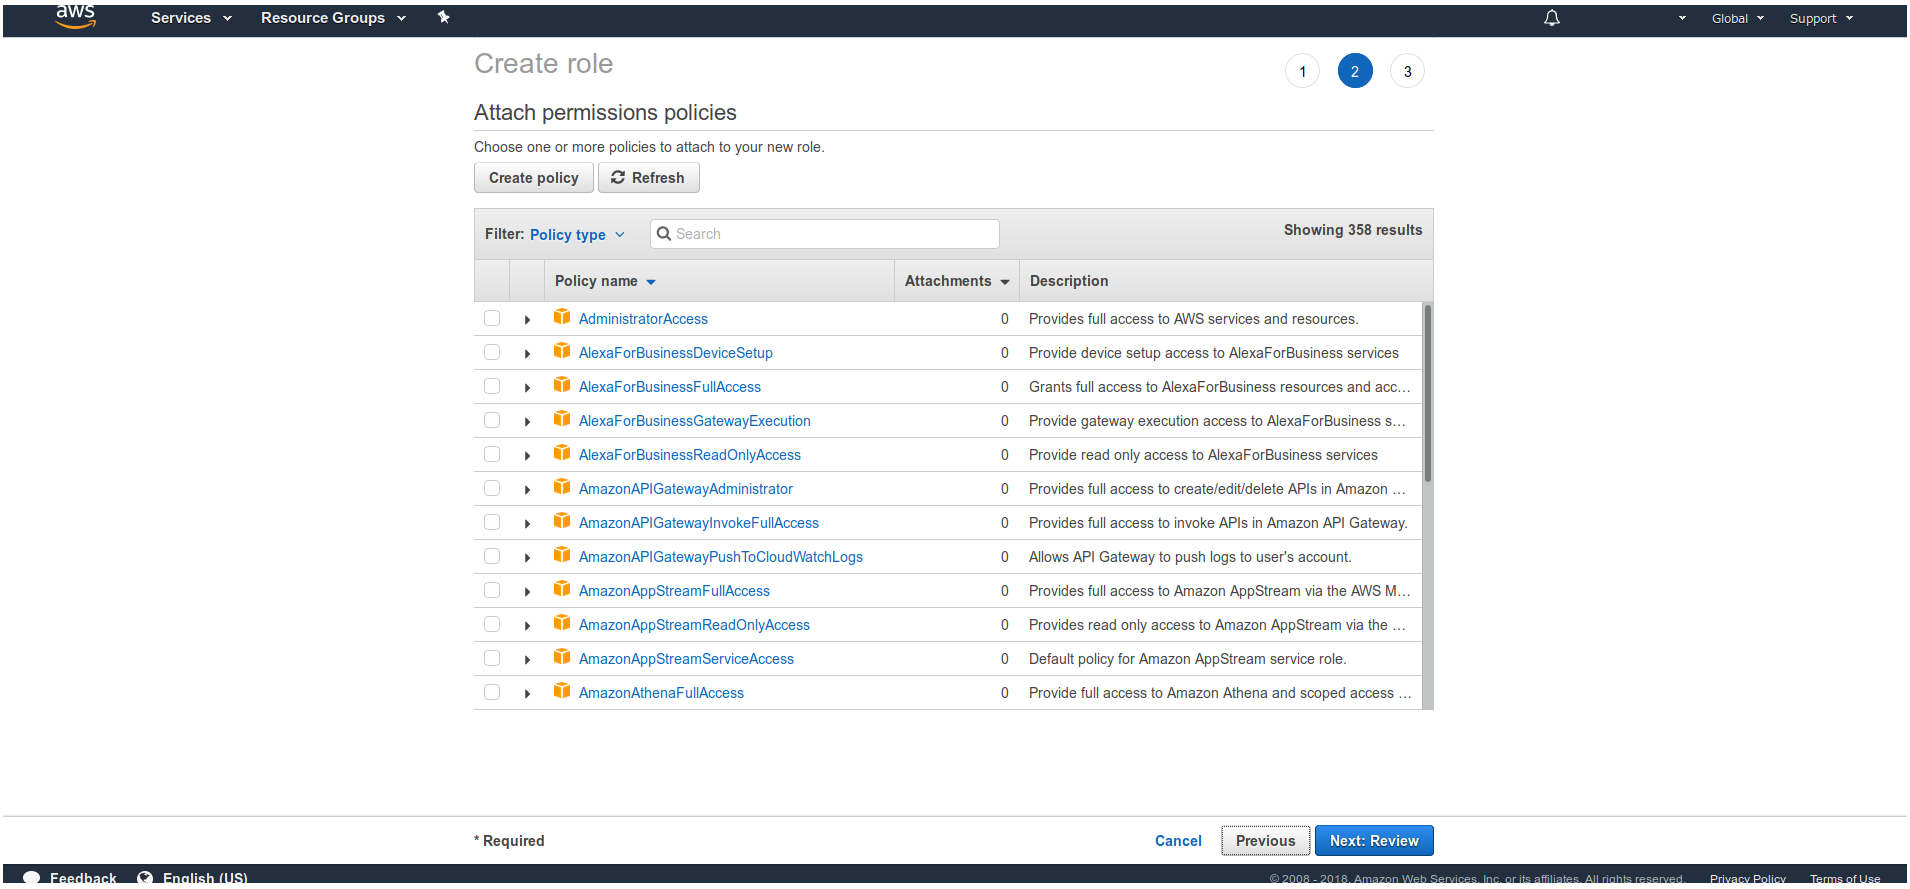
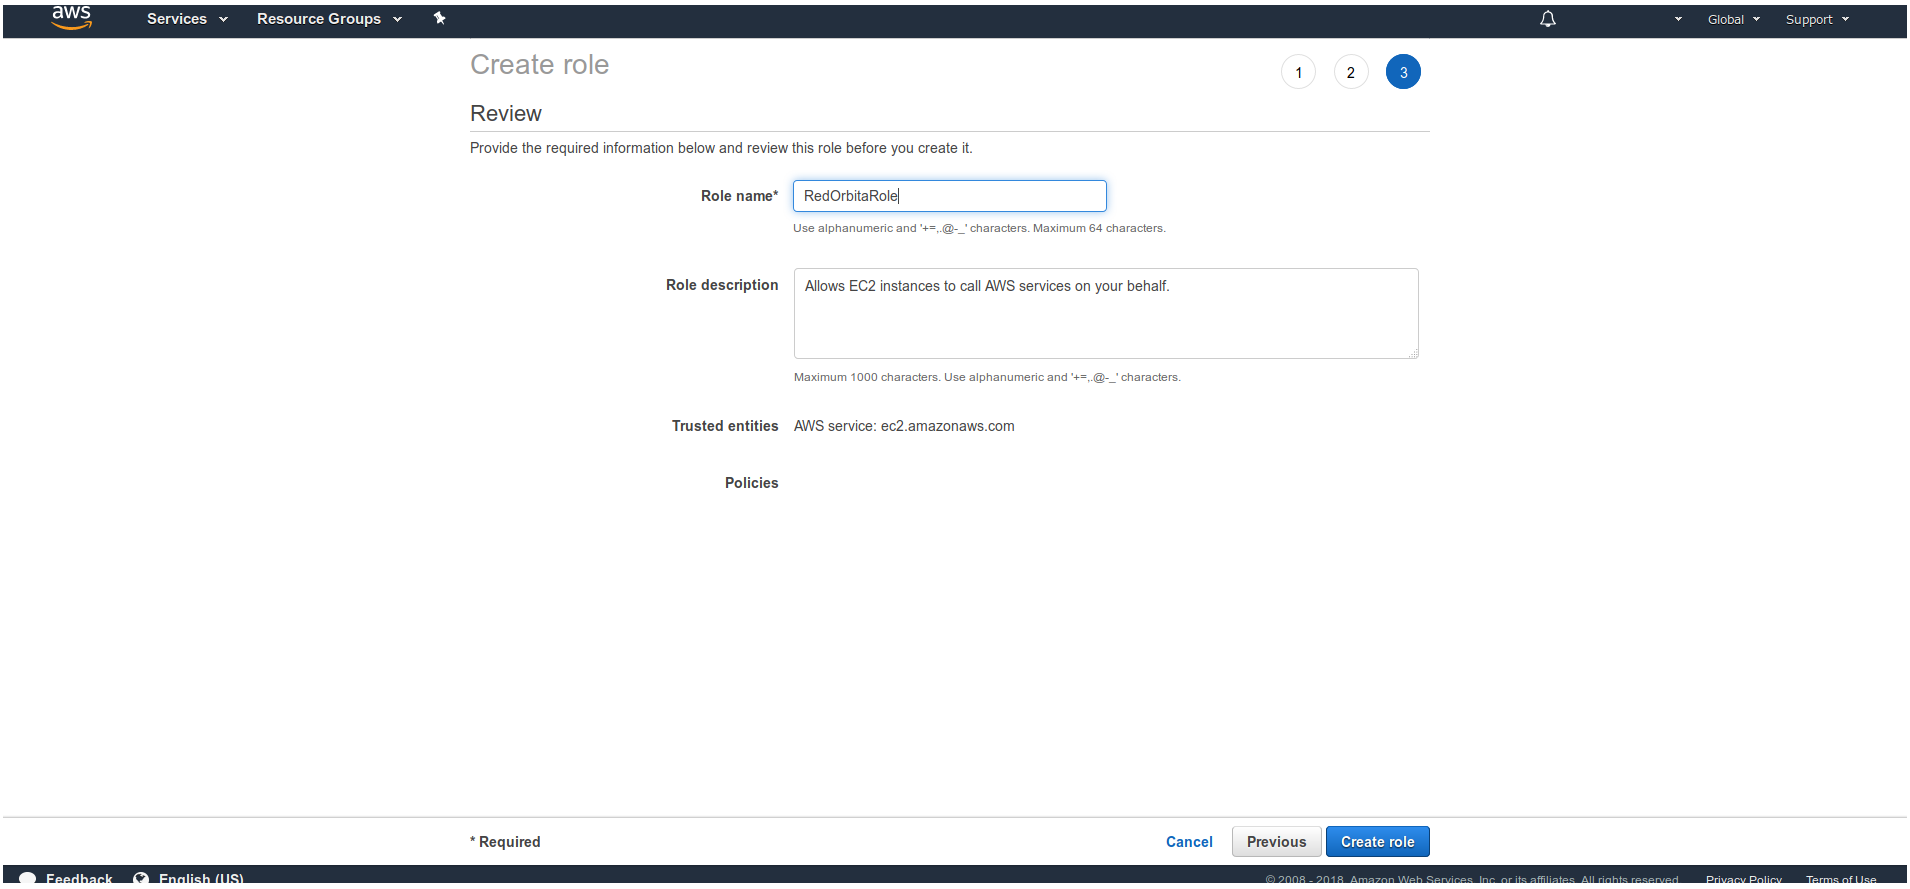
We create the ROLE: Service > IAM > Role > Create Role > We select EC2 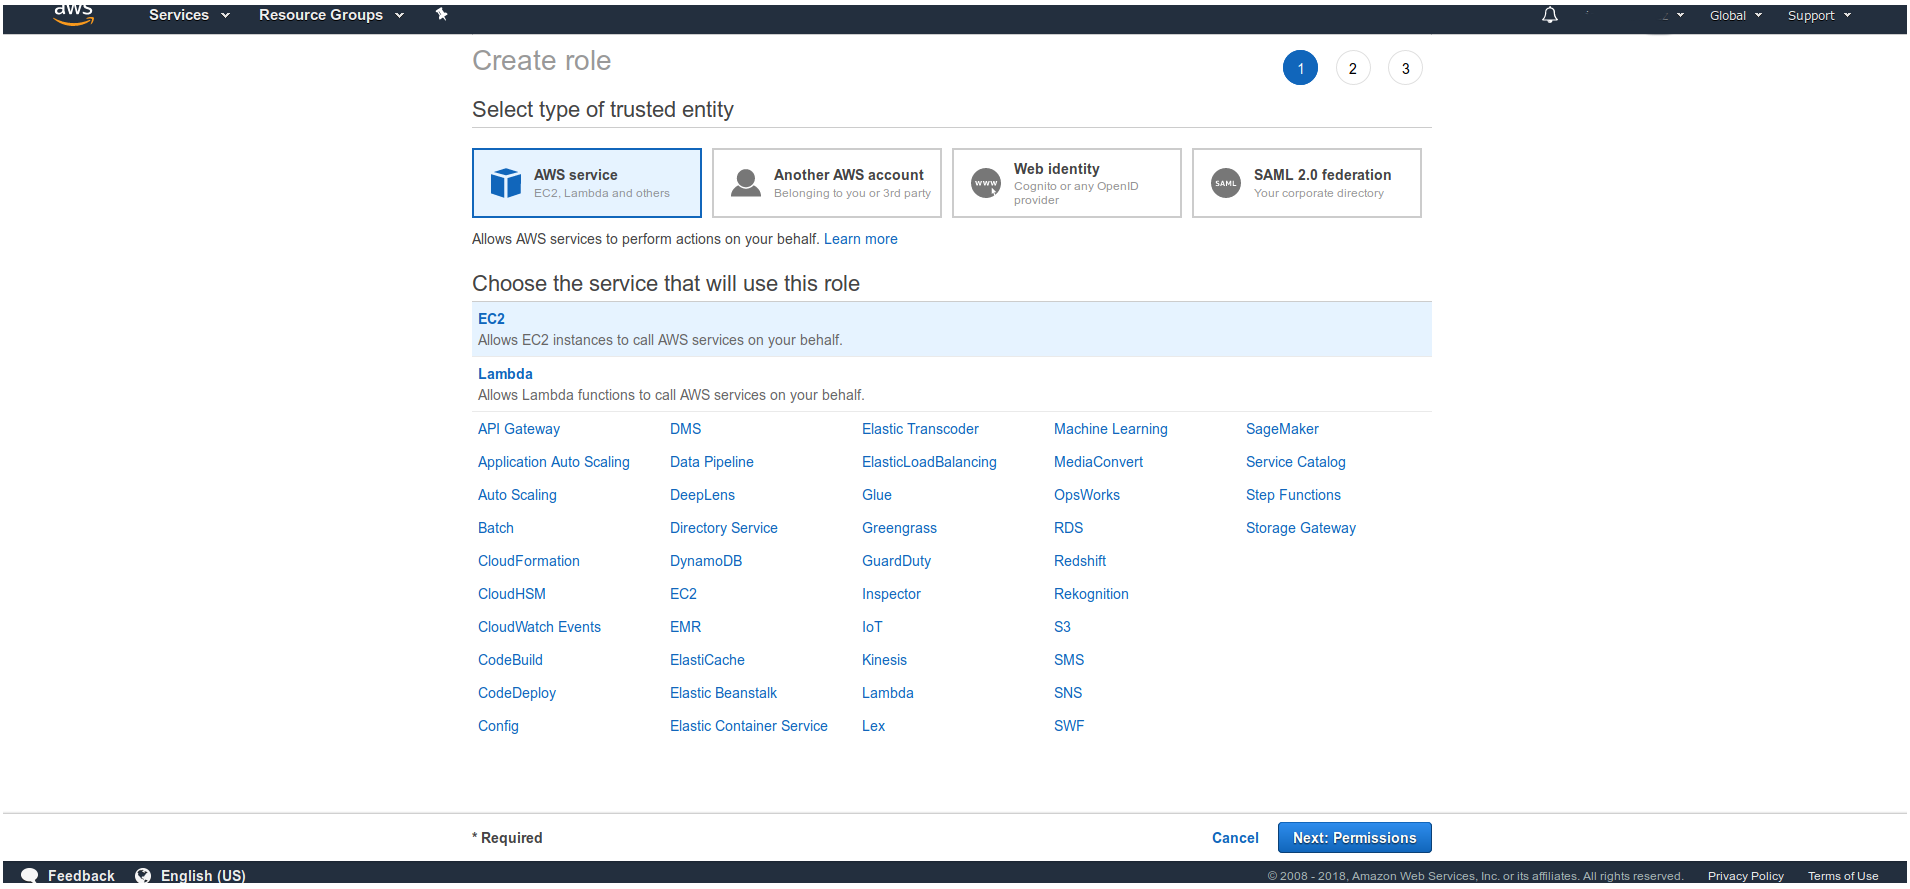
Following
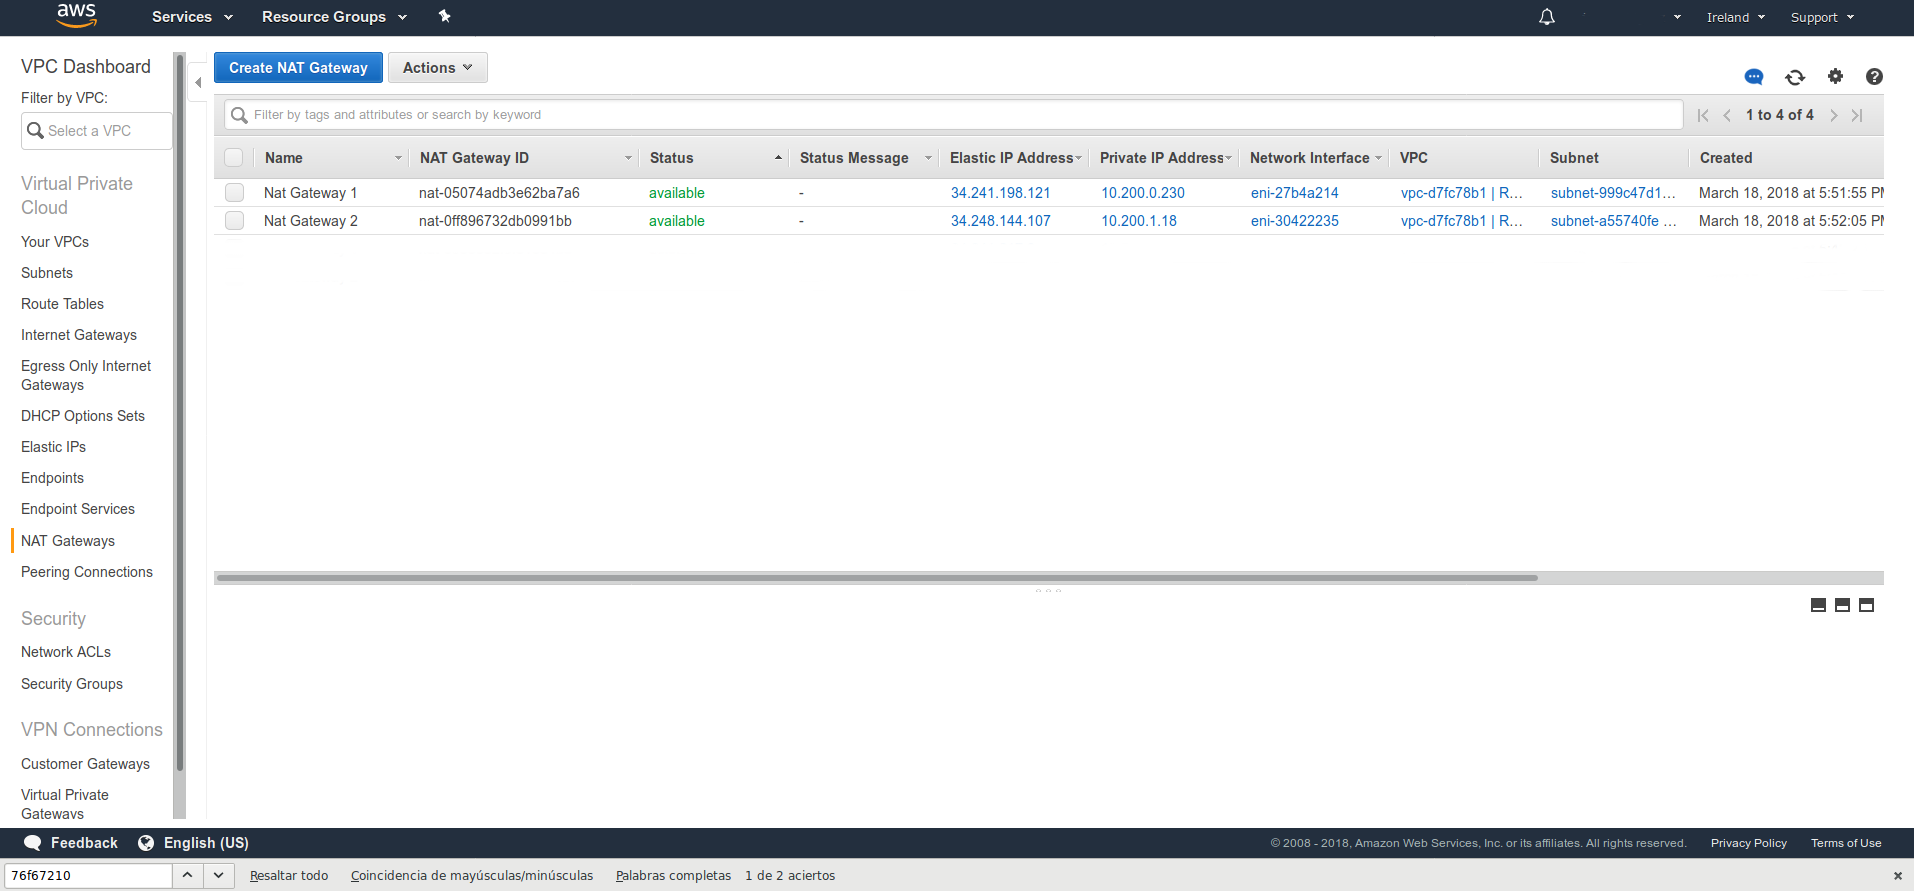
Next we create two Nat Gateways: Service > VPC > Nat Gateway > Create Nat Gateway
We generate two instances in different areas, in order not to lengthen this tutorial I am not going to show how to deploy an instance, for this you can see it in the following link:
Once the two instances have been generated in the different subnets we are going to create the load balancer, to do this we are going to:
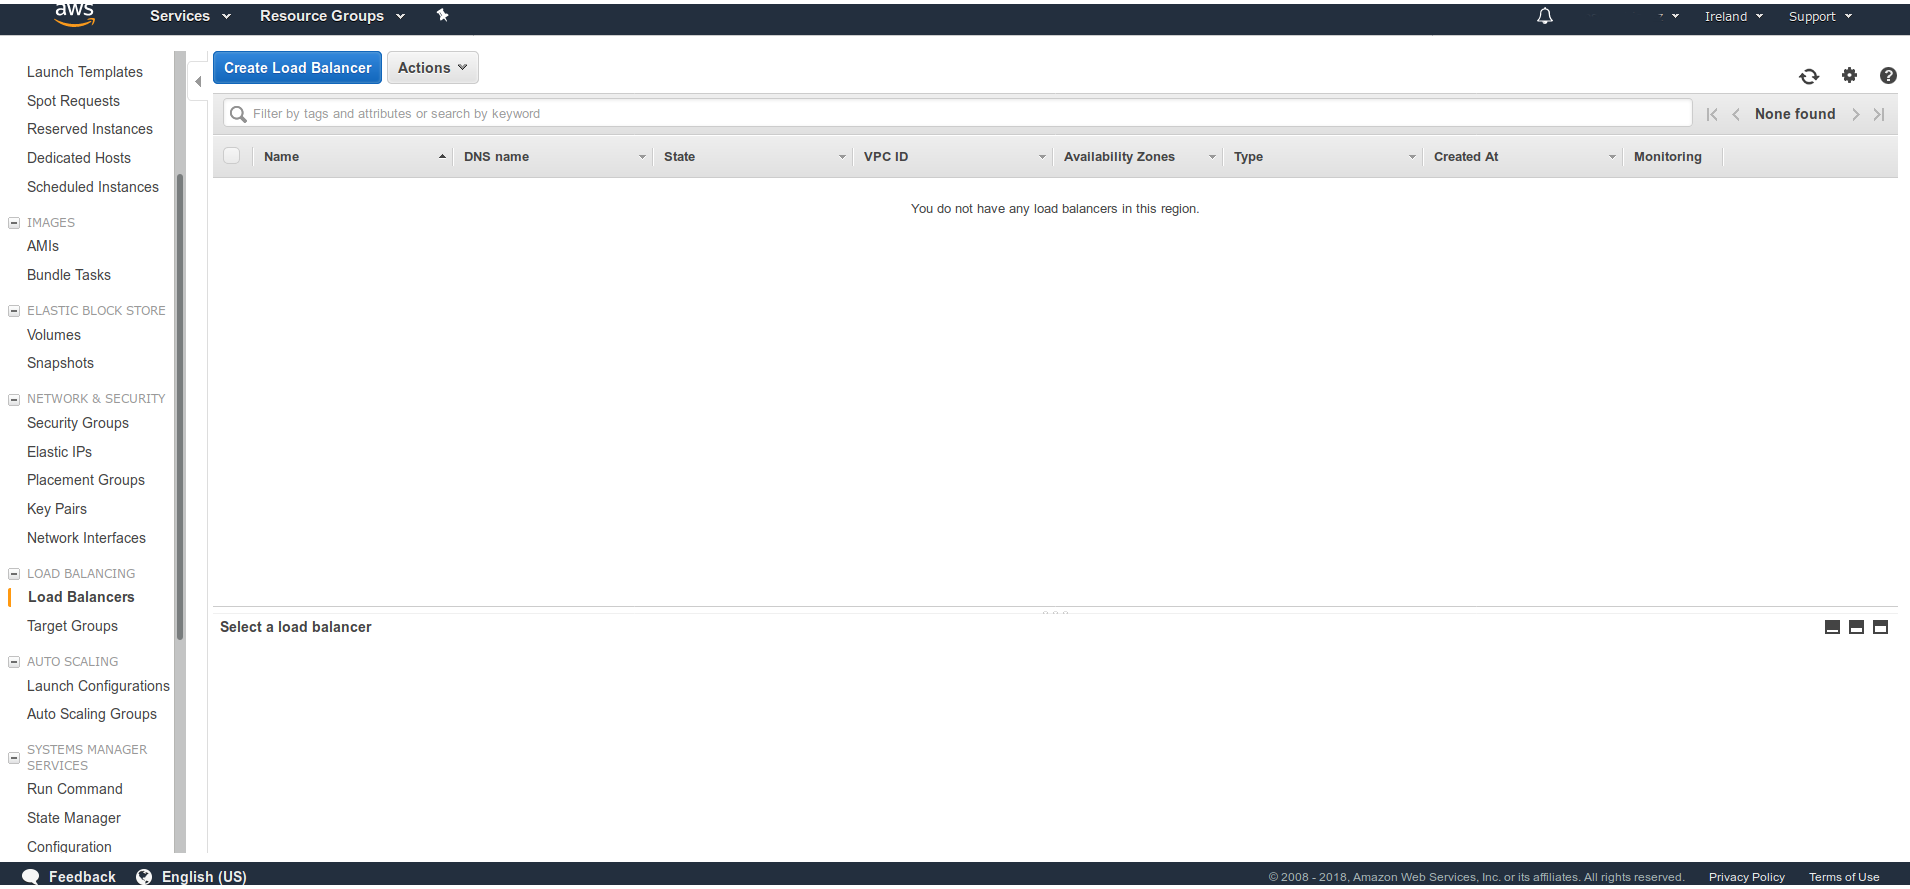
Services > EC2 > Load Balancers > Create Load Balancer
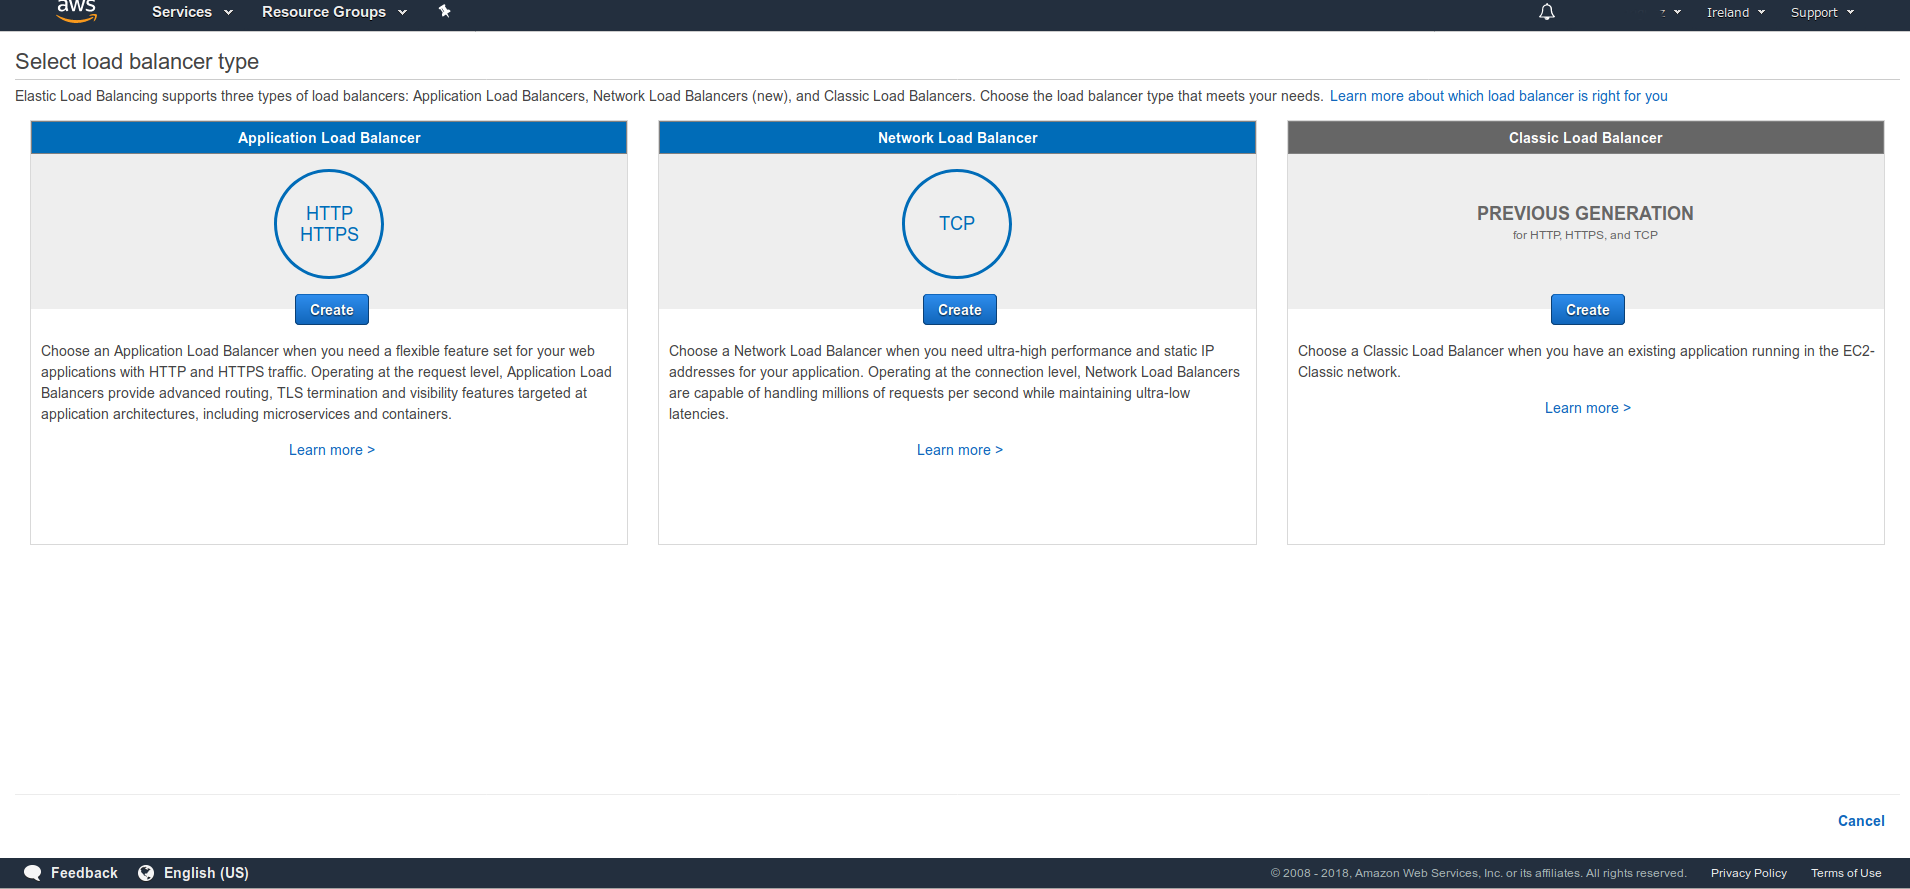
We select the option Application Load balancer (In the case that we want to perform a layer 7 balancing)
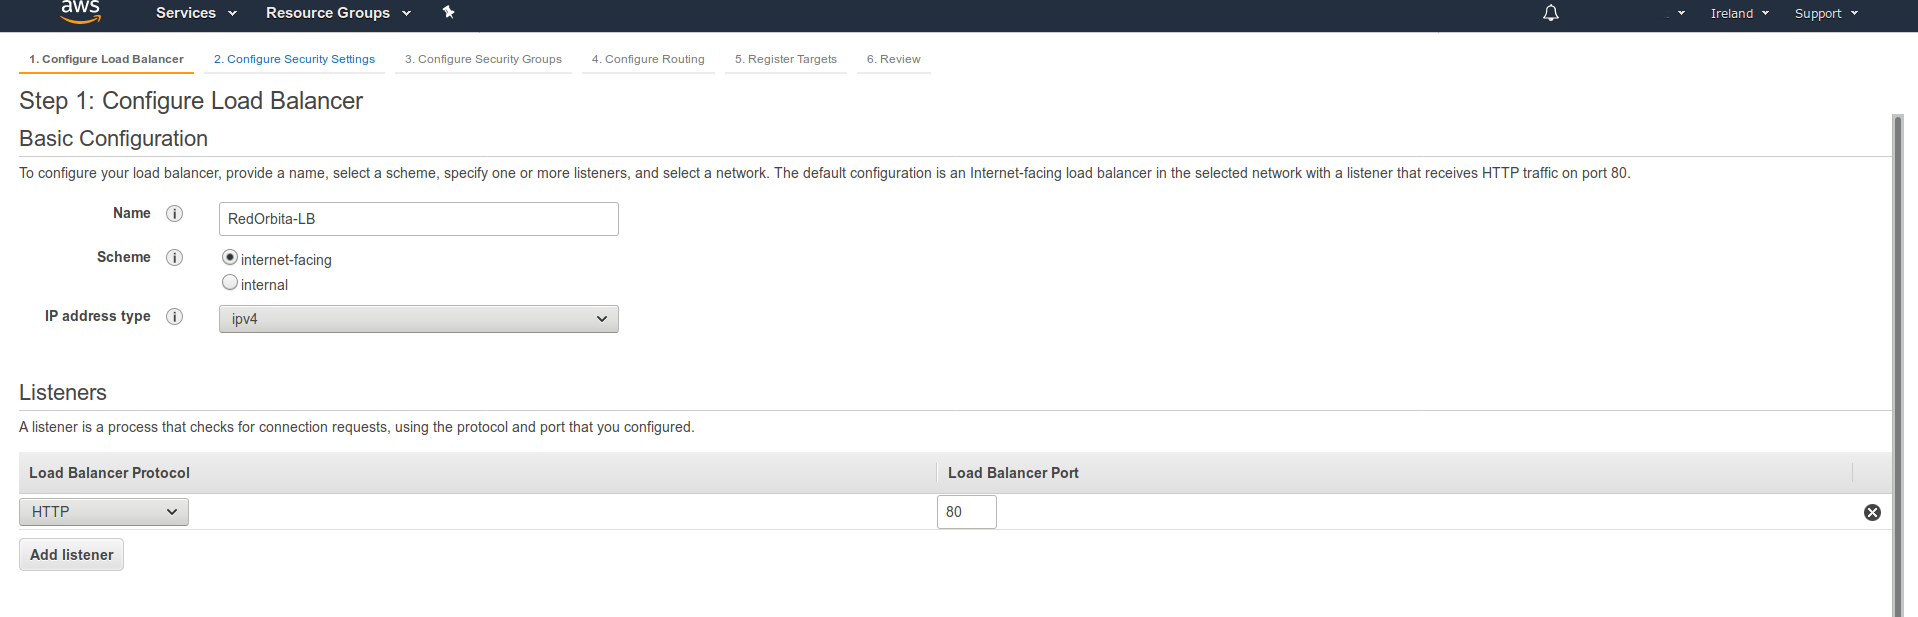
We assign a name, protocol by which load balancing will be carried out (in my case only on port 80) and we select the two private subnets created previously
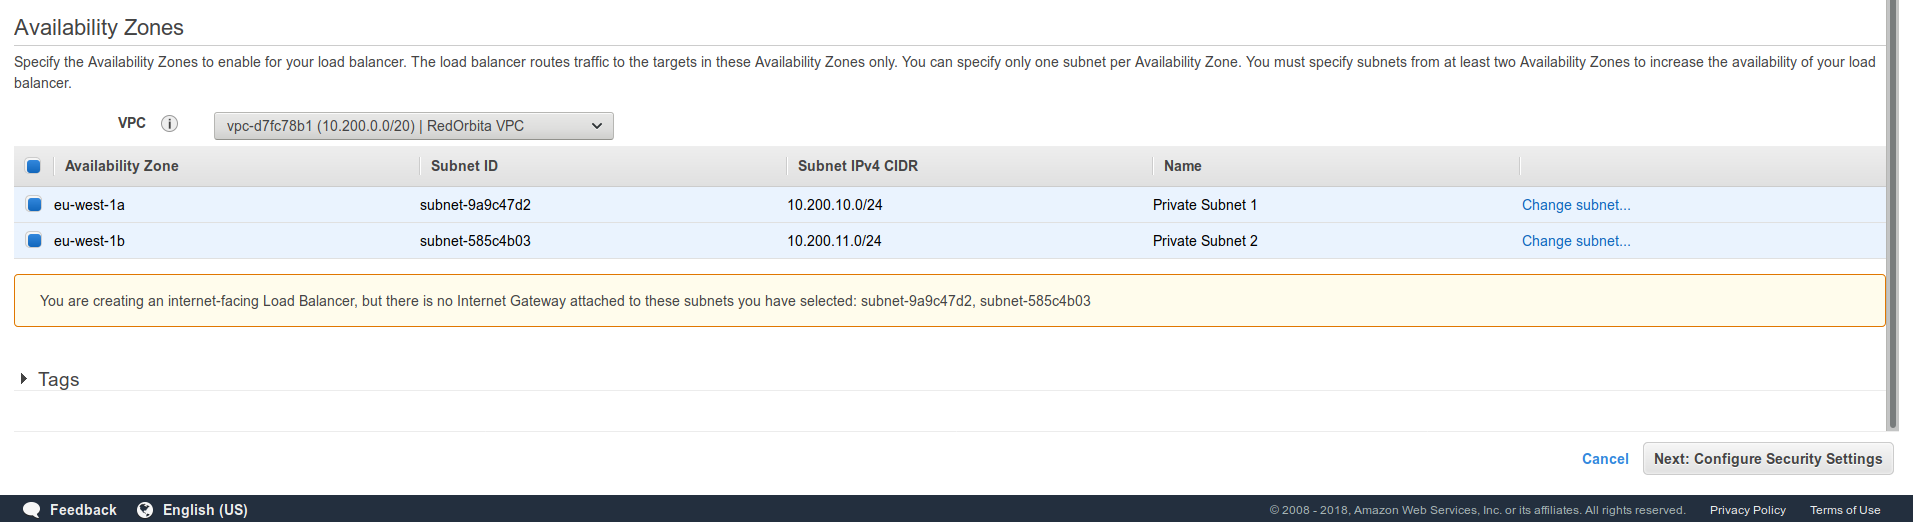
Following…
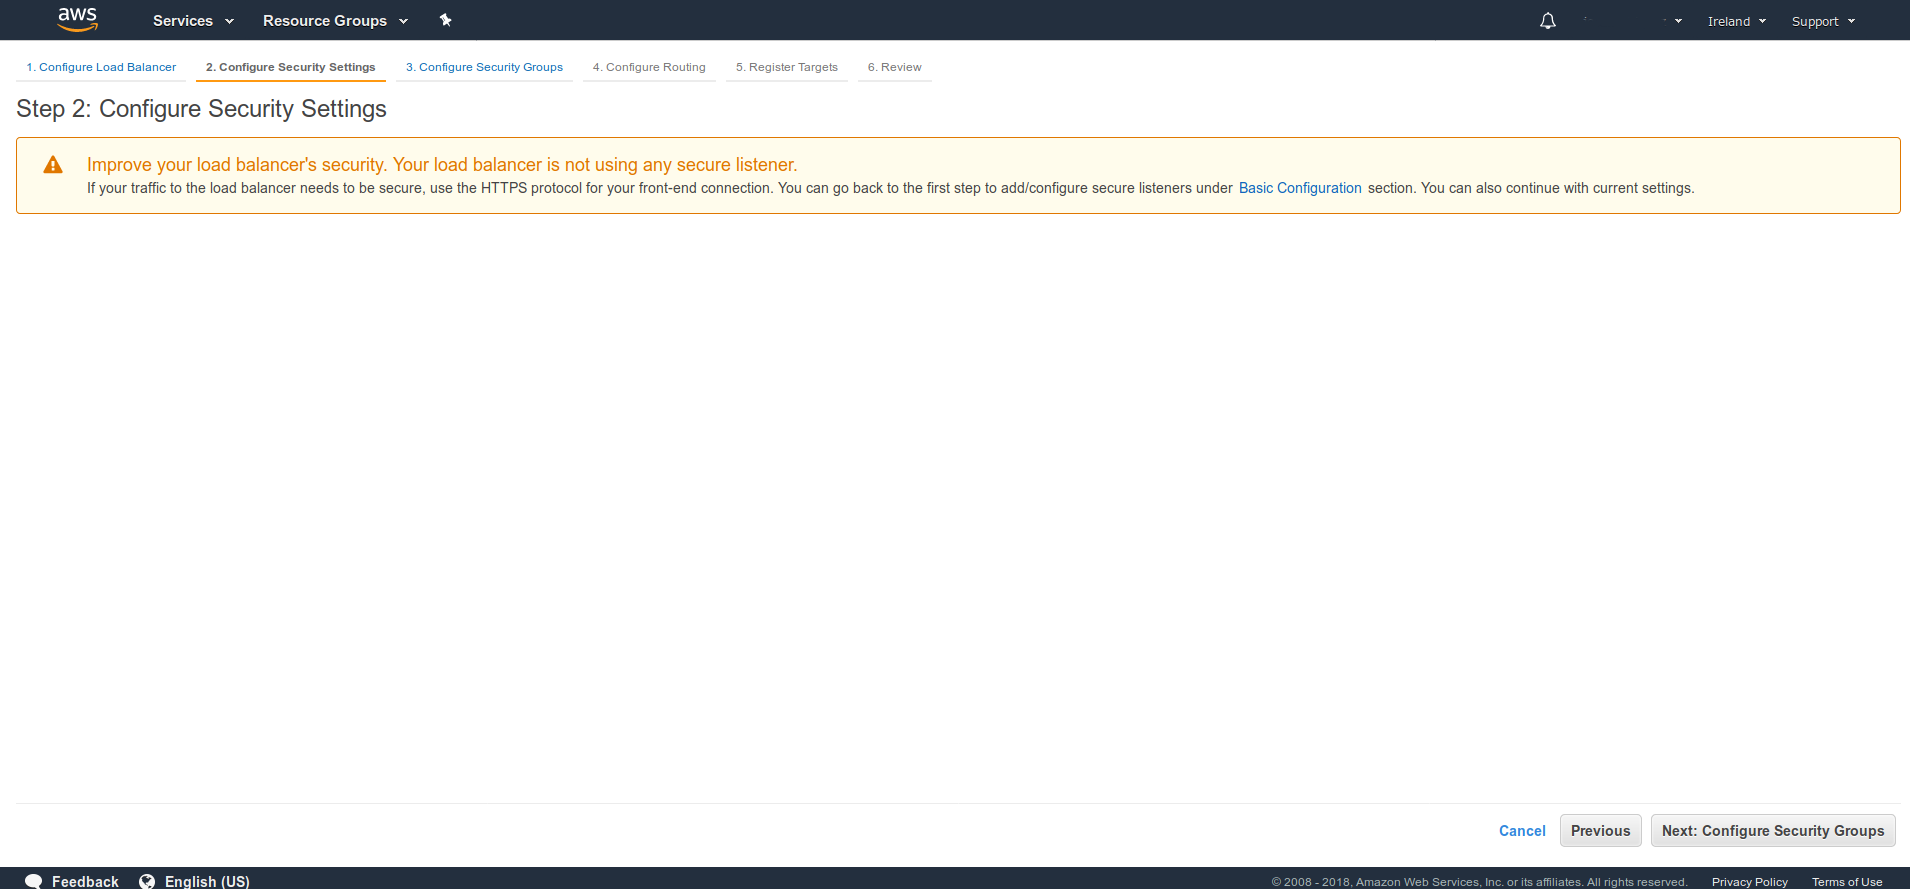
We configure the Security Group
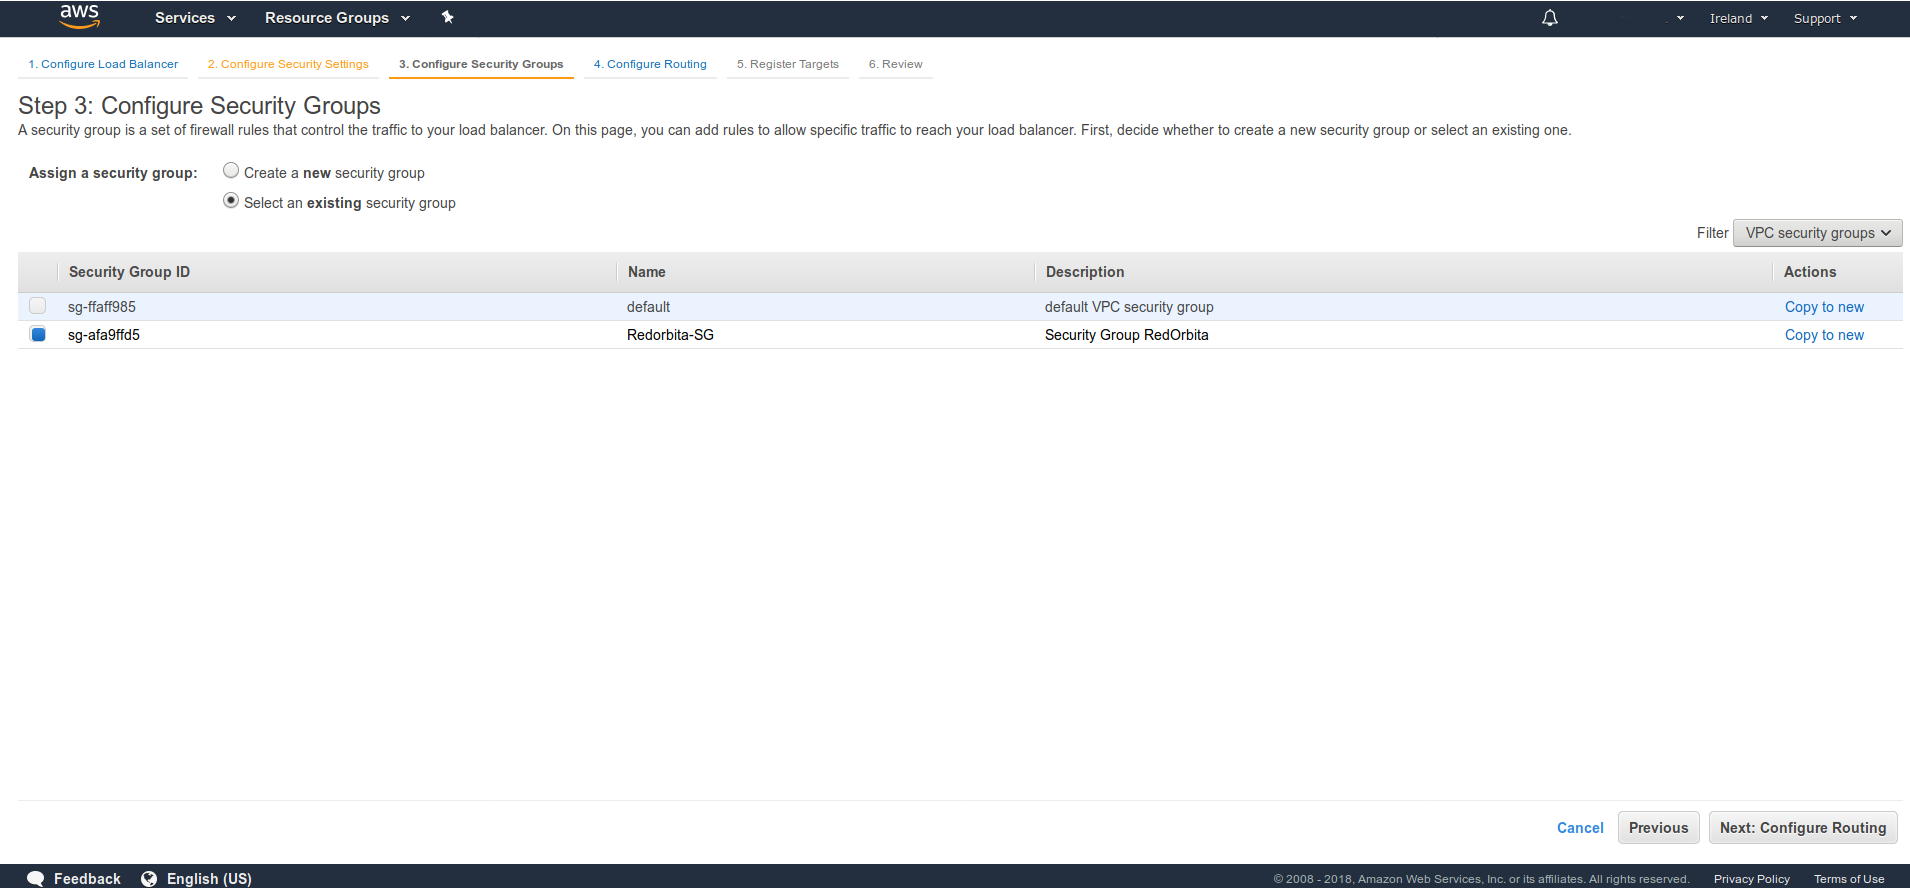
Here we can configure the load balancing status check, in my case I leave it by default.
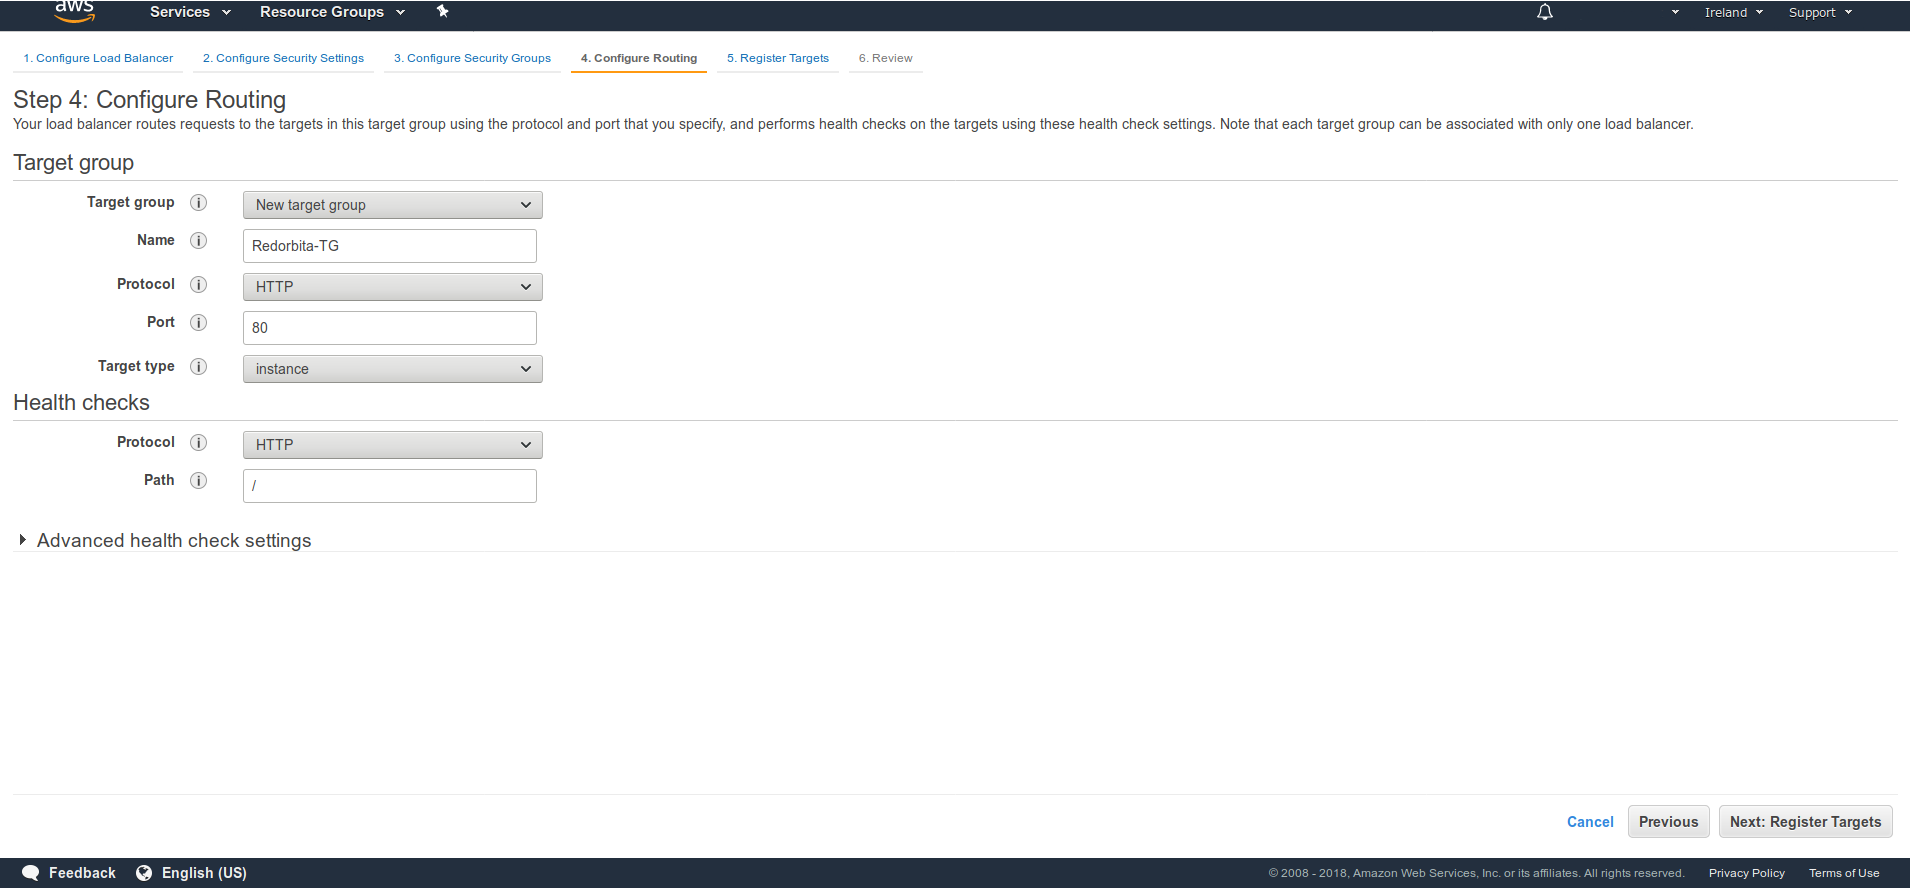
We select the instances and click: Add to registered
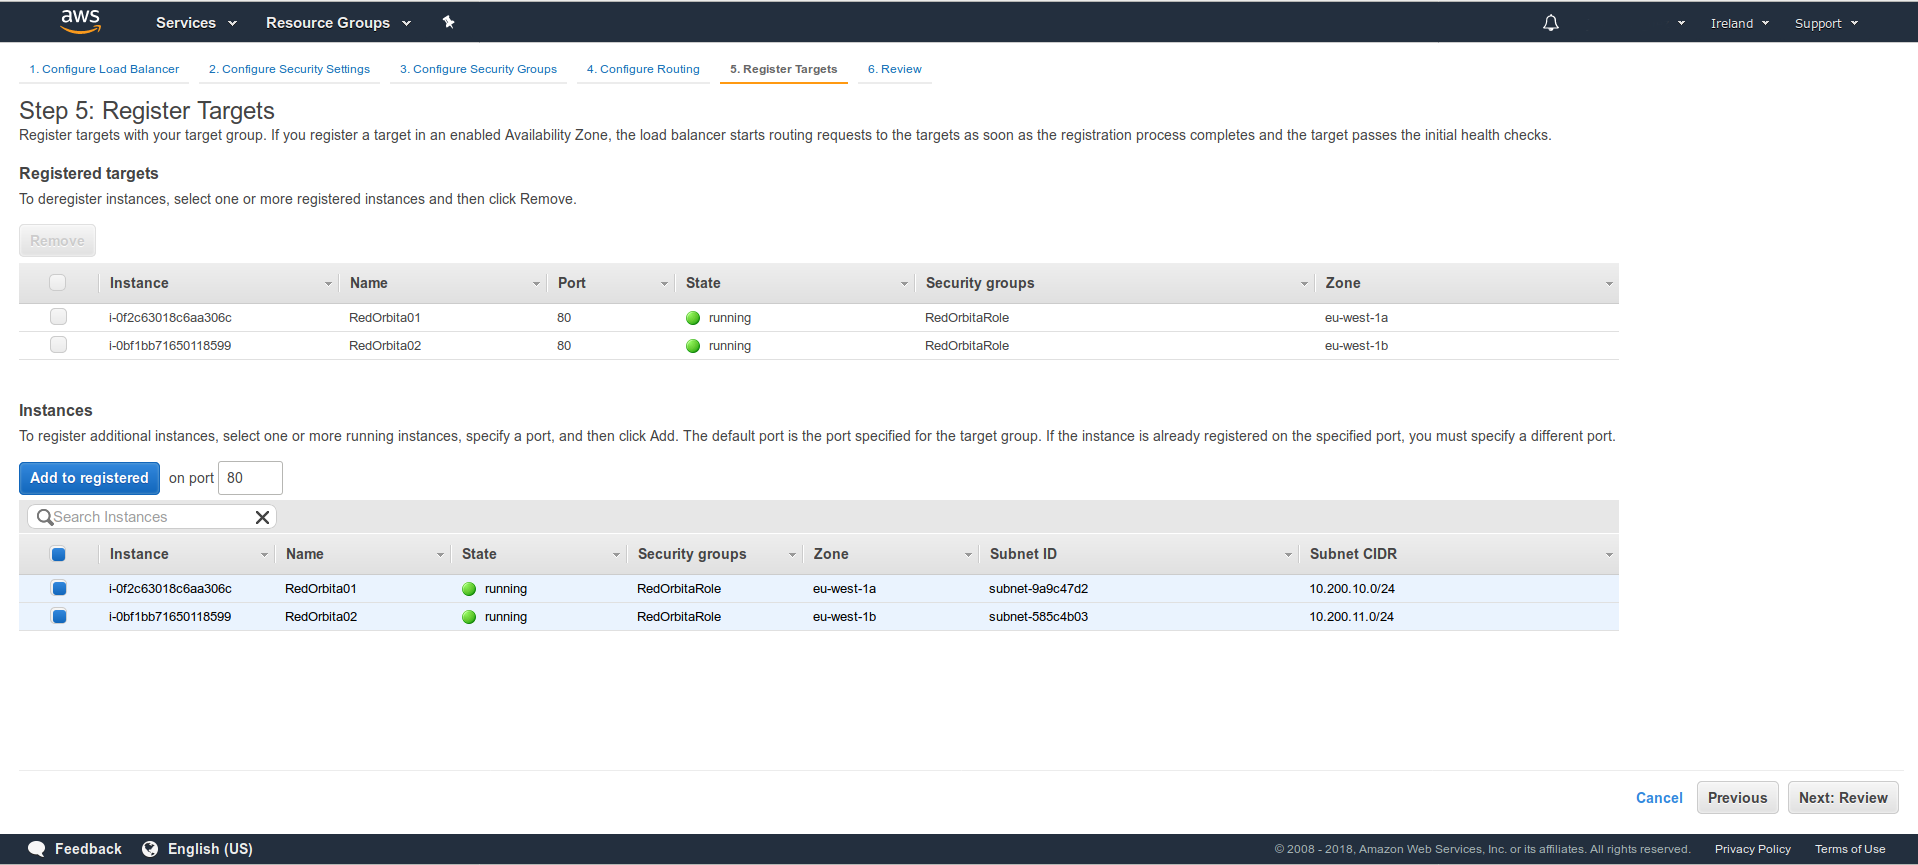
It shows us a brief summary of the configuration made. Create!
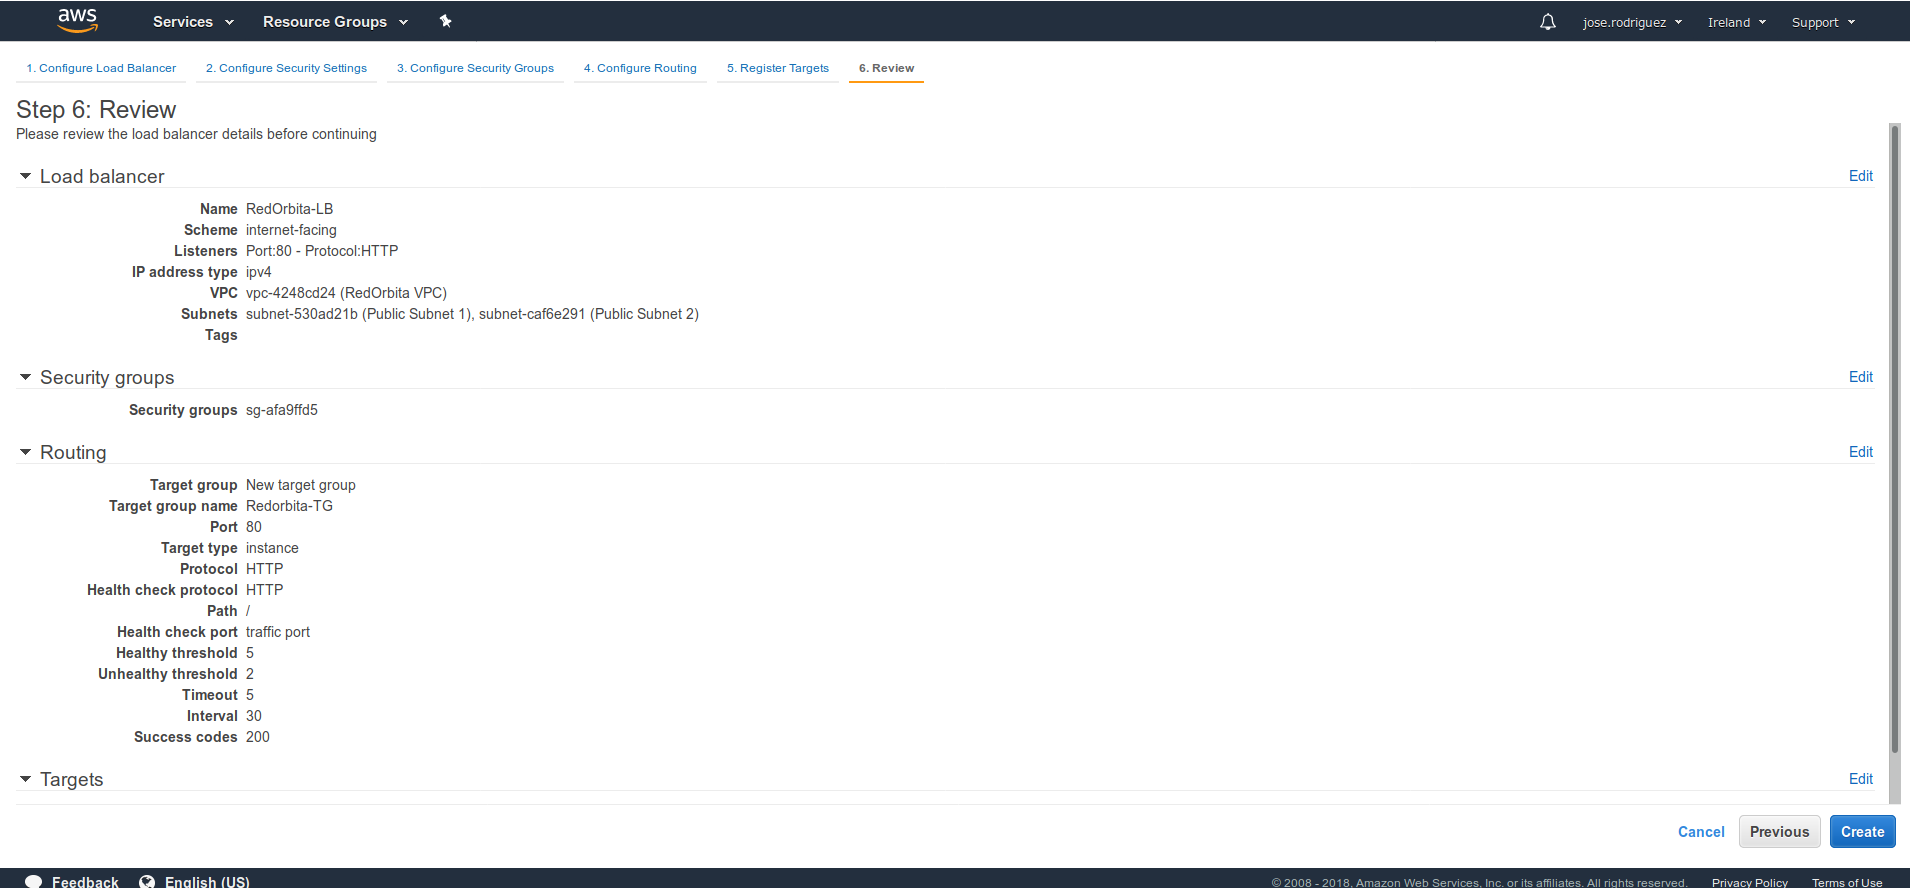
Once the balancer is created, we copy the DNS name of the balancer and access the same URL several times. If everything went correctly it should balance the different instances.
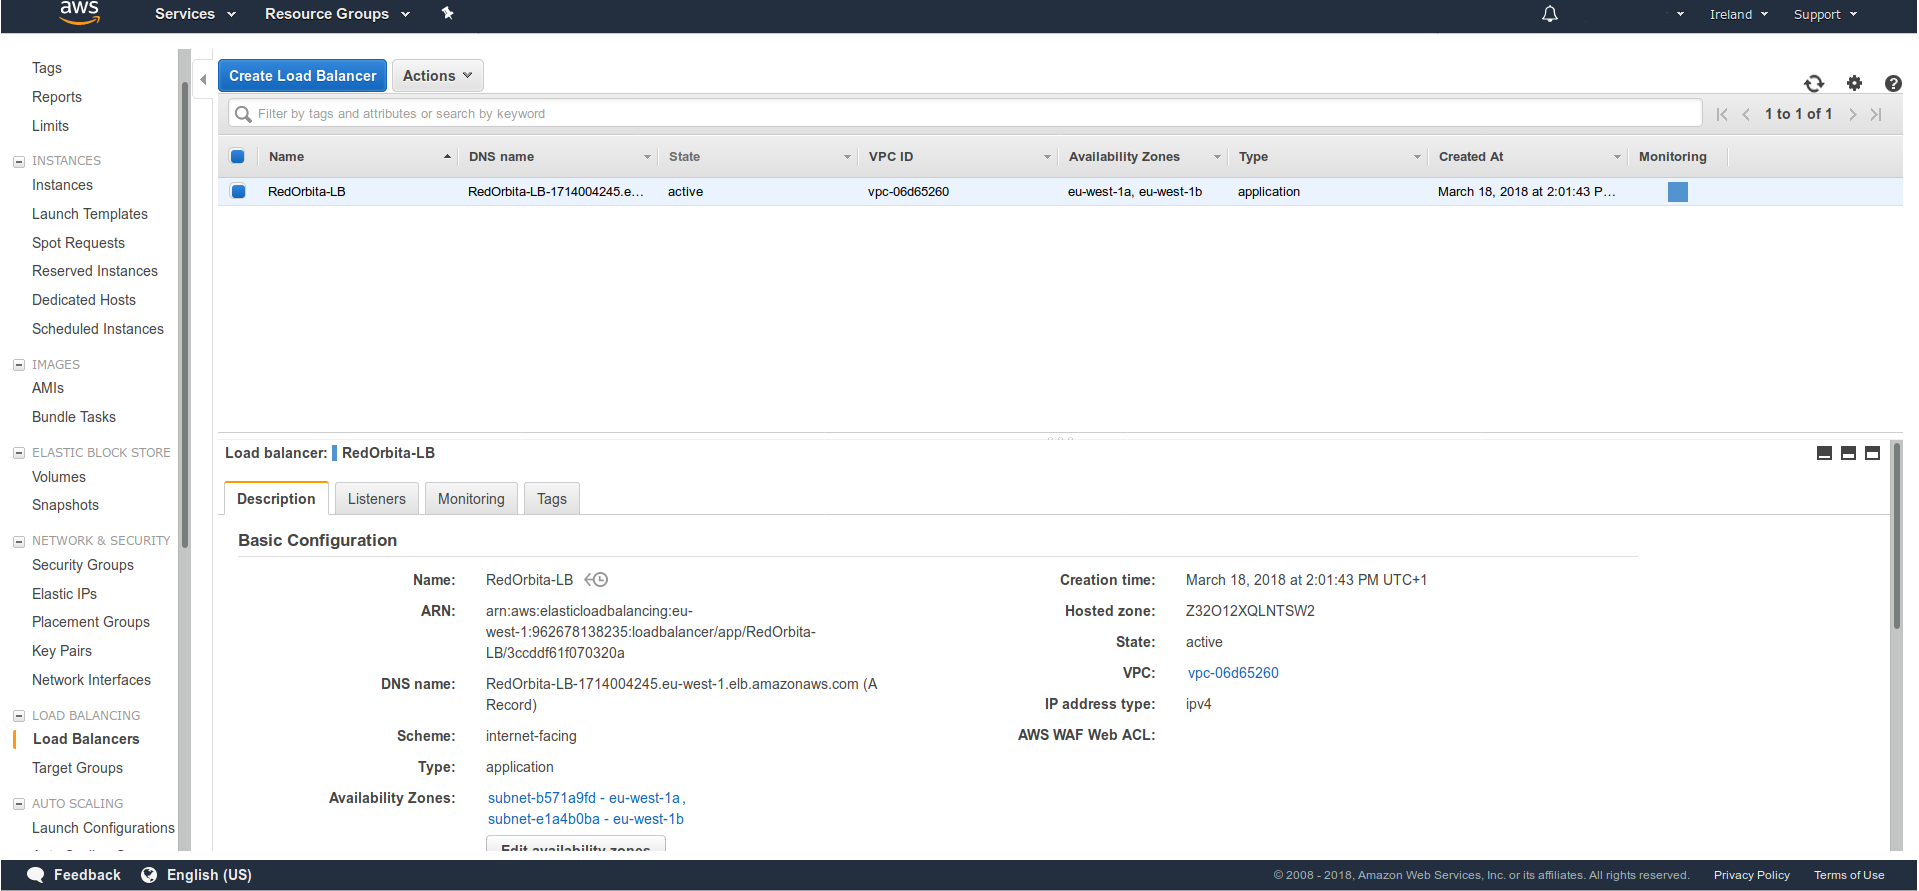
Before configuring auto-escalation, we create the AMI from which it will be fed.
Create AMI in AWS
Once the AMI has been created and we have verified that the balancer is working correctly, we proceed to configure the auto-lock: Service > EC2 > AUTO SCALING > Launch Configurations >Create Auto Scaling
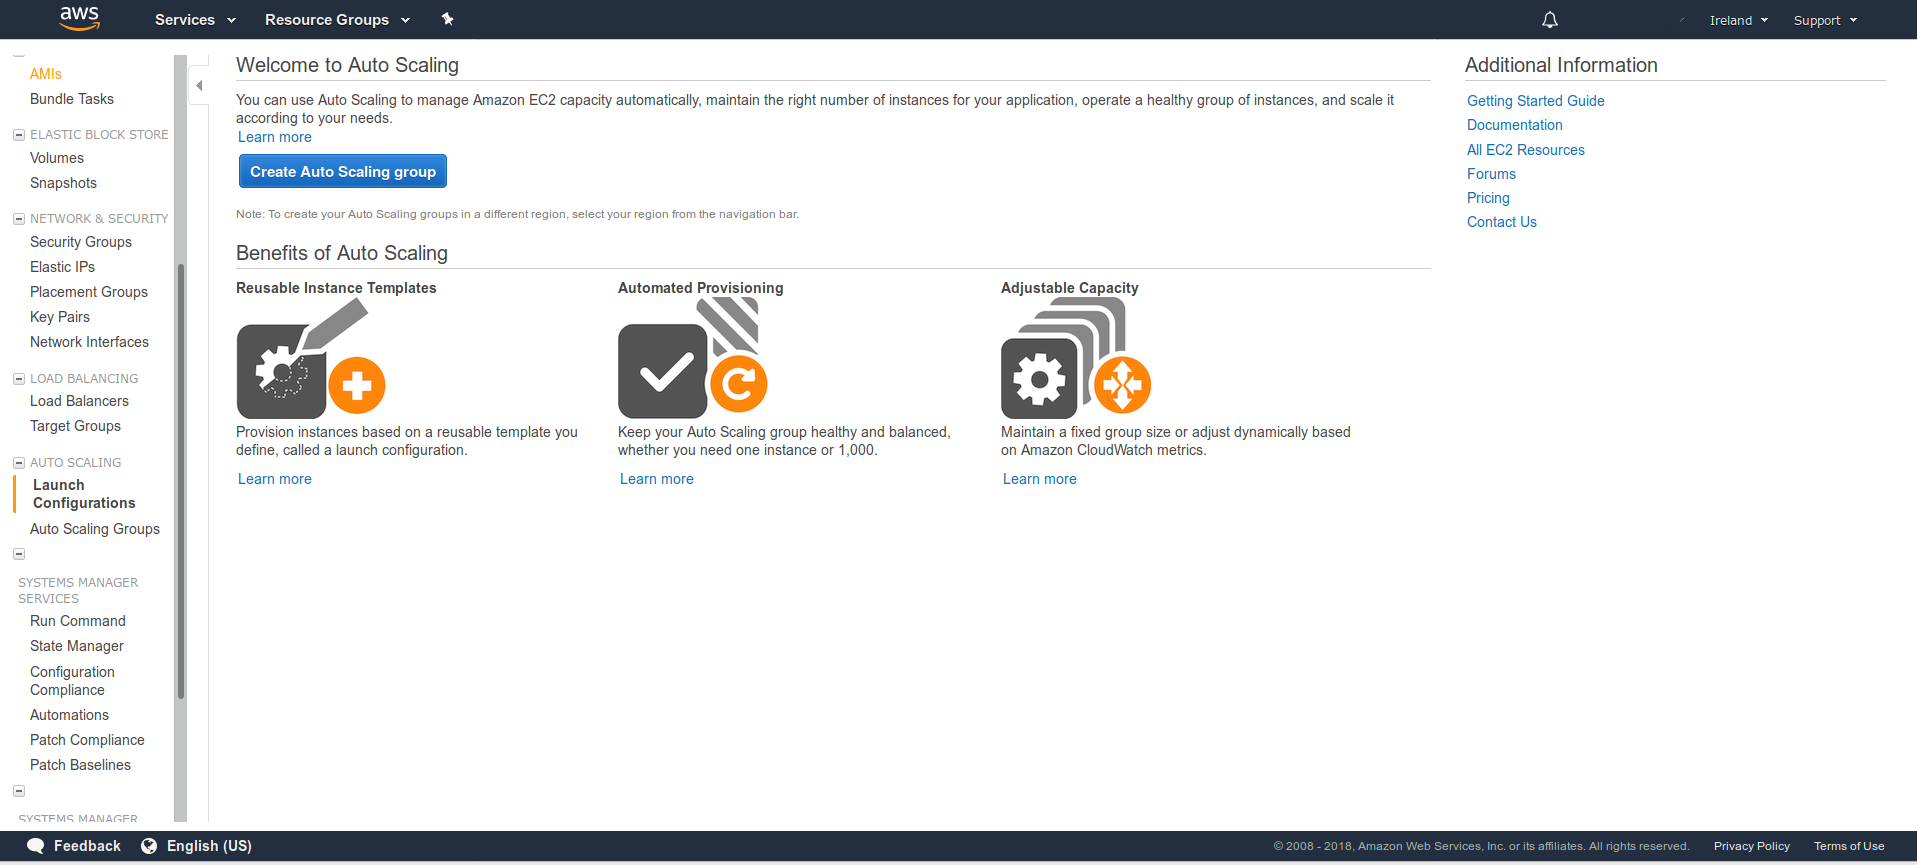
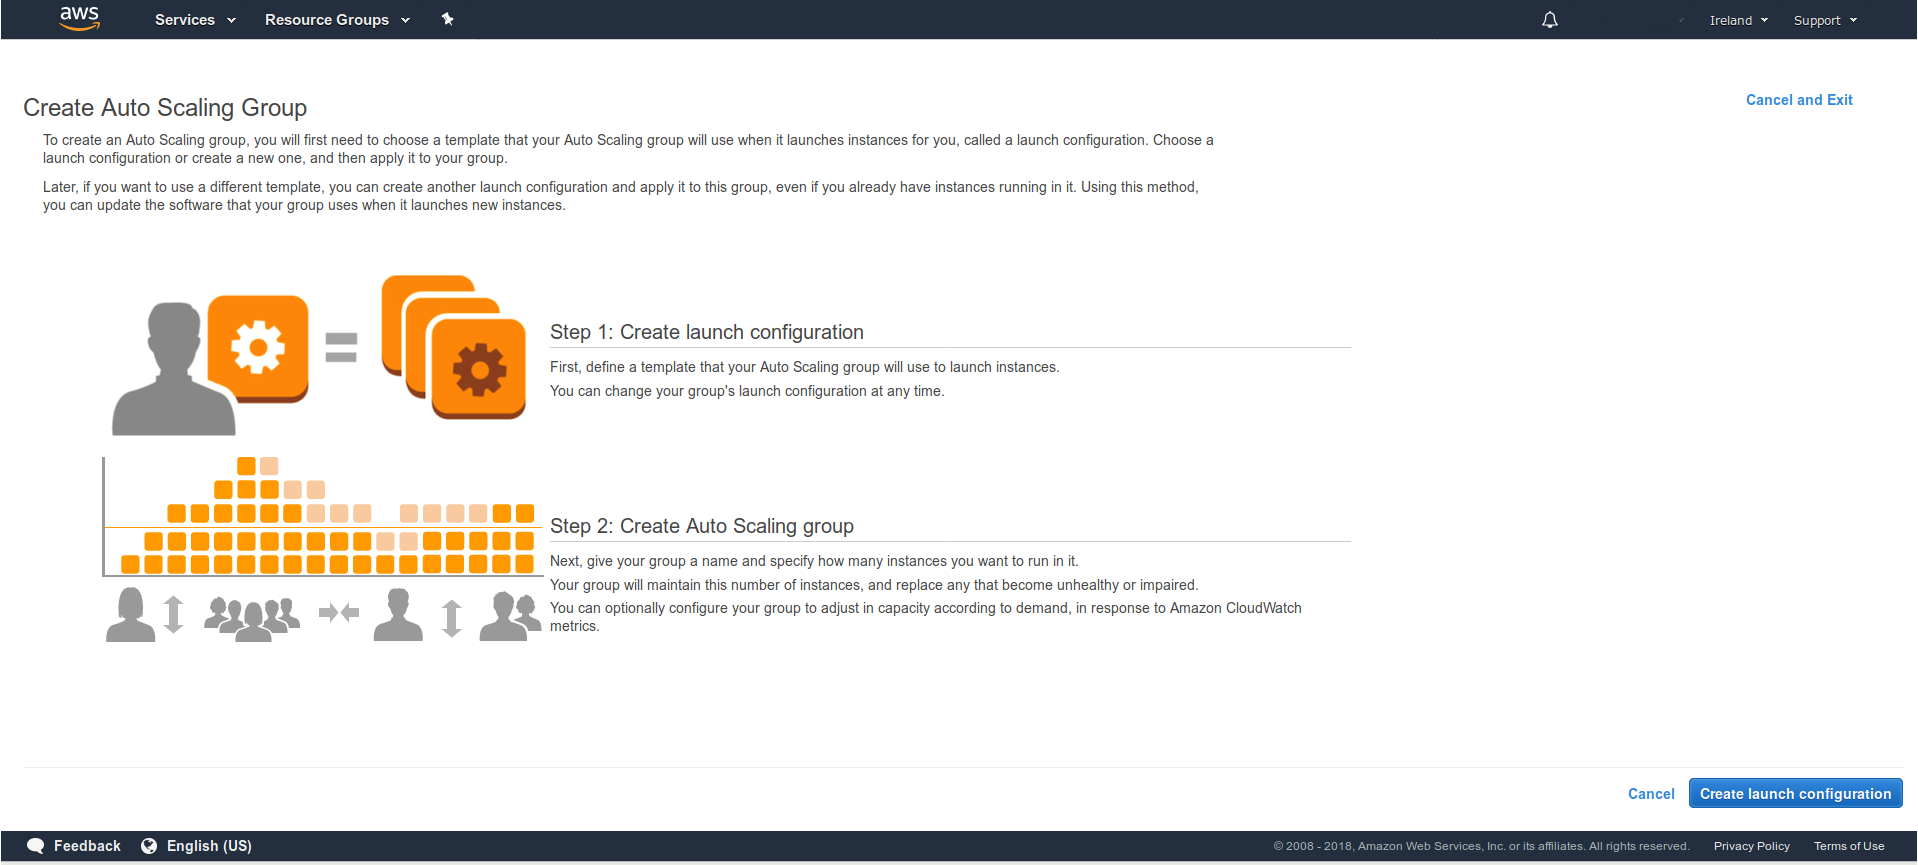
The configuration wizard opens, Next.
We select the ME created previously.
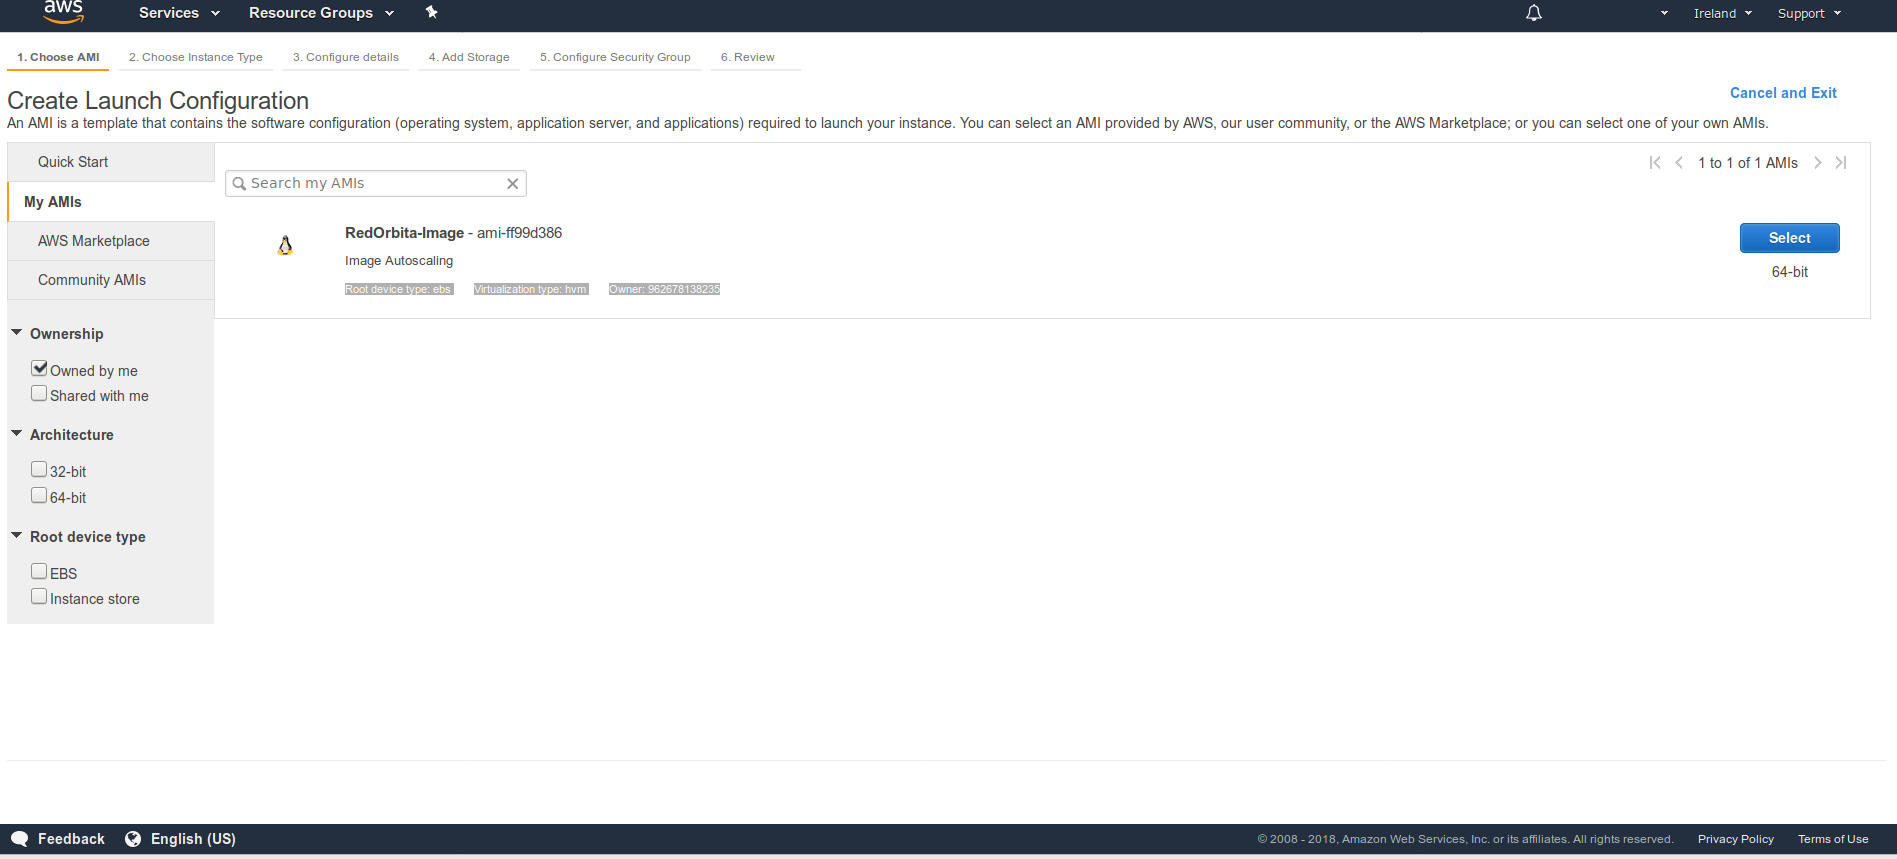
We proceed to configure the instance
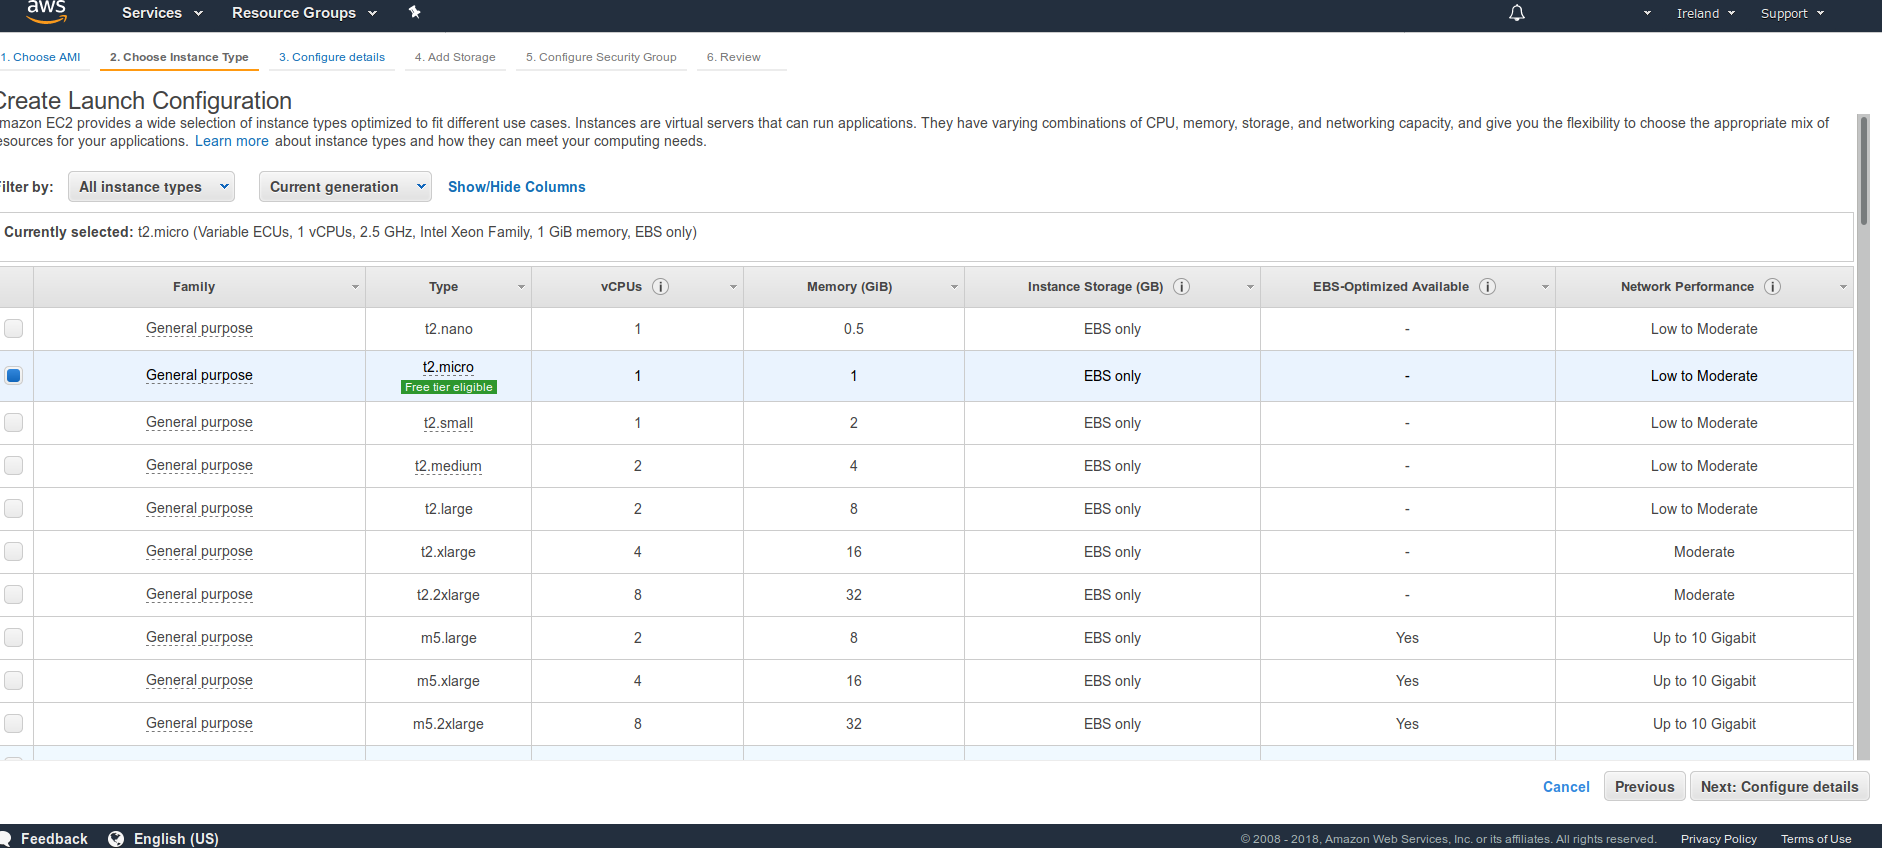
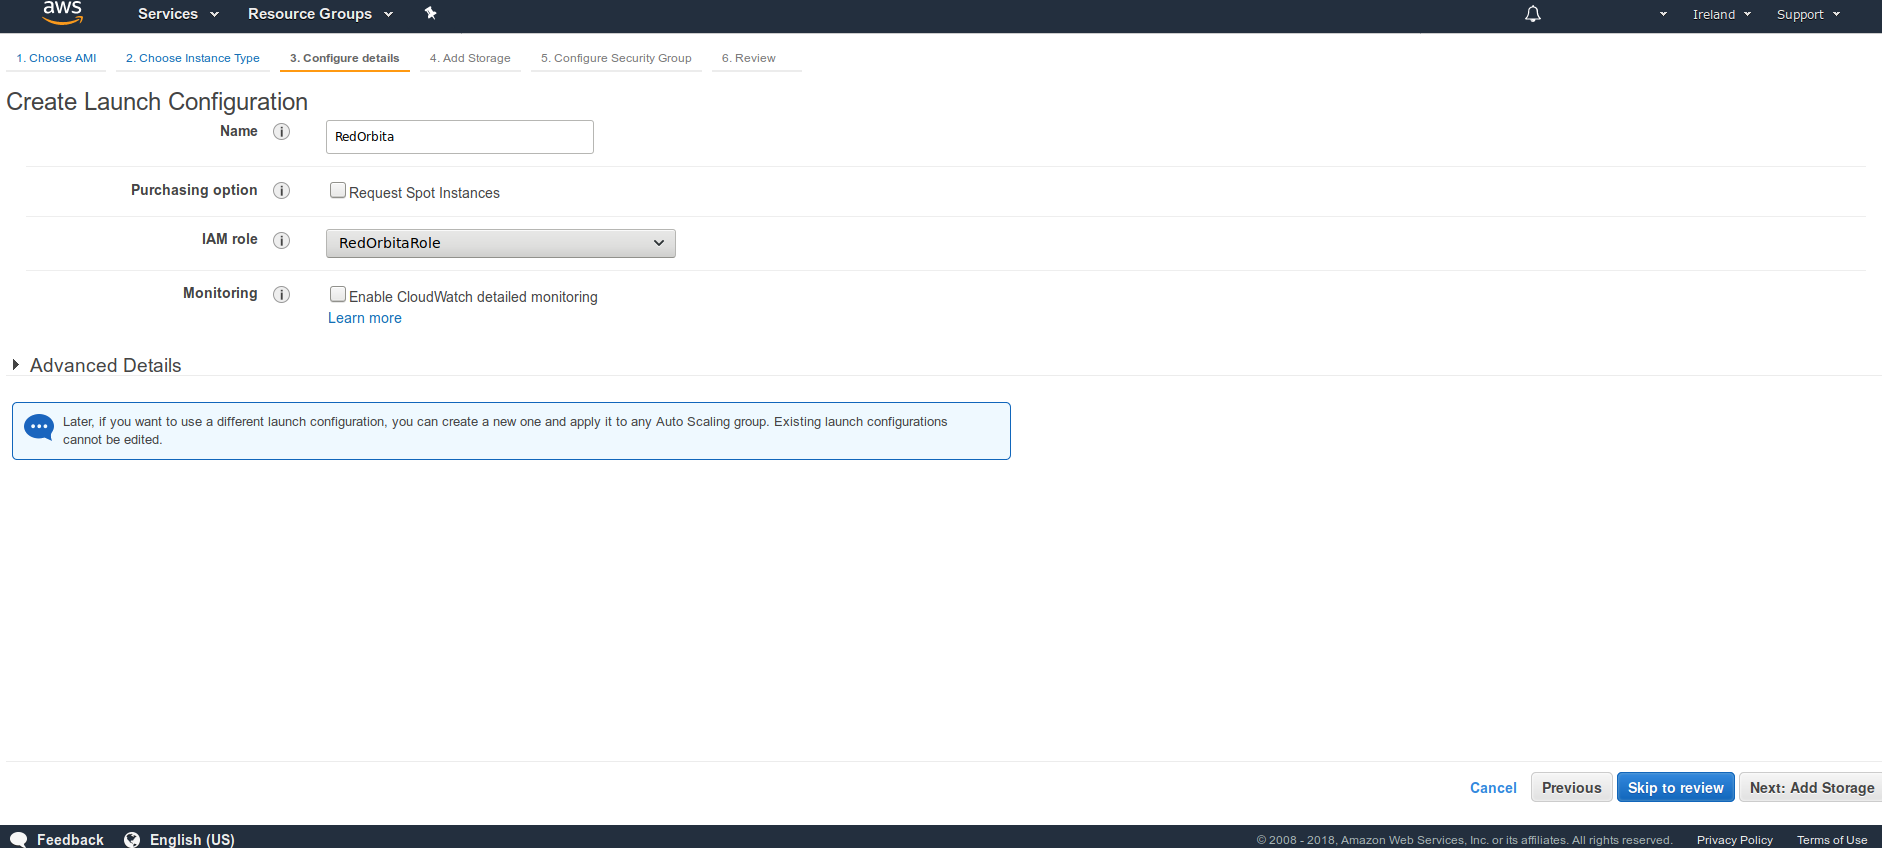
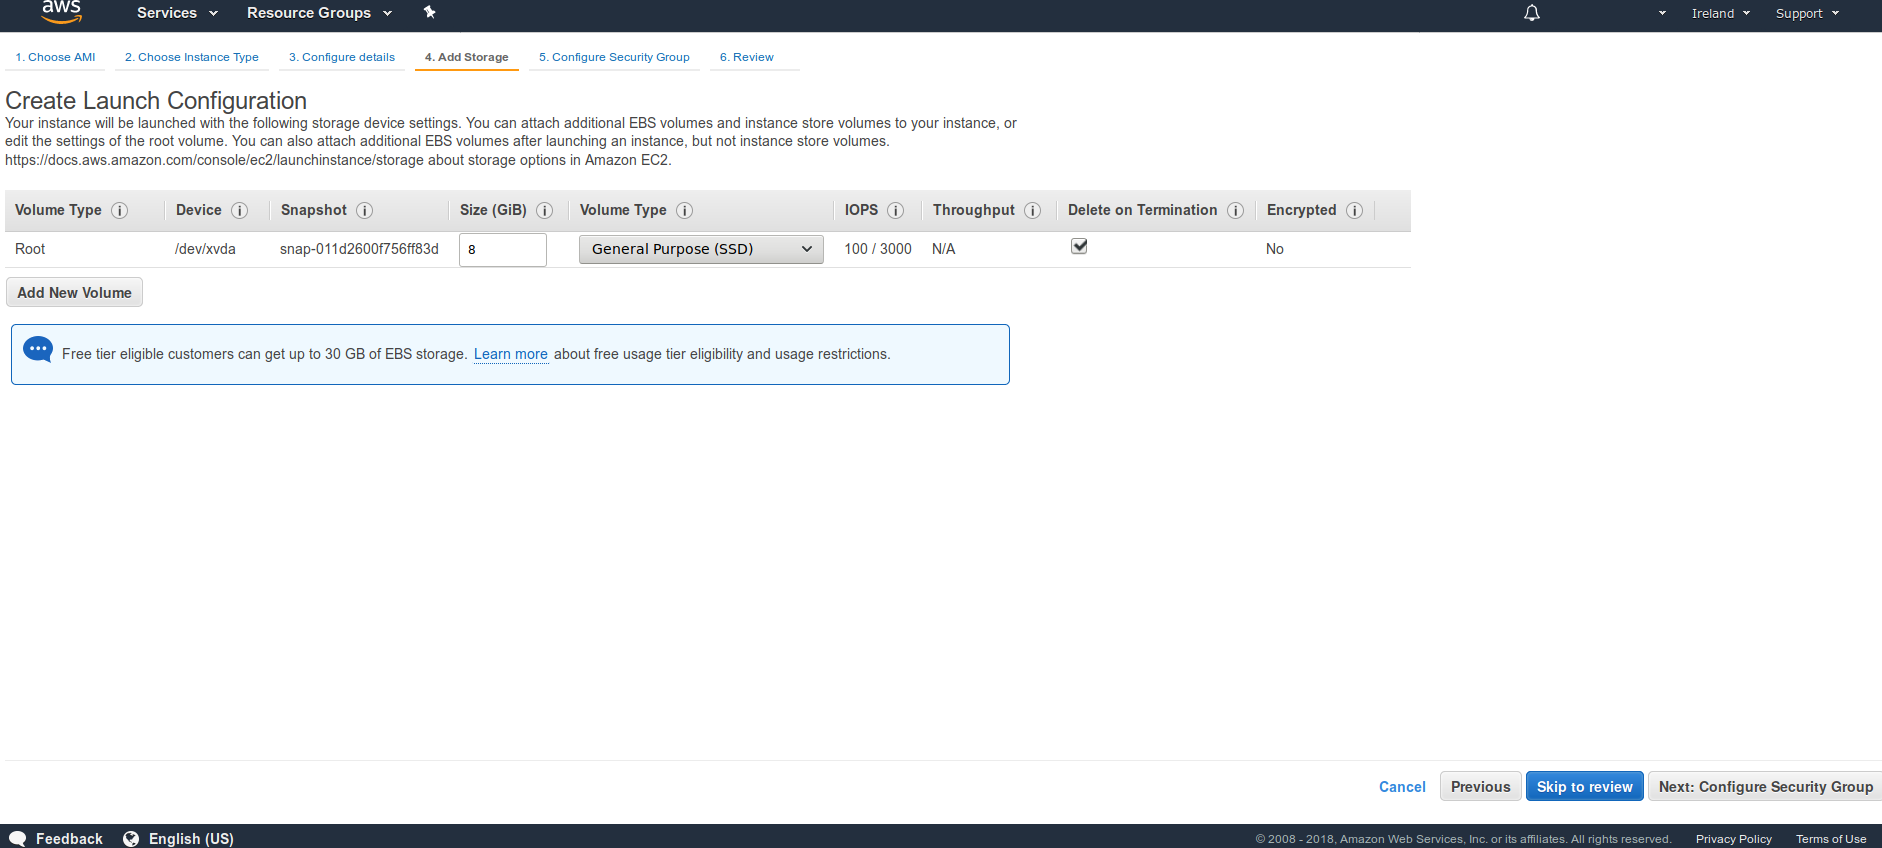
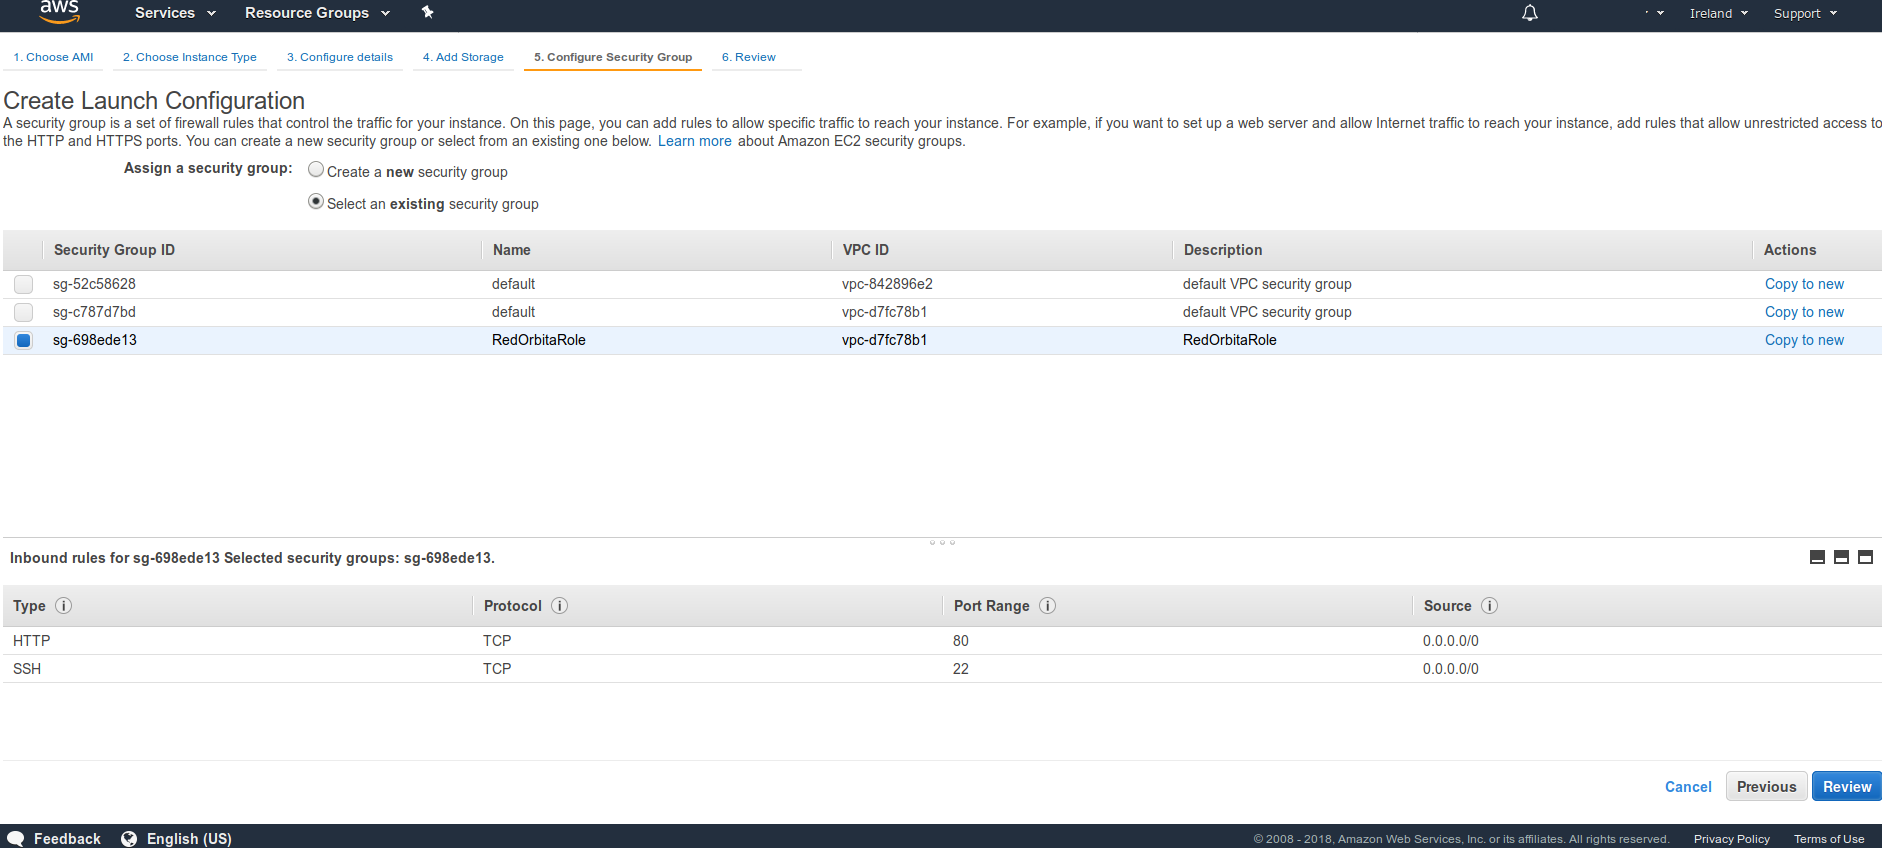
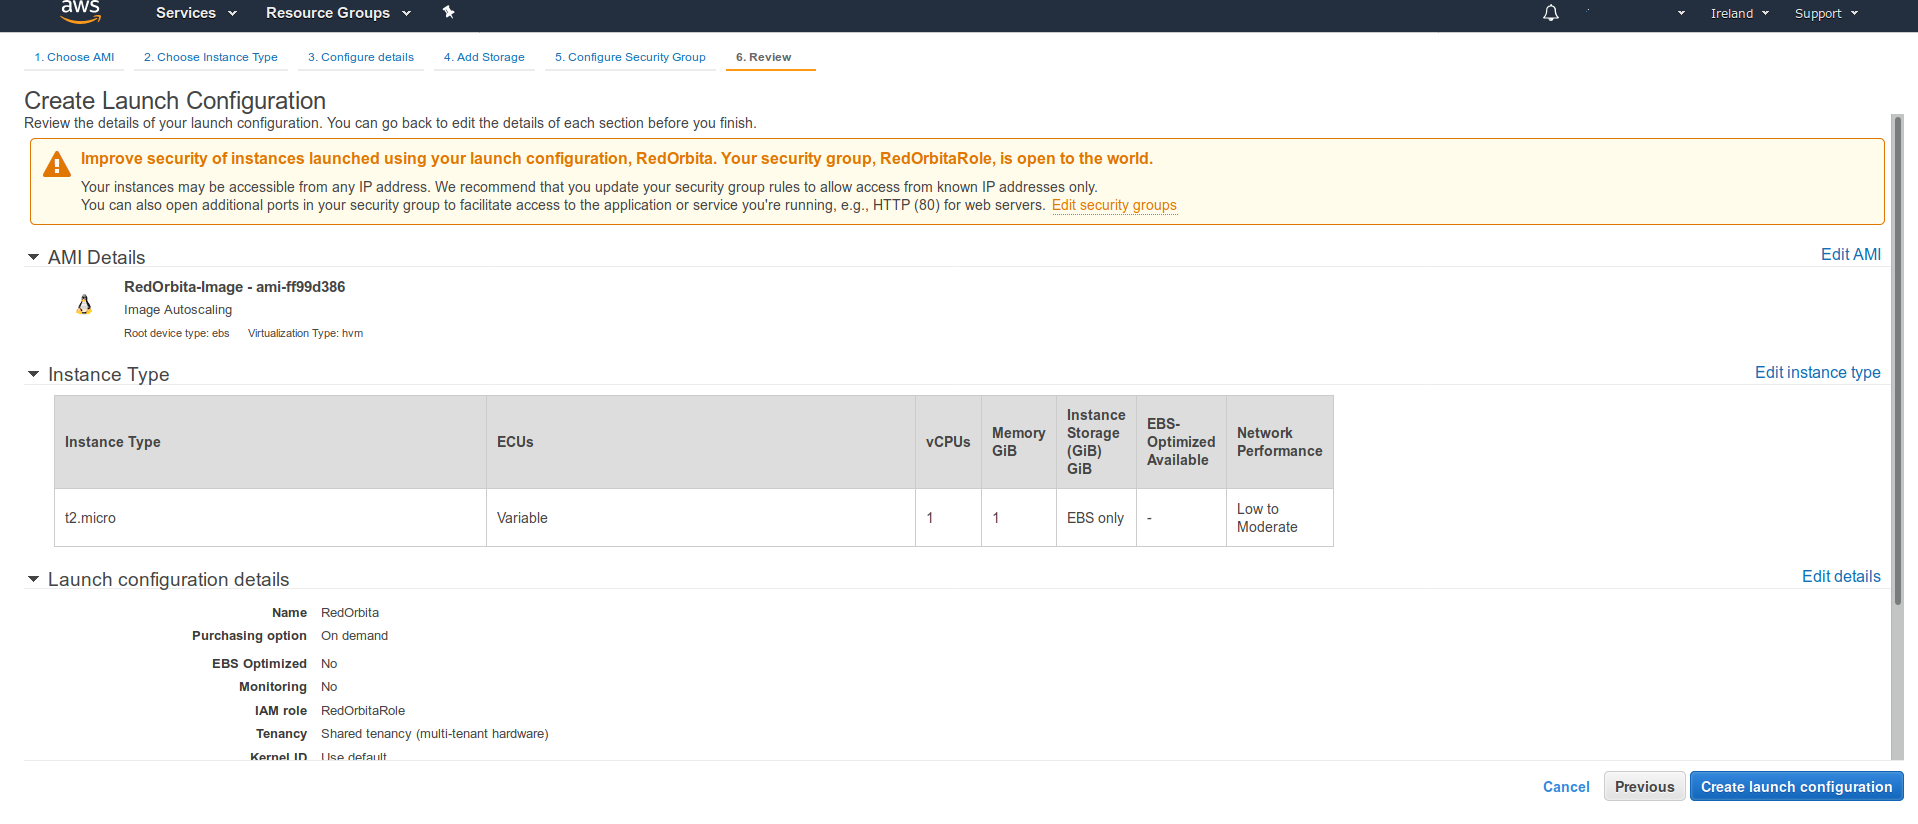
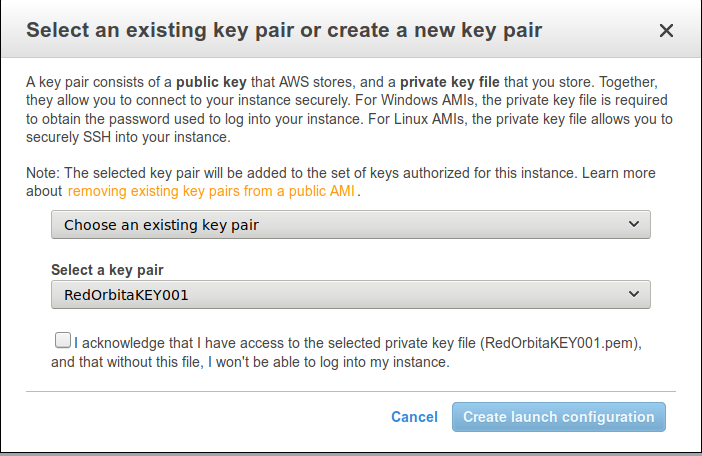
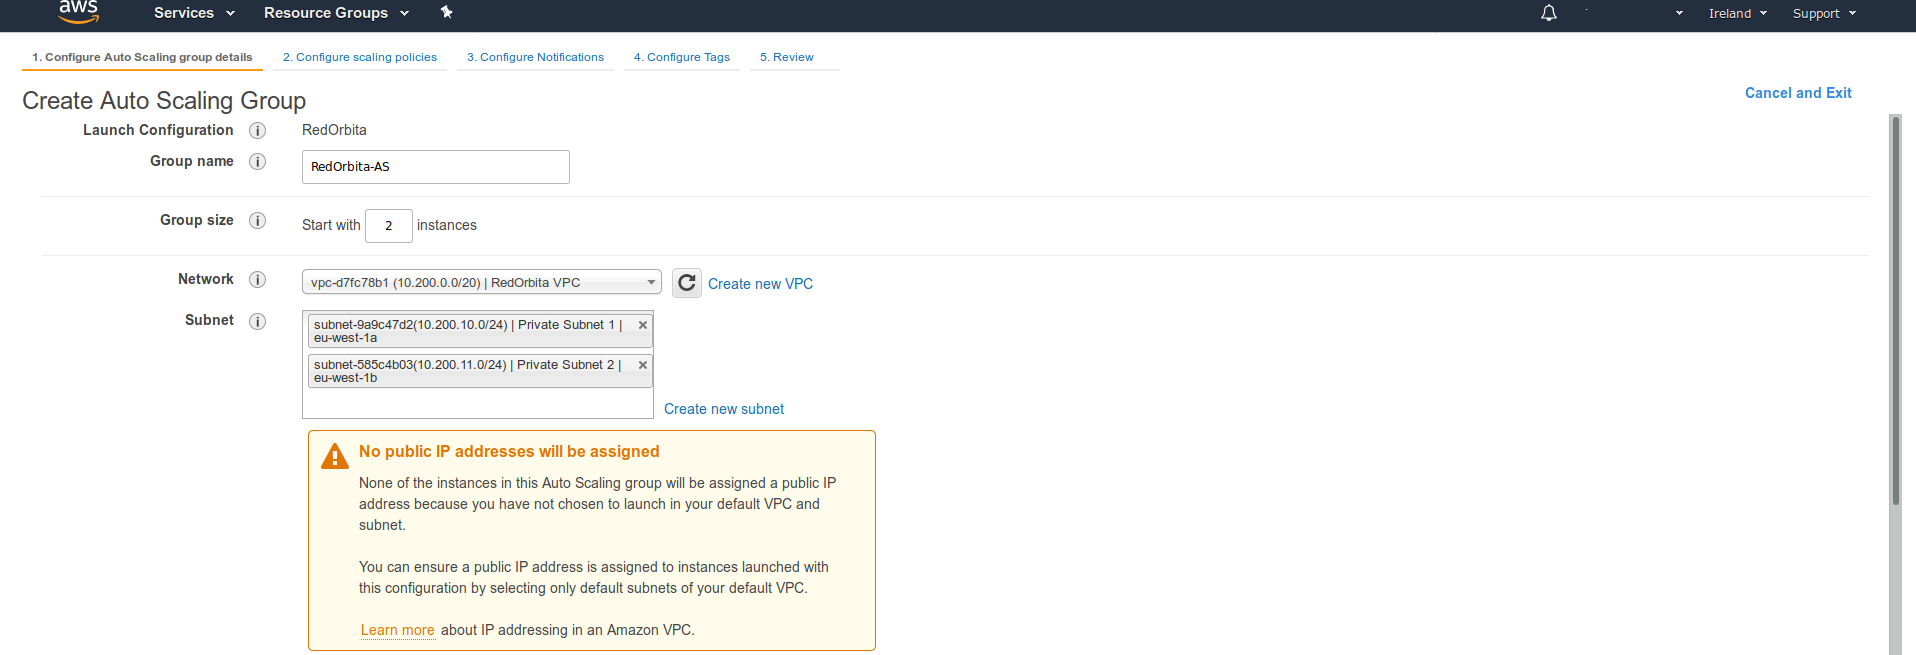
The auto-scaling configuration wizard begins. In it we must select our VPC and the Private subnets.
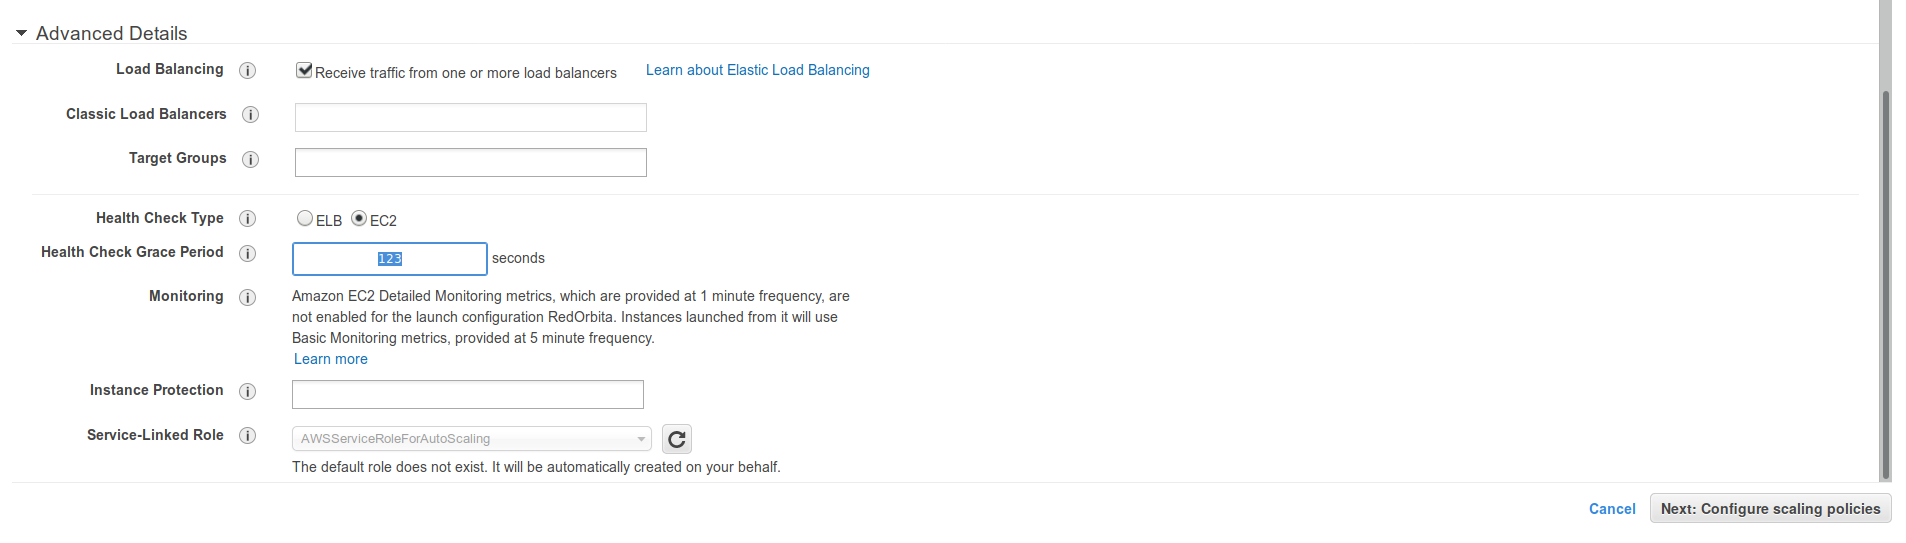
In Advanced Details we select the check of Load Balancing
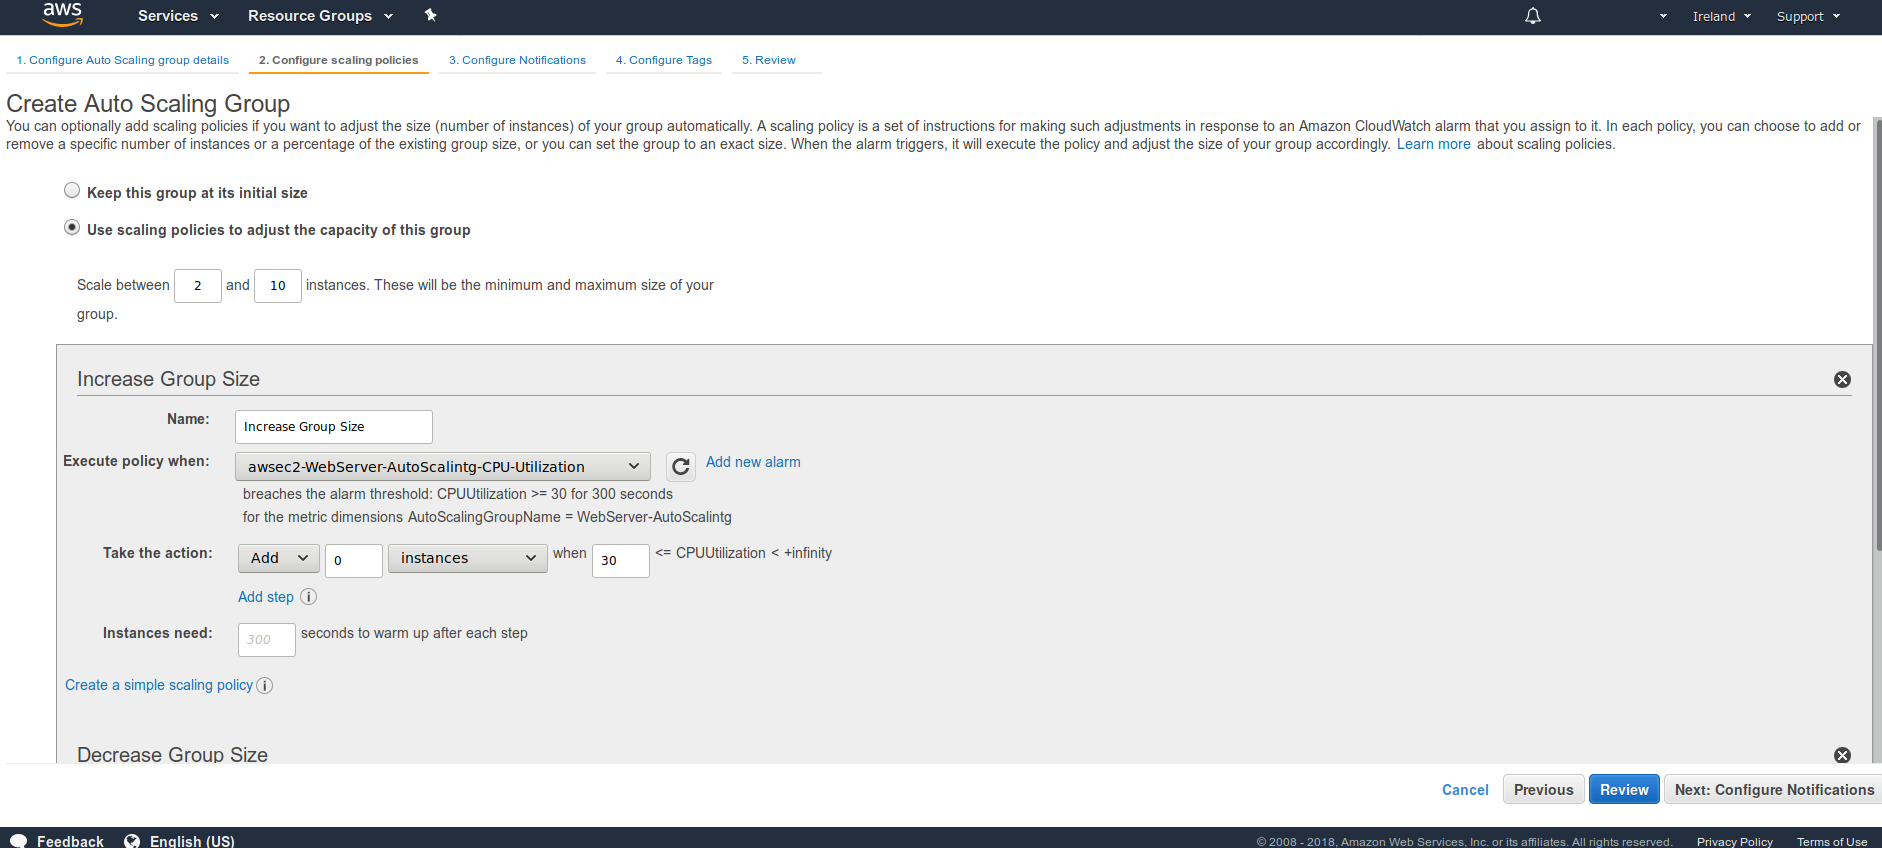
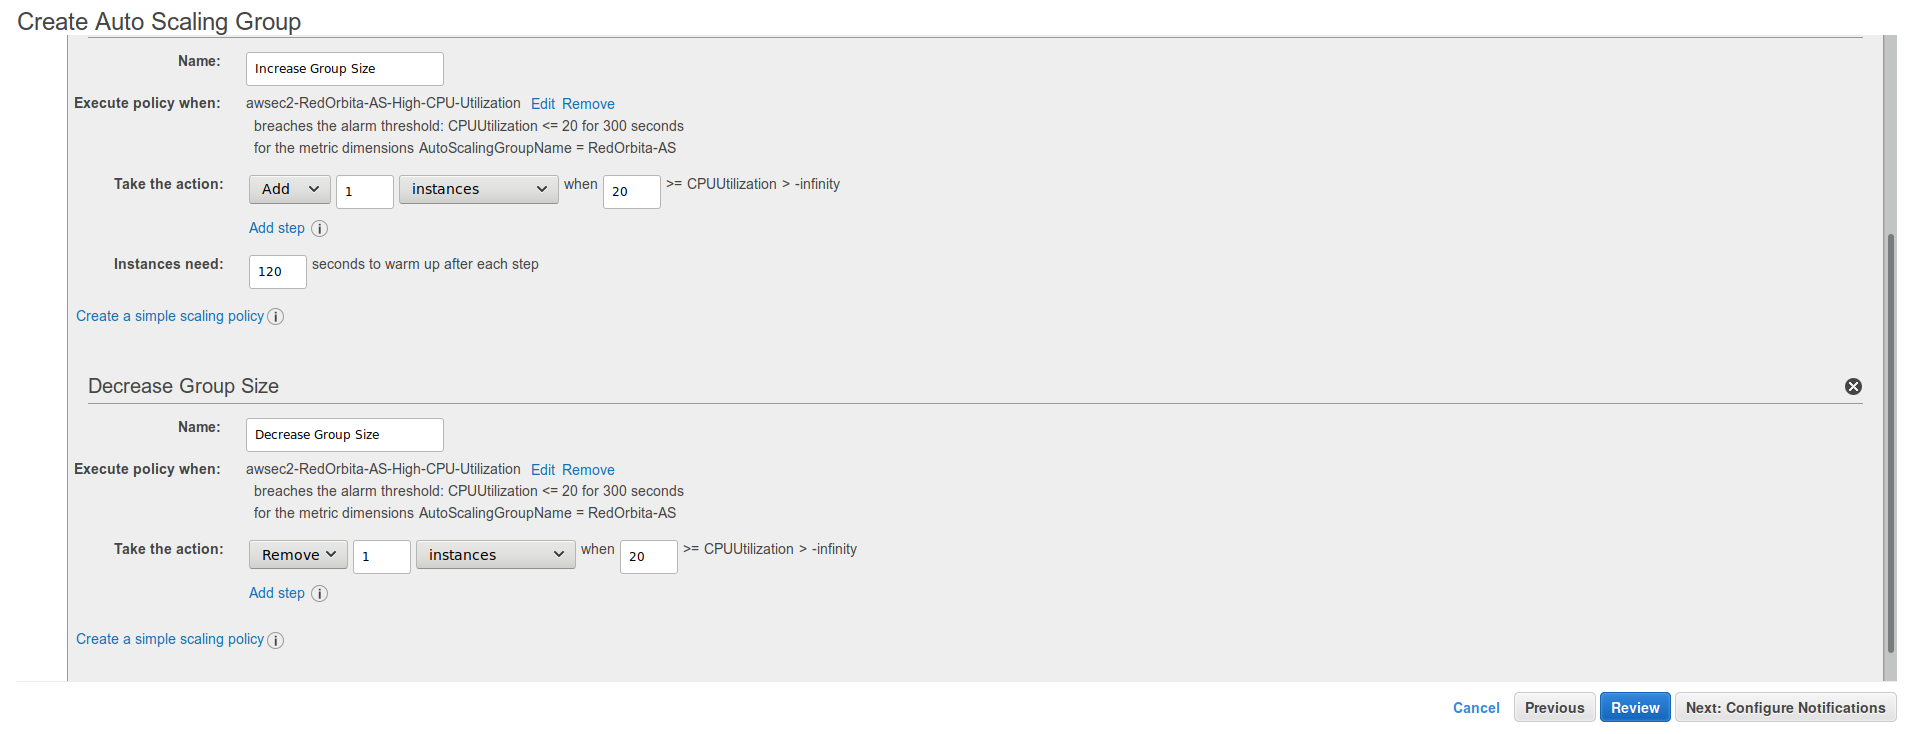
We create alarms to increase or decrease the number of instances depending on the load.
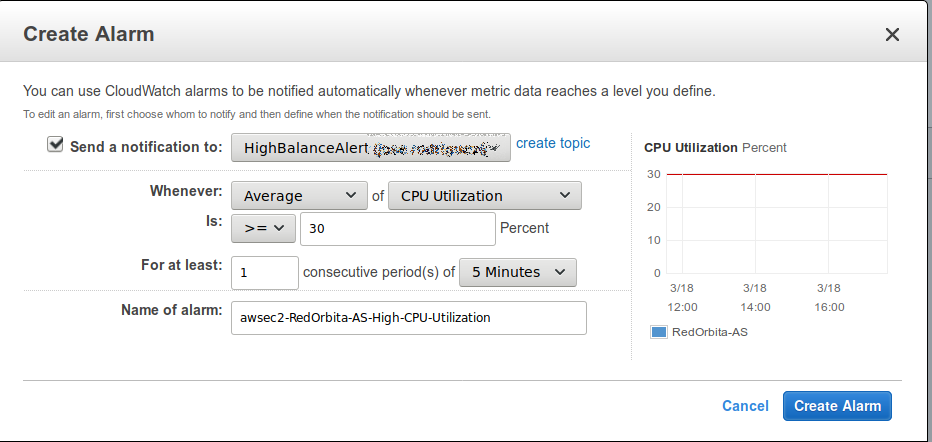
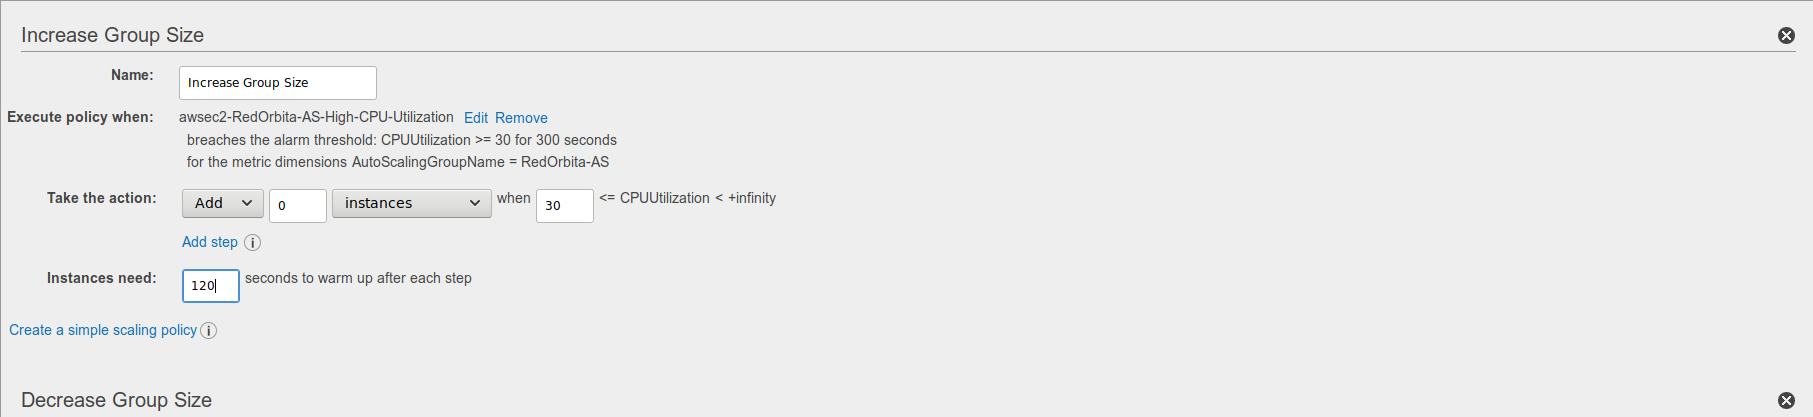
We create the alarm so that it reduces the type of instances in the case
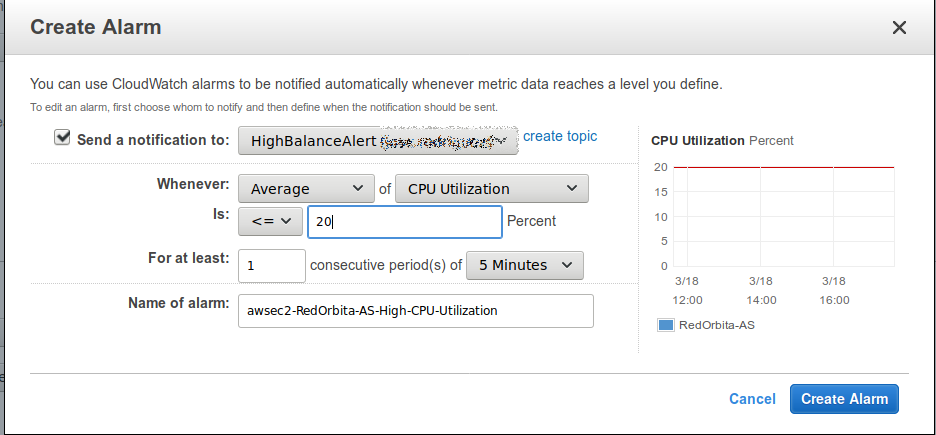
The two configured alarms would look like this:
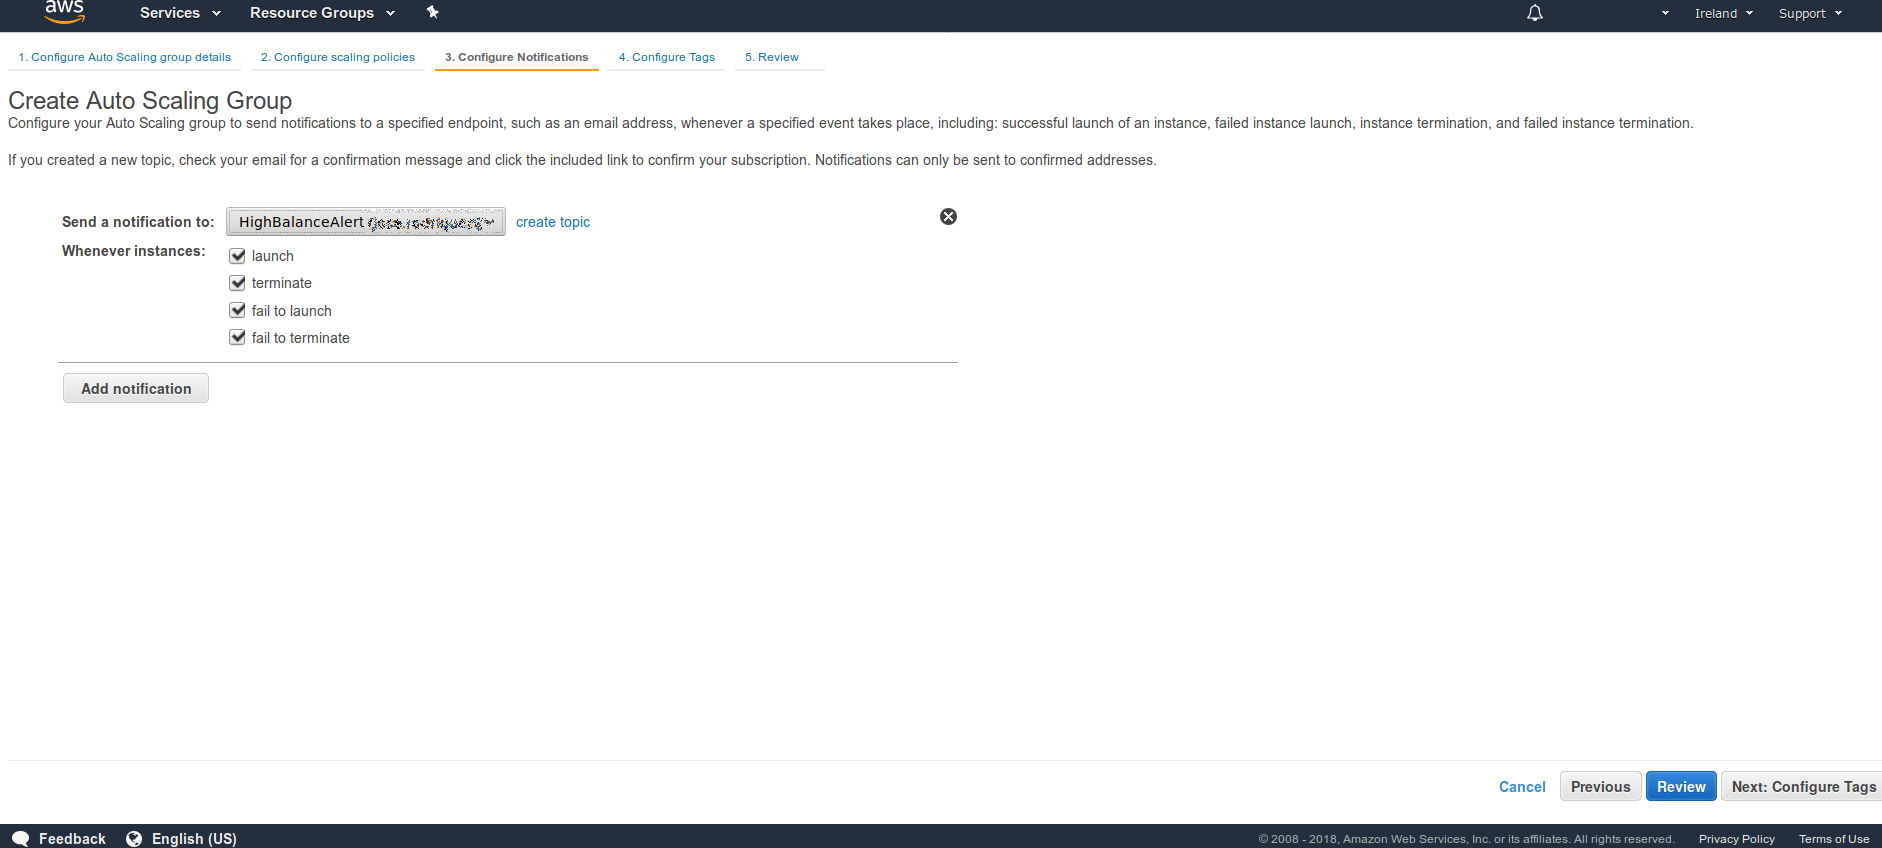
We create the notification
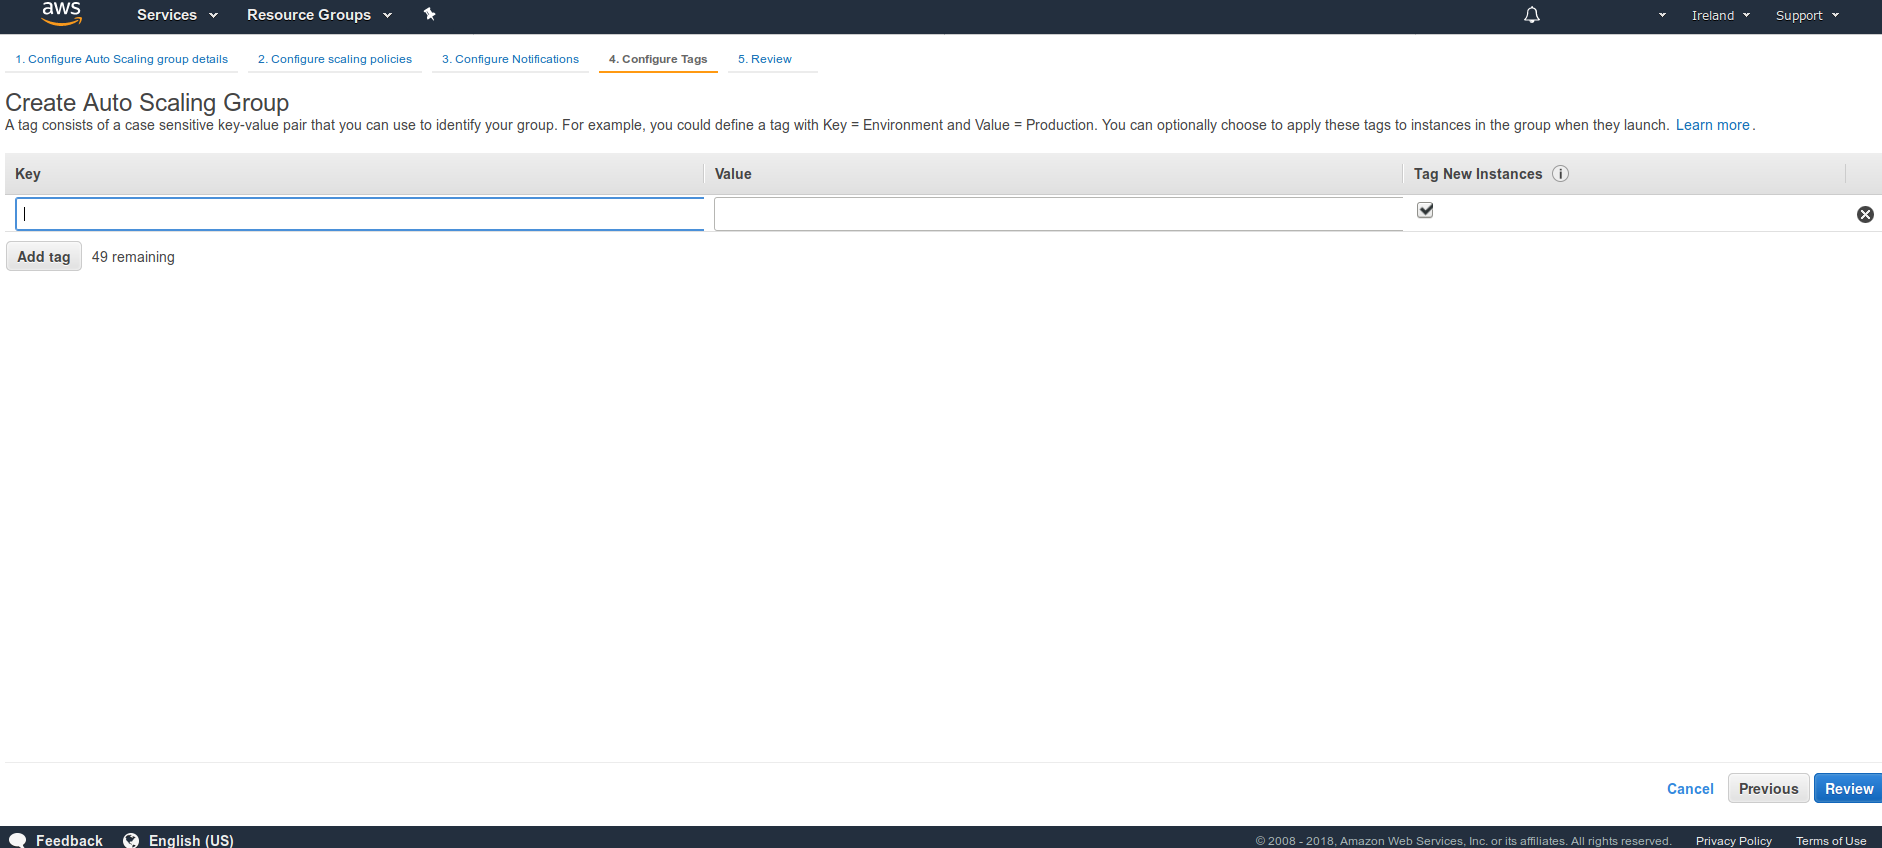
We configure the tag
It shows us a brief summary
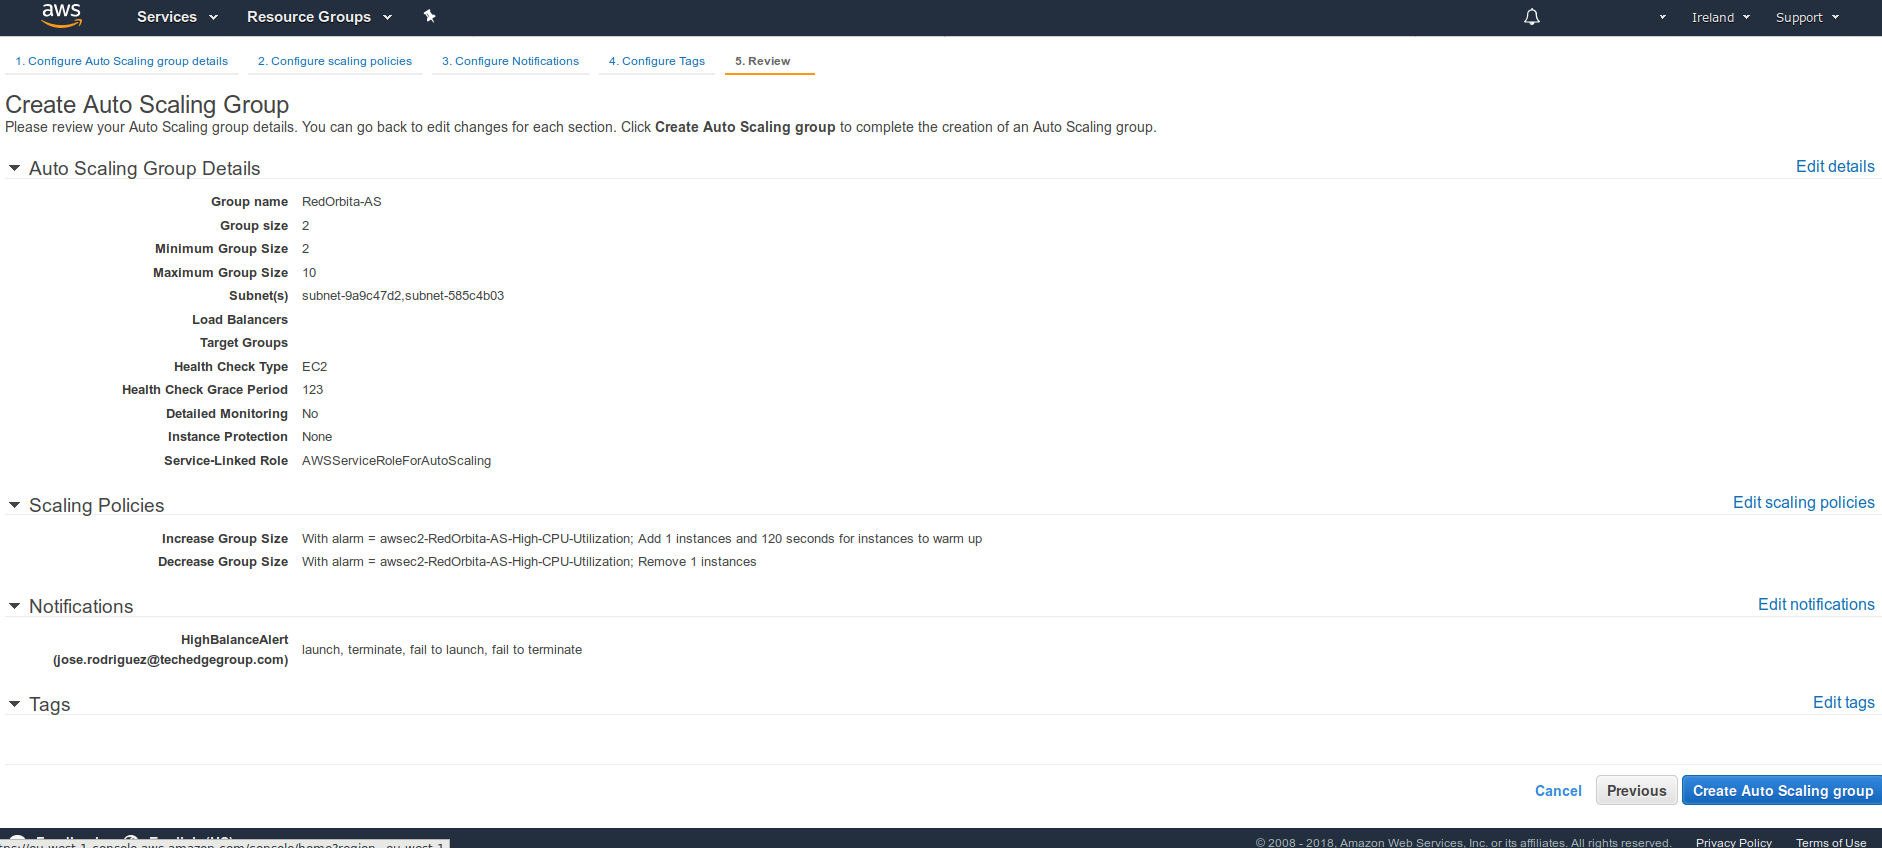
If we now go to Instances we can see how it begins to deploy instances:
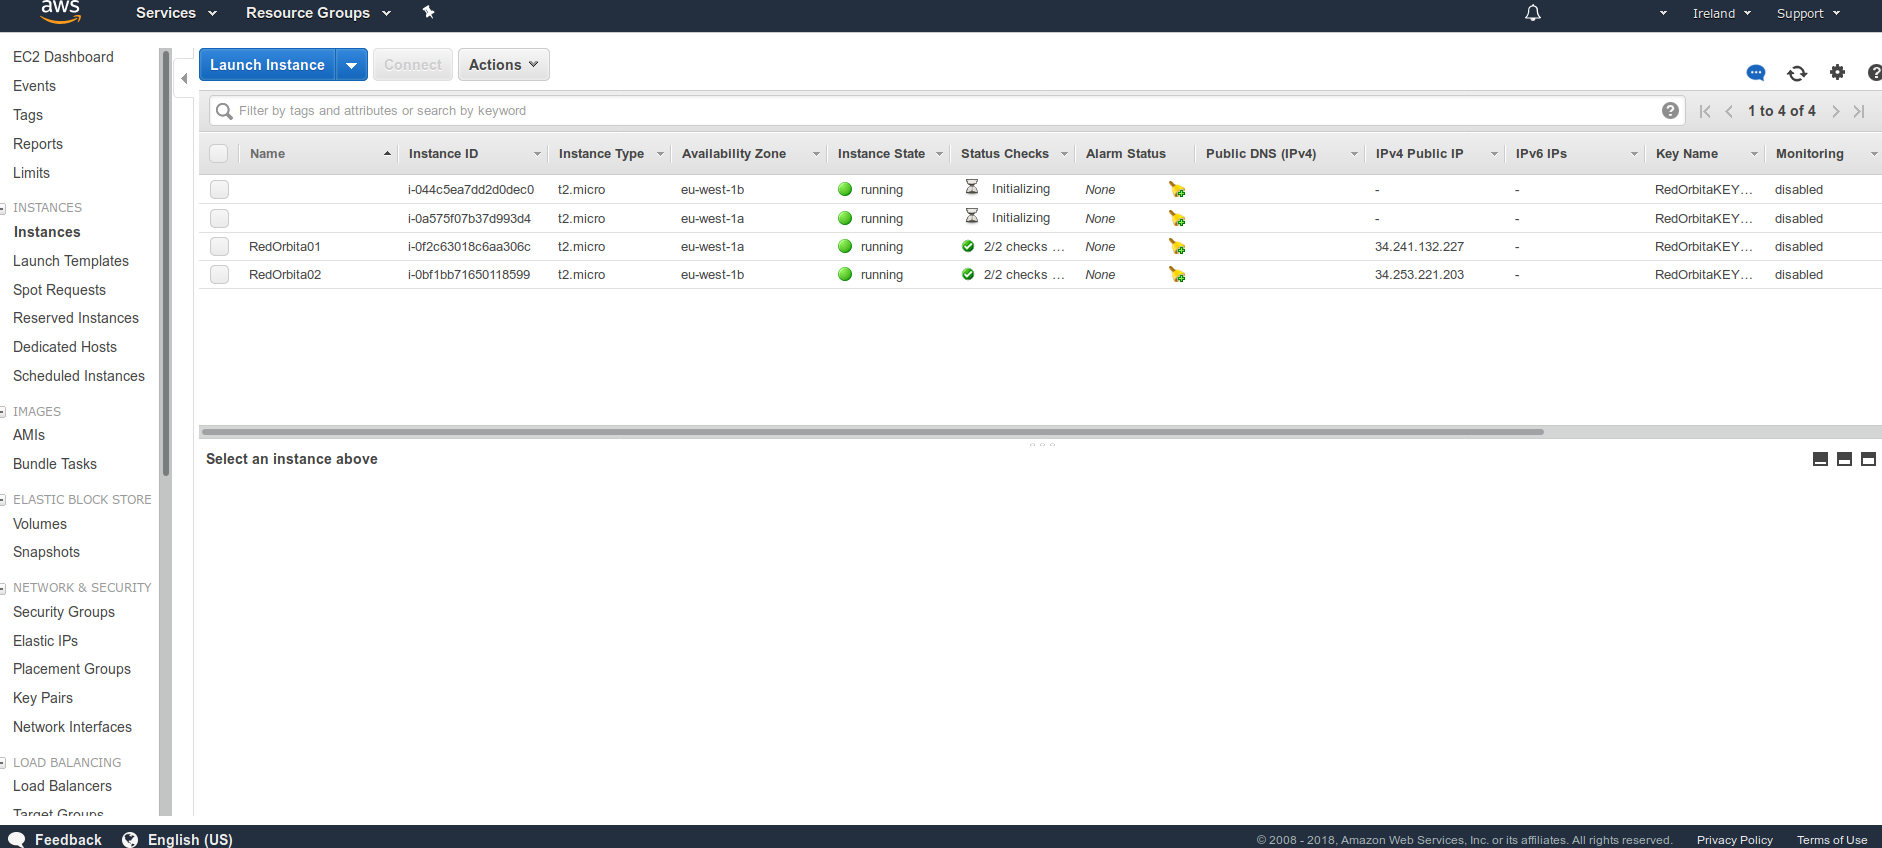
We would only need to perform a stress test to see if the alarms we have configured are working correctly.
:wq!
Comments