
Introduction
This documentation provides a step-by-step guide to creating and assigning a custom Azure policy to deploy the extension AADLoginForLinux on Azure Arc-enabled Linux machines. The policy ensures that the extension is automatically applied to enable login based Microsoft Login ID, improving authentication and management capabilities.
By following this guide, you will be able to:
- Create a custom policy in Azure Policy to automate the deployment of the AADLoginForLinux extension.
- Assign the policy to specific resource groups or subscriptions.
- Understand and resolve common errors related to role-based access in Microsoft Entra ID.
Step 1: Access the Azure Portal
- Access the Azure Portal:
- Open your web browser and go to Azure portal.
- Sign in with your Azure credentials.
Step 2: Create a Custom Policy
Navigate to Azure Policy:
- In the left navigation pane, find and select Azure Policy. This will take you to the Azure Policy home page.
Create a new policy definition:
- In the Azure Policy dashboard, select Policy definitions in the left menu.
- At the top, click + Policy definition to create a new custom policy.
Define the policy:
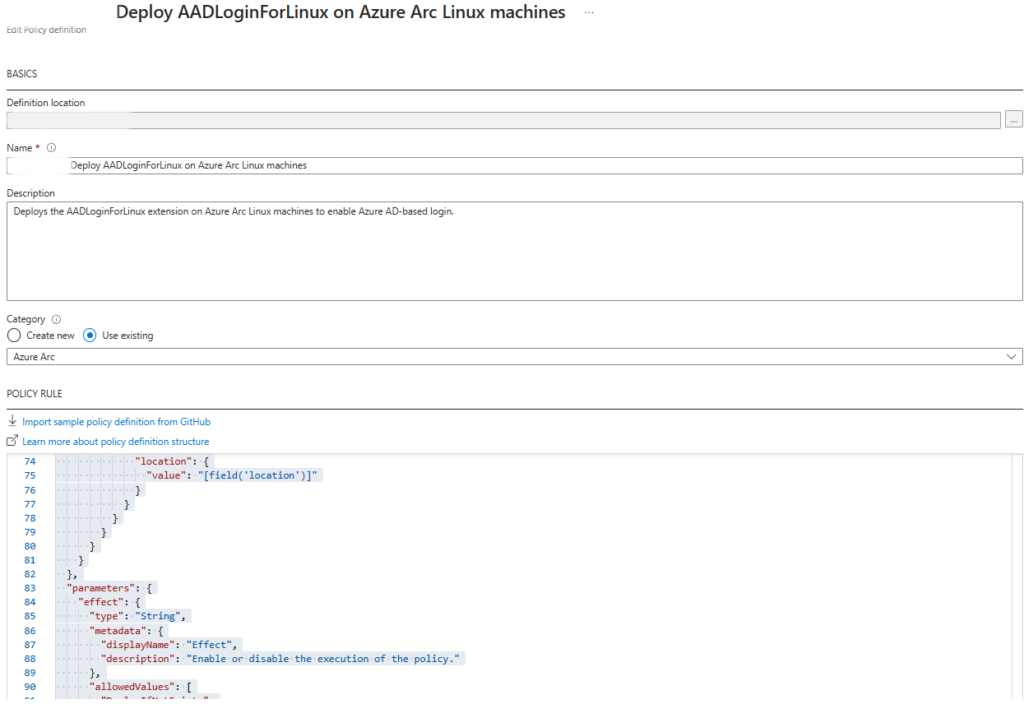
- Complete the policy information with the following values:
- Display name:
Deploy AADLoginForLinux on Azure Arc Linux machines - Description:
Implementa la extensión AADLoginForLinux en máquinas Linux de Azure Arc para habilitar el inicio de sesión basado en Azure AD. - Category:
Azure Arc. - Role definitions: Taxpayer, Virtual Machine Taxpayer.
- Display name:
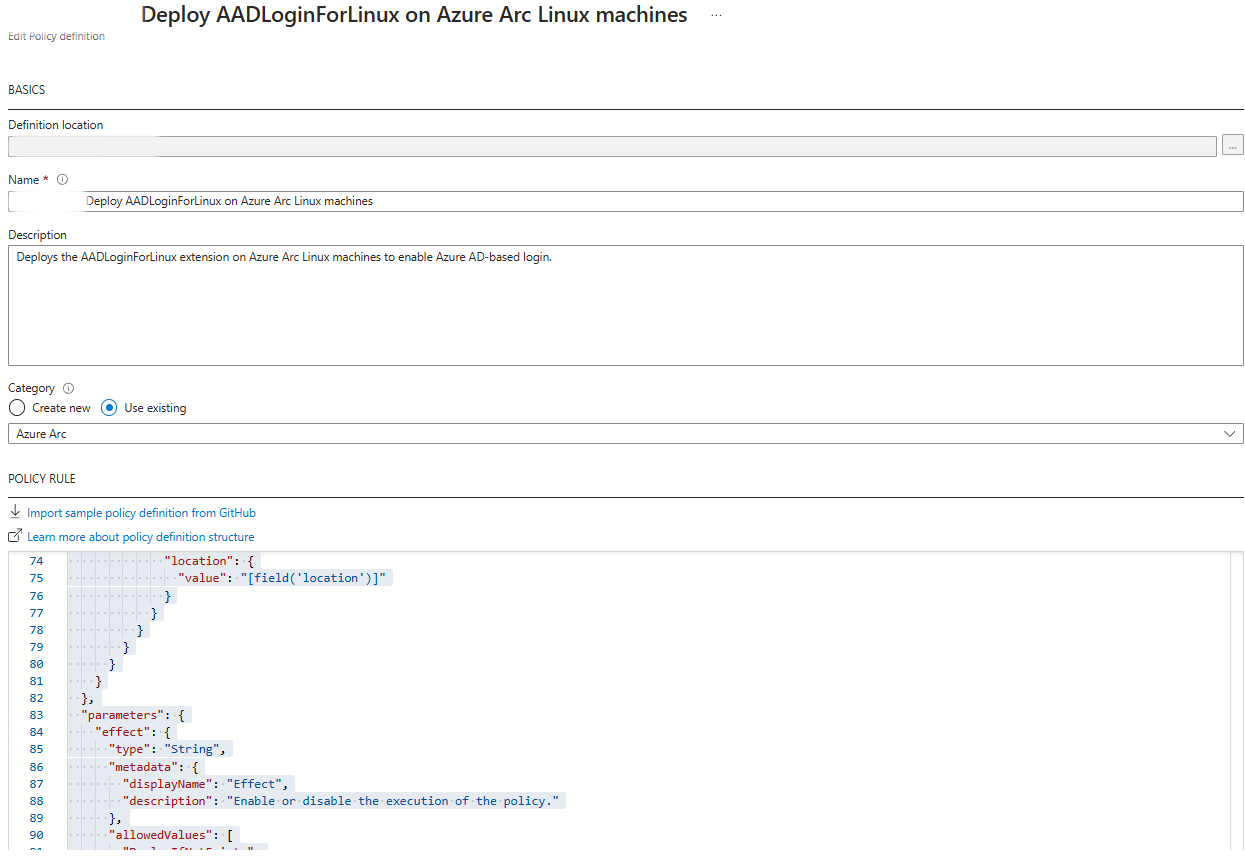
- Complete the policy information with the following values:
{
  "properties": {
    "displayName": "Deploy AADLoginForLinux on Azure Arc Linux machines",
    "policyType": "Custom",
    "mode": "Indexed",
    "description": "Deploys the AADLoginForLinux extension on Azure Arc Linux machines to enable Azure AD-based login.",
    "metadata": {
      "category": "Azure Arc",
      "version": "1.0.0",
    },
    "version": "1.0.0",
    "parameters": {
      "effect": {
        "type": "String",
        "metadata": {
          "displayName": "Effect",
          "description": "Enable or disable the execution of the policy."
        },
        "allowedValues": [
          "DeployIfNotExists",
          "AuditIfNotExists",
          "Disabled"
        ],
        "defaultValue": "DeployIfNotExists"
      },
      "listOfApplicableLocations": {
        "type": "Array",
        "metadata": {
          "displayName": "Applicable Locations",
          "description": "The list of locations where the policy should be applied.",
          "strongType": "location"
        },
        "defaultValue": [
          "eastus",
          "westus",
          "centralus",
          "eastus2",
          "westeurope"
        ]
      }
    },
    "policyRule": {
      "if": {
        "allOf": [
          {
            "field": "type",
            "equals": "Microsoft.HybridCompute/machines"
          },
          {
            "field": "Microsoft.HybridCompute/machines/osName",
            "like": "linux*"
          },
          {
            "field": "tags['AADLoginEnabled']",
            "notEquals": "true"
          },
          {
            "field": "location",
            "in": "[parameters('listOfApplicableLocations')]"
          }
        ]
      },
      "then": {
        "effect": "[parameters('effect')]",
        "details": {
          "type": "Microsoft.HybridCompute/machines/extensions",
          "existenceCondition": {
            "allOf": [
              {
                "field": "Microsoft.HybridCompute/machines/extensions/publisher",
                "equals": "Microsoft.Azure.ActiveDirectory"
              },
              {
                "field": "Microsoft.HybridCompute/machines/extensions/type",
                "equals": "AADSSHLoginForLinux"
              }
            ]
          },
          "deployment": {
            "properties": {
              "mode": "incremental",
              "template": {
                "$schema": "https://schema.management.azure.com/schemas/2015-01-01/deploymentTemplate.json#",
                "contentVersion": "1.0.0.0",
                "parameters": {
                  "resourceName": {
                    "type": "string"
                  },
                  "location": {
                    "type": "string"
                  }
                },
                "resources": [
                  {
                    "name": "[concat(parameters('resourceName'),'/AADSSHLogin')]",
                    "type": "Microsoft.HybridCompute/machines/extensions",
                    "apiVersion": "2021-05-20",
                    "properties": {
                      "publisher": "Microsoft.Azure.ActiveDirectory",
                      "type": "AADSSHLoginForLinux",
                      "autoUpgradeMinorVersion": true,
                      "settings": {},
                      "protectedSettings": {}
                    },
                    "location": "[parameters('location')]"
                  }
                ]
              },
              "parameters": {
                "resourceName": {
                  "value": "[field('name')]"
                },
                "location": {
                  "value": "[field('location')]"
                }
              }
            }
          }
        }
      }
    }
Step 3: Assign the Policy to Resources
Once you have created the definition of policy, the next step is assign it to the resources where you want it to be applied. Here is a detailed guide to do it:
Access the “Assignments” section:
- In the Azure portal, go to Azure Policy from the navigation menu or by searching for it in the search bar.
- Once inside Azure Policy, select the option Assignments, which will allow you to apply the created policies to your resources.
Create a new policy assignment:
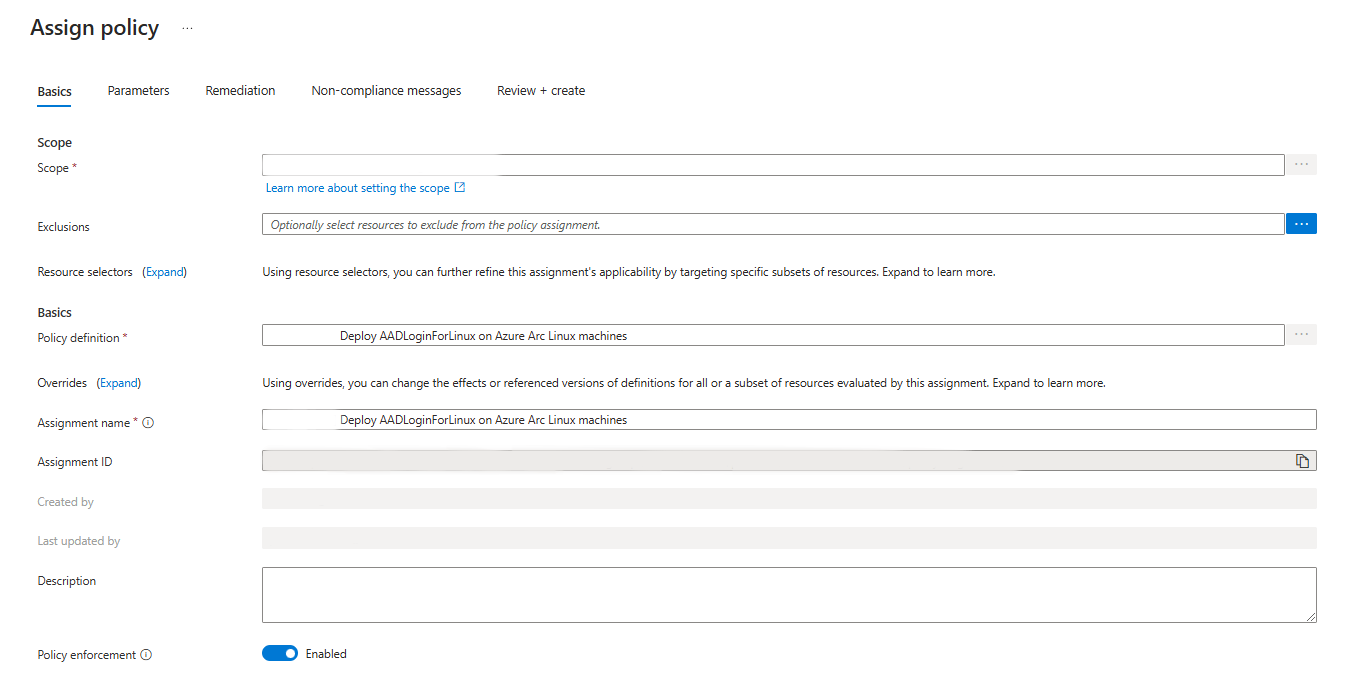
- Click Assign Policy to create a new mapping for the custom policy you just defined.
- This will take you to a screen where you can configure the details of the assignment.
Select the policy definition:
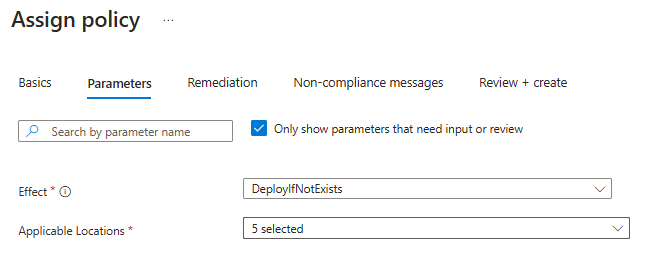
- in the field Definition of policy, select the policy you created in the previous step. The policy should be available in the list of available definitions.
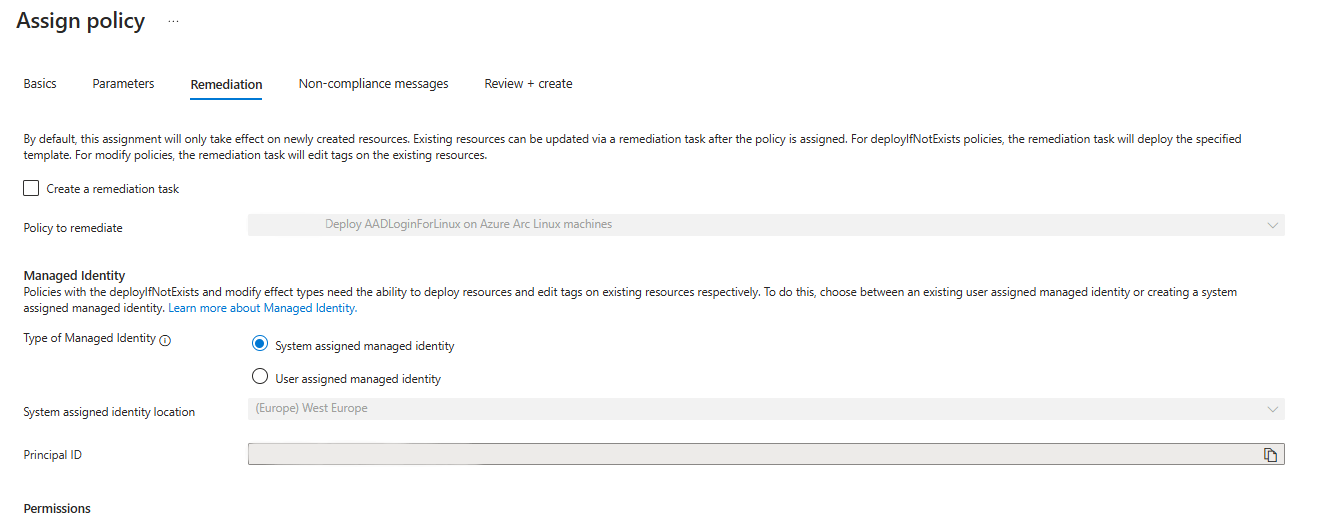
Remedation
If resources do not comply with the policy, you can configure a remediation task. This will allow Azure to take automated actions to correct the non-compliance.
Non-compliance messages
You can leave non-compliant messages as default, or customize them to provide more details about resources that are not compliant with the policy.

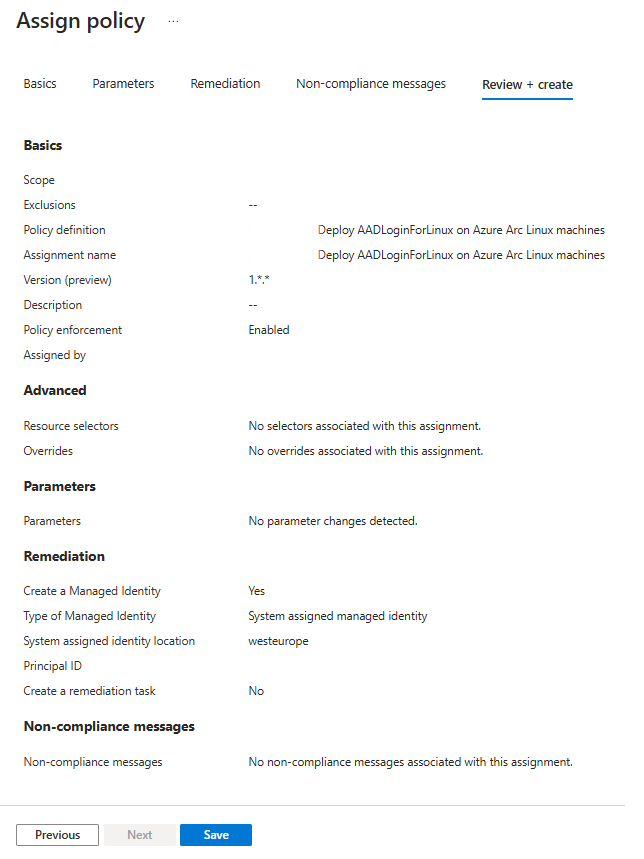
Review + Create
Review the configuration summary, including the policy name, scope, and parameters. Confirm that everything is correct and click Create to implement the policy.
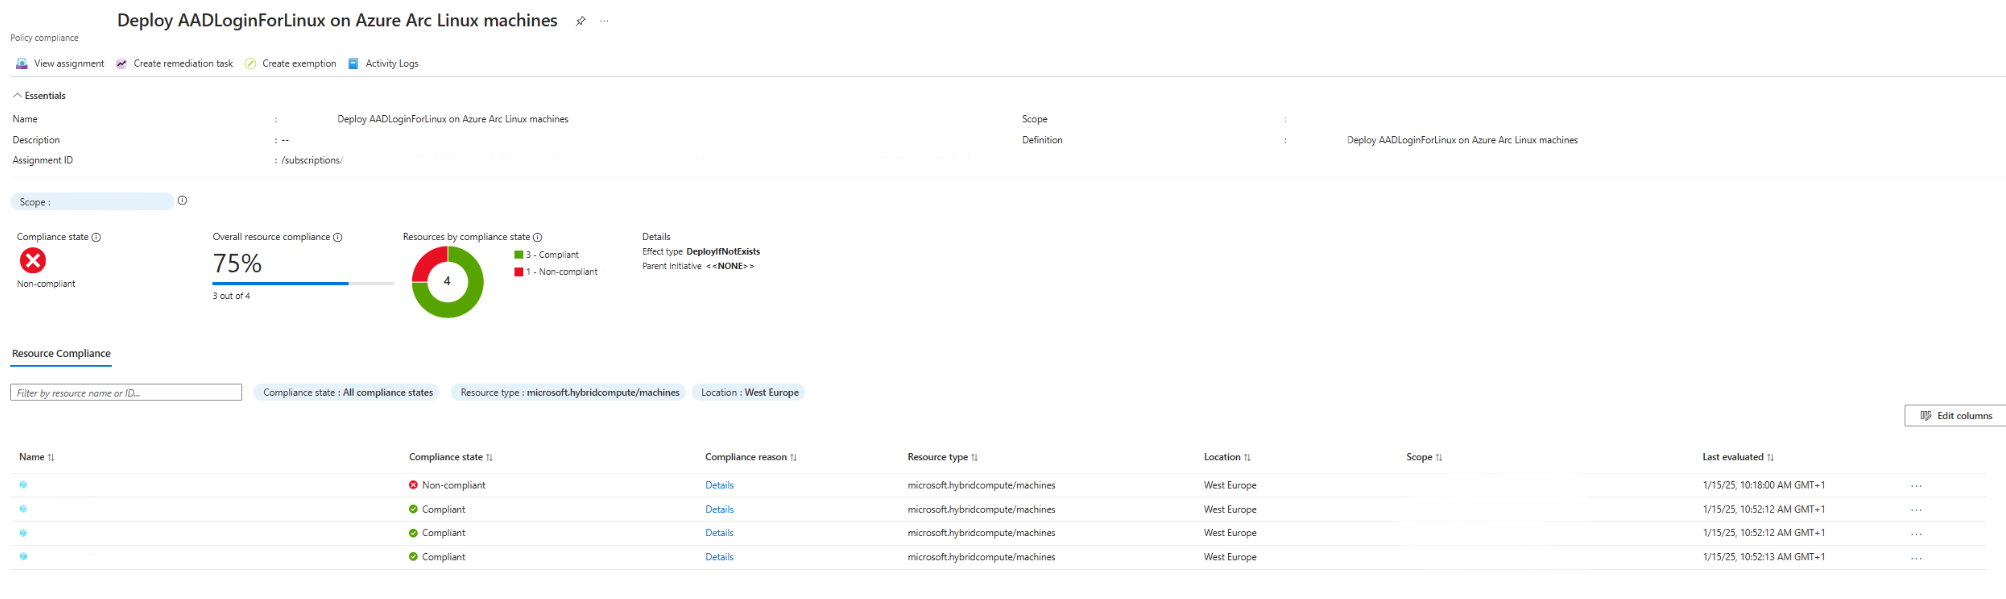
Step 4: Compliance
To ensure that the policy has been applied correctly, check the status of Compliance. If remediation did not run automatically, perform a manual remediation task.
Step 5: Verify Extension Installation
Check if the extension AADSSHLogin has been successfully installed on the Azure Arc machine. To do it:
- Go to Virtual Machines in the Azure portal.
- Select the corresponding machine.
- Go to the section Extensions and check if the extension is installed.

Step 6: Try to Log in via SSH
Once the extension is installed, try logging in via SSH using the following command:
az ssh arc --subscription "XXXXXXXX-XXXX-XXXX-XXXX-XXXXXXXXXXXX" --resource-group "rg_redorbita" --name "srvredorbita01"Known Issues / Detected Errors
Error: “Permission denied (publickey)”
This error can occur when attempting to perform an SSH login to a virtual machine using Microsoft Login ID authentication, and the user does not have the necessary permissions to access the resource.
Cause:
The “Permission denied (publickey)” error occurs because the user has not been assigned the role necessary to manage login to the virtual machine. Specifically, the user must have one of the following roles assigned to the resource group that contains the virtual machine (VM) and its associated resources:
- Virtual Machine Administrator Login
- Virtual Machine User Login
Without these roles correctly assigned, the authentication attempt using Microsoft Login ID to access the virtual machine will fail.
Solution:
To resolve this error, make sure the user has one of the roles mentioned above assigned to them. You can do it by following these steps:
- Go to section Access control (IAM) in the Azure portal.
- Select the resource group where the virtual machine is located.
- Click Add role assignment.
- Select the appropriate role:
- Virtual Machine Administrator Login To provide administrator access to the virtual machine.
- Virtual Machine User Login: To provide standard user access.
- Assigns the role to the user trying to access via SSH.
Once the user has one of these roles assigned in the corresponding resource group, the “Permission denied (publickey)” error should be resolved, and the SSH login should be successful.
:wq!
Comments