

I had never installed a Mandriva, and the truth is... when it comes to installation it is very simple and very intuitive. And it is my first time with a Server under GNU/Linux with a graphical interface.
Tools to use:Oracle VM Virtualbox(In my case I am going to virtualize the server)
Mandriva Enterprise Server 5
Windows client
Download Mandriva Enterprise Server
Primary Domain Controller (PDC) in Debian Lenny 5.0 using Samba, PAM/NSS and OpenLDAP
Mount an Additional Domain Controller (ADC) in Windows Server 2003
INSTALL A PRIMARY DOMAIN CONTROLLER (PDC) on Windows 2003 Server
Install a secondary domain controller on Windows 2003 Server
This manual demonstrates one of the many free alternatives that exist and in my opinion much better.
for lovers of graphical interface. here is a manual. I will try to continue providing more information on the topic.
Let's start the installation of Mandriva Server!!
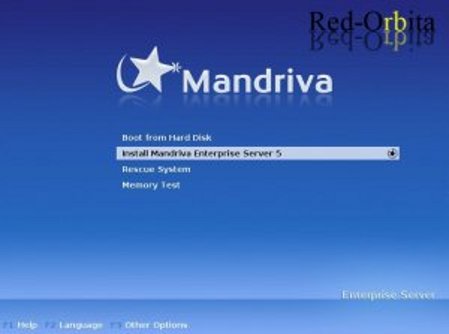
We press: Install Mandriva Server 5
Detect USBs….
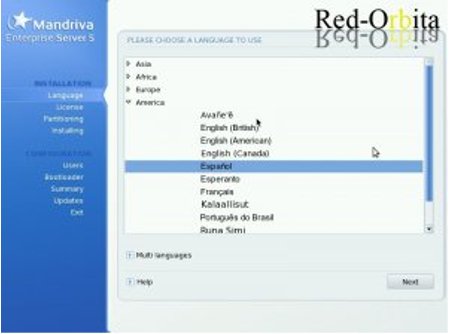
We choose our language
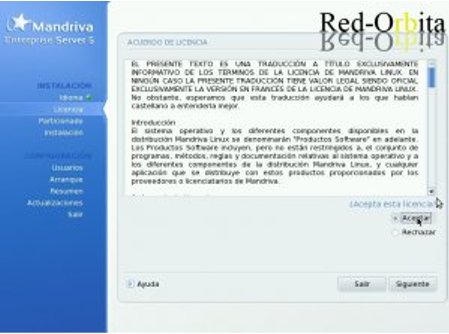
We read and accept the license.
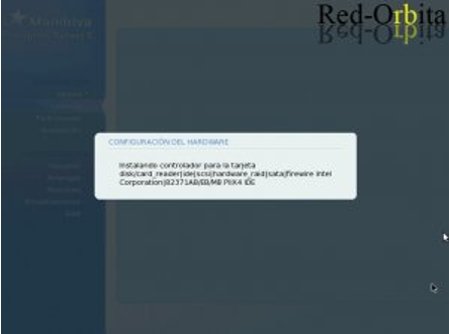
Configure the Hardware
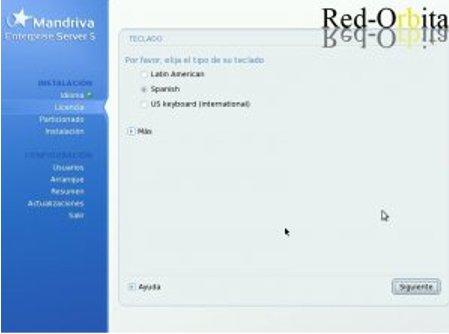
We choose the type of keyboard
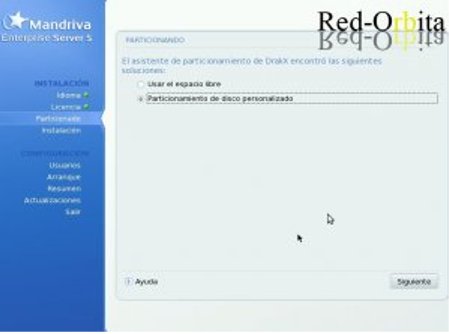
We start the partitioning. we select Custom
Let's create the root partition. In this partition reside the necessary files for our Gnu/Linex to start. when GNU/Linux loads it is mounted on /
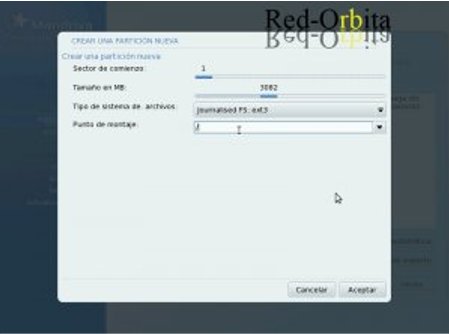
Now we are going to create the swap area partition, it is used to save the images of the processes that do not have to be kept in physical memory.
What size does this partition have to be, depending on your memory?
- Up to 1GB of RAM the SWAP should have a size equal to RAM.
- Between 2GB and 4GB SWAP size should be half the RAM.
- For equipment with more than 4GB the SWAP should have a maximum size of 2GB.
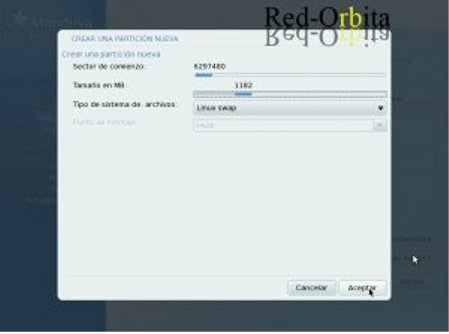
Now we are going to create our /Home, our personal folder where we keep all our documents.
this partition… well… depending on the space you have… and what you want to save….
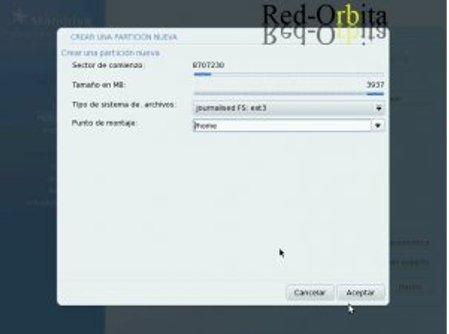
It would be something like this:
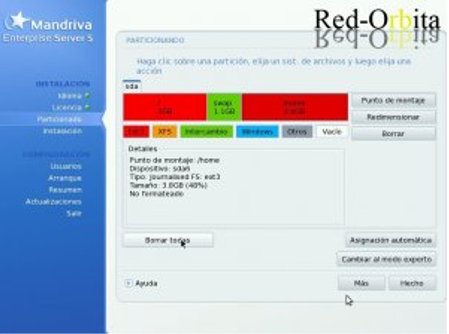
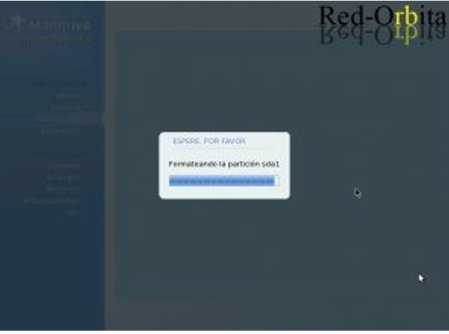
Format and create partitions.
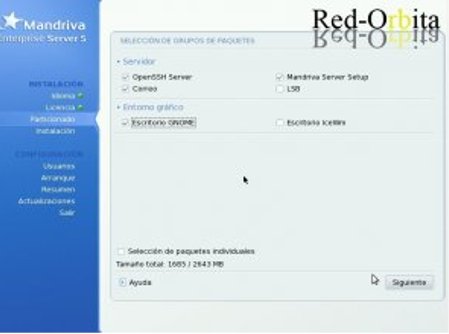
We select the desktop to install and Mandriva Server Setup. following
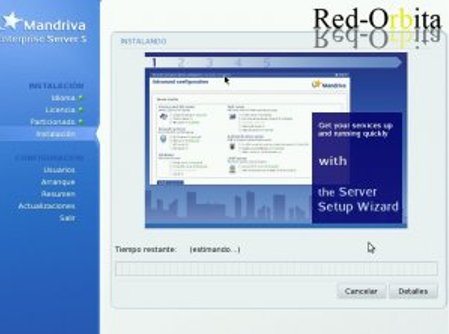
The installation begins.
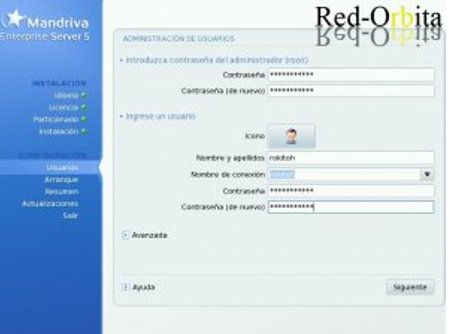
We fill out the form. Don't forget to choose a good alphanumeric password.
We configure our network, mine is going to be over Ethernet.
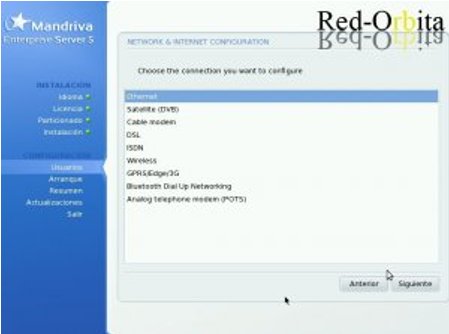
Following.
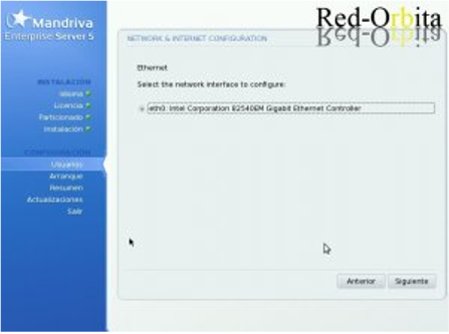
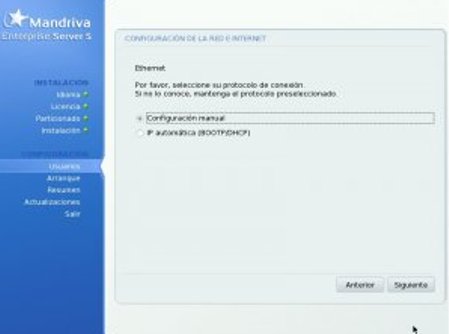
We configure DHCP. Manual configuration.
We configure the IP addressing, I forgot to point it (our server) as a DNS server, don't forget you. once configured, we will «Advanced»
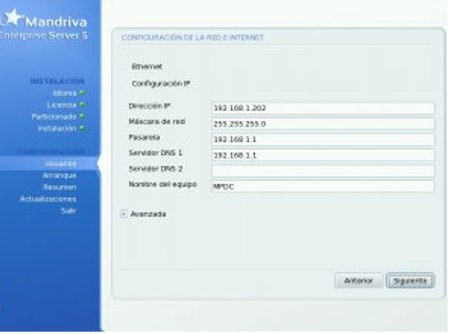
we put our domain name (DNS)
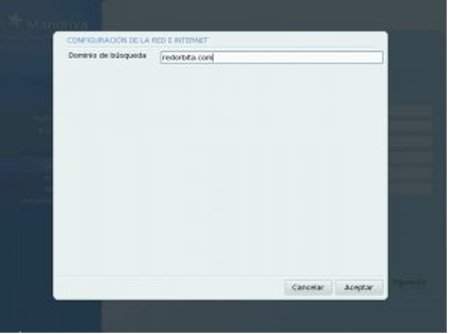
Following.
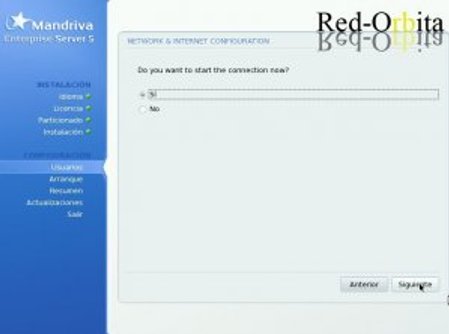
Yes, next.
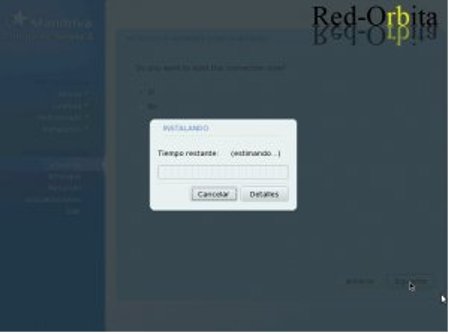
Install and configure our Network
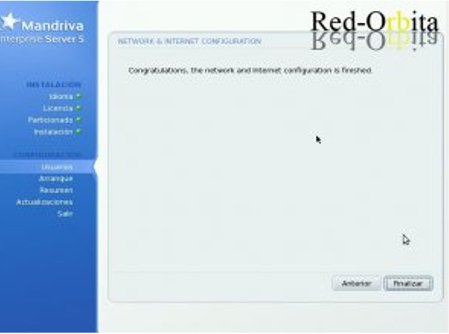
We finish
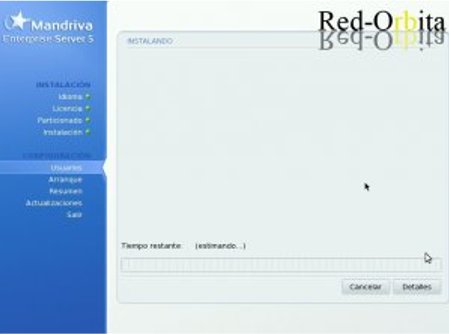
Install the system
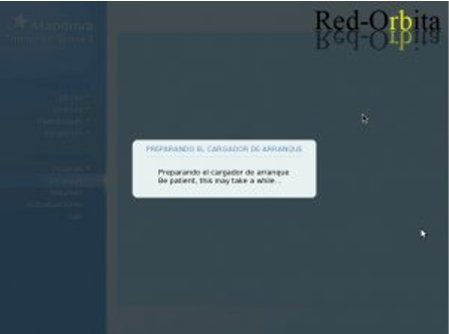
Prepare GRUB
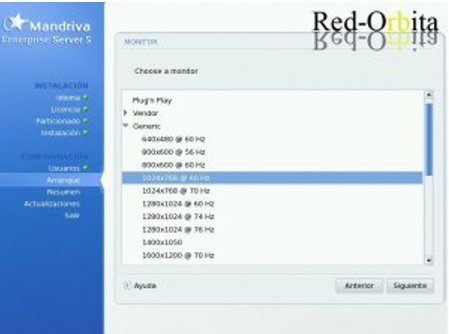
We configure the resolution of our monitor
Summary of all configuration.
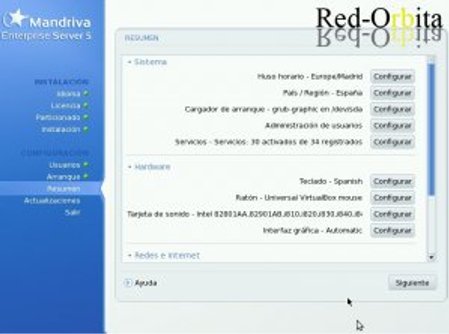
Congratulations on the installation… Restart!
Once you have restarted, we log in.
We install and configure Mandriva Directory Server
On our desktop, there is a small icon that says: Mandriva Server Setup, we click on it.
It opens an application in the browser that we have to identify ourselves as root
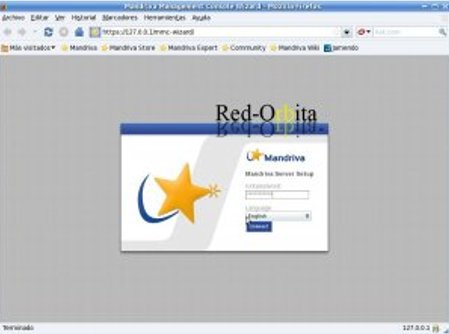
It shows us a panel to configure it, we go to: Advanced Installation
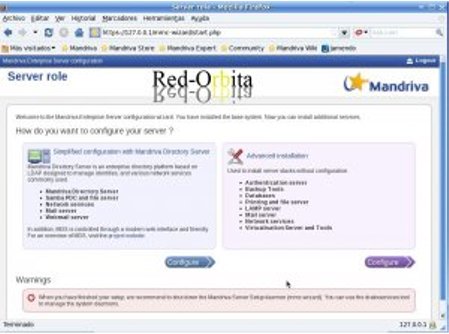
A window opens with different software to install, we select: Samba, Printing Server, Ldap + Kerberos Authentication, DHCP SERVER and DNS SERVER and on the back left there is a button that says: Install components, we press it.
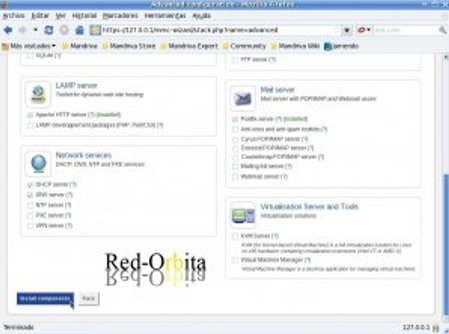
And it installs all the selected software.
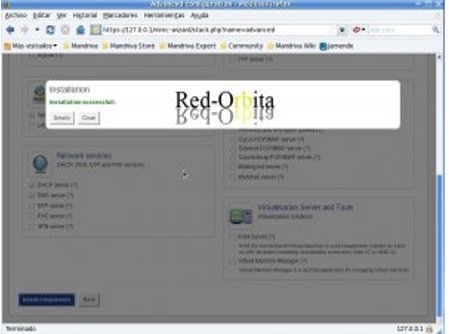
We go back to the beginning menu, and this time we select: Simplified configuration with Mandriva Directory Server
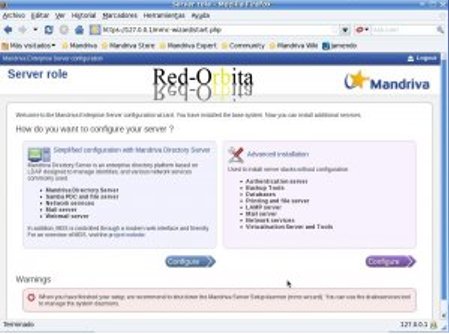
It shows us another list of software, if it is not installed, we install: Mandriva Directory Server, Samba PDC and file server, DHCP Server, DNS Server, and those that you already have installed, you can see that next to it in red there is a button that says: "configure", well now we have to configure all the software.
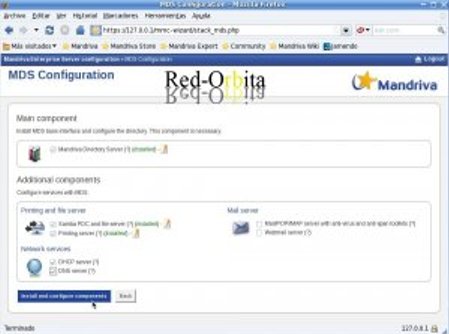
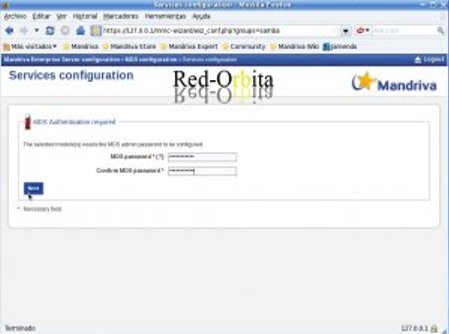
We go back to the panel and configure: Mandriva Directory Server. We enter our domain name and password.
Mandriva Directory Server (MDS) is a project of OPEN SOURCE with the following features:
– Authentication and management of users against an LDAP directory
– A nice web interface passed in Ajax and PHP called MMC (Mandriva Management Console), with the following modules:
- Management and management of users and groups
- Management of Samba accounts and shared volumes
- Print handling and management
- Management and management of mail server.
- Handle and manage DNS/DHCP
- Handling and management of Web Proxy with blacklists.
- A Python API to handle LDAP, SAMBA and SQUID (the heart of MDS and MMC)
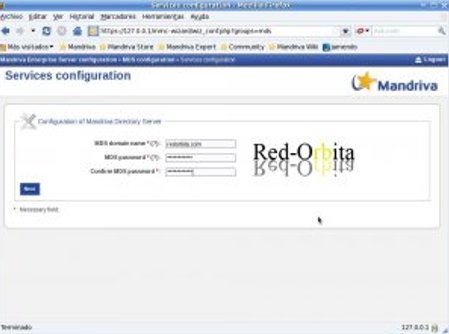
Set up
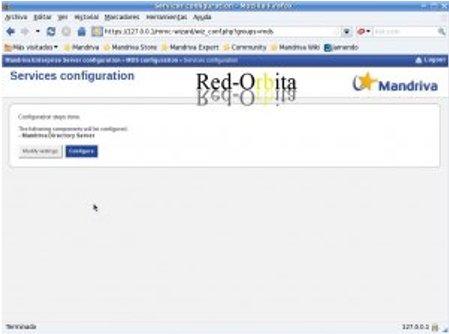
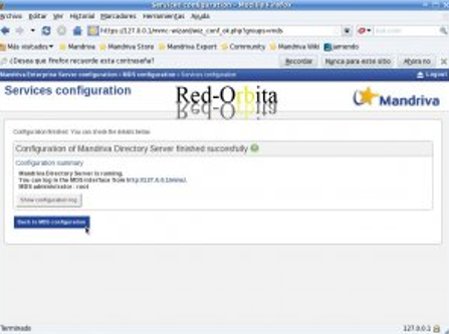
Back to MD5 configuration
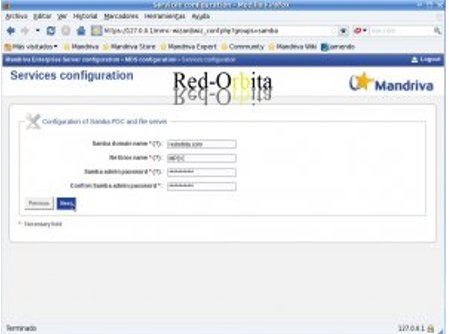
Samba PDC and file server configuration
Samba It is a free implementation of the file sharing protocol. Microsoft Windows (formerly called SMB, recently renamed to CIFS) for UNIX-like systems. In this way, it is possible that computers with GNU/Linux, Mac OS X or Unix They generally look like servers or act as clients on Windows networks. Samba also allows you to validate users as a Primary Domain Controller (PDC), as a domain member, and even as an Active Directory domain for Windows-based networks; apart from being able to serve print queues, shared directories and authenticate with your own user file
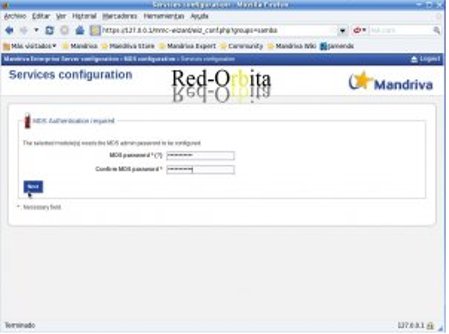
We identify ourselves as ADMIN
We fill out the form, our Domain Name (DNS), Netbios name and a good alphanumeric password, to ensure safety. Next
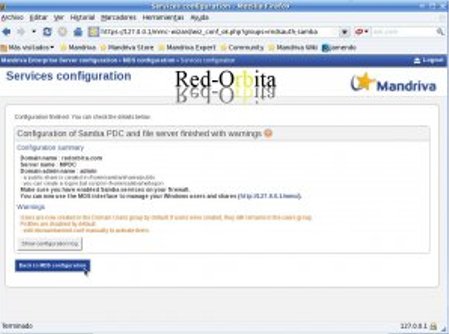
Back to MD3 configuration
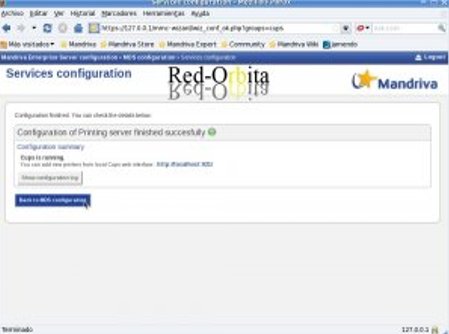
Set up Printing server
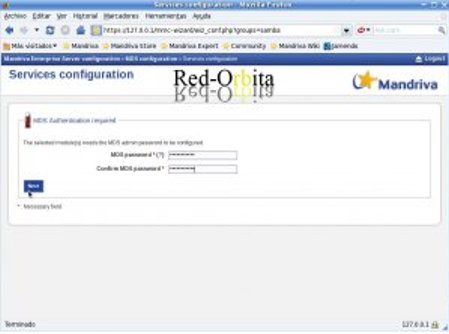
We identify ourselves as Admin
Back to MD3 configuration
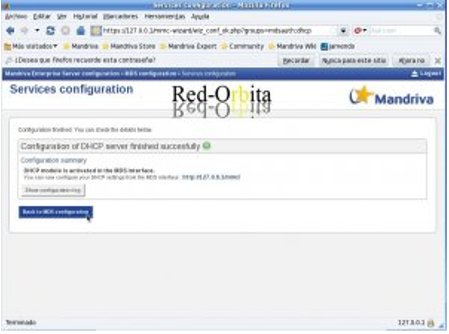
Configure DHCP Server
We identify ourselves as Admin.
Back to MD3 configuration
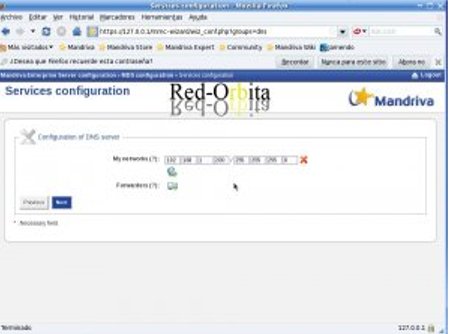
Configure DNS server
We identify ourselves as Admin.
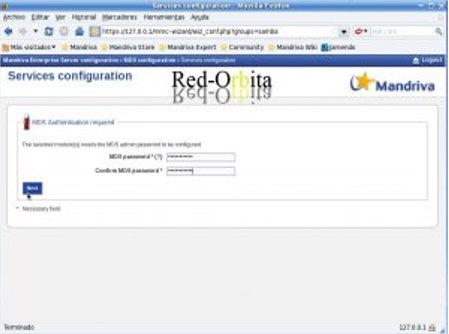
We configure our Network
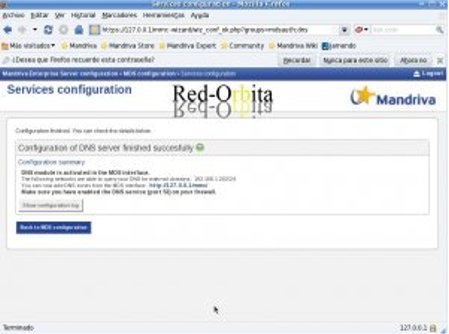
Back to MD3 configuration
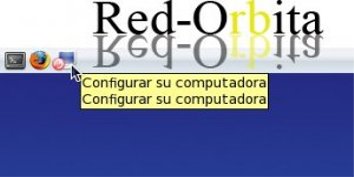
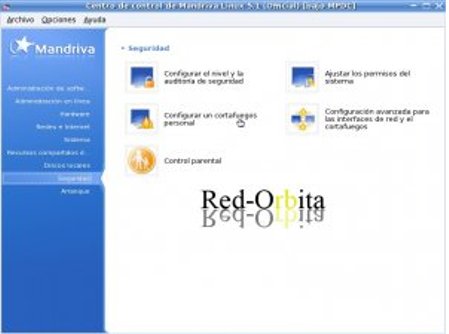
Now we go to "Configure your computer" it is in the menu bar at the top, next to Firefox.
we are going to Security
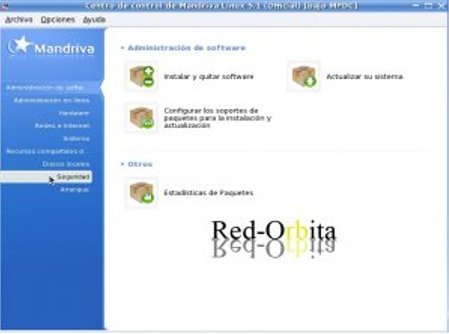
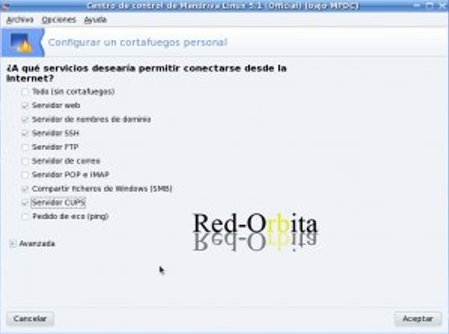
Set up a personal firewall.
Here we mark: Web Server, Domain Name Server, SSH Server, Windows File Sharing (SMB), CUPS Server and Echo Request (PING).
We accept.
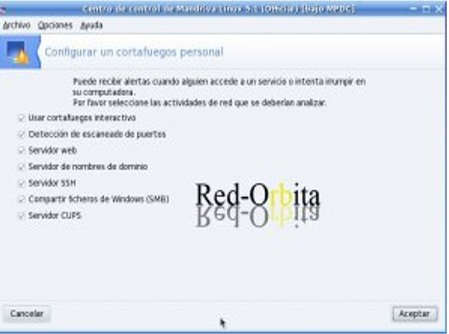
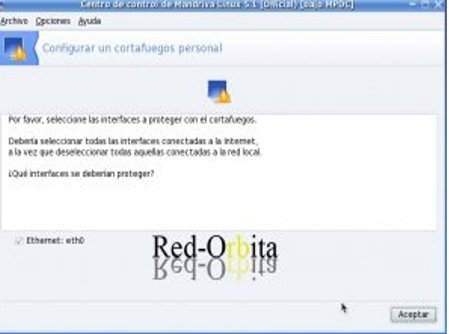
We configure the interface that we want the firewall to protect,
This is a basic security configuration, we will add more security policies to our server.
Creating usury in Active directory.
For that in a browser we open: https://127.0.0.1/mmc/
and we identify ourselves as Root in the domain.
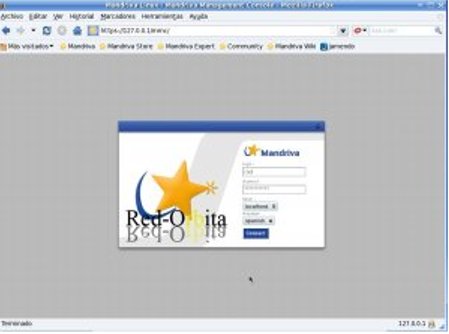
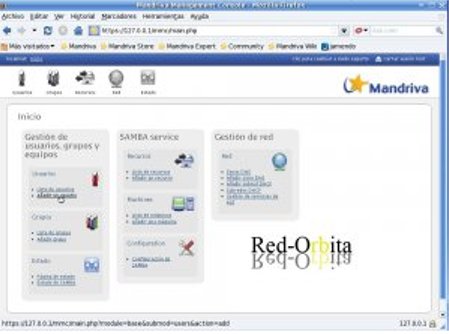
This is the Active Directory control panel, as we will see later, here you can configure, delete and enter all types of elements and objects to our network.
In this case we are going to create a user, so that the client we add next can access with that user.
To do this we click: Add user.
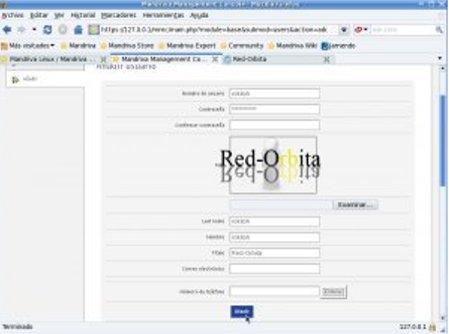
Here it shows us a form that we have to fill out, and once the data is filled in at the back of the form we have a button, Add, we press it.
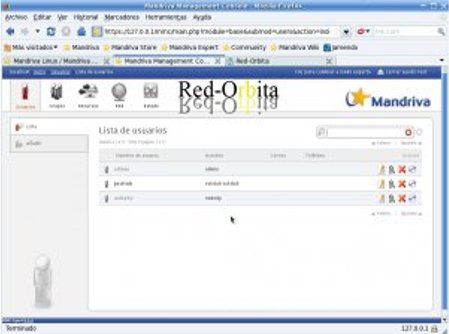
In the menu at the top, there are a series of buttons, if we go to USERS, shows us a list of all the users that are in our domain and we can see that this is the created user.
In that same menu, if you notice, you have some logos, with which we can make a Backup, Delete, give or remove permissions and edit it.
Ok, now let's add a Windows XP client to the domain
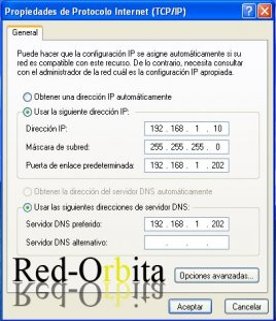
The first thing we must do is configure the IP addressing.
For this we are going to: My Network Places/Properties/Local Area Connection/Properties/Internet Protocol TCP/IP/properties.
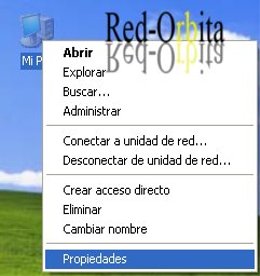
Now let's add it to the domain: Right click on My IP, Properties.
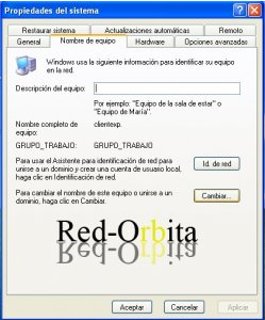
Once in properties, we go to the tab Team name. and press the button CHANGE.
we are going to Member of and we mark: DOMAIN: and in the text field we put the name of our domain and I accepts.
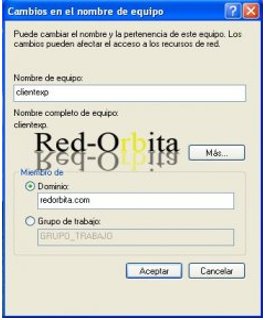
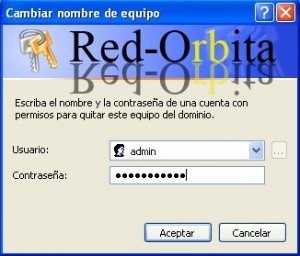
We enter the name with Administrator privileges and its password, by default the user is: Admin
We restart
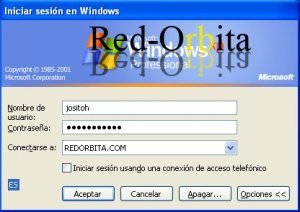
And when it starts again, we press the button Options >> and we select the domain we want to enter
with the username and password we created previously
When it starts, if we go to My Computer, we can check that the server has created a shared folder for uploading files.
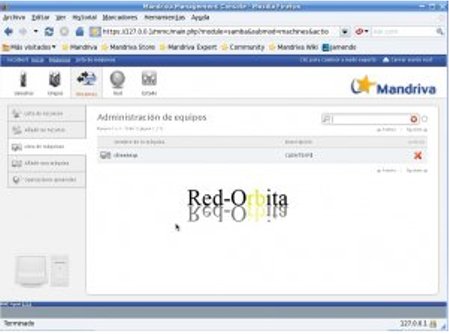
 If we go back to our server. a Resources / Machine List
We can see that the client that we just added to the domain is shown in the list, in that same list we can delete the machines or add others.
And so far, I hope you liked it, I personally liked it, and I will investigate more about it and upload more things related to it.
Also say that we have other software, which I have not personally tested, but it seems to look very good, such as: Fedora Directory Server, GOsa (Gonicus Server Administration), LAM (ldap account manager), LAM (ldap account manager) We will comment more about them.
Comments