
This is my first installation of FreeBSD and what can I say about it... I really liked the graphical installation interface a little less friendly than the ones you normally find in GNU/Linux distributions, but its installation is not that difficult. and I decided to make a manual for users who have no notions about it and want to delve in and try this OS.
And without a doubt I will try it for a good season. I will upload new manuals about it.
For those who don't know what FreeBSD is (Wikipedia Definition)
FreeBSD is a operating system free for computers based on the CPU of architecture Intel, including processors 386, 486 (SX and DX versions), and Pentium. Also works on Intel compatible processors such as amd and Cyrix. Currently it is also possible to use it in up to eleven different architectures2 asAlpha, AMD64, IA-64, MIPS, PowerPC and UltraSPARC.
FreeBSD is based on version 4.4 BSD-Lite of the Computer Systems Research Group (CSRG) of the University of California, Berkeley following the tradition that has distinguished the development of systems BSD. In addition to the work done by the CSRG, the FreeBSD project has spent thousands of hours fine-tuning the system to deliver maximum performance under real-world load situations.
Compatibility with GNU/Linux
FreeBSD is compatible with binary of several operating systems of the type Unix, including Linux. The reason for this is the need to run some applications developed for Linux in which the source code It is not publicly distributed and therefore cannot be ported to FreeBSD.
Some of the applications used under this compatibility are the Linux version of Adobe Flash Player, Linux-Firefox, Linux-Opera,netscape, Adobe Acrobat, RealPlayer, vmware, Oracle, WordPerfect, skype, Doom 3, quake 4, Unreal Tournament, SeaMonkey and several more.
Install FreeBSD
Discharge
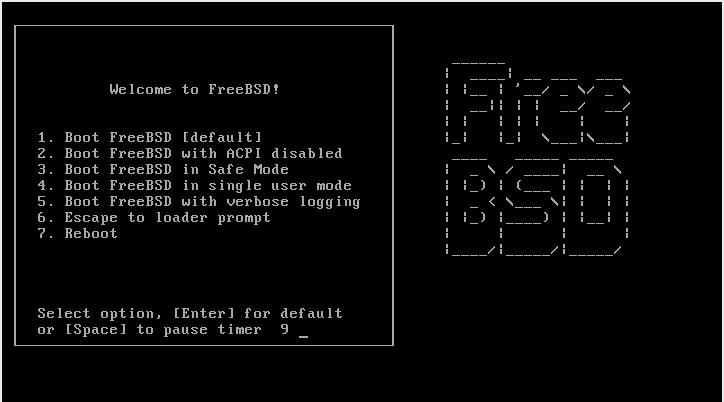
We press ENTER to start the installation.
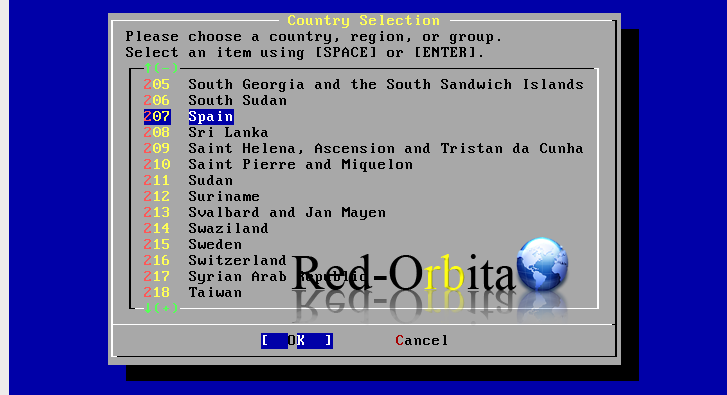
We select our country
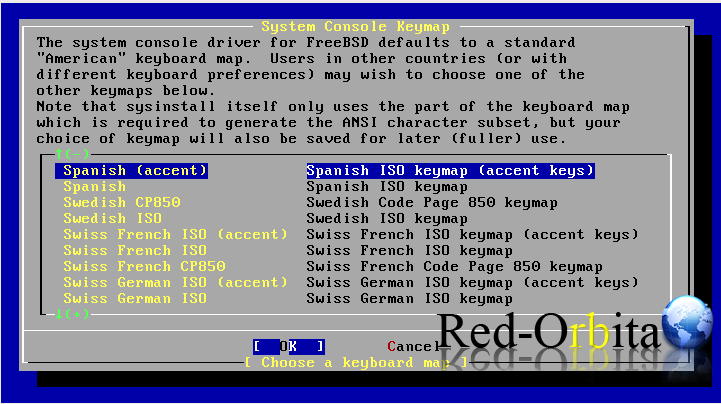
We configure the keyboard language.
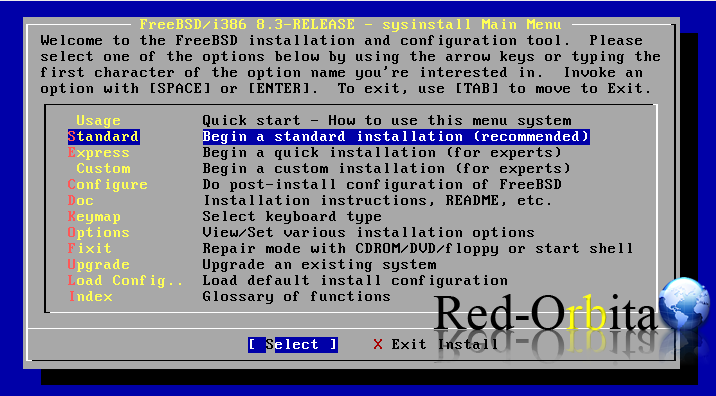
Let's start the installation. for this we are going to use «Standard», which is recommended by the system itself for optimal and complete installation.
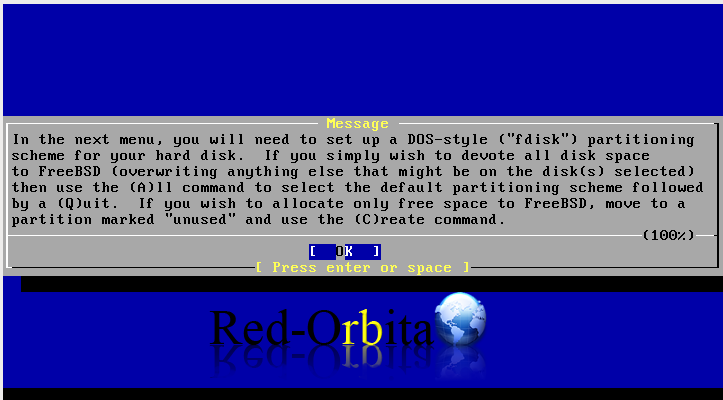
Now we are going to create the "slides". The "slides" would be the equivalent of the "partitions" in Linux or any other OS, however.
For the partitions we are going to use FDISK, Fdisk is a computer program available in various operating systems, which allows a hard drive to be logically divided, this new space being called a partition.
We press OK
If there is no OS, we are going to use the option "A" to use the entire hard drive. and in case there was another installation then we would use «C» to take only the free space.
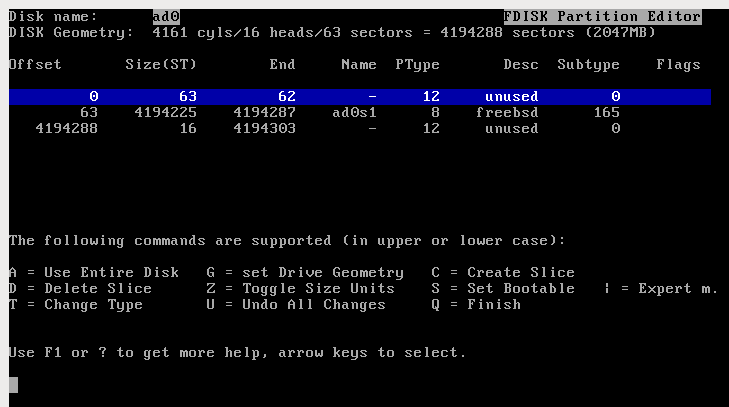
To finish we type "Q"
We install Boot, if we do not have another operating system installed we select "Standrd", otherwise we would select BootMgr.
Boot Manager is the equivalent of GRUB or Lilo in GNU/Linux.
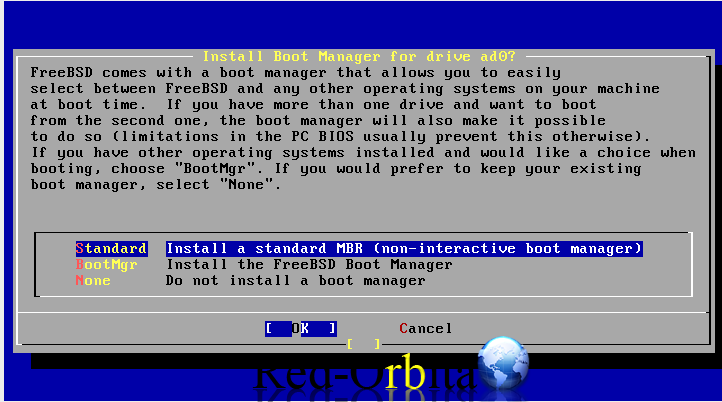
Ok
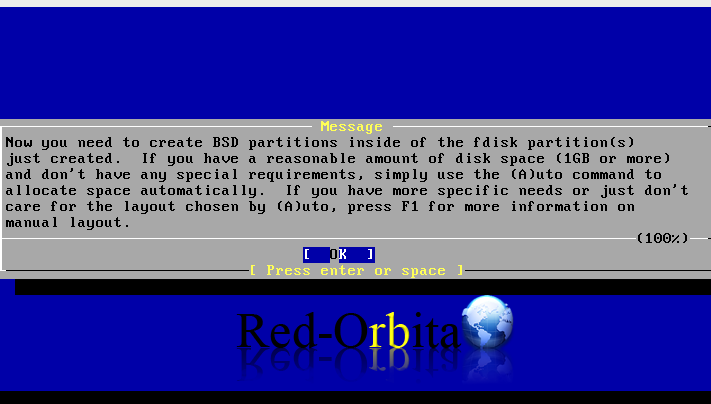
Now we are going to create the partitions within the slides. To do this we are going to select option “A” (Auto Default)
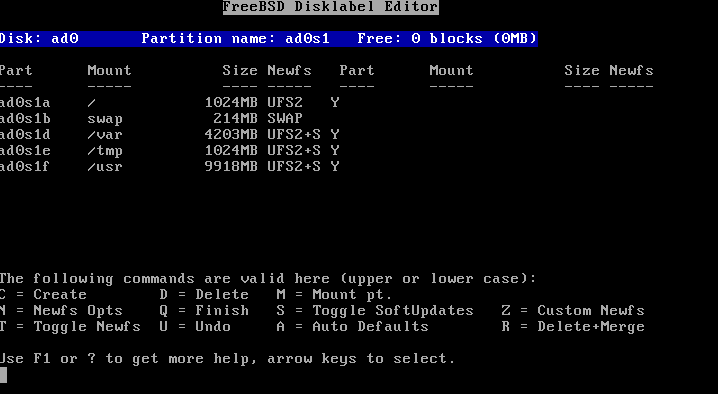
To finish the partitioning we type "Q"
Now we are going to install the corresponding packages for the installation. For this we are going to select "ALL"
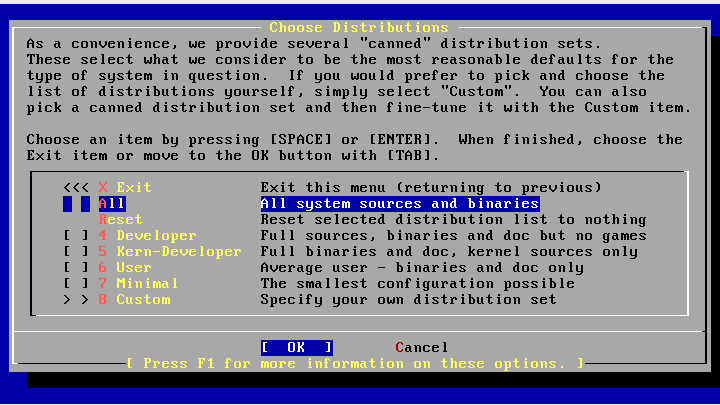
YES
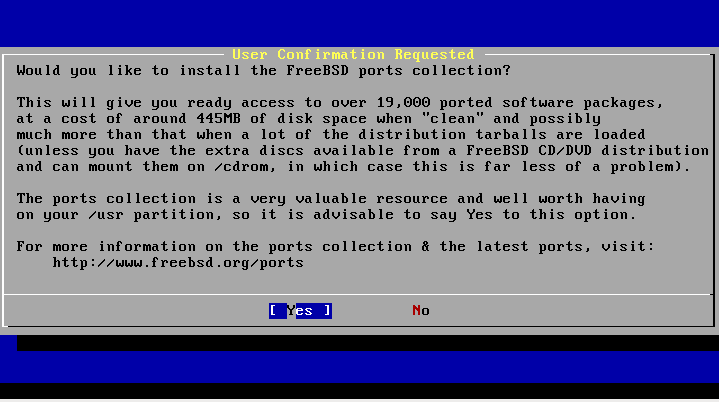
exit
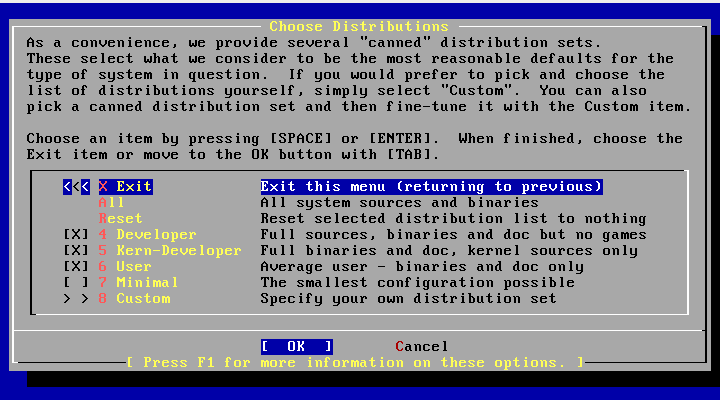
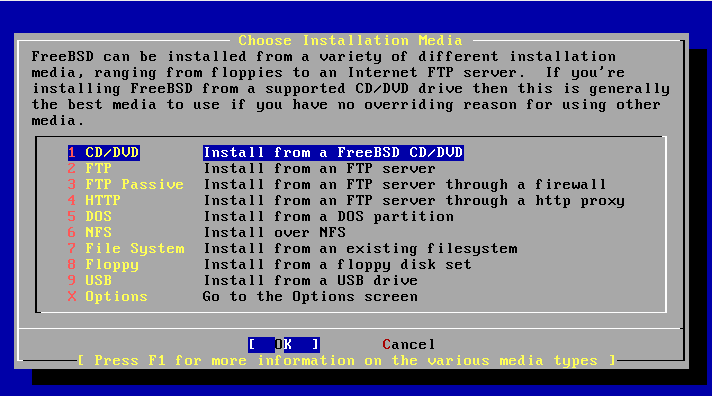
We select the way we want to install. CD/DVD
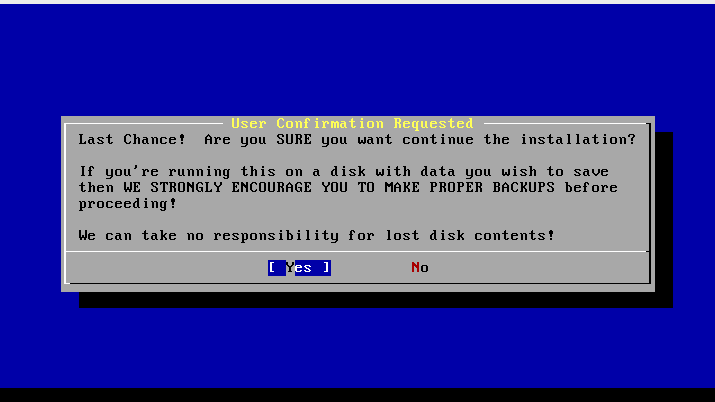
YES
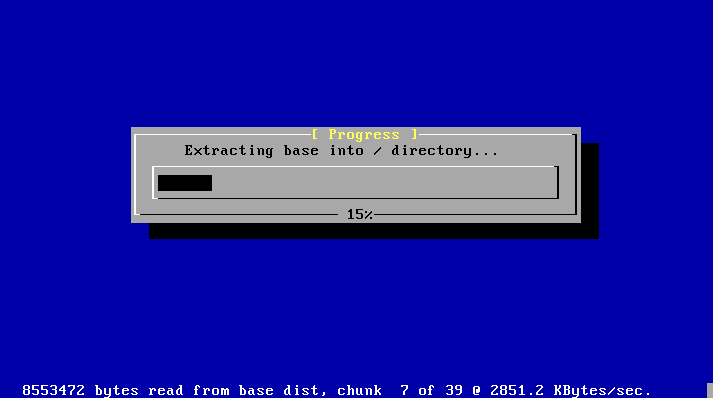
Start installing the packages...it takes a while
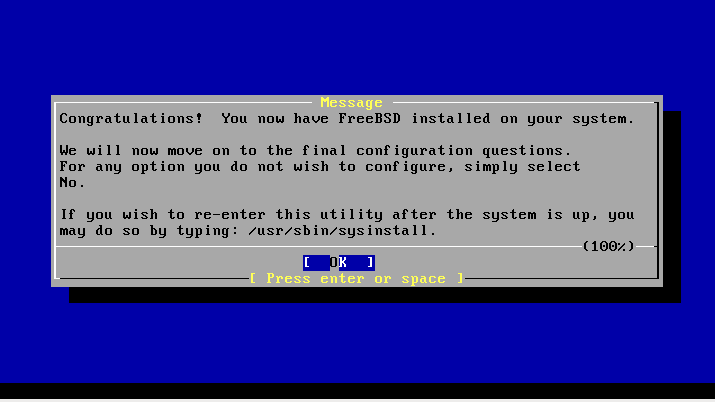
Ok
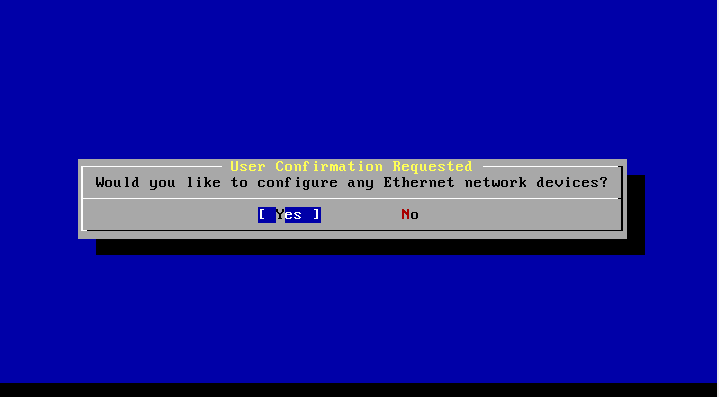
Yes
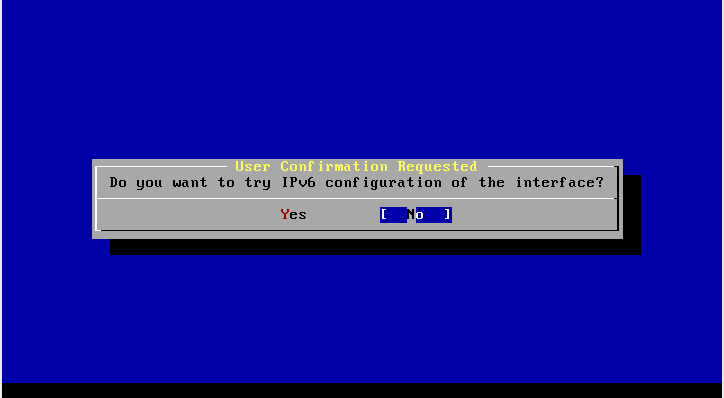
No
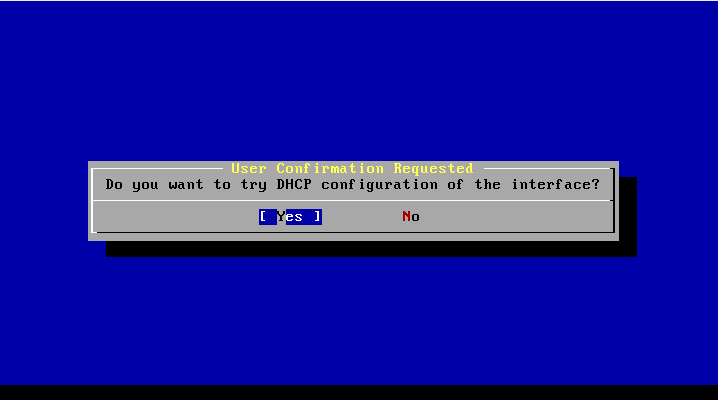
YES
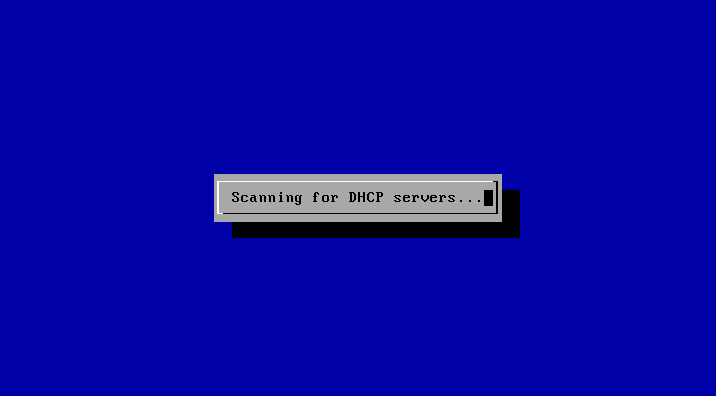
Scan the DHCP server…
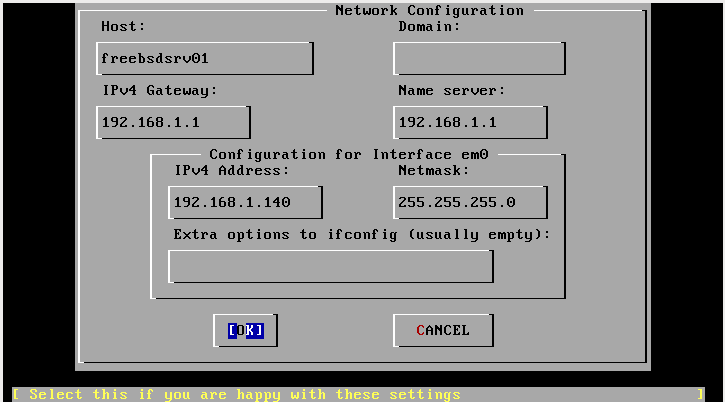
We configure our network, host name, domain name, gateway, IP address...
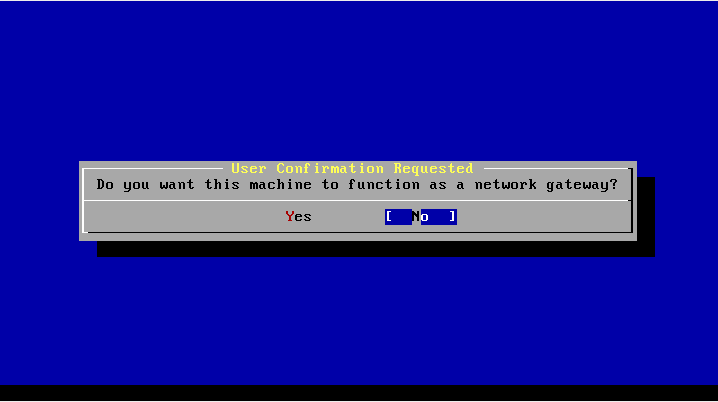
No.
In my case I do not want the device to function as a gateway.
No.
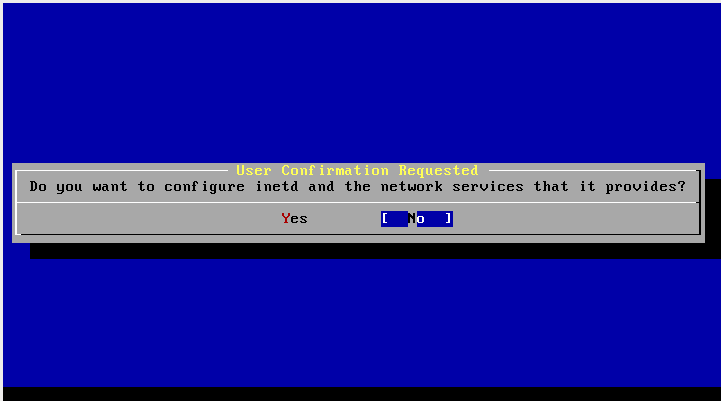
asks us if we want to configure inetd and network services
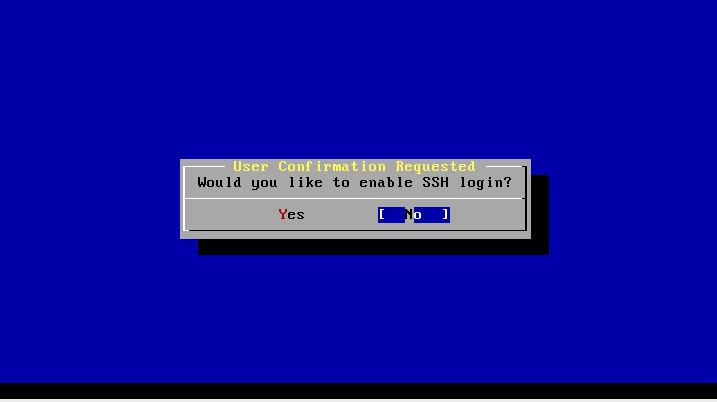
If we are going to want to access our PC remotely through SSH, we select that "YEAH" Otherwise we select that "NO".
No.
It tells us if we want to connect as anonymous FTP
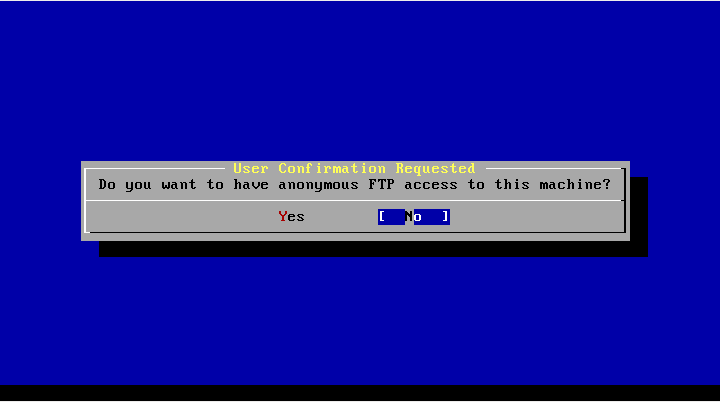
No
No
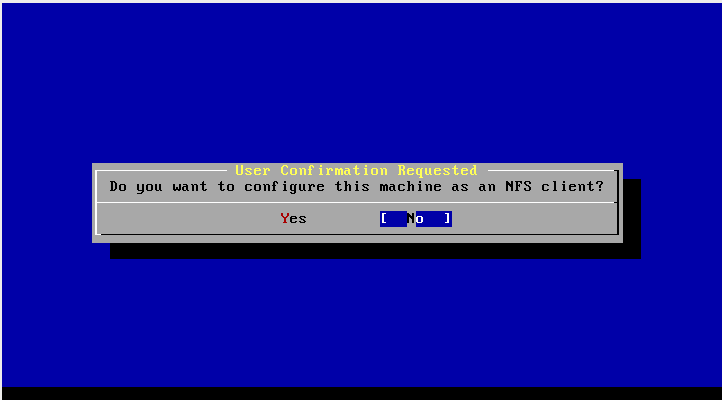
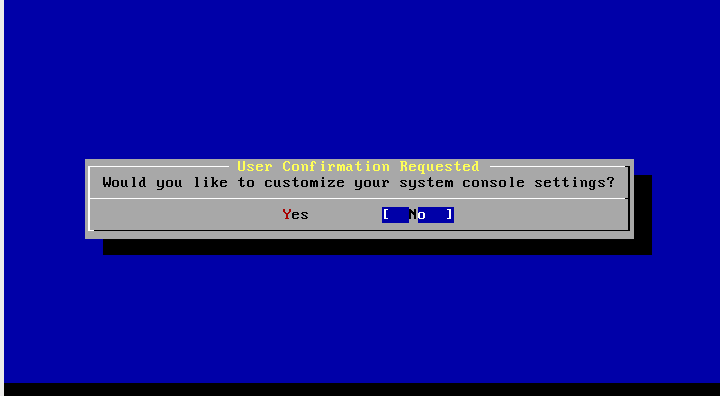
Yes
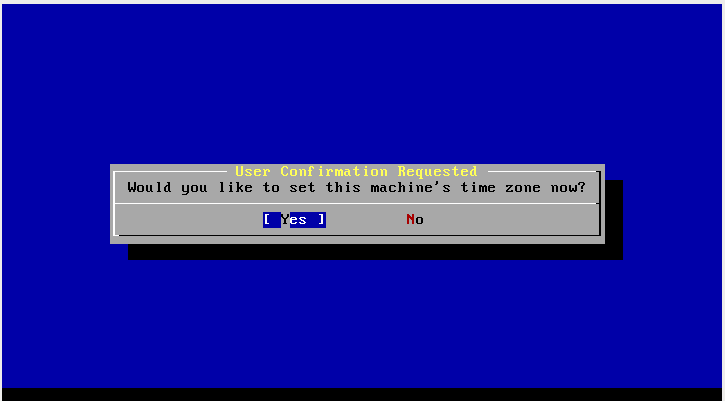
NO
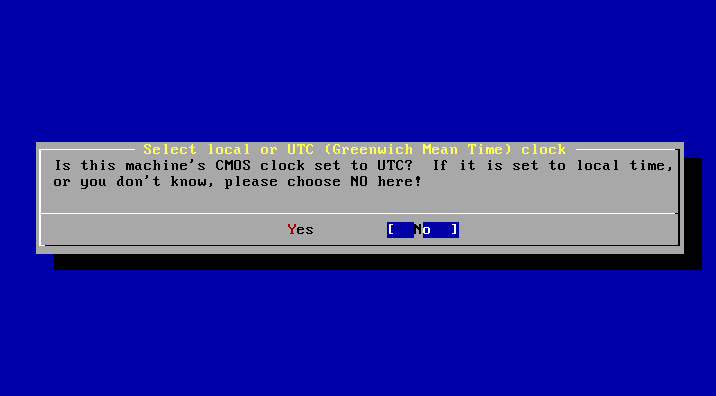
We choose our region.
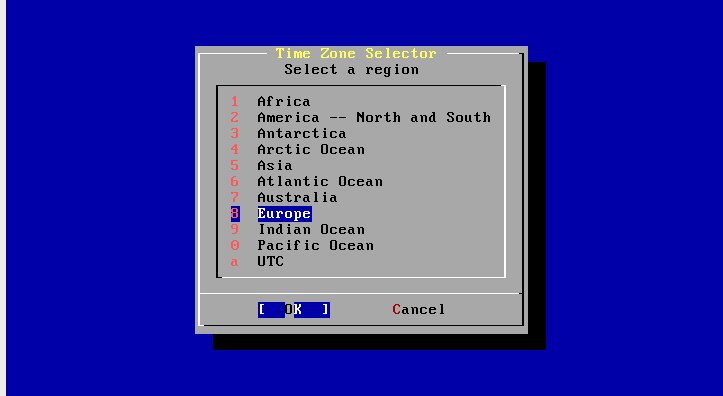
Our Country.
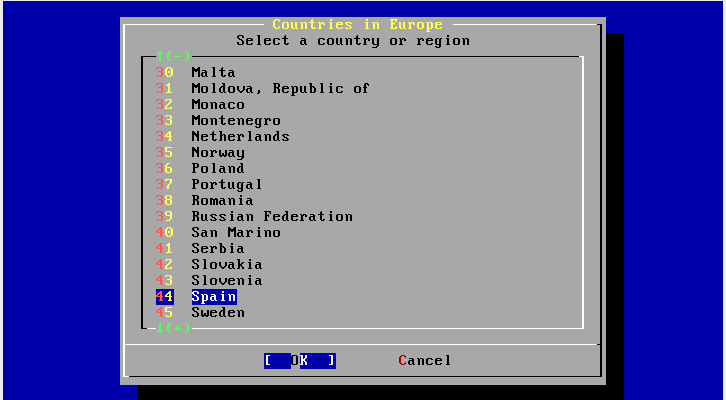
We select our time zone.
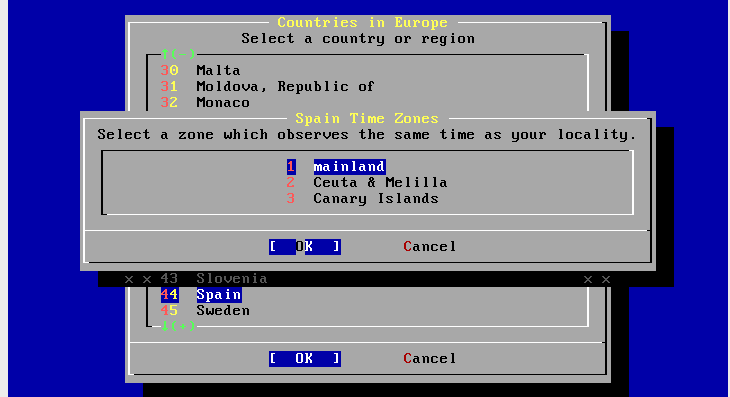
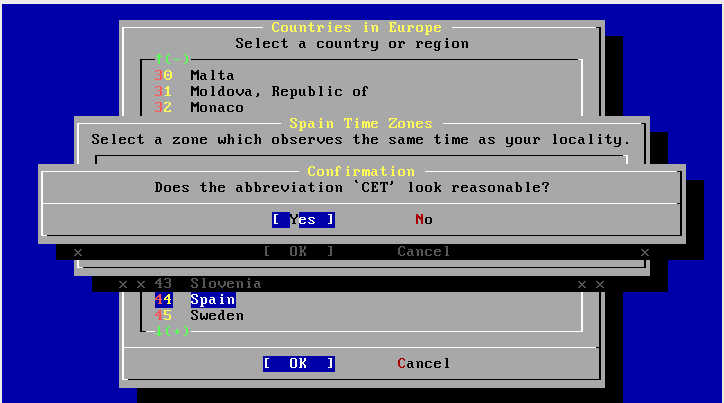
Yes.
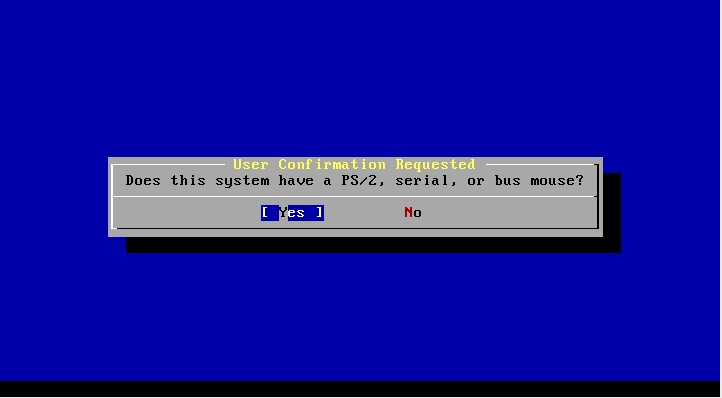
If your mouse is connected via: PS/2, select YES, otherwise NO
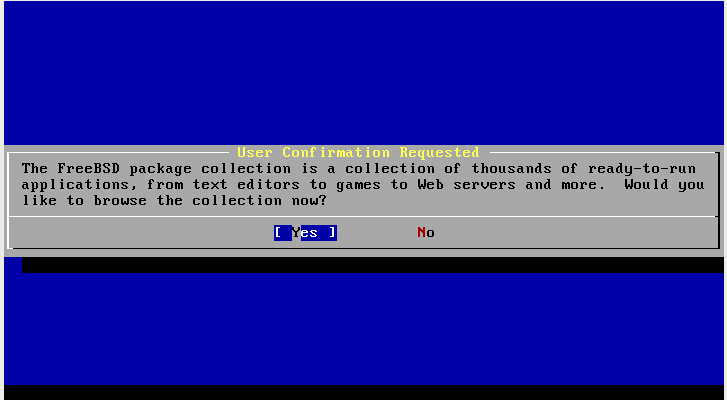
Yes
We select INSTALL
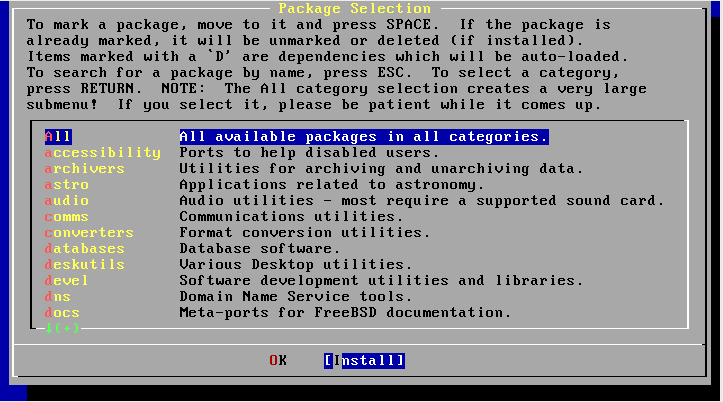
YES
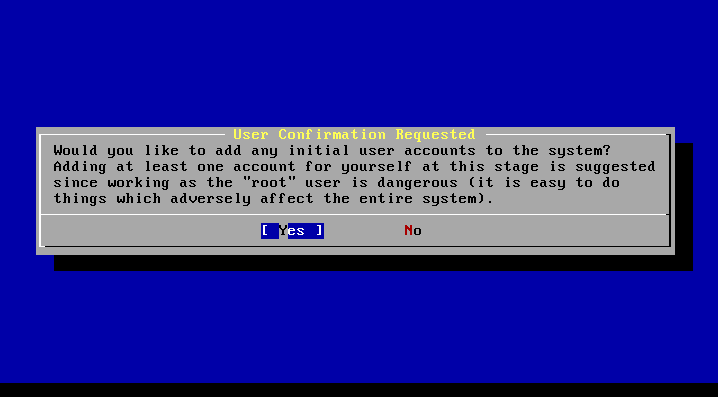
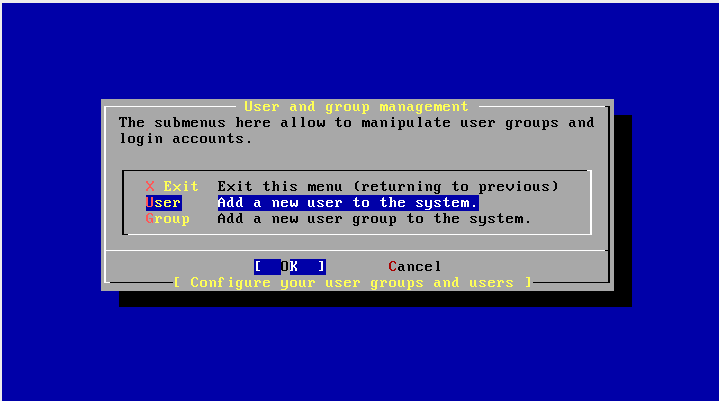
We create a user. we select USER
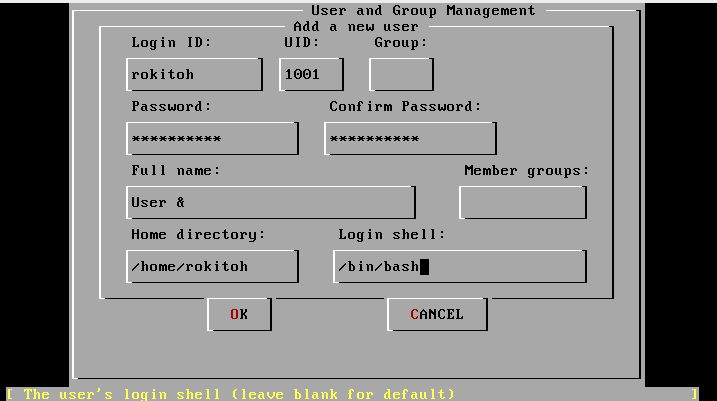
We fill out the form, username, password…
EXIT
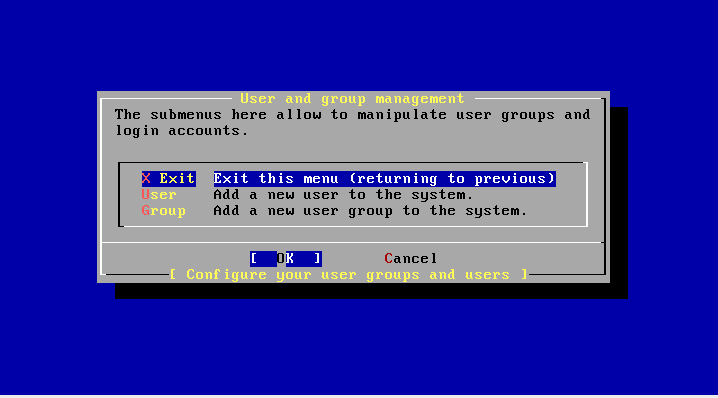
OK
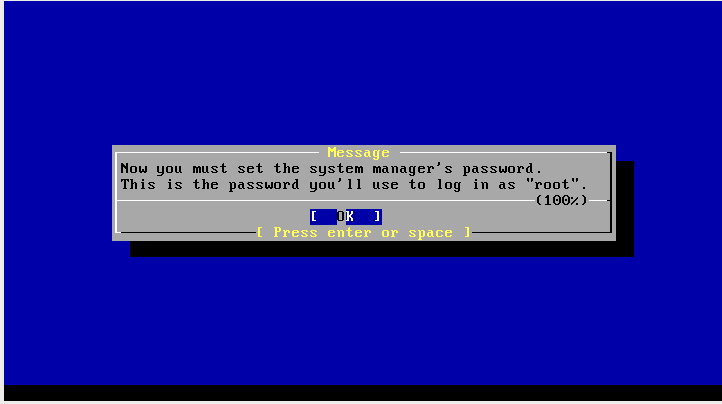
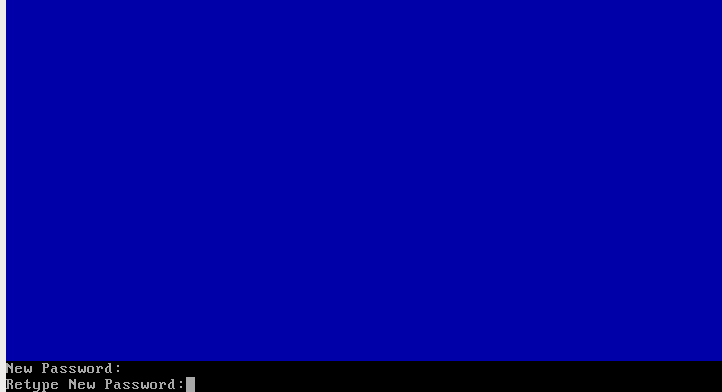
We configure the root password
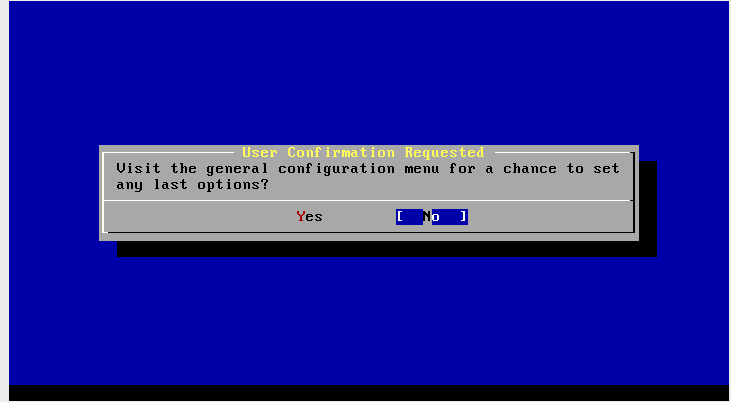
NO
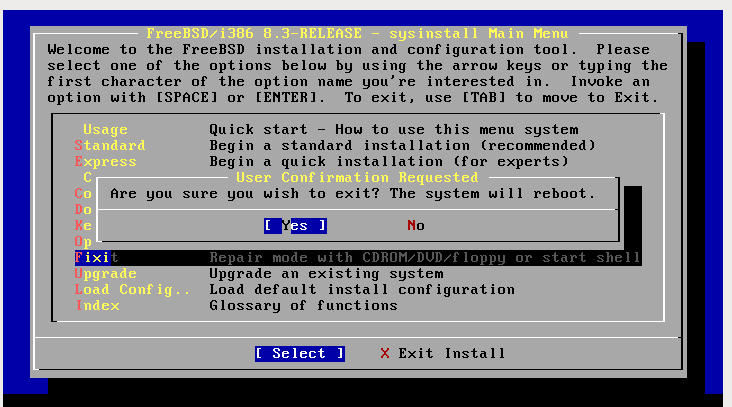
EXIT INSTALL
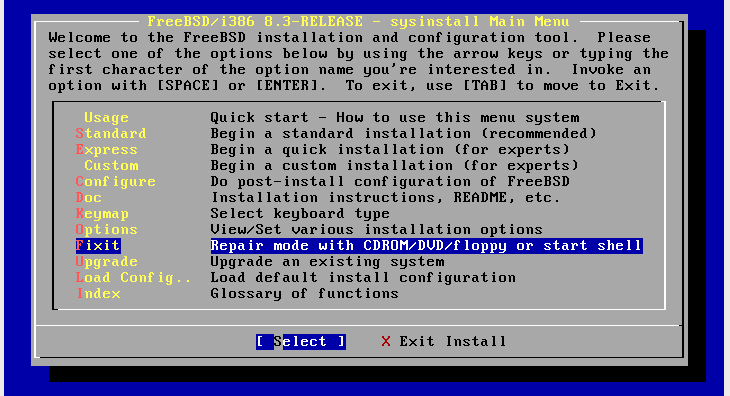
We restart, Yes
Install graphical interface
Xorg or XFree86™ can be installed on FreeBSD. As of FreeBSD 5.3-RELEASE Xorg is the default X11 implementation for FreeBSD. Xorg is the X11 server of the X11R6.7 distribution released by the X.Org Foundation. X11R6.7 is based on the code of XFree86 4.4RC2 and X11R6.6. The X.Org Foundation released X11R6.7 in April 2004.
To compile and install Xorg from the ports collection:
rokitoh# cd /usr/ports/x11/xorg

rokitoh# make install clean
Take your time... it takes a little...
Note: To compile and install Xorg completely, make sure you have at least 2GB of available space.
To build and install XFree86 4.X from the ports collection:
rokitoh# cd /usr/ports/x11/XFree86-4

rokitoh# make install clean
Also, X11 can be installed directly from packages. There are also binary packages to use with the tool pkg_add(1). When using the download binaries option pkg_add(1) the package version does not have to be specified. pkg_add(1) It will automatically download the latest version of the app.
So to download and install the Xorg package simply type:
rokitoh# pkg-add -r XFree86either
rokitoh# pkg_add -r xorgConfigure graphical interface
Setting up X11 is a multi-step process. The first step is to generate an initial configuration. As super user simply run:
rokitoh# Xorg -configureIn the case of XFree86 write:
rokitoh# XFree86 -configureThis will generate the skeleton of the X11 configuration file in the directory /root with the name xorg.conf.new (if you used your(1) or made a direct login affects the variable $HOME). In XFree86 this configuration file is called XF86Config.new. The X11 program will attempt to find the system's graphics hardware and write the configuration file that will load the appropriate drivers that have been detected.
The next step is to test the configuration to verify that Xorg can work with the system's graphics hardware. Write:
rokitoh# Xorg -config xorg.conf.newXFree86 users should type:
rokitoh# XFree86 -xf86config XF86Config.newIf a black and gray grid appears along with the X mouse cursor, the configuration has been successful. To exit the test press Ctrl+Alt+Backspaceor at the same time.
If everything is correct, the configuration file must be installed in a place where Xorg(1) (either XFree86(1)) find it. This place is usually /etc/X11/xorg.conf either /usr/X11R6/etc/X11/xorg.conf (for XFree86es /etc/X11/XF86Config either /usr/X11R6/etc/X11/XF86Config).
rokitoh# cp xorg.conf.new /etc/X11/xorg.confFor XFree86:
rokitoh# cp XF86Config.new /etc/X11/XF86ConfigThe X11 setup process is now complete. To boot XFree86 4.Xcon startx(1), install the port x11/wrapper. Xorg includes the wrapper code and does not require the wrapper port to be installed. The X11 server can also be booted using xdm(1).
We configure the mouse and keyboard, to do this we have to add some lines to the end of the file /etc/rc.conf
rokitoh# ee /etc/rc.confand we add:
hald_enable=”YES”

dbus_enable=”YES”
Install GNOME
rokitoh# pkg_add -r gnome2To compile GNOME from the source code, that is, as port:
rokitoh# cd /usr/ports/x11/gnome2
rokitoh# make install clean
Install KDE
rokitoh# pkg_add -r kde4If you want to compile KDE4 from source use the ports tree:
rokitoh# cd /usr/ports/x11/kde4
rokitoh# make install clean
Install XFce
rokitoh# pkg_add -r xfce4You can also compile it from code thanks to the Ports Collection:
rokitoh# cd /usr/ports/x11-wm/xfce4
rokitoh# make install clean
Once the download and installation process is complete, it is necessary to tell the system that it is going to start with the graphical environment of our choice when the “startx” command is called, and for that we do the following:
In the case of GNOME:
rokitoh# echo “gdm_enable=YES”» >> /etc/rc.conf
rokitoh# echo “/usr/local/bin/gnome-session” > ~/.xinitrc (para que se inicie GNOME al teclear startx)
In the case of KDE
rokitoh# echo “exec /usr/local/kde4/bin/startkde” > ~/.xinitrc (Para que se inicie KDE al teclear startx)In the case of XFce
rokitoh# % echo «/usr/X11R6/bin/startxfce4» > ~/.xinitrc (Para que se inicie xfce al teclear startx)And we finally finished the installation... the truth is that the installation and configuration of the system is a bit of a pain... and don't even see the manual, it's boring... the truth is, but hey, it's worth it.
Sources:
http://www.freebsd.org/es/community.html
http://nestux.com/blog/tutorial-de-instalacion-de-freebsd-8-0
Comments