
As we have already talked about before, centOS is a popular distribution based on Red Hat and it is the most used to set up servers, especially Webs, because this manual is based on that, we are going to install a web server under CentOS 5.5
To do this we require an installation, preferably without a graphical interface.
CentOS 5.5 installation manual
Configure static addressing
To do this, first we are going to configure a static addressing.
The network card configuration files are located in: /etc/sysconfig/network-scripts/
We access the folder:
[rokitoh@red.orbita.com~] # cd /etc/sysconfig/network-scripts/we configure the file ifcfg-eth0 which is where the information is found
[rokitoh@red.orbita.com network-scripts] # nano ifcfg-eth0and there we configure it:
DEVICE=eth0

BOOTPROTO=static   #configuración estatica

BROADCAST=192.168.1.255 #dirección de broadcast

HWADDR=05:02:4A:5C:EE:9F  # Dirección MAC

IPADDR= 192.168.1.150  # Ip de la interfaz de red

NETMASK= 255.255.255.0  # Máscara de red

NETWORK= 192.168.1.0 # Red en la que se encuentra

ONBOOT=yes  # Arranque automático al inicio del sistema

GATEWAY= 192.168.1.1 # Puerta de enlace

TYPE=Ethernet
We restart the network:
[rokitoh@red.orbita.com~] # /etc/init.d/network restartWe verify that the changes have been made:
[rokitoh@red.orbita.com~] # sbin/ifconfigInstall apache and php
[rokitoh@red.orbita.com~] # yum install -y httpd php php-mysql mod_perl mod_python mod_sslOnce Apache is installed, we will configure it to start automatically:
[rokitoh@red.orbita.com~] # /sbing/chkconfig –levels 235 httpd onwe start the web server:
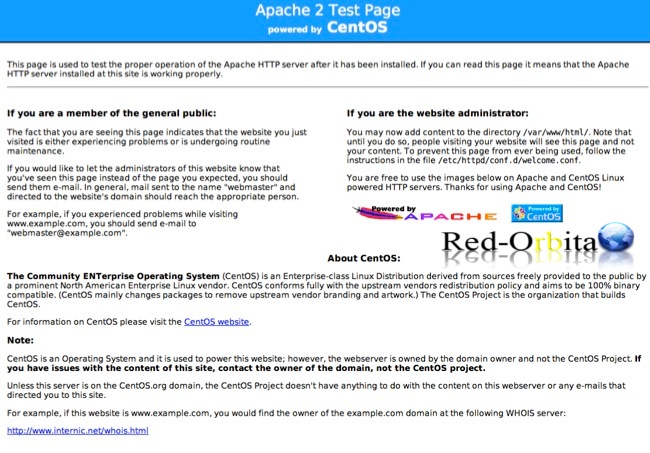
[rokitoh@red.orbita.com ~] # /etc/init.d/httpd startWe open a browser and access the web server, in my case: http://192.168.1.150
and a screen like this should appear:
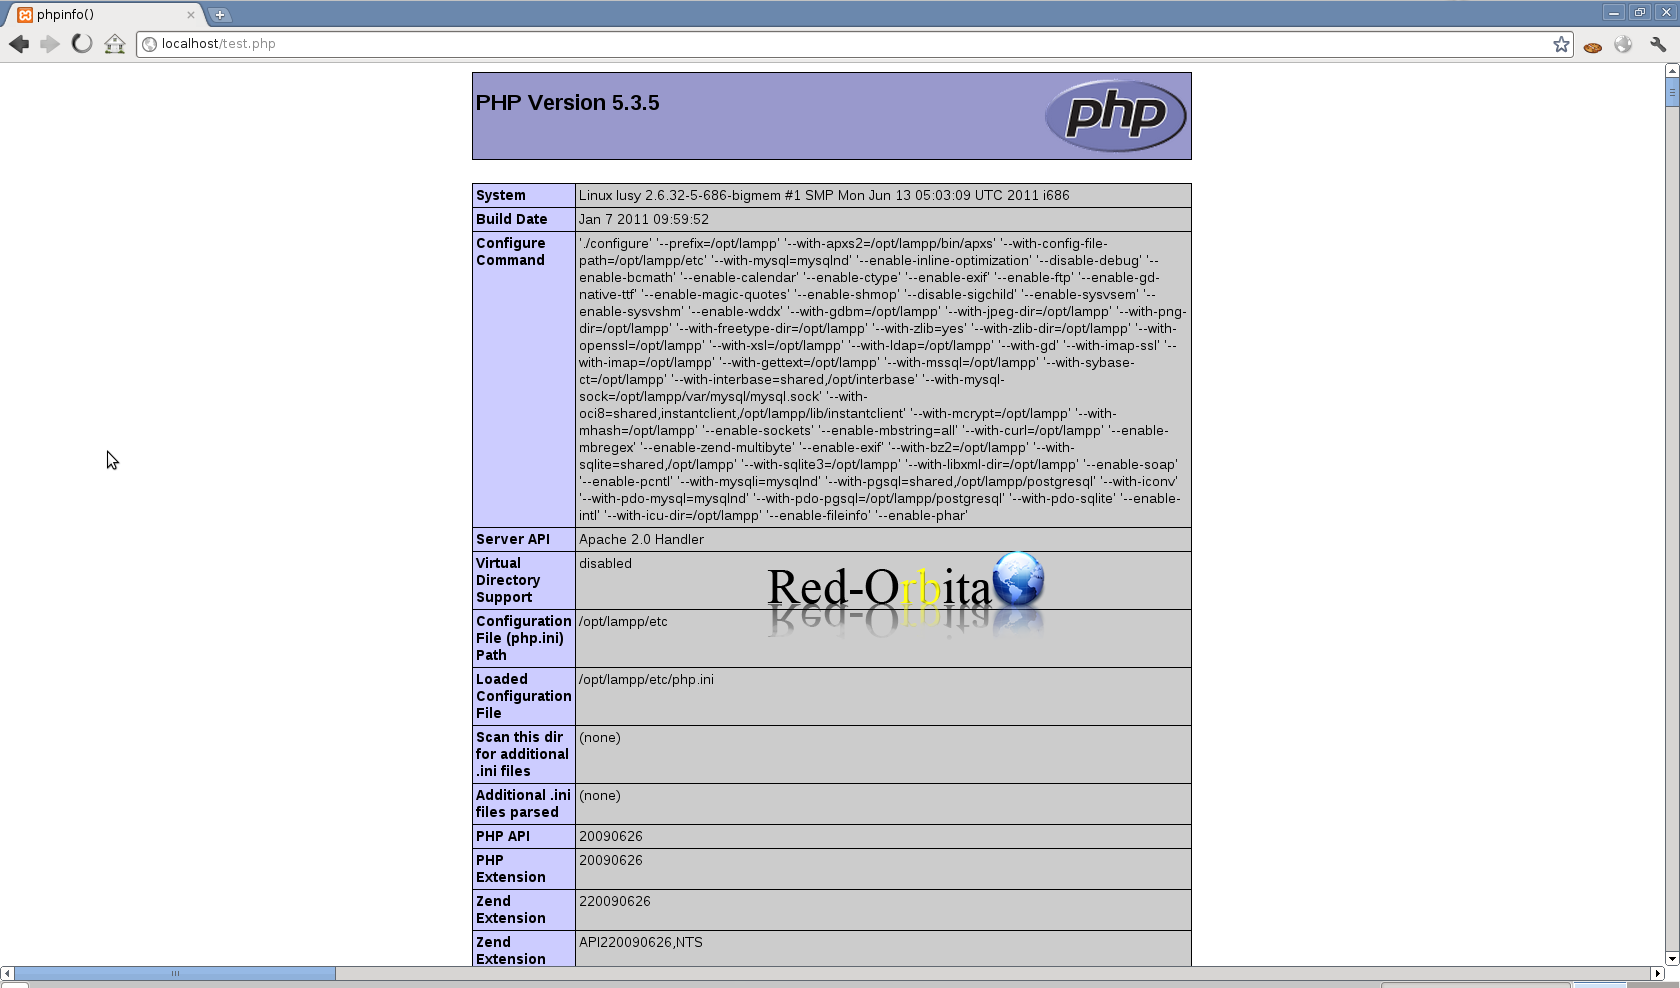
We check if we really have a php service, for this we are going to create a file called: test.php
[rokitoh@red.orbita.com ~] # nano /var/www/html/test.phpIn the file we put the following code:
phpinfo(); ?>We open a browser and access the saved file: http://192.168.1.150/test.php
If everything has gone well, it will show us a screen like this:
Install mysql
[rokitoh@red.orbita.com ~] # yum install mysql mysql-serverOnce Apache is installed, we will configure it to start automatically:
[rokitoh@red.orbita.com ~] # /sbing/chkconfig –levels 235 mysqld onwe start mysql:
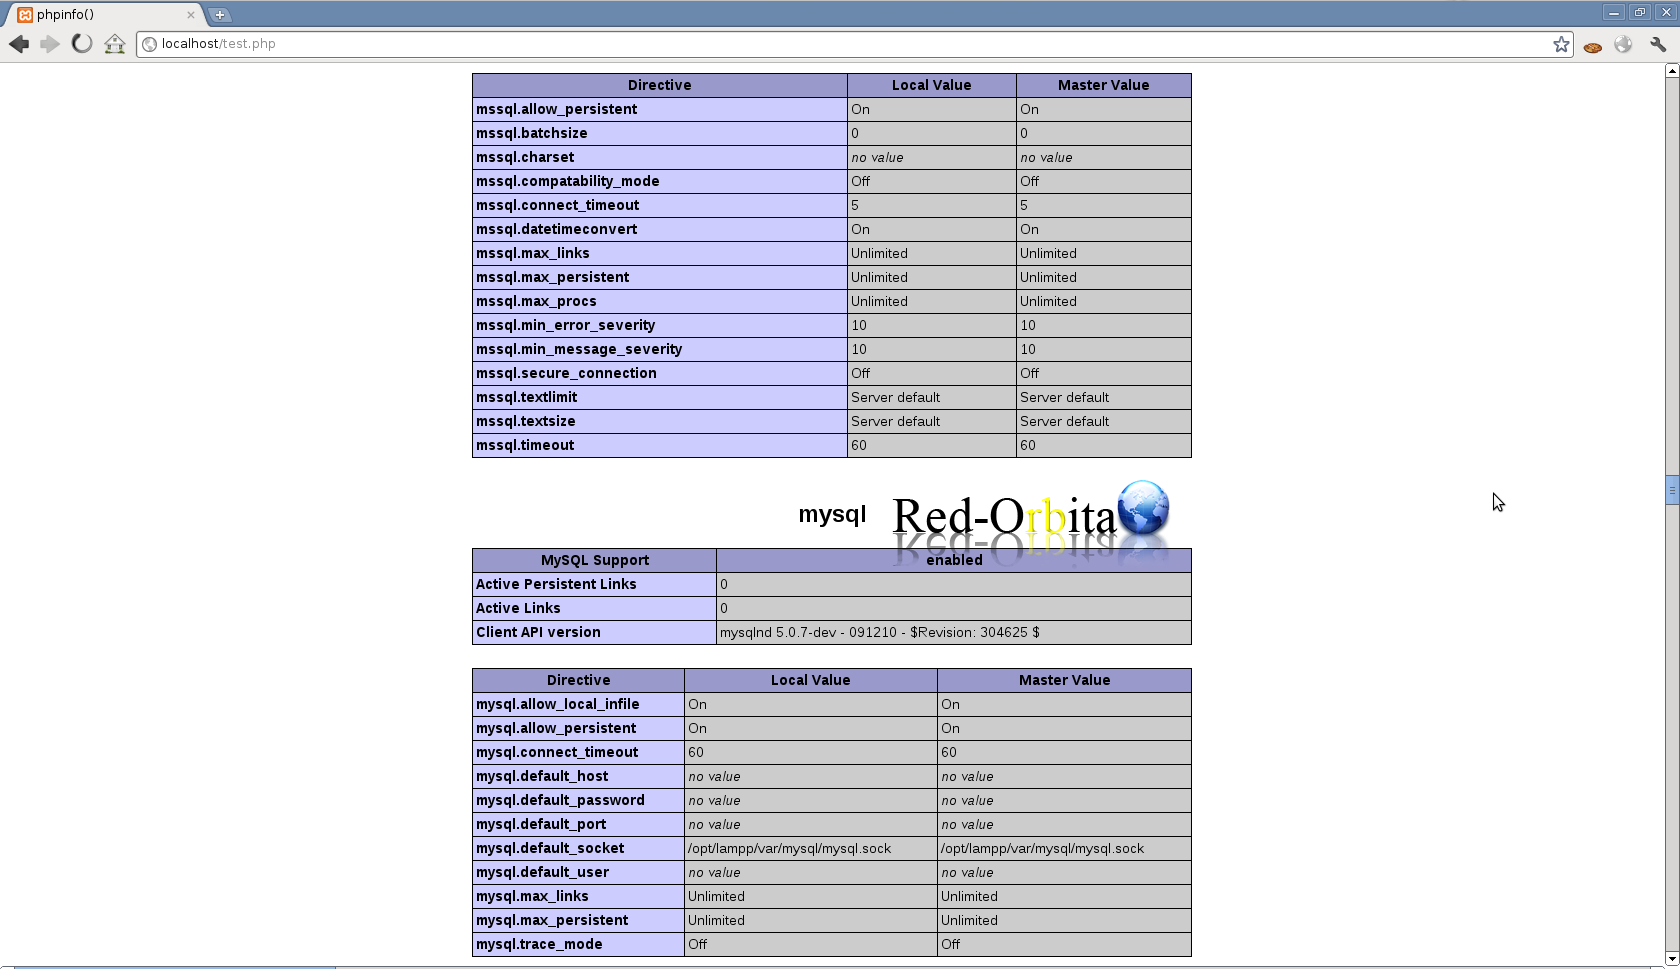
[rokitoh@red.orbita.com ~] # /etc/init.d/mysqld startIf we access the file that we created "test.php" again and go down,
We will see that mysql is installed perfectly, we access the browser and go to the web server:
http:192.168.1.150/test.php
and we look for mysql
Install phpmyadmin
We access the web directory:
[rokitoh@red.orbita.com ~] # cd /var/www/htmlwe download phpmyadmin
[rokitoh@red.orbita.com html] # wget http://byet.org/phpMyAdmin-3.3.5-all-languages.tar.gzWe decompress
[rokitoh@red.orbita.com html] # tar xvzf phpMyAdmin-3.3.5-all-languages.tar.gzWe access the folder:
[rokitoh@red.orbita.com html] # cd phpMyAdmin-3.3.5-all-lenguagesWe make a backup copy of the configuration, so that what could happen...
[rokitoh@red.orbita.com phpMyAdmin-3.3.5-all-lenguages] # cp config.sample.inc.php config.inc.phpWe configure config.inc.php
[rokitoh@red.orbita.com phpMyAdmin-3.3.5-all-lenguages] # nano config.inc.phpOnce you are inside the file, look for this string:
/* Authentication type */

$cfg[‘Servers’][$i][‘auth_type’] = ‘cookie’;
#Replaces the value of 'cookie' by 'http', so it would look like this:
/* Authentication type */

$cfg[‘Servers’][$i][‘auth_type’] = ‘http’;
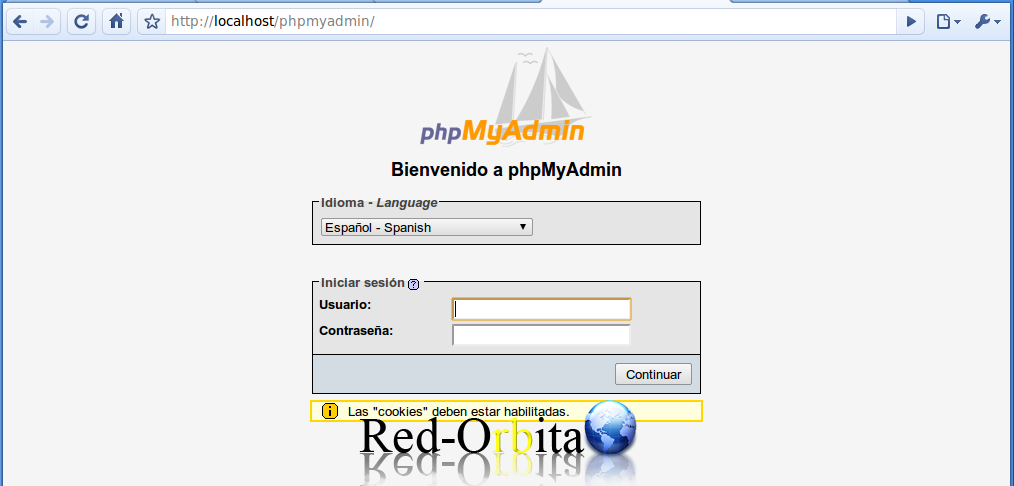
We restart the service and if everything went well, a window like this should appear:
We identify ourselves with username and password.
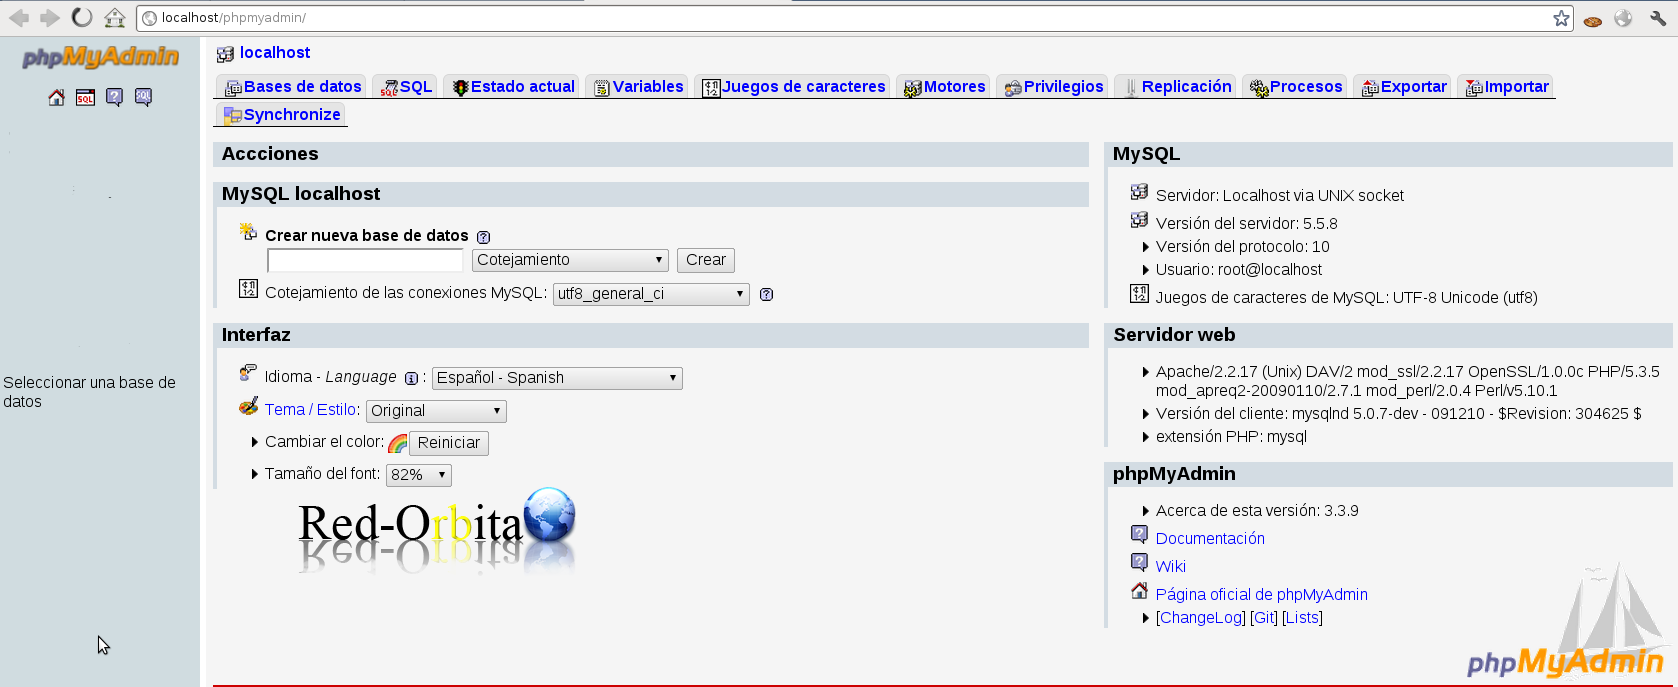
In case you get an error like this:
PHP 5.2+ is requiredIt is due to the version of your php, you will have to update to 5.2
First we will add the repository:
[rokitoh@red.orbita.com ~] # nano -w /etc/yum.repos.d/utterramblings.repowe add
[utterramblings]
name=Jason’s Utter Ramblings Repo

baseurl=http://www.jasonlitka.com/media/EL5/i386/

enabled=0

gpgcheck=1

gpgkey=http://www.jasonlitka.com/media/RPM-GPG-KEY-jlitka[rokitoh@red.orbita.com ~] # yum upgrade php –enablerepo=utterramblingsWe have already finished our installation, it is a somewhat basic configuration... but hey, we will configure more directives in it.
Regards, rokitoh
Comments