

After covering Joomla in earlier guides, it is WordPress's turn. This tutorial walks through a manual WordPress install on top of a LAMP stack (Linux + Apache + MySQL/MariaDB + PHP), from unpacking the archive to logging into the dashboard — with a few security notes the original guides skipped.
Prerequisites
You need a working web server with PHP and a database engine. If you don't have one yet, set up Apache/PHP/MariaDB on your distro, or use an all-in-one bundle such as XAMPP for a local test environment.
1. Download WordPress
Grab the latest release from the official site (localised builds are available too):
wget https://wordpress.org/latest.tar.gz2. Extract it into your web root
The document root depends on your setup:
tar xvzf latest.tar.gz -C /var/www/          # Debian/Ubuntu
tar xvzf latest.tar.gz -C /var/www/html      # RHEL/Fedora/CentOS
tar xvzf latest.tar.gz -C /opt/lampp/htdocs/ # XAMPP
3. Create a dedicated database and user
Never run WordPress as the MySQL root account. Create a database and a
least-privilege user for it:
sudo mysql -u root -p

CREATE DATABASE wordpress CHARACTER SET utf8mb4 COLLATE utf8mb4_unicode_ci;
CREATE USER 'wp_user'@'localhost' IDENTIFIED BY 'a-strong-password';
GRANT ALL PRIVILEGES ON wordpress.* TO 'wp_user'@'localhost';
FLUSH PRIVILEGES;
EXIT;
4. Configure wp-config.php
Enter the WordPress directory and copy the sample configuration:
cd /var/www/wordpress
cp wp-config-sample.php wp-config.php
nano wp-config.php
Fill in the database credentials you just created:
define( 'DB_NAME', 'wordpress' );          // database name
define( 'DB_USER', 'wp_user' );            // database user
define( 'DB_PASSWORD', 'a-strong-password' ); // its password
define( 'DB_HOST', 'localhost' );
While you are in there, replace the authentication keys and salts with fresh values from the official generator — it hardens session and cookie security:
curl https://api.wordpress.org/secret-key/1.1/salt/Finally, set sane ownership and permissions so the web server can write uploads but files aren't world-writable:
sudo chown -R www-data:www-data /var/www/wordpress
sudo find /var/www/wordpress -type d -exec chmod 755 {} \;
sudo find /var/www/wordpress -type f -exec chmod 644 {} \;
5. Run the web installer
Open the site in your browser:
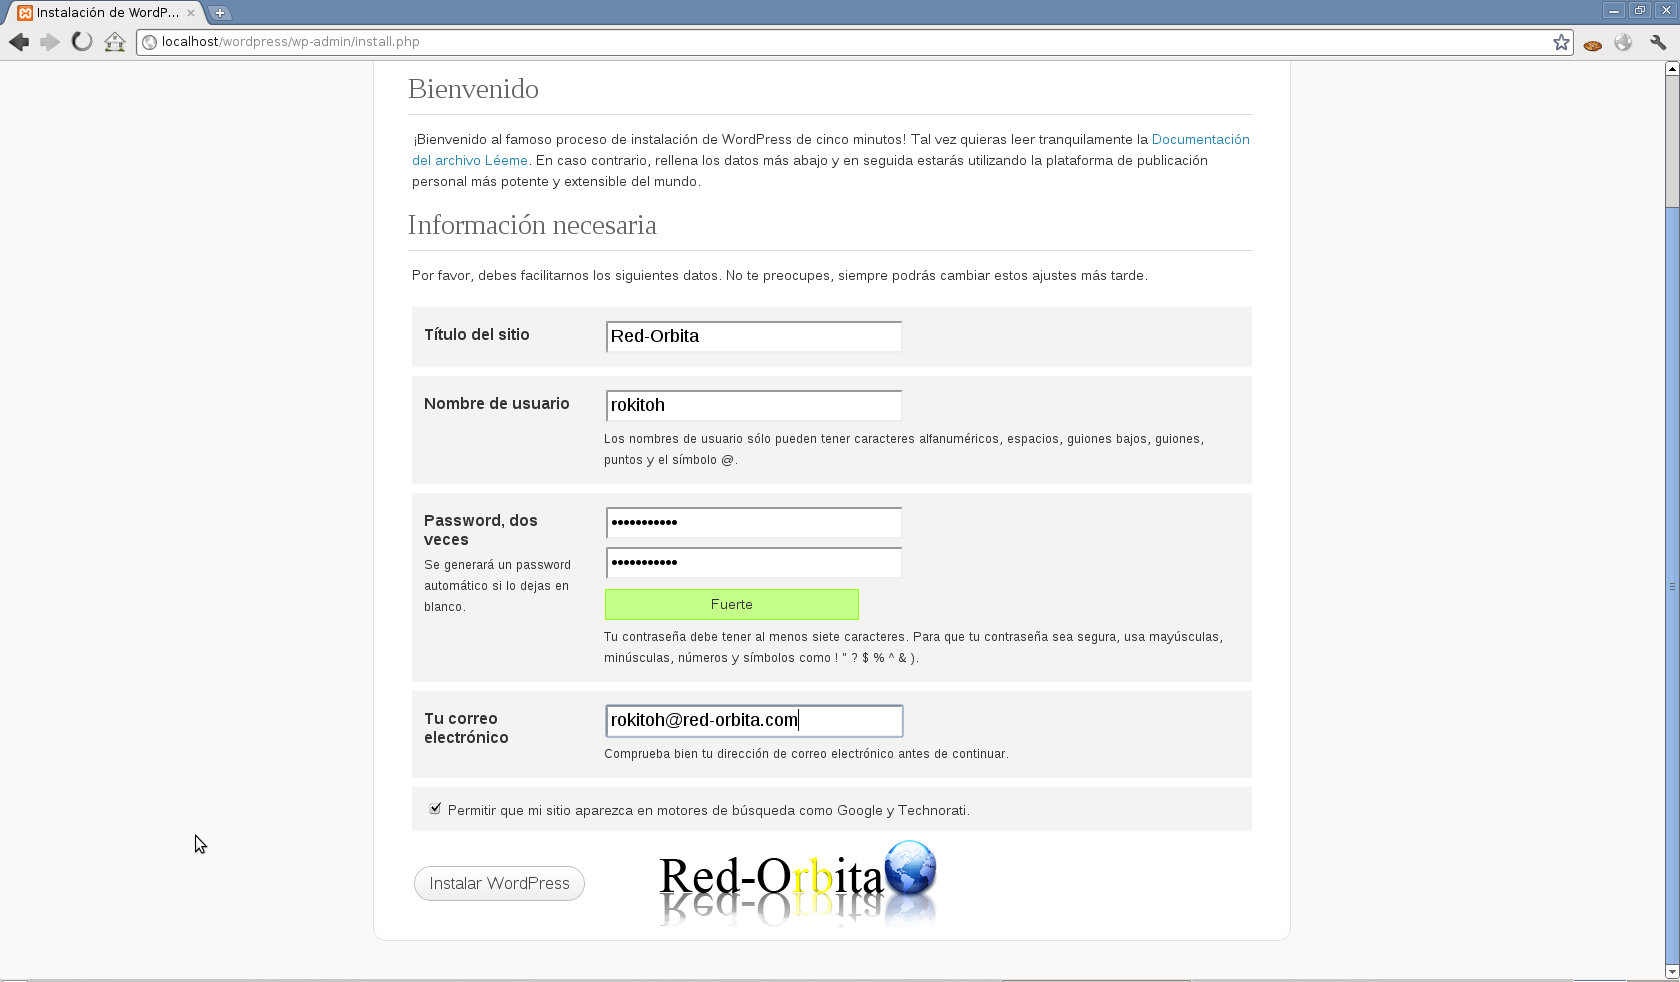
http://localhost/wordpress/Fill in the site title, admin username, a strong password and your email:
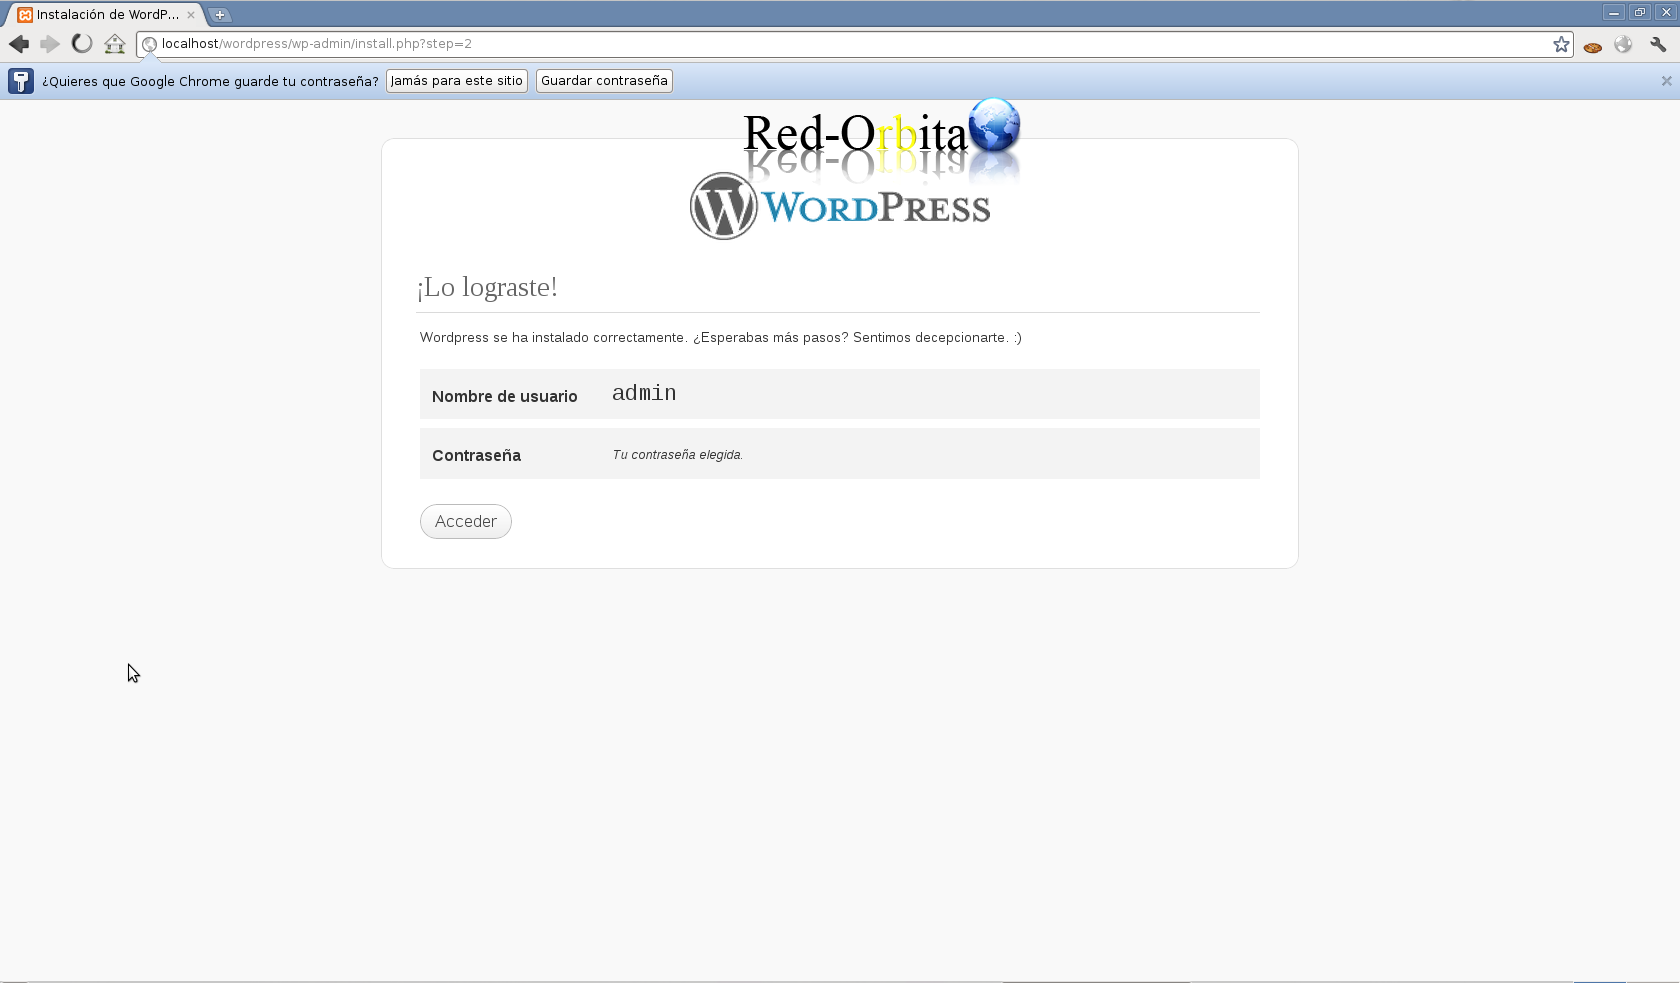
WordPress confirms the install and shows the account you created:
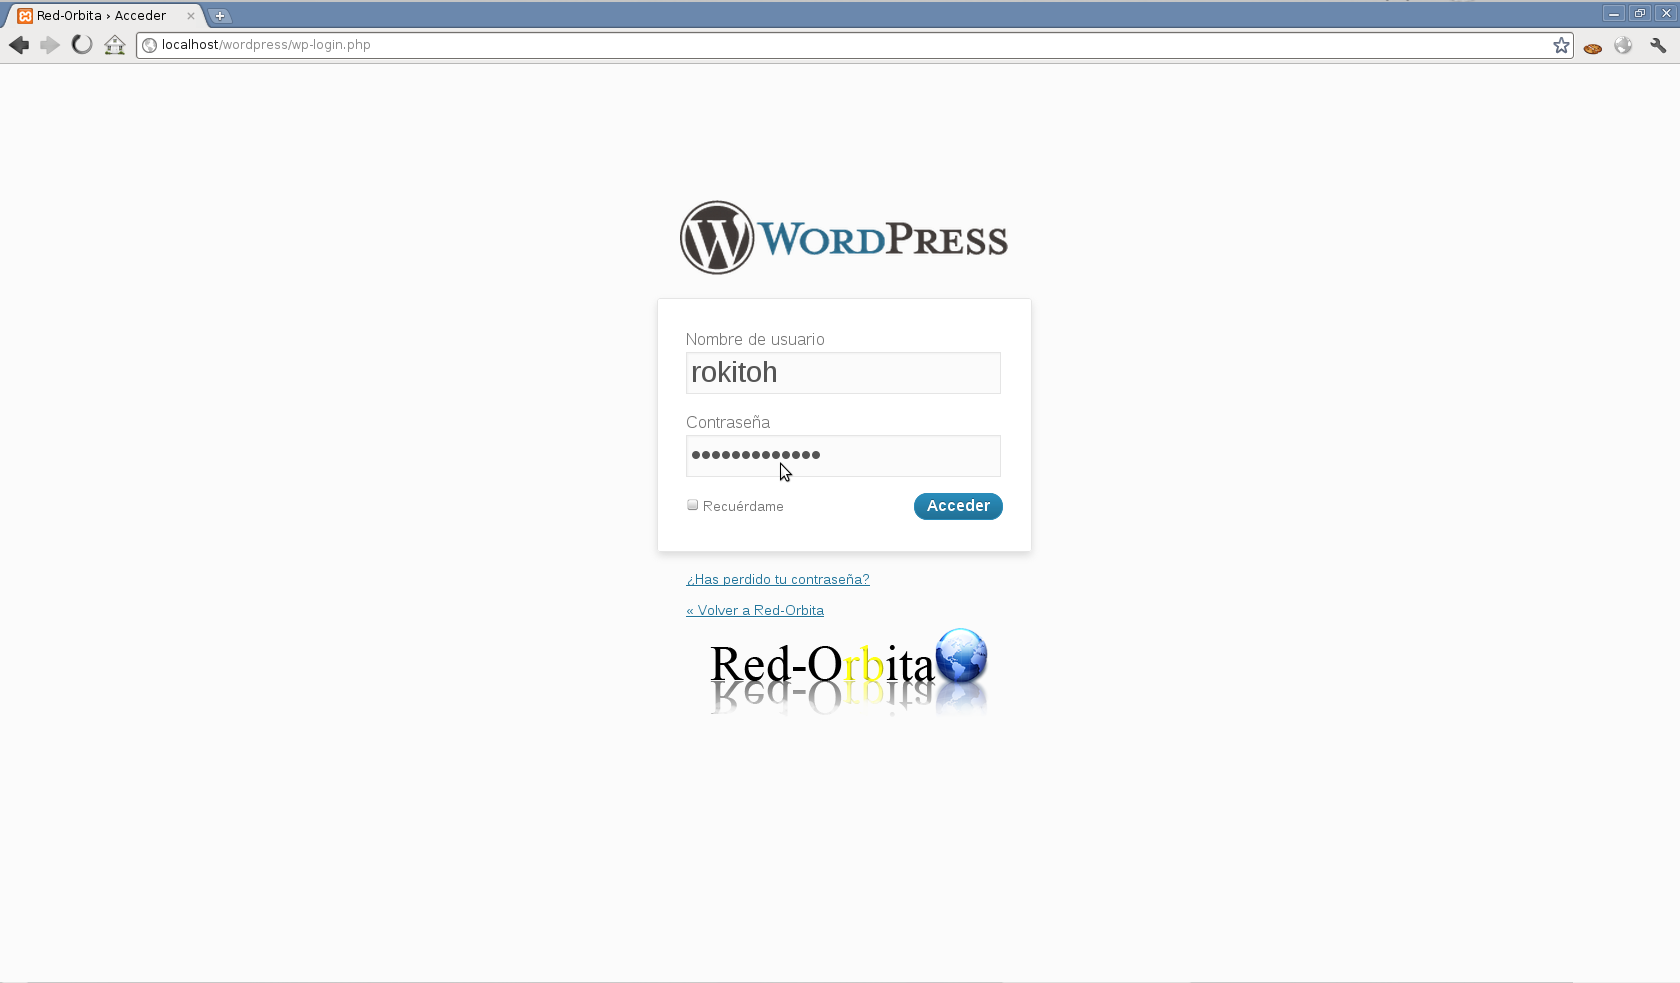
Click Log in and sign in with your credentials:
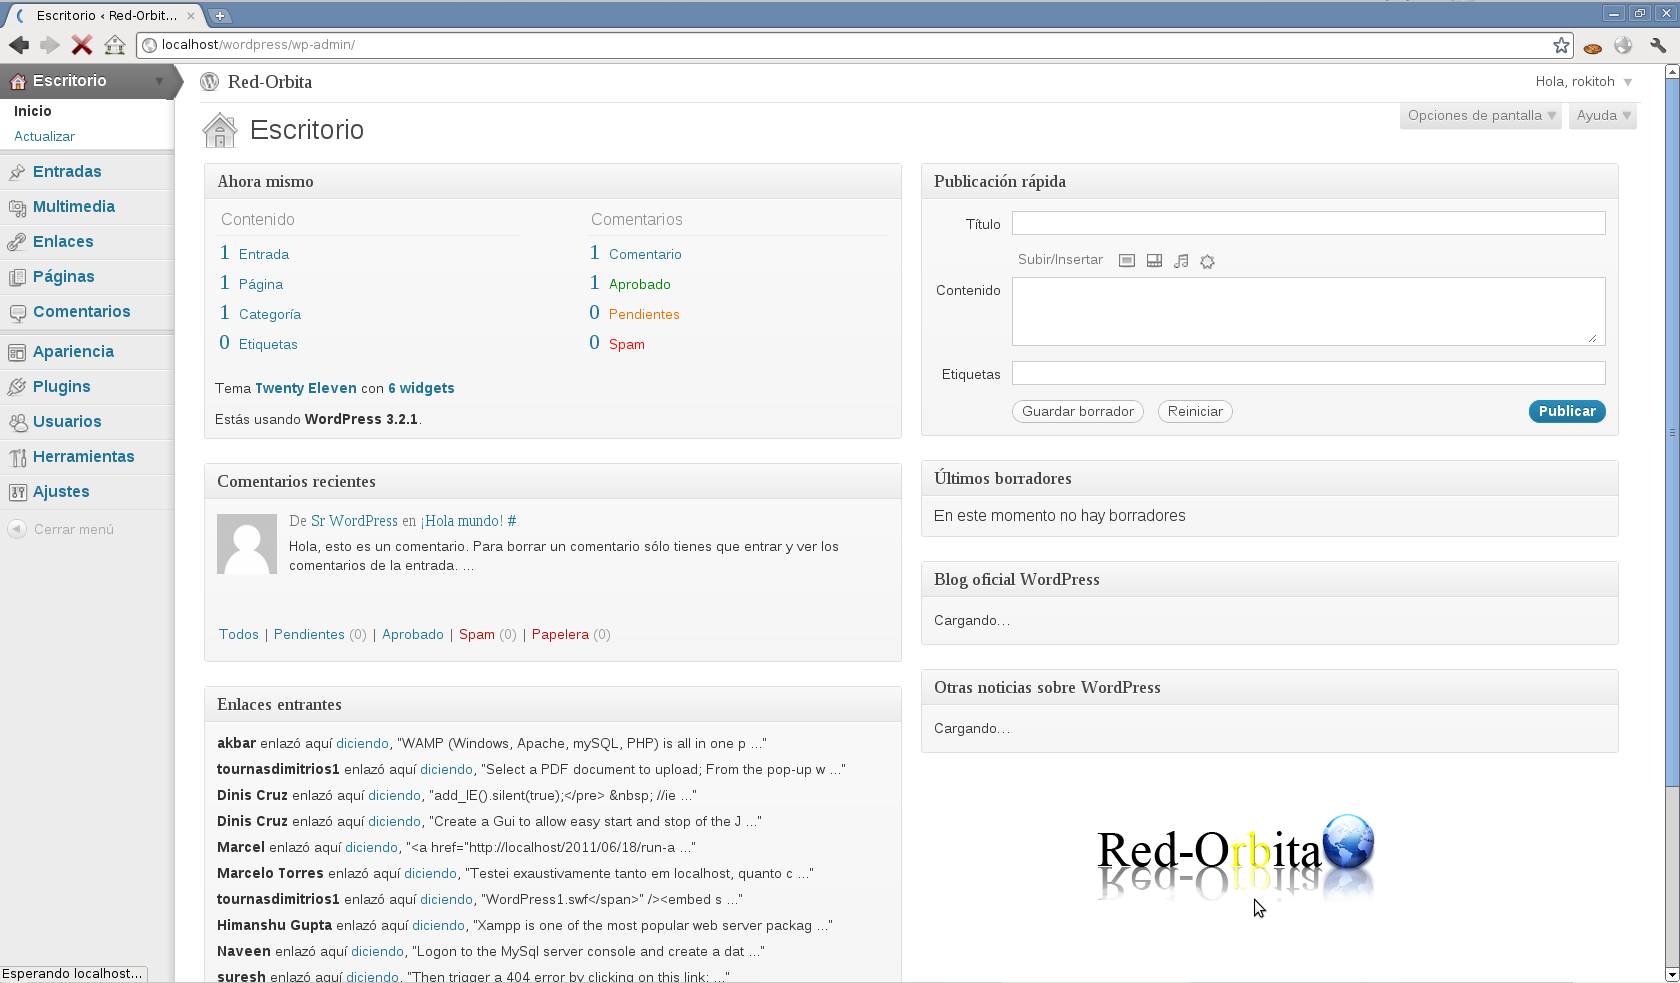
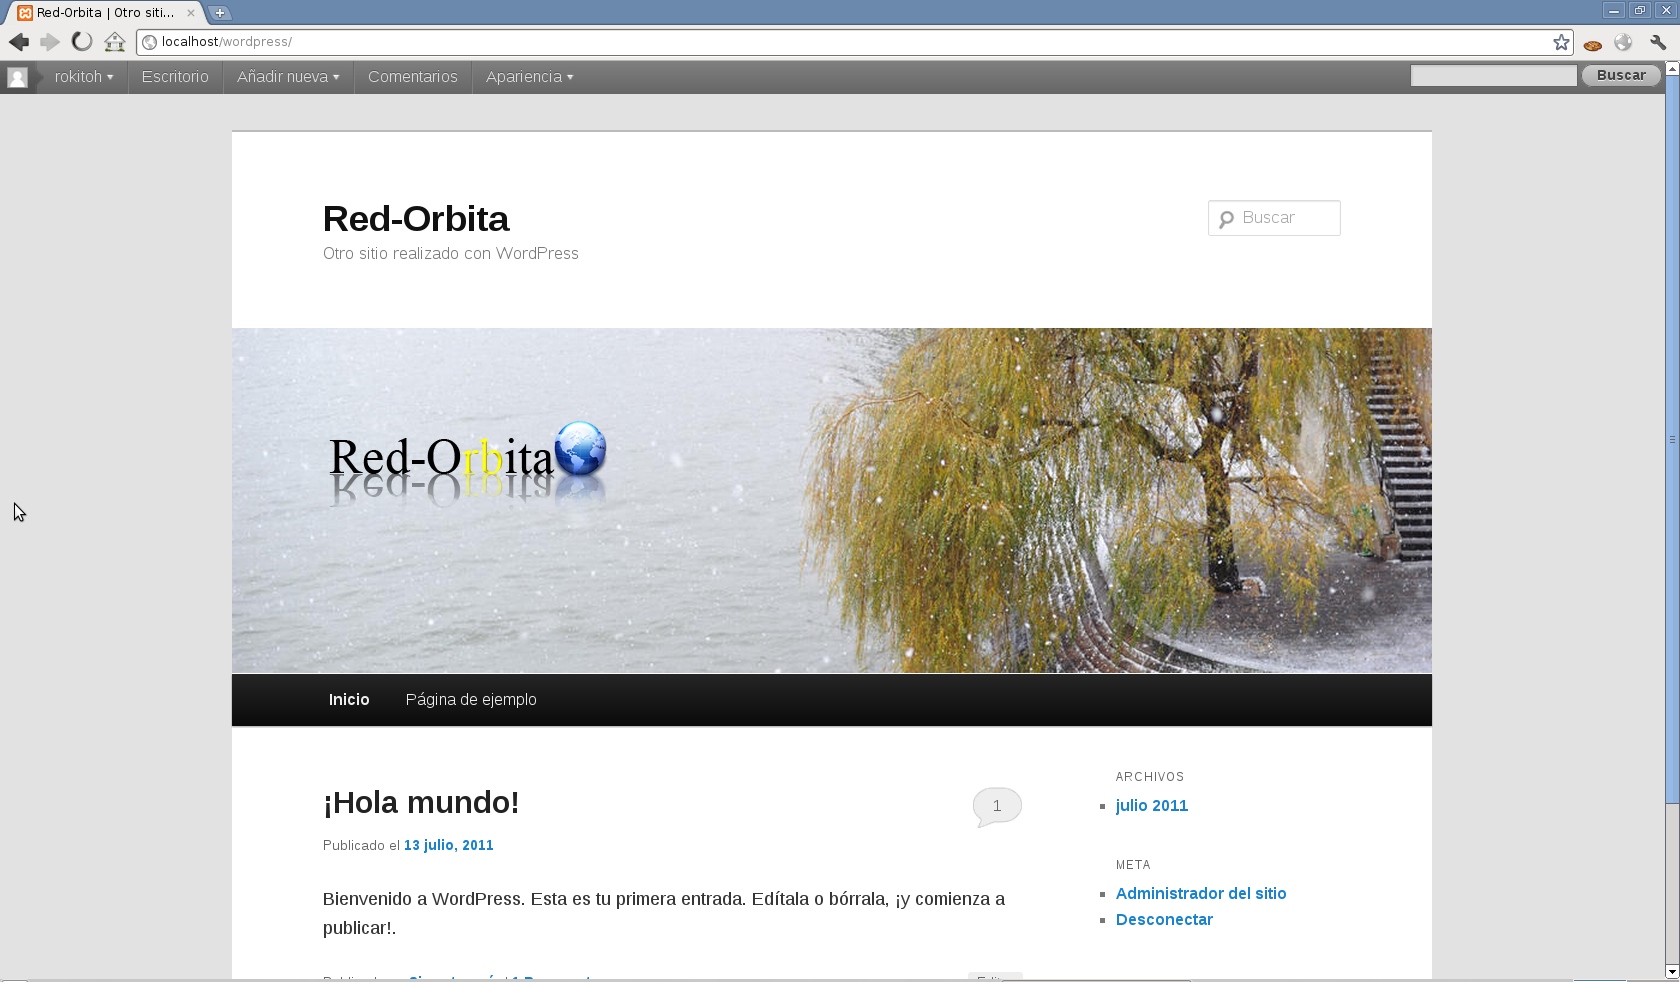
And you're in — the WordPress admin dashboard:
Next steps & hardening
- Serve the site over HTTPS (Let's Encrypt) before going live.
- Keep WordPress core, themes and plugins updated — outdated plugins are the number-one cause of compromised sites.
- Install only trusted plugins and remove any you don't use.
- For repeat installs, WP-CLI can do all of the above in a couple of commands.
That's it — enjoy your new blog. Greetings, Rokitoh!
Comments