
CentOS (Wikipedia Description):
CentOS (community ENTerprise EITHERperating Yesystem) is a binary clone of the Linux distribution Red Hat Enterprise Linux RHEL, compiled by volunteers from source code released by Red Hat.
Red Hat Enterprise Linux is composed of free software and open source, but is published in usable binary format (CD-ROM or DVD-ROM) only to paid subscribers. As required, Red Hat releases all source codeof the product publicly under the terms of the GNU General Public License and other licenses. CentOS developers use that source code to create a final product that is very similar to Red Hat Enterprise Linux and is freely available for download and use by the public, but is not maintained or supported by Red Hat. There are other distributions also derived from Red Hat sources.
As we already know, CentOS is one of the most used distributions for servers, and especially for Web servers, although I still stick with Debian.
Download centOS:
http://mirror.centos.org/centos-6/6/isos/
Once downloaded we start from the CD-ROM
As we can see the start of the system has been changed a little with a faded dark blue.
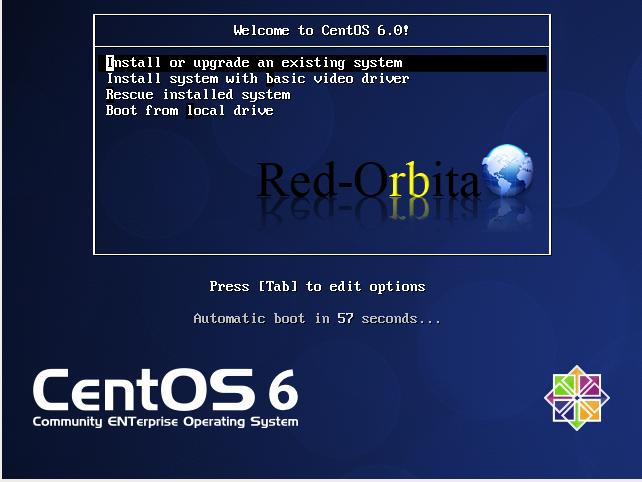
The first thing we find, as always, is a test, SKIP
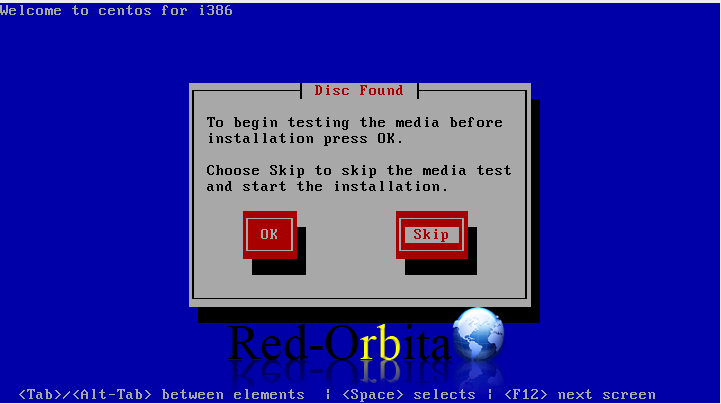
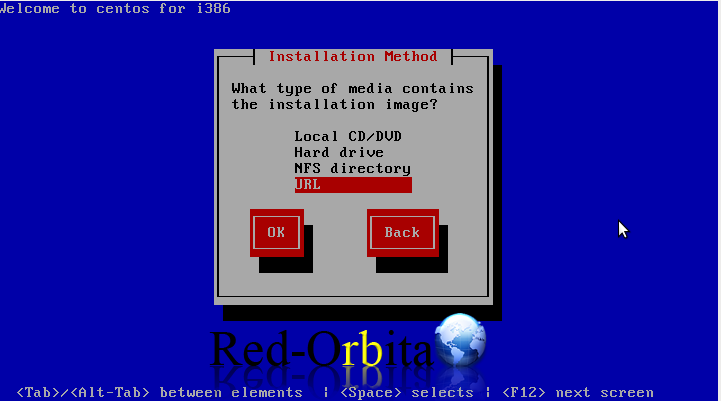
As we can see, this version shows us a small menu with different options to carry out the installation process.
We select URL
IP configuration, in my case I am going to leave it dynamic.
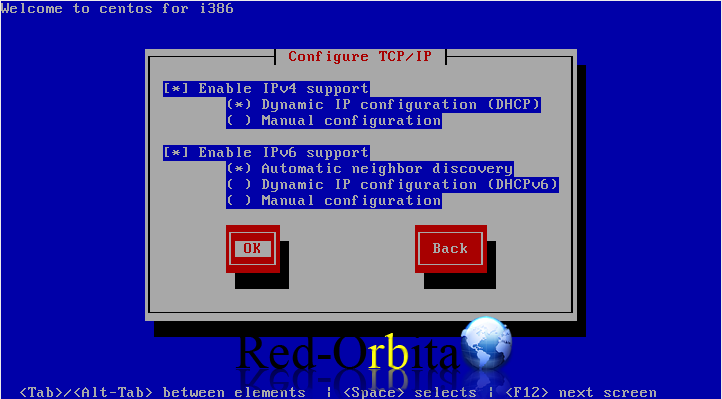
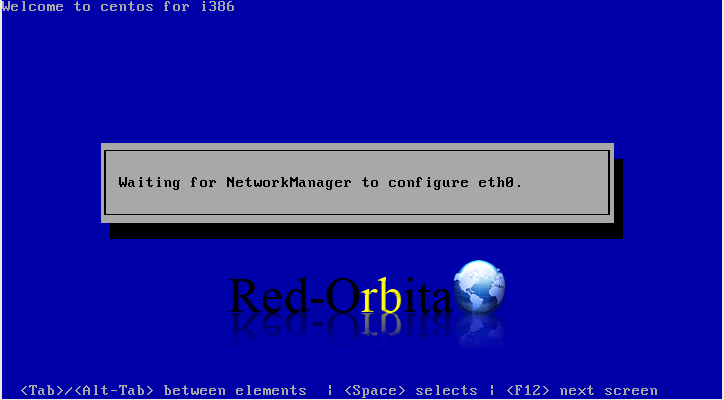
We wait for you to configure the interface….
We add the repository.
x86 architecture:
http://mirror.centos.org/centos/6/os/i386/
x64 architecture:
http://mirror.centos.org/centos/6/os/x86_64/
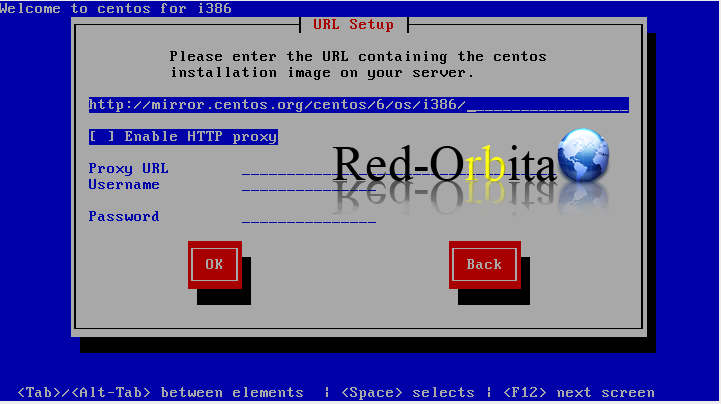
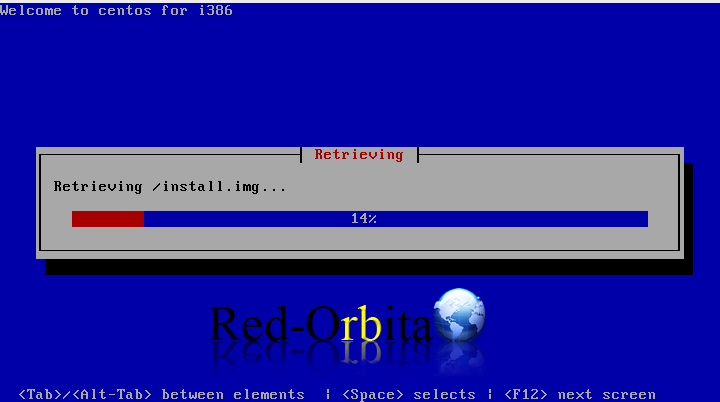
We wait for it to download everything…
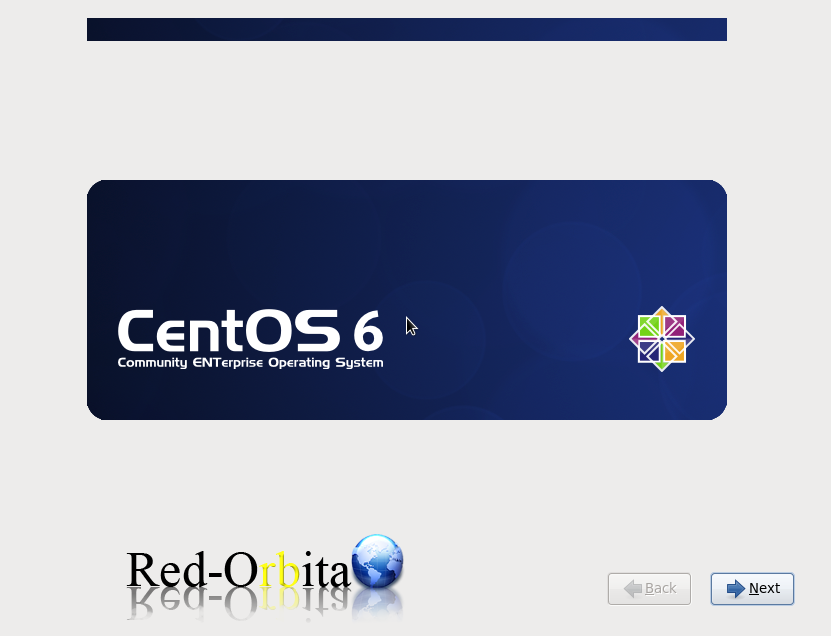
Open the installation wizard, Next!
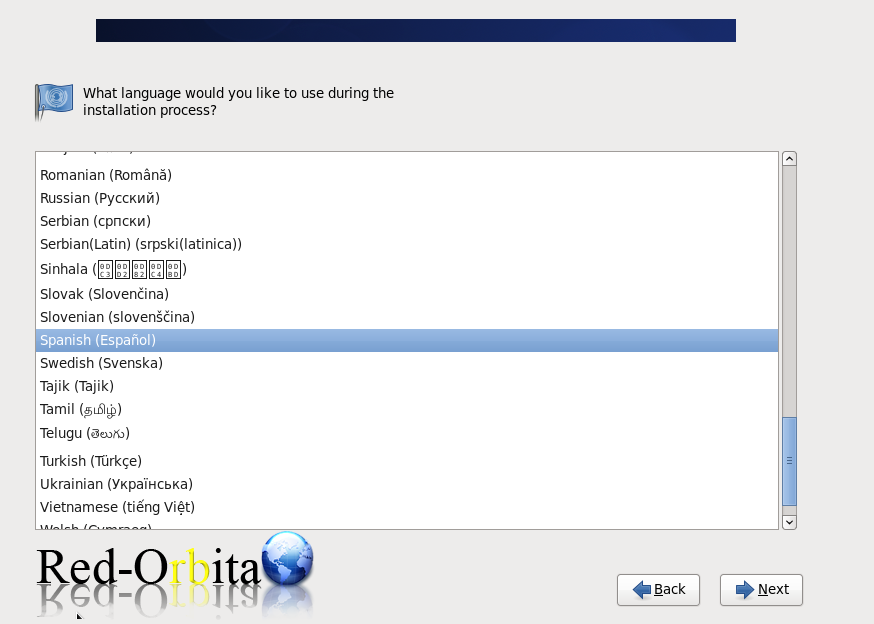
We configure the language.
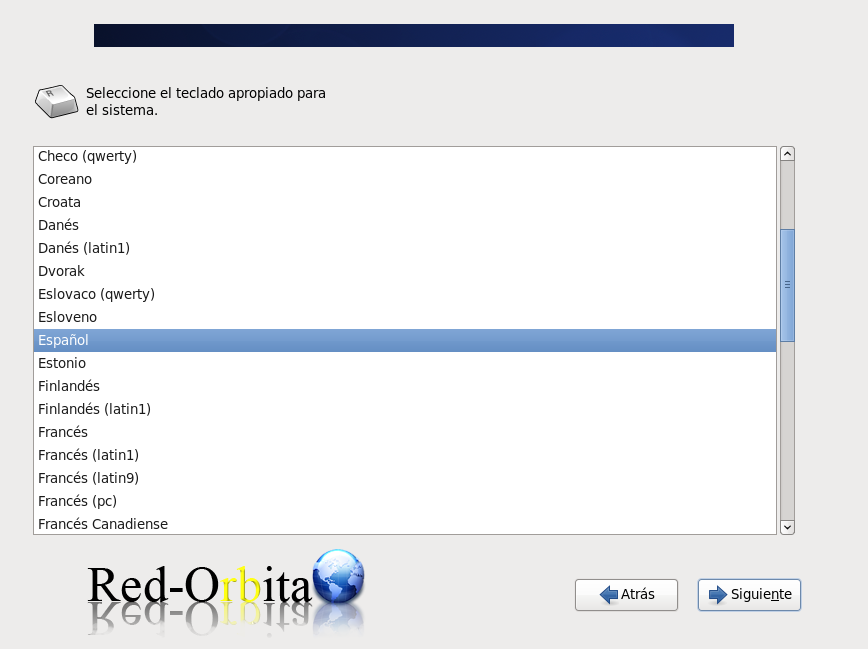
We configure the keyboard.
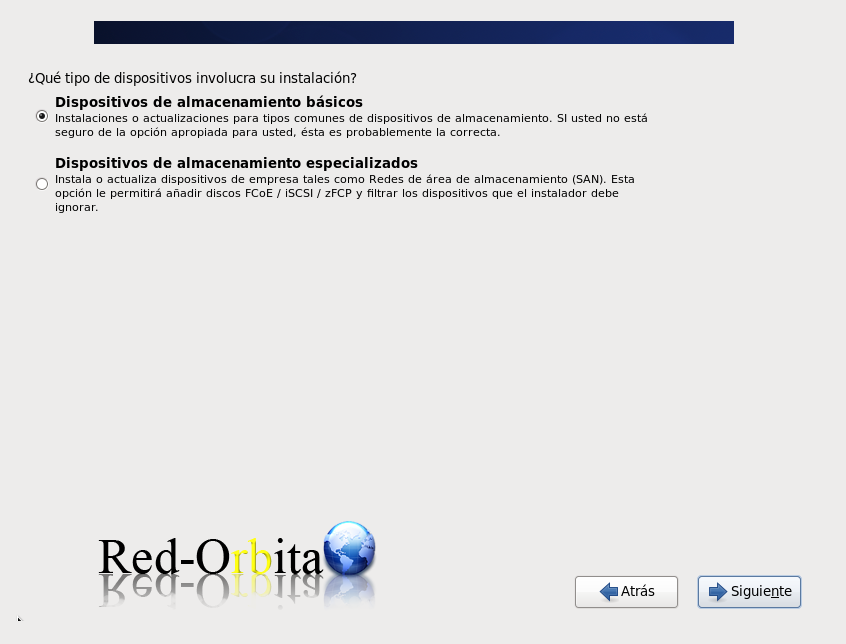
Basic storage device.
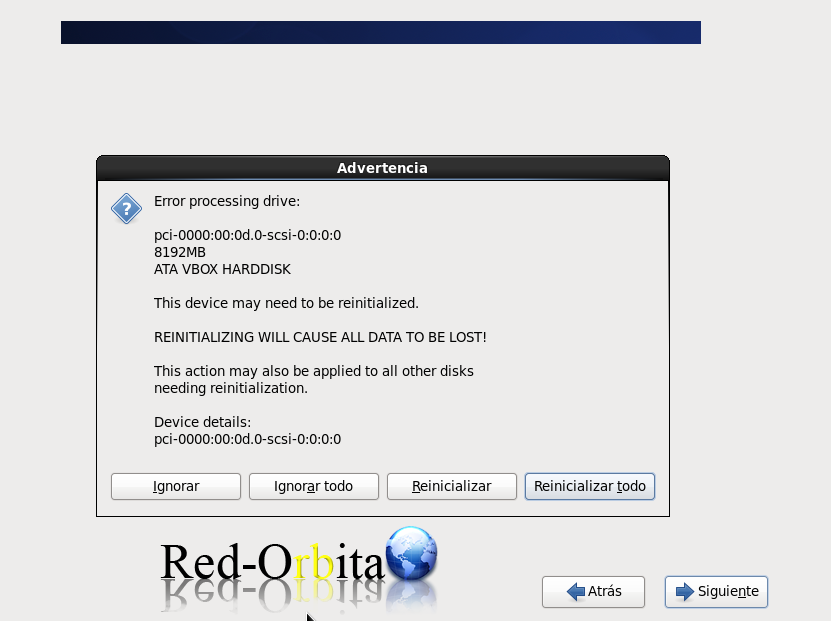
Restart everything.
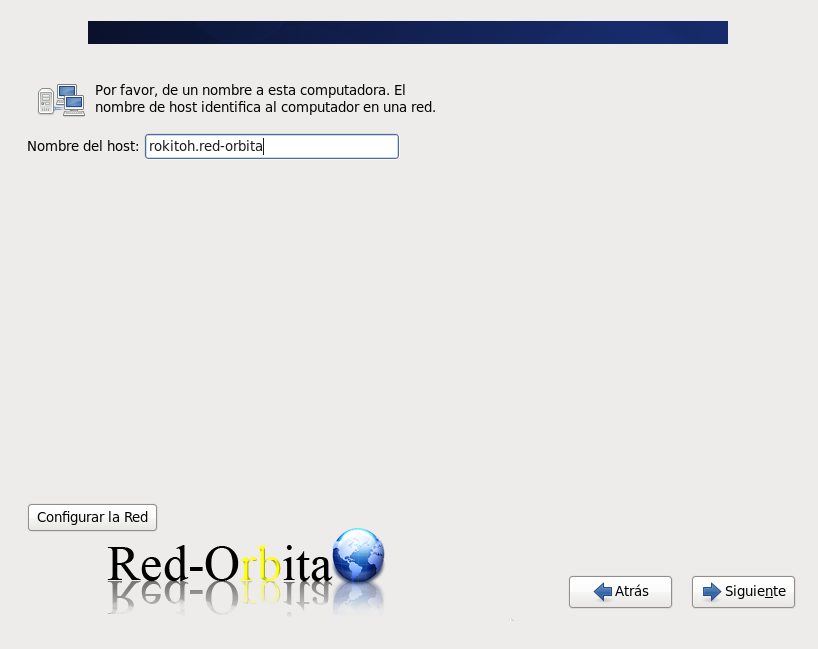
Computer name and domain.
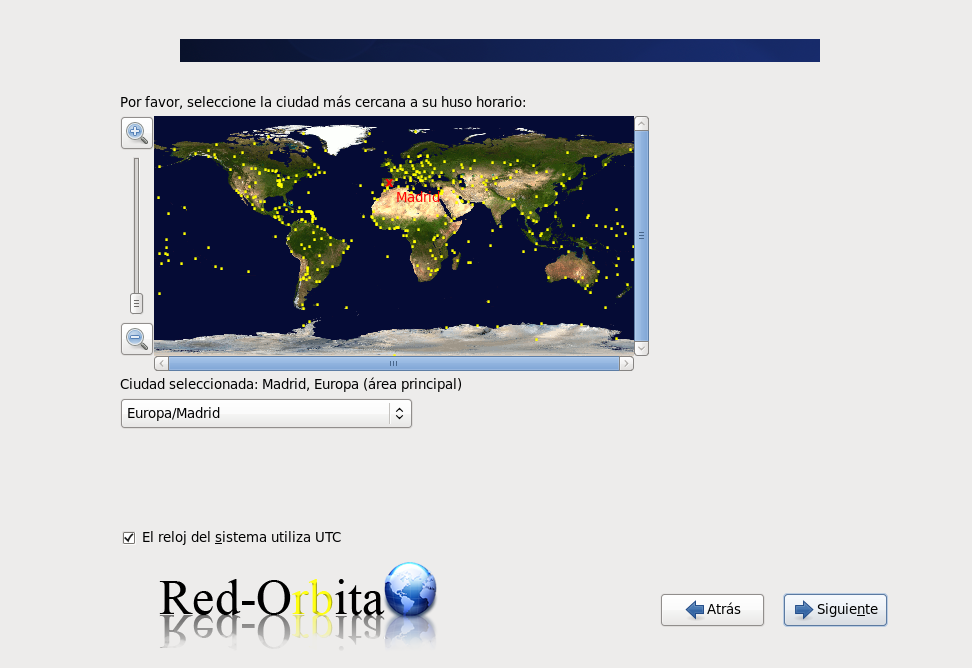
Time zone.
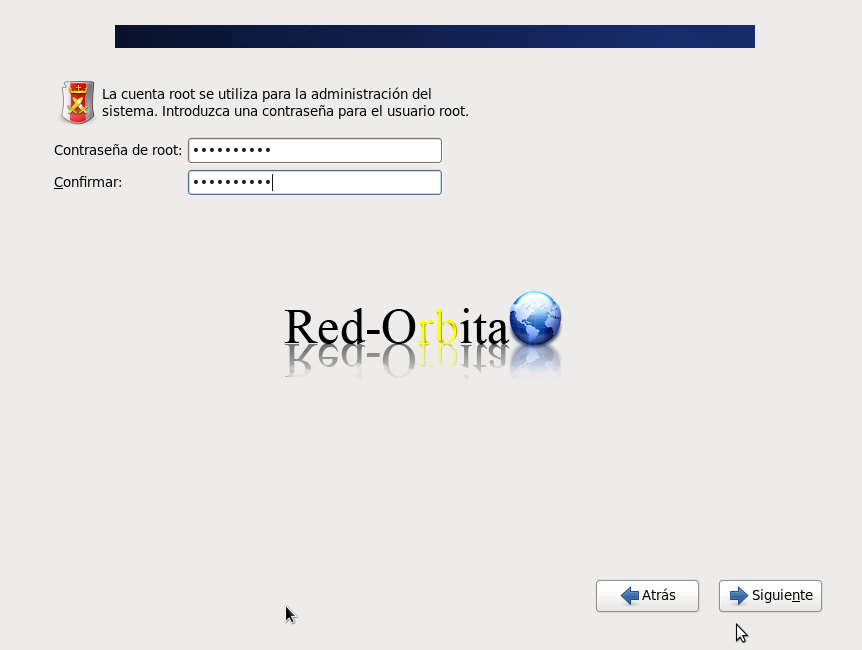
Root password.
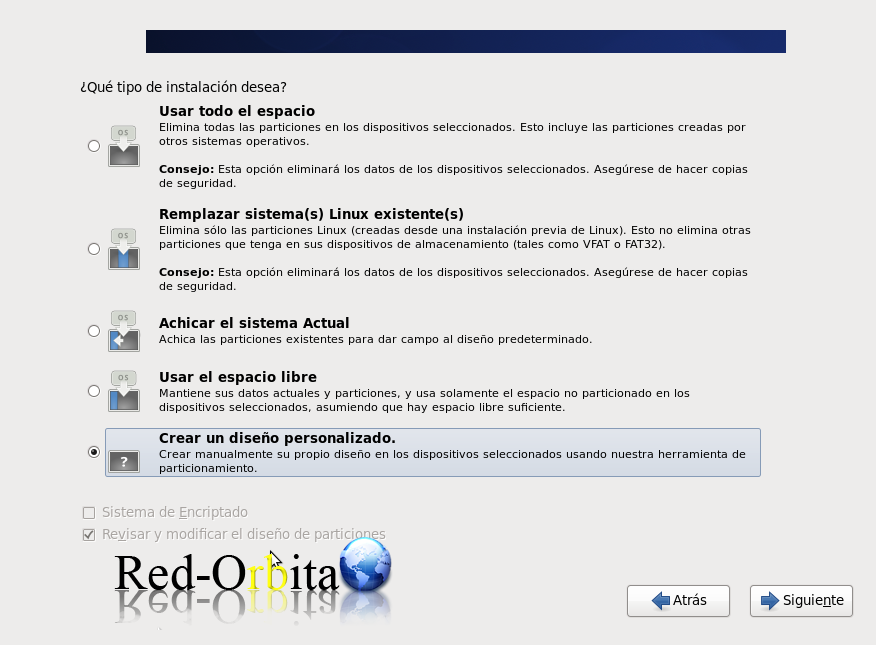
Create a custom design.
We position ourselves in the free space and click CREATE.
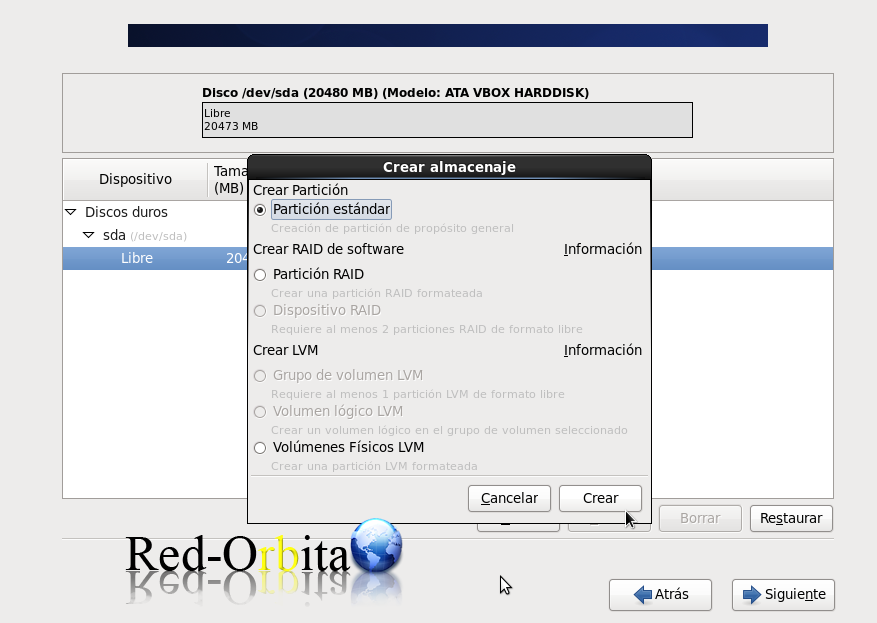
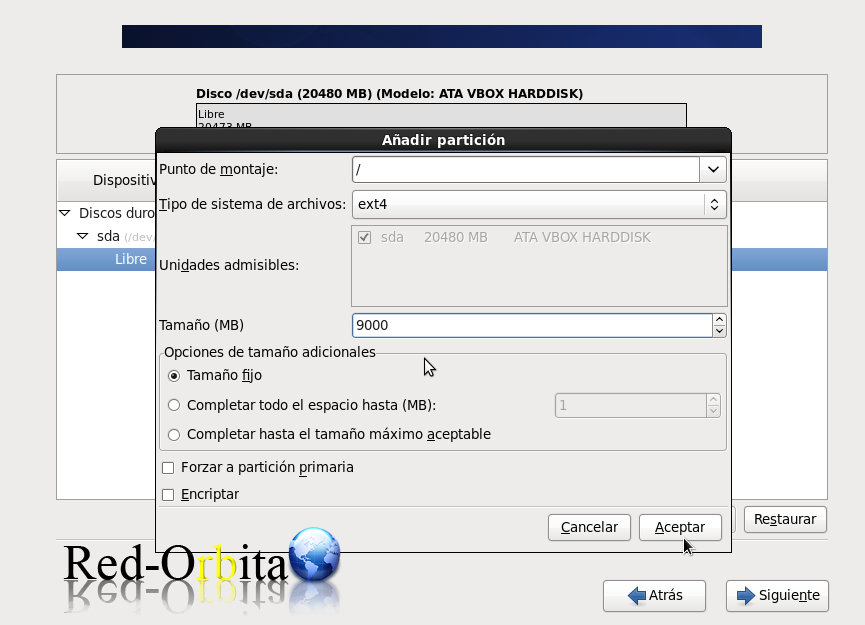
Let's create the root partition. The operating system is installed in this partition.
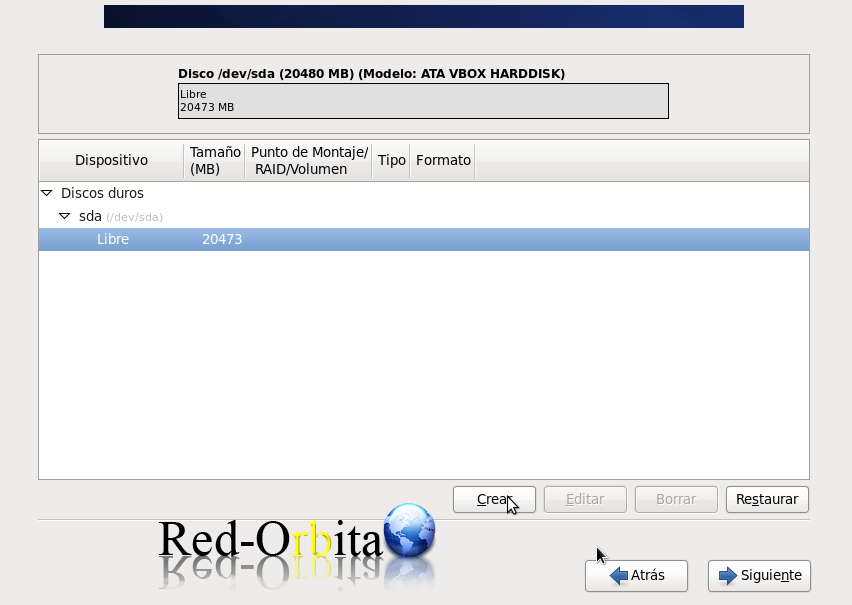
Standard Partition.
We select the mount point /
File system: Ext4
and the size, in my case I put 9000MB
We select the free space again and click create.
Standard Partition.
Now we are going to create the swap area partition, it is used to save the images of the processes that do not have to be kept in physical memory.
What size does this partition have to be, depending on your memory?
- Up to 1GB of RAM la SWAP debería tener un size equal to RAM.
- Entre 2GB y 4GB SWAP size should be la mitad de la memoria RAM.
- Para equipos con more than 4GB the SWAP should have a maximum size of 2GB.
More information: http://es.wikipedia.org/wiki/Espacio_de_intercambio
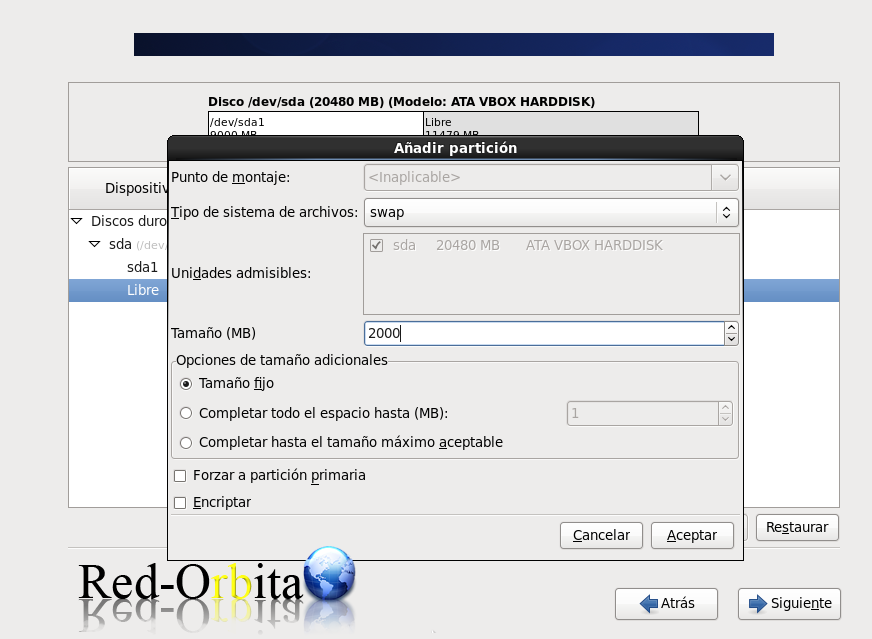
Again, we select the free space. CREATE
Standard Partition.
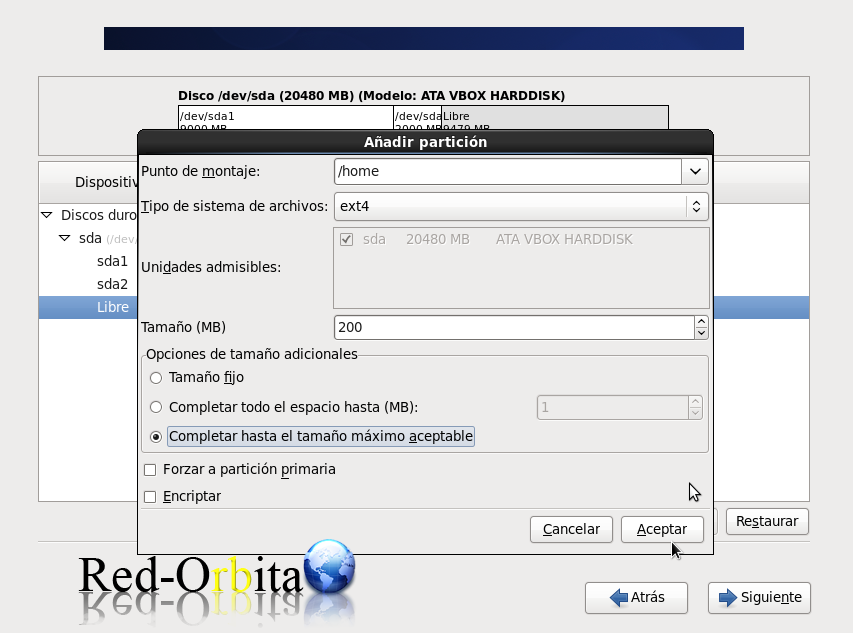
Now we are going to create our /Home, our personal folder where we keep all our documents.
this partition… well… depending on the space you have… and what you want to save….
In my case I want it to cover all the remaining space and I have selected: “Fill up to the maximum size allowed”
If you notice, at the bottom there is an “Encrypt” option. to encrypt and thus give more security to the partitions.
- Secure our partitions to restrict unauthorized physical access to data.
- Be able to increase and/or modify the sizes of the partitions if necessary.
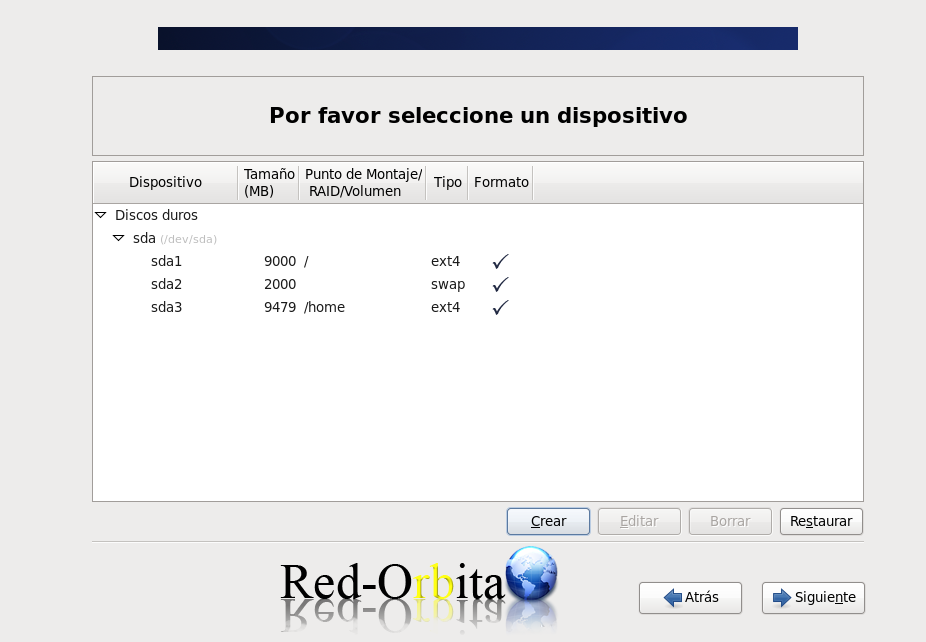
It would look like this, Next.
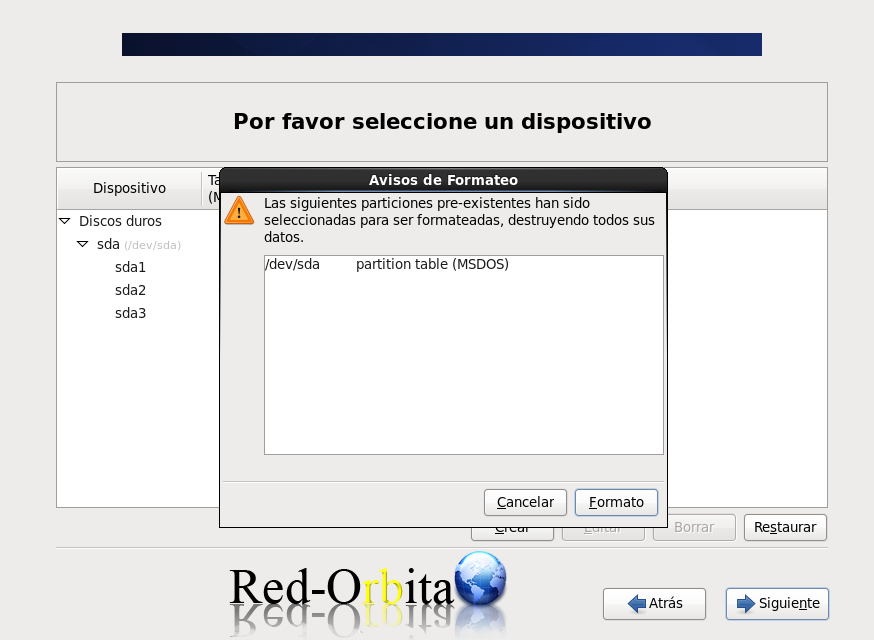
Format
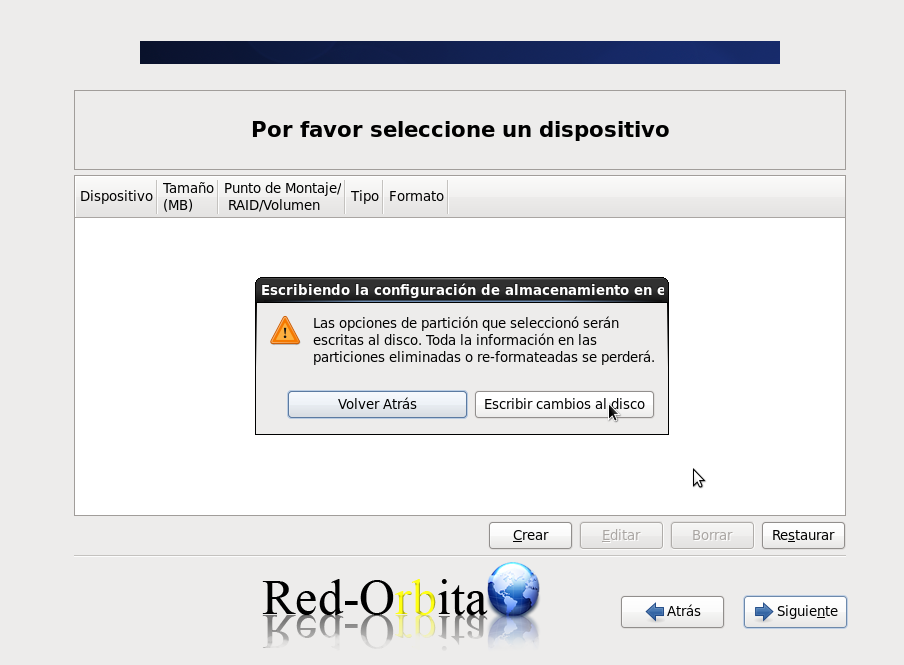
Write changes to disk
Here we could configure the bootloader or even put a password on it.
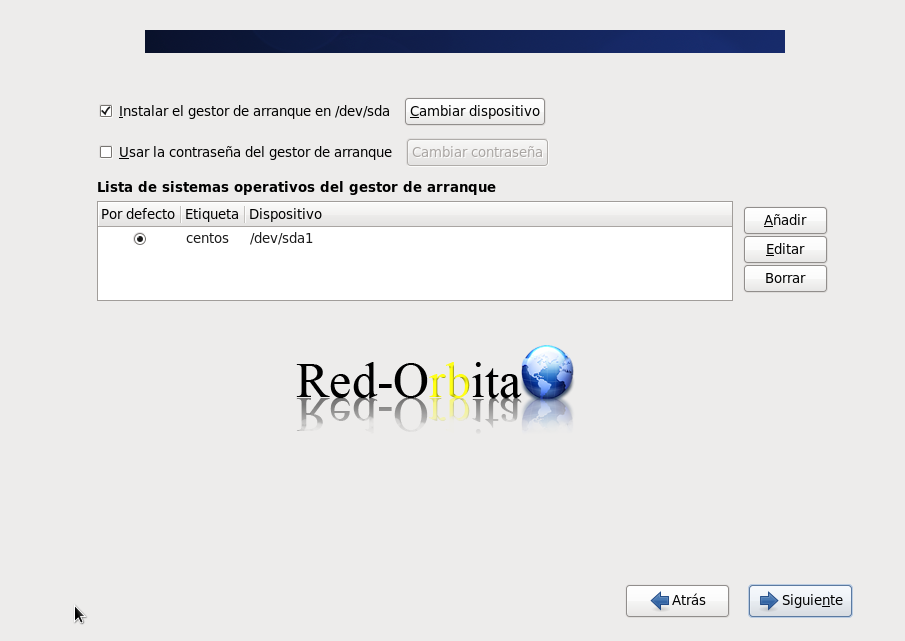
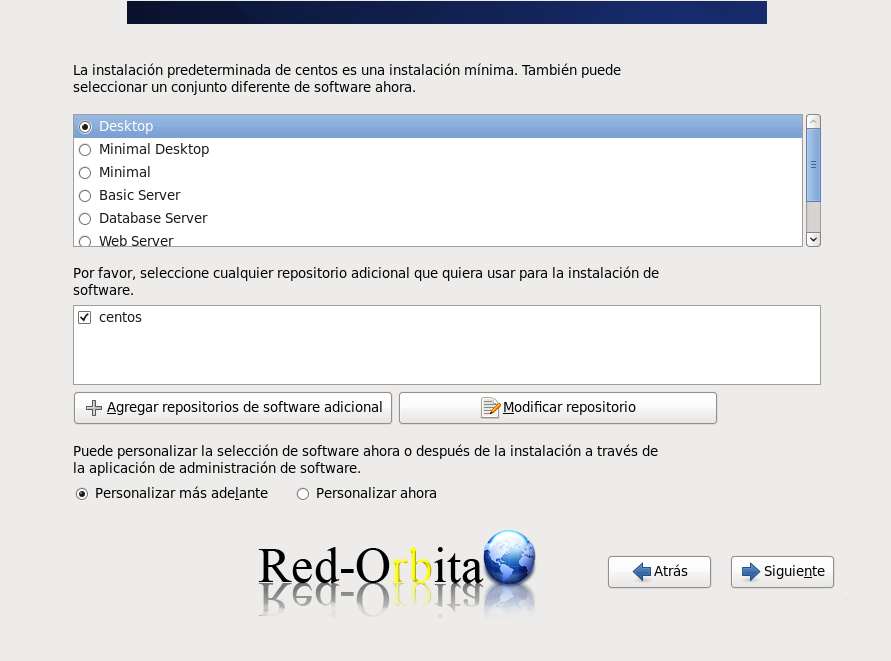
Here we can configure the desktop, as we can see that it does not give you the option of the last version which said GNOME or KDE, we have 2 desktops, Minimal Desktop or Desktop, we also have options such as: Minimal, Basic Server, Database Server, Web Server...ETC. Depending on what we are going to use it for, in my case I am going to install it as a client with Desktop.
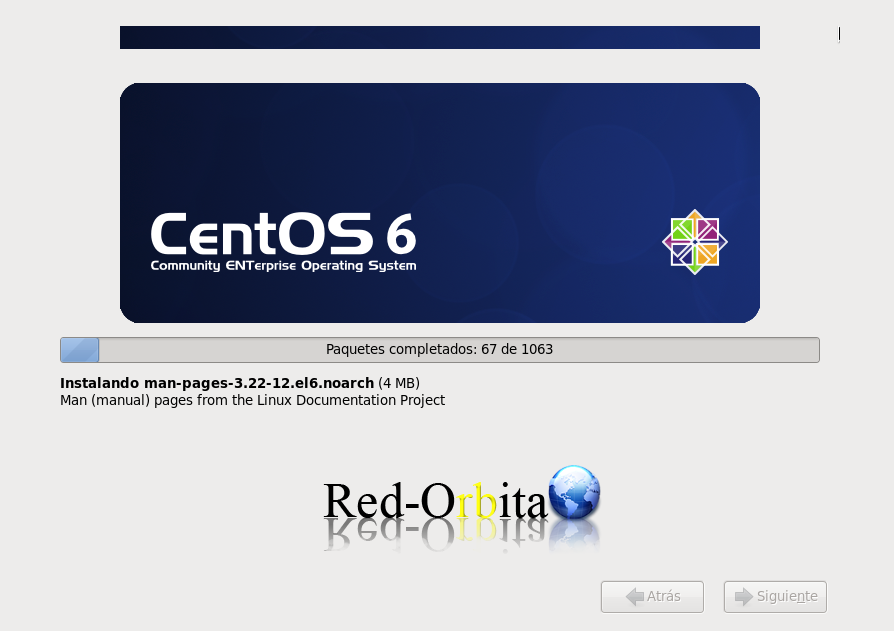
It starts installing and it takes a long time... and I'm installing it under VirtualBox.
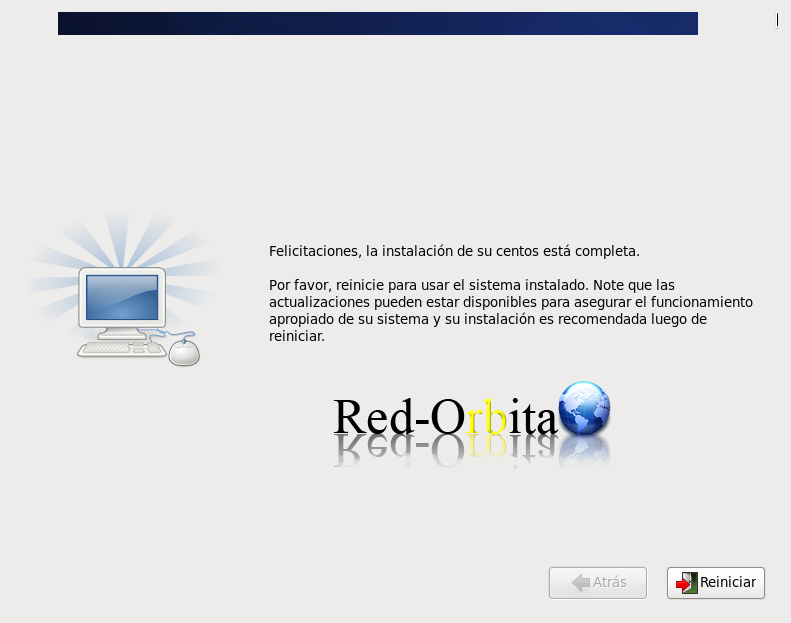
Once the installation is complete we reboot.
We hope it loads…
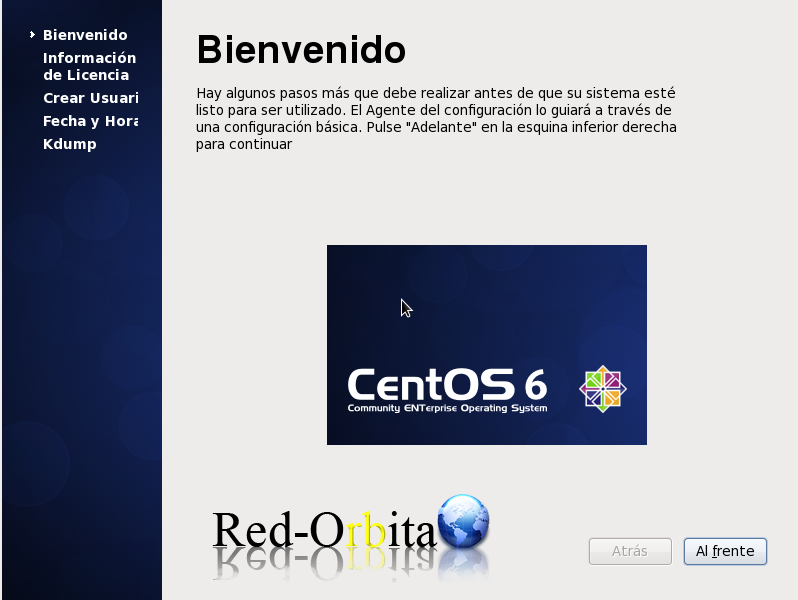
He welcomes us and we can see the translation that instead of saying Next or Forward he has changed it TO the front
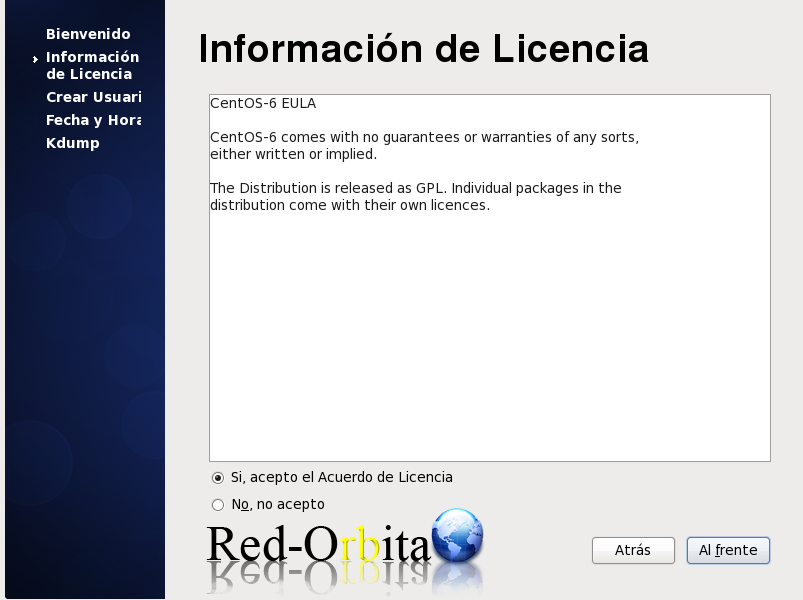
License information.
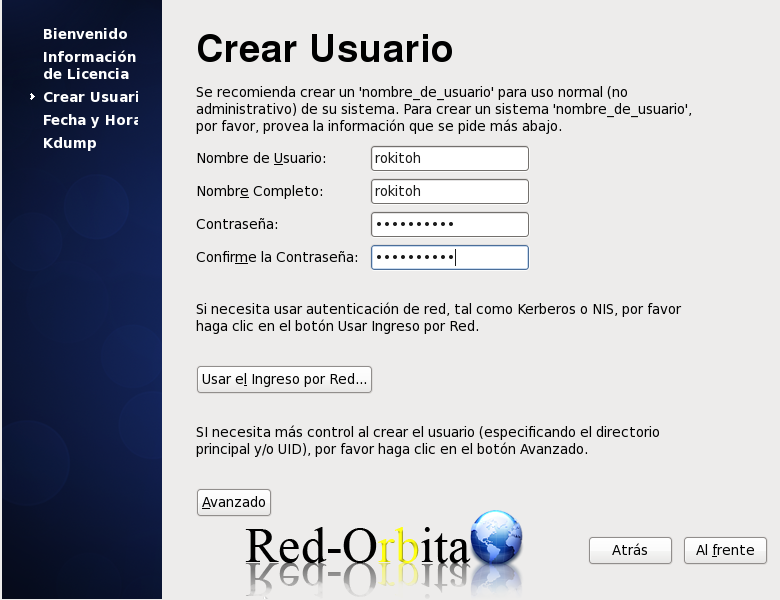
We create the user with which we will access the system
Time and date
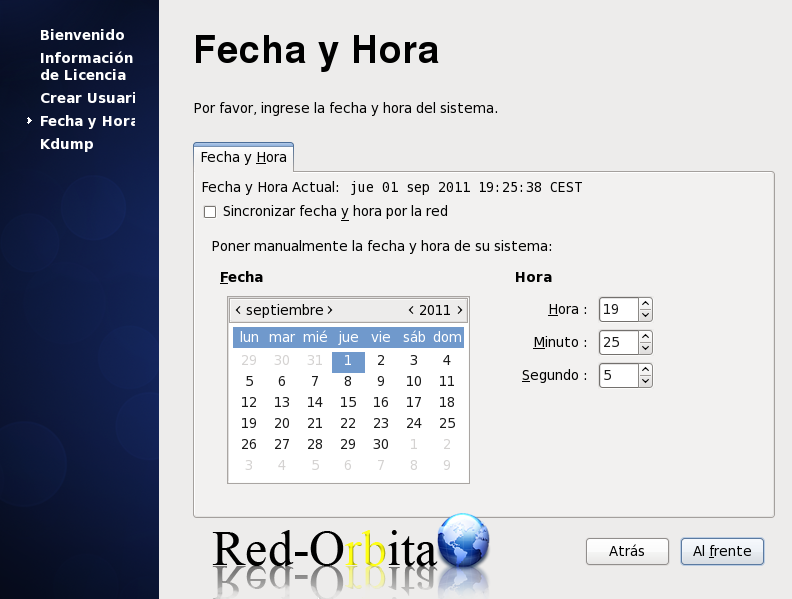
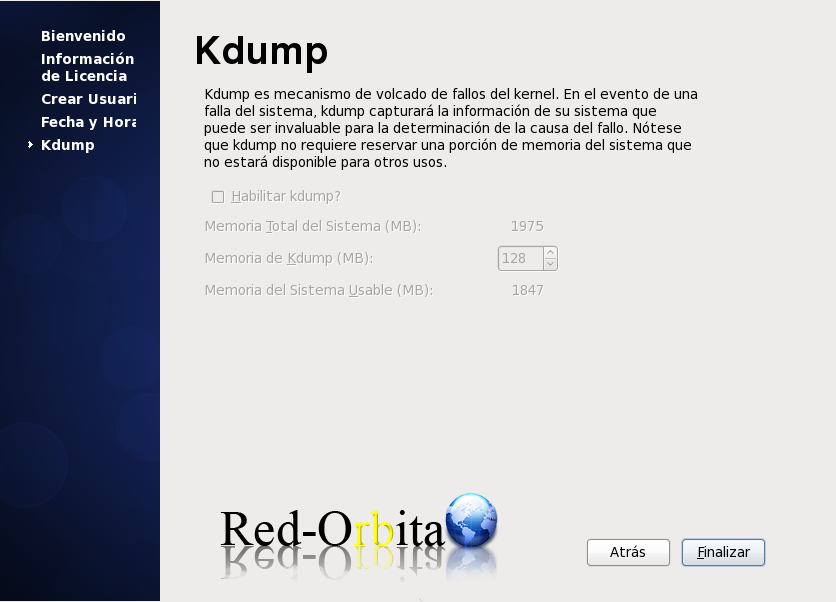
and finally the Kdump, which gave me a crash saying that it doesn't have enough memory space, I don't know what requirements it has, I gave it 1 GB of RAM and 2 GB of swap for the dump... but it crashed, hahaha
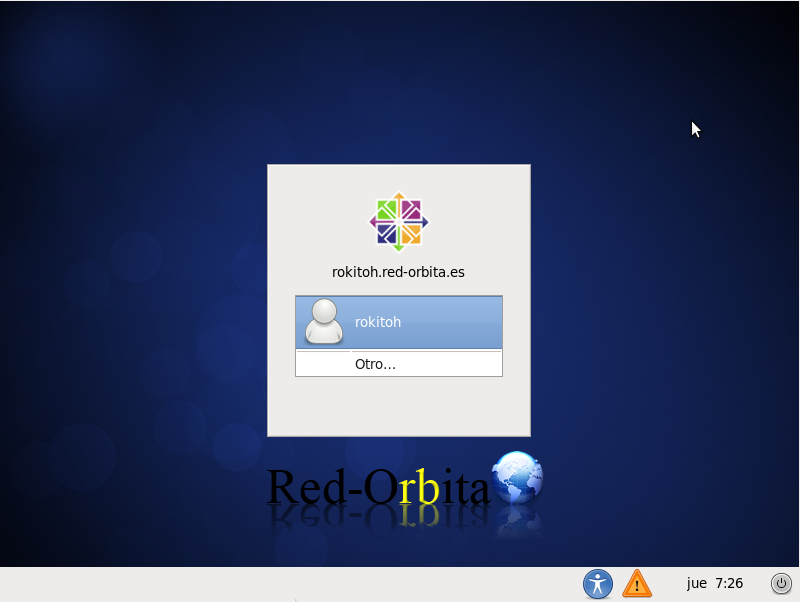
We log in.
READY, we have CentOS 6 installed and ready to use!
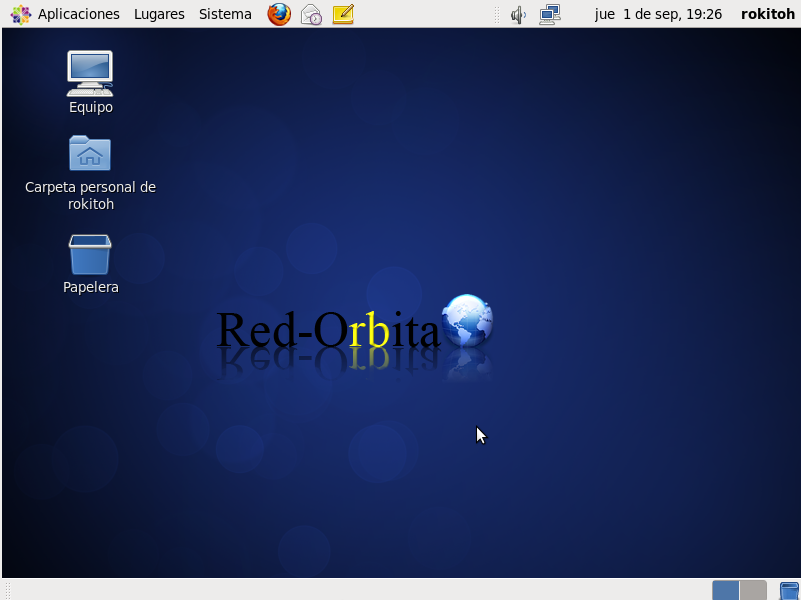
That's it for the manual, enjoy your centOS.
Greetings, rokitoh!
Comments