
Previously we talked about how install Cacti and how enable SNMP in Windows Today we are going to start monitoring machines.
We are going to download the necessary templates
Official website: http://docs.cacti.net/template:host:server:windows_2000xp_host
You can also find more templates on the following very interesting website... which we will already implement some of: http://www.generationip.com/documentation/general-documentation/87-best-cacti-templates-for-windows
We download the template and unzip it.
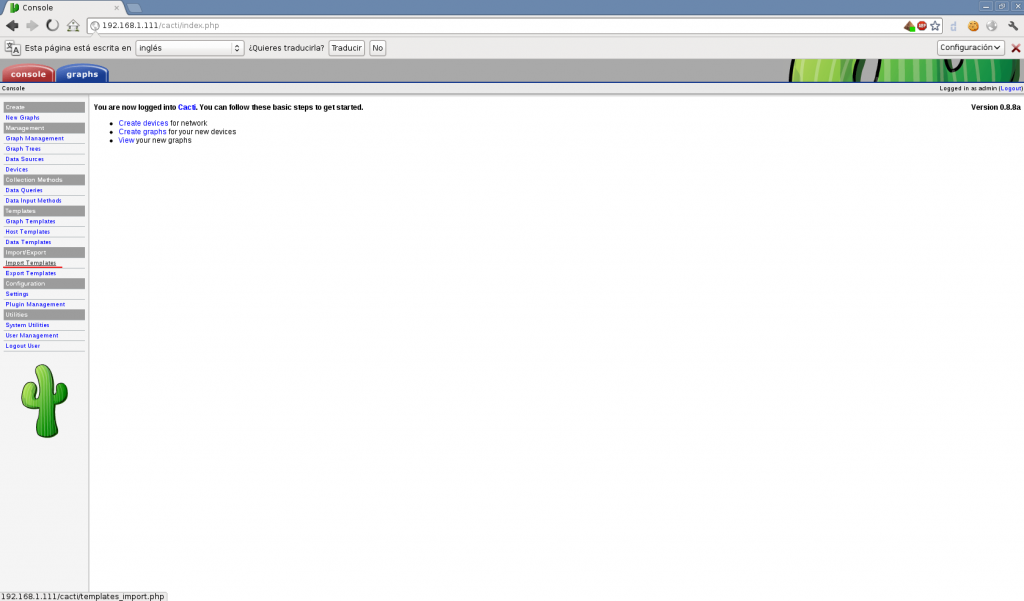
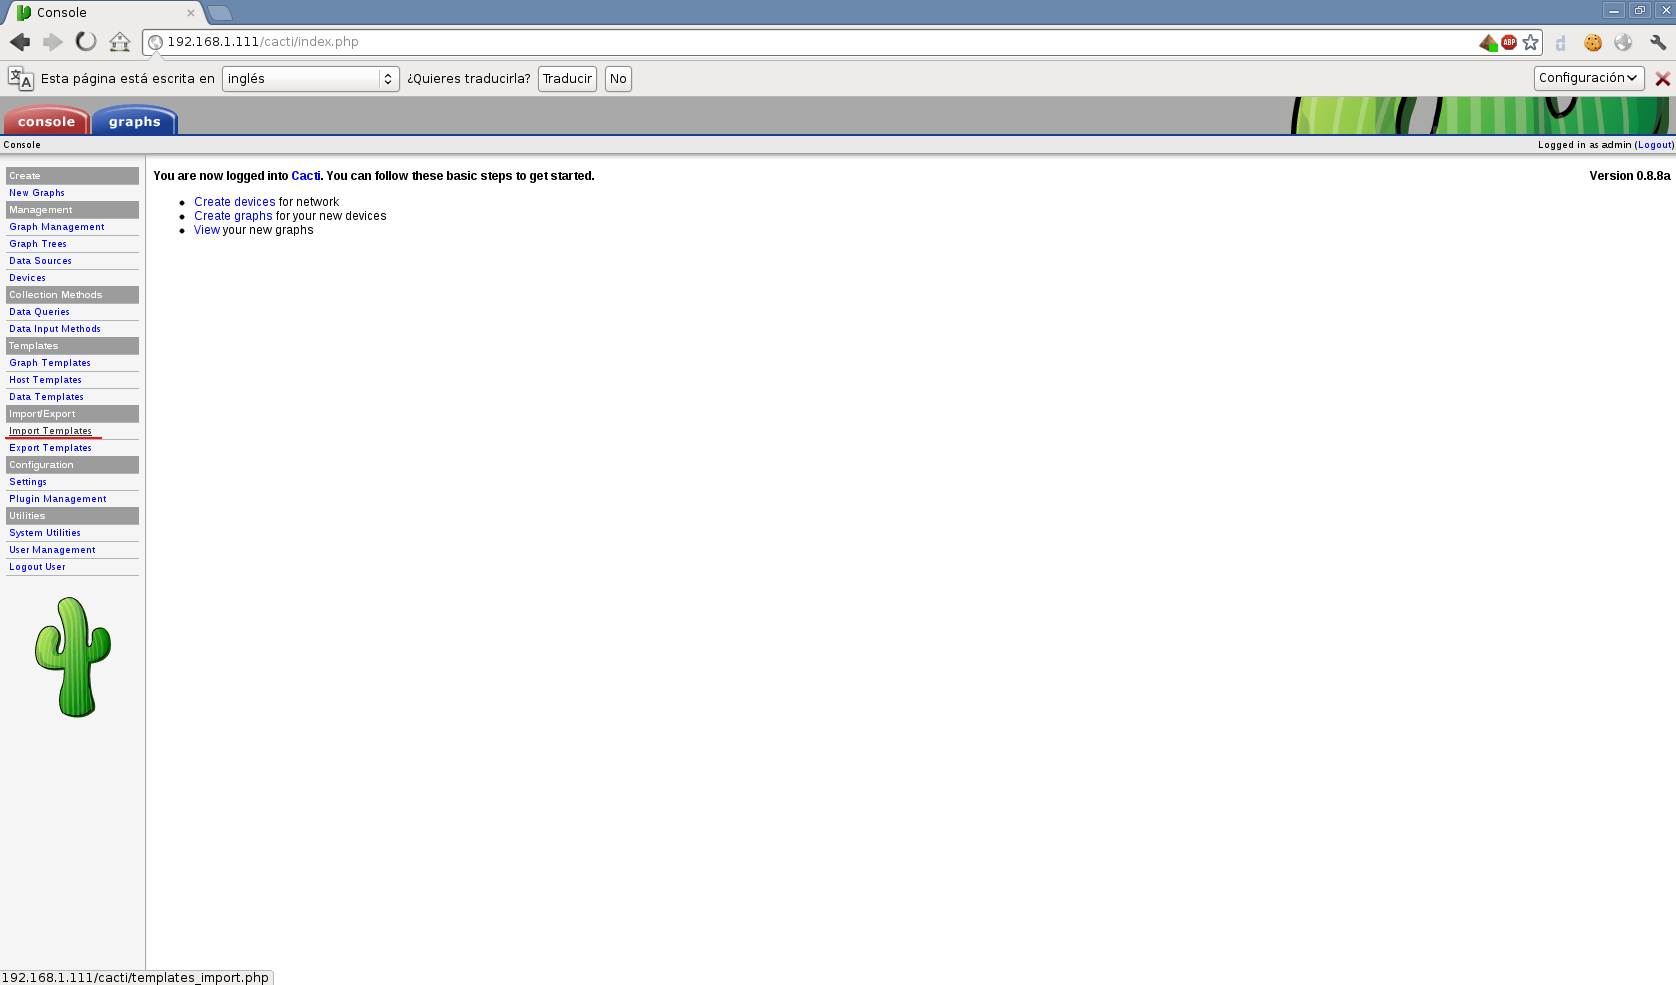
We import the temple (If we don't have it) and if we have it, what we need to do is update it. To import a temple we give: Import templates
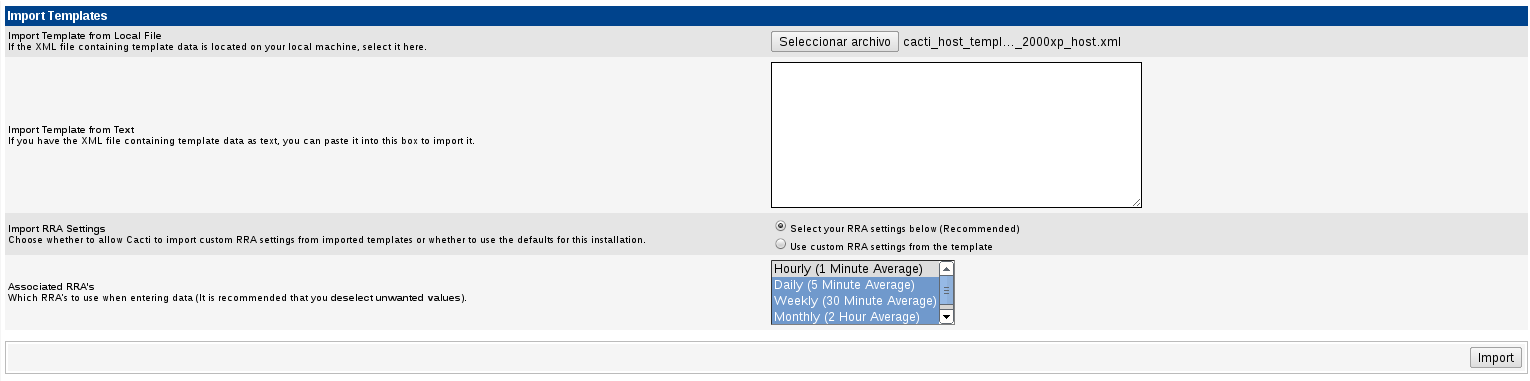
A form will appear where we have to search for the previously extracted .xml
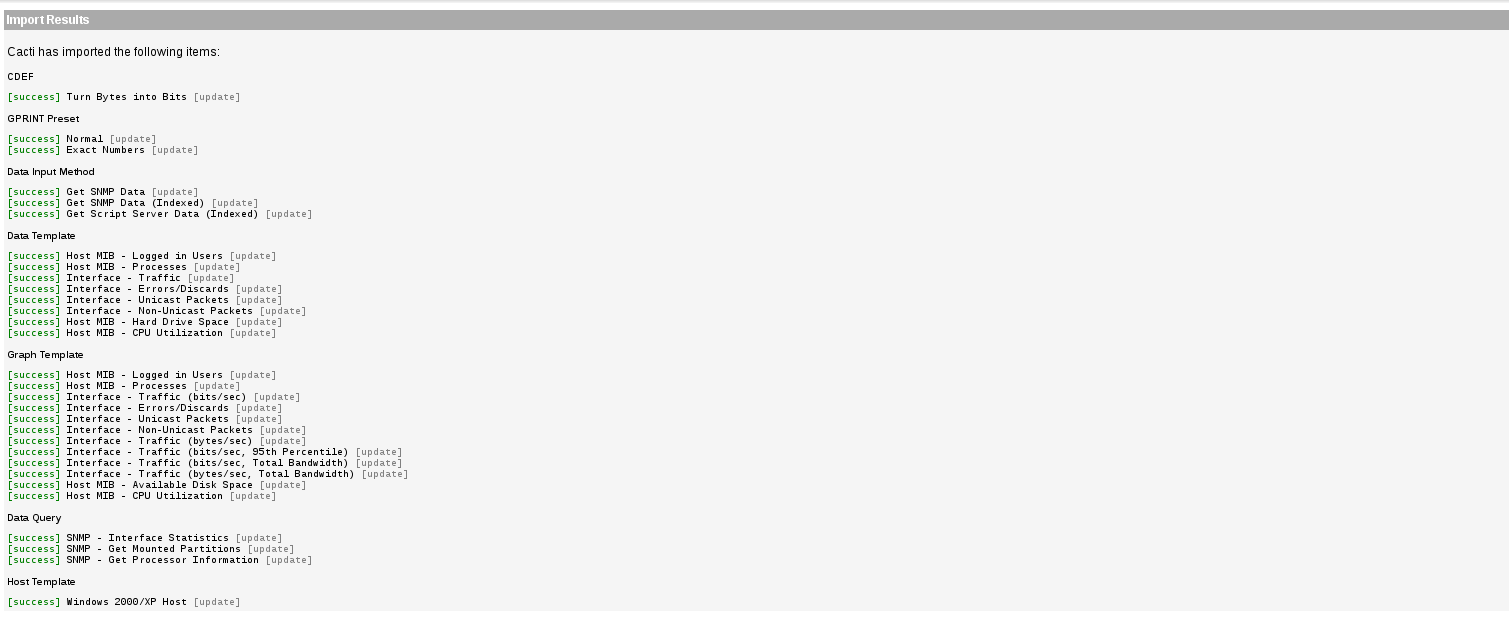
And something like this will appear (I already had it installed... but it's good to update it from time to time)
Now we are going to create a new Tree to add the new graphs. To do this we go to Graph Trees > Add
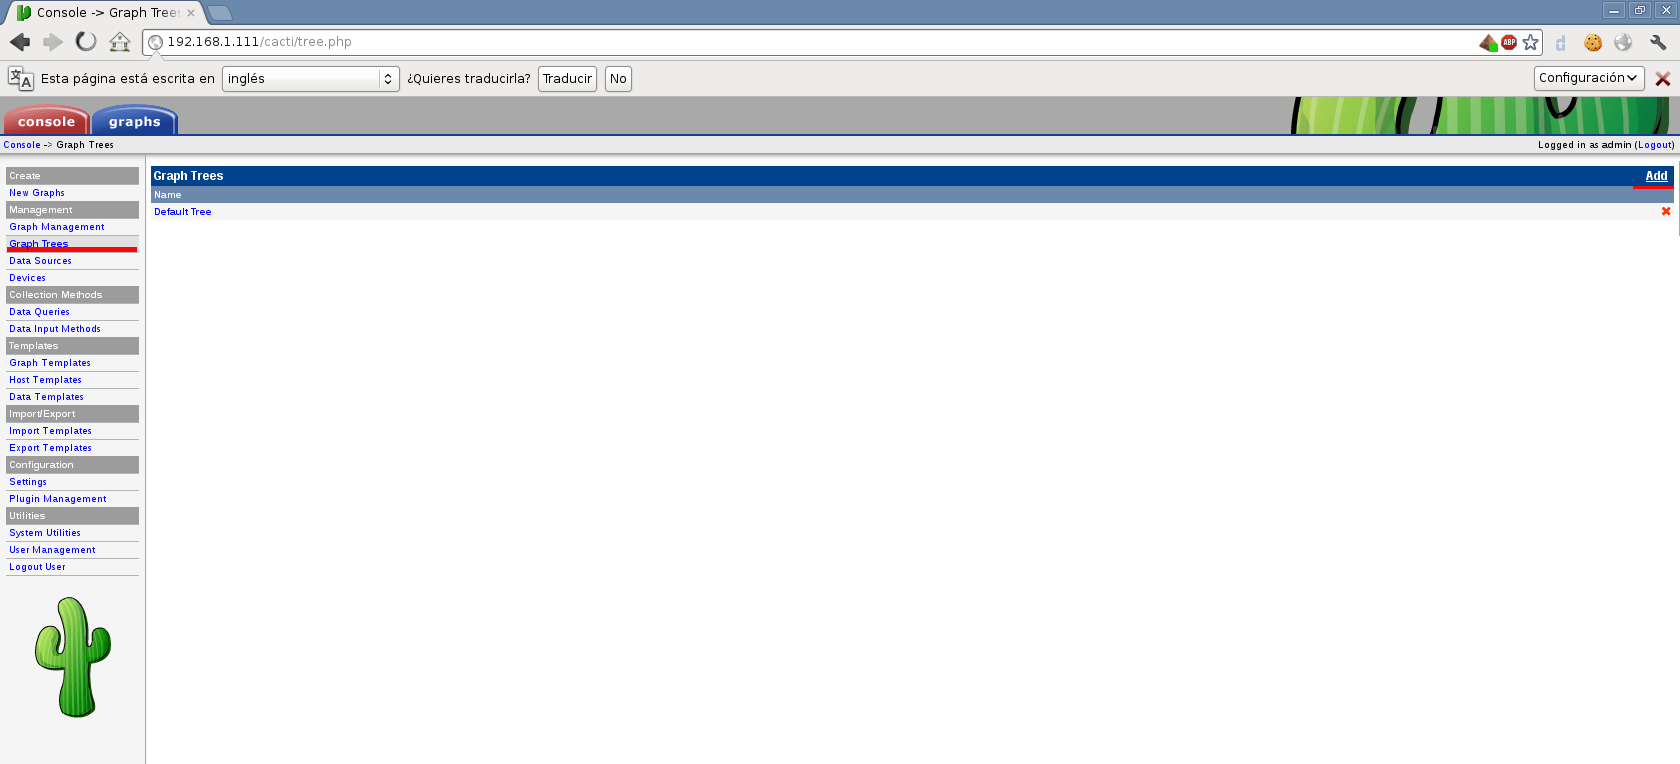
We add the name you want. All monitoring will be posted from here

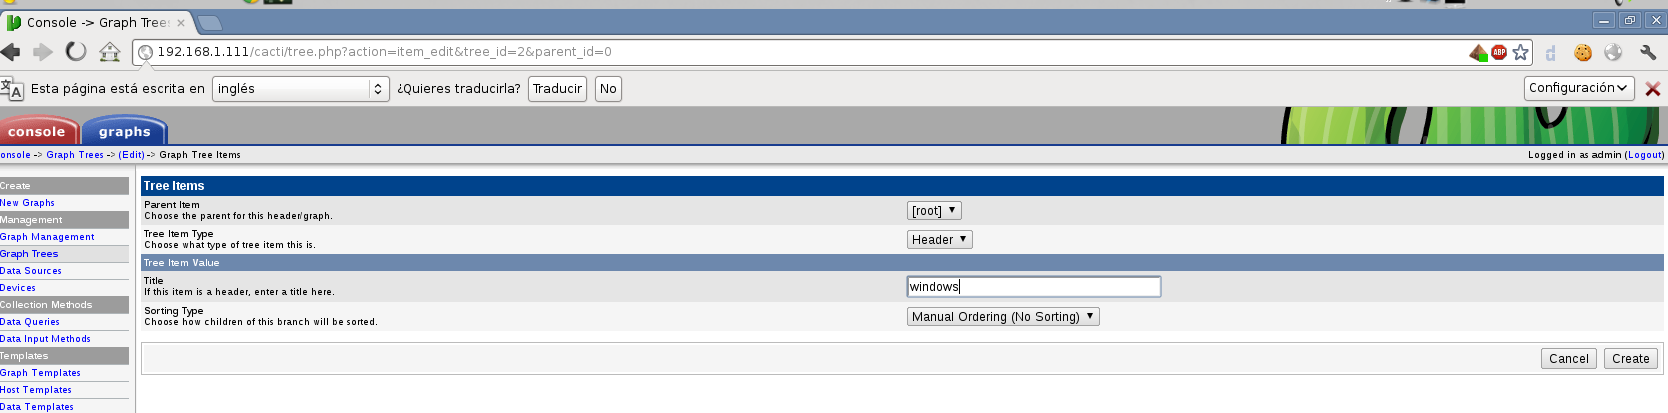
Once added, click Add in the area below to create the header where the monitoring will be posted.

We select the root > Header options and call our header whatever we want... in my case Windows
Now we are going to create the device, we go to Console > Create Devices
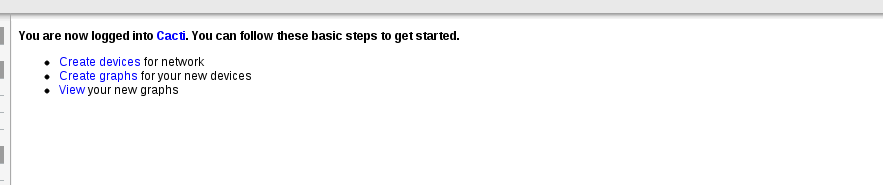
It shows us the following screen and we click Add, which is located in the upper right corner.

We fill in all the fields with the Name, IP, The template we want to use and community. as in the image and we create. Once created, something like this will appear:
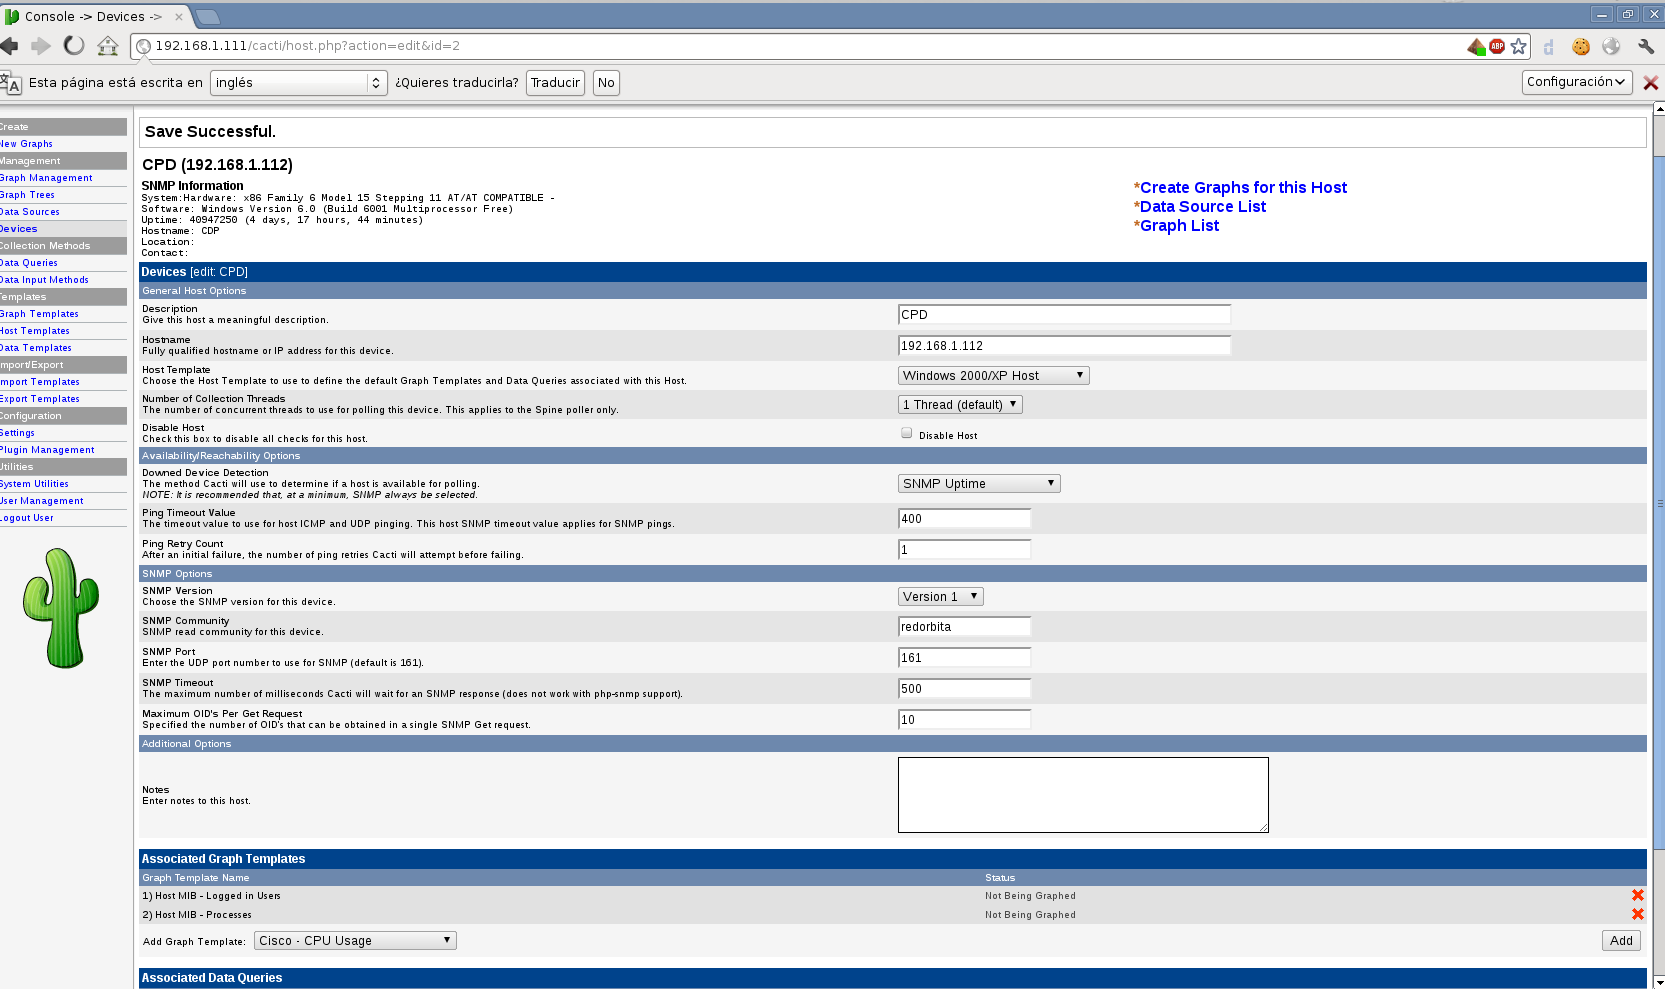
Once the device is created, click Create graphics and add the graphics you want.
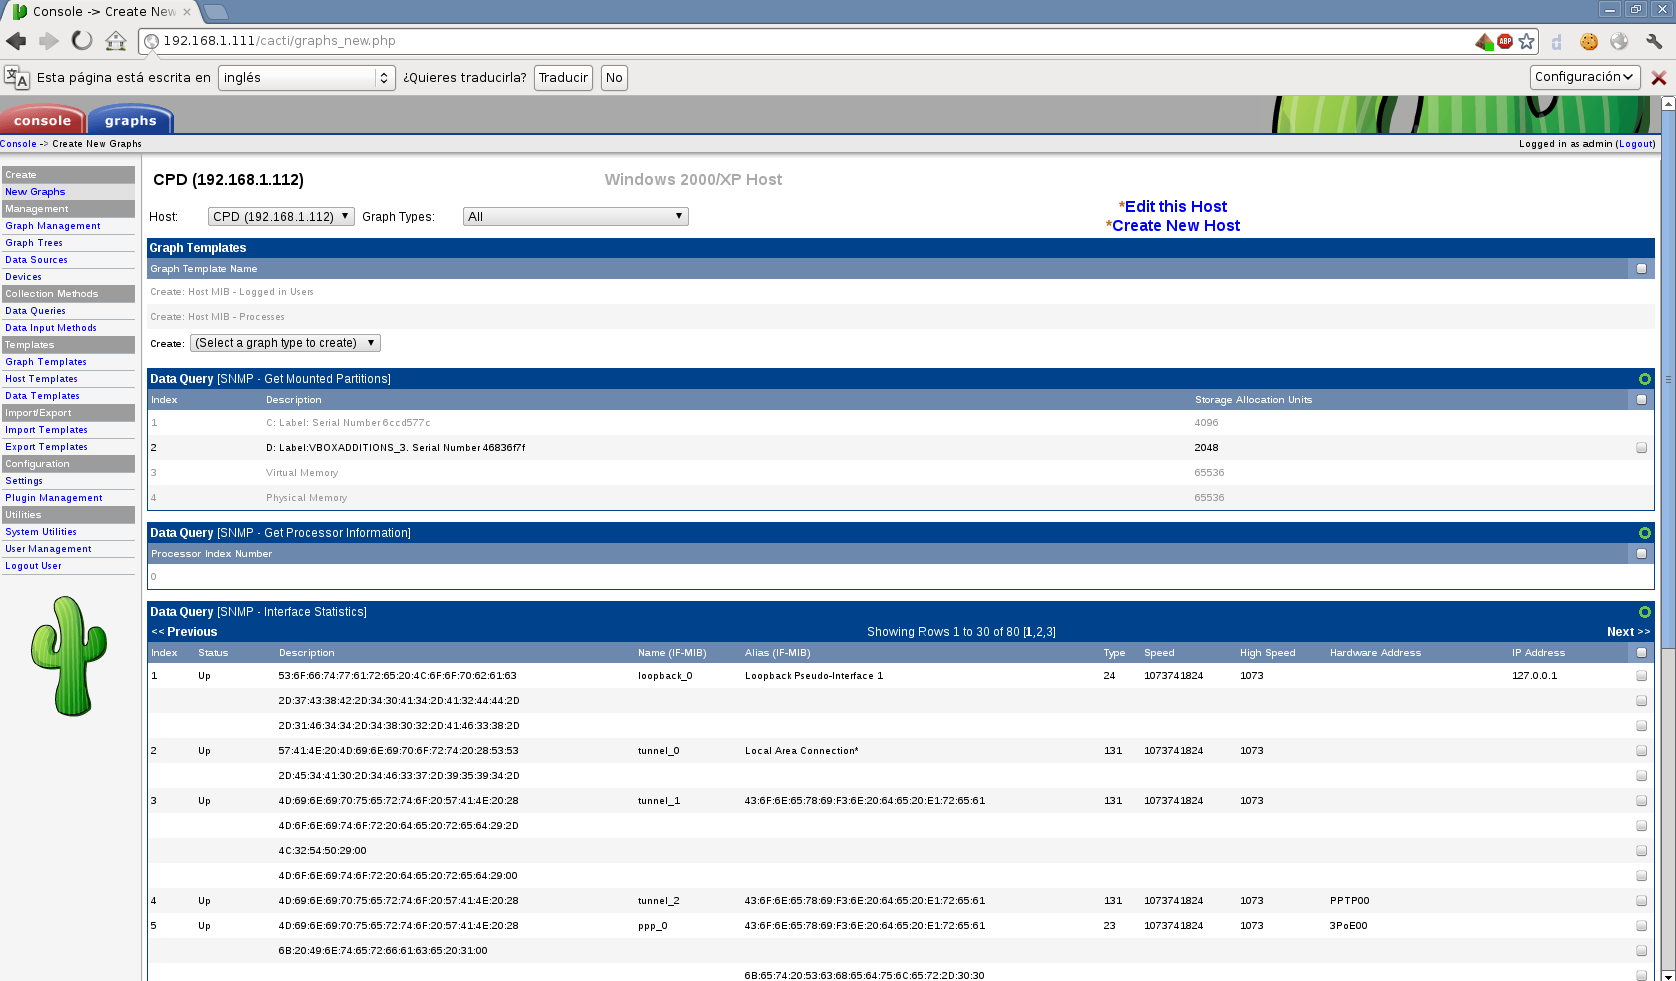
Now we have to add this device to the Tree so that the graphs are displayed, to do this we go again to Graph Trees > Projects (In my case) and click Add located in Projects

It opens a panel where we have to search for our device and add it.

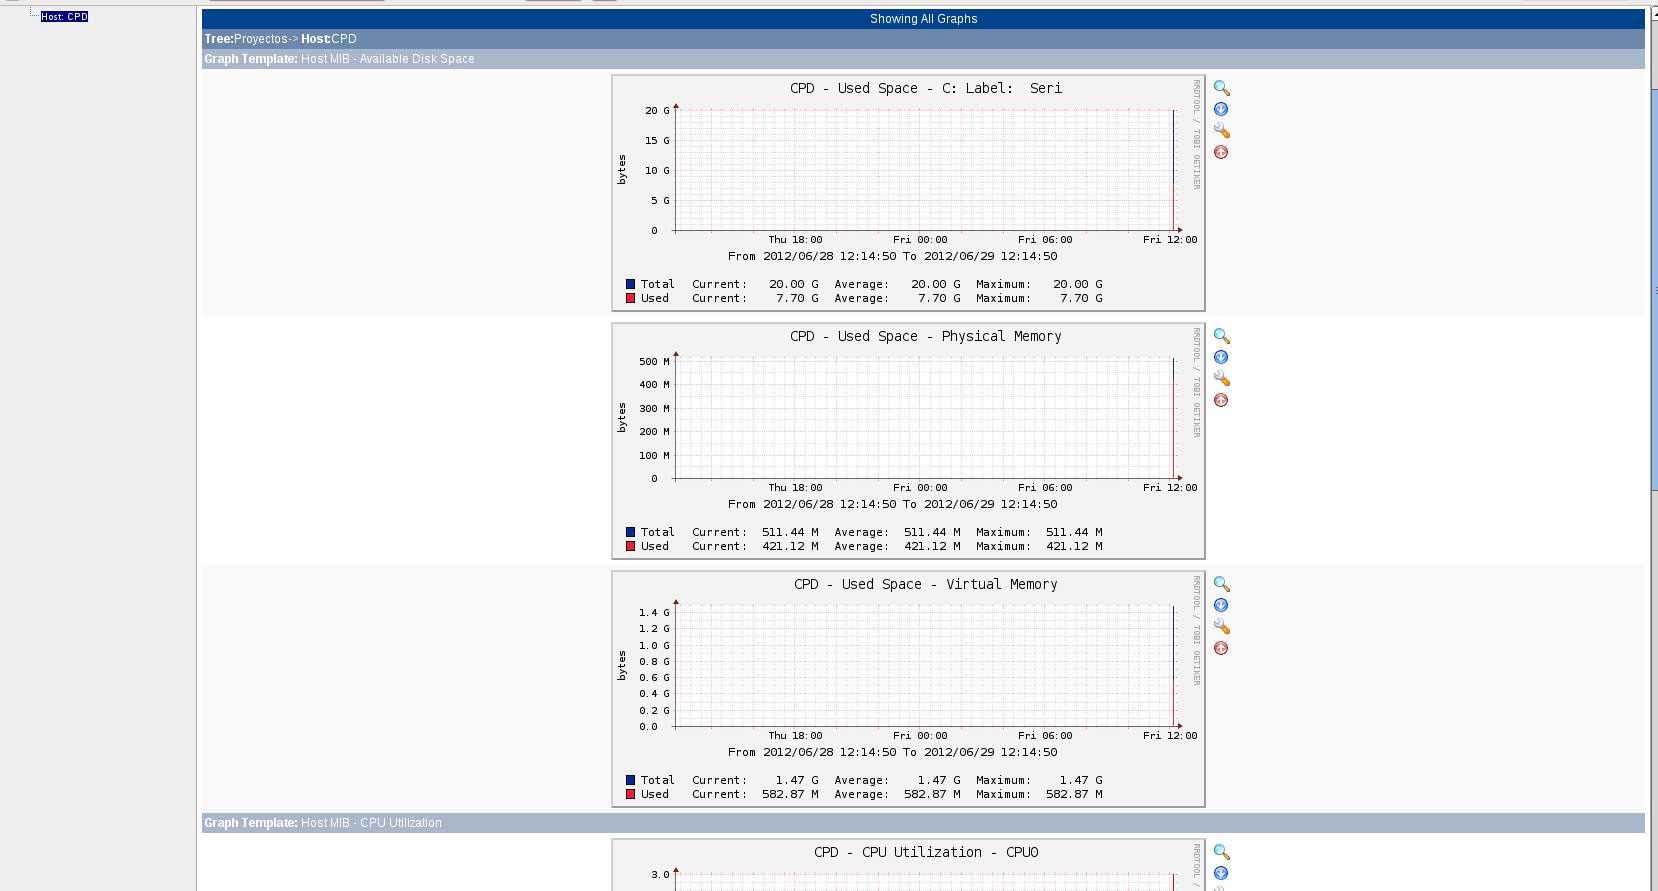
We go to our graphs... we wait a while... AND THAT'S IT!!
Greetings, rokitoh!
Comments