
What is OwnCloud?
OwnCloud is free, location-independent storage software for data. It is a cloud-based software, as the name suggests “OwnCloud” (own cloud).
In addition to data storage, it also allows file synchronization between different devices, thus allowing you to share them. The OwnCloud services that CanaryTek makes available to you are: music player, image viewer, plain text editor, file manager and bookmarks. All this through a Web interface.
Characteristics
- Storing files in a conventional directory structure
- music player
- User and group management
- Sharing content through groups or public URLs
- Online text editor with syntax highlighting and code folding
- Bookmarks
- Photo gallery
We install the necessary packages
Debian-based distributions
rokitoh@clouddesktop01:# apt-get install apache2 php5 php-pear php-xml-parser php5-sqlite php5-json sqlite php5-mysql mp3info curl libcurl3 libcurl3-dev php5-curl zip php5-gdRedhat based distributions
rokitoh@clouddesktop01:# yum install –y git-all mysql mysql-server httpd php php-pecl-zip php-mysql php-mbstring php5 php5-common php-xml php-mbstring php-gd curl php-pdoWe download the software.
rokitoh@clouddesktop01:# wget http://download.owncloud.com/download/2012.4.5.8/owncloud-2012.4.5.8-enterprise.tar.bz2We decompress
rokitoh@clouddesktop01:# tar -xjvf owncloud*enterprise.tar.bzWe move the unzipped folder.
Debian-based distributions
rokitoh@clouddesktop01:# mv owncloud /var/www/Redhat based distributions
rokitoh@clouddesktop01:# mv owncloud /var/www/html/We give permissions
Debian-based distributions
rokitoh@clouddesktop01:# chown -R www-data:www-data /var/www/owncloudRedHat-based distributions
rokitoh@clouddesktop01:# chown -R www-data:www-data /var/www/html//owncloudNext we enable the following modules and restart Apache2:
rokitoh@clouddesktop01:# a2enmod rewrite
rokitoh@clouddesktop01:# a2enmod headers
Debian-based distributions
rokitoh@clouddesktop01:# /etc/init.d/apache2 restartRedHat-based distributions
rokitoh@clouddesktop01:# /etc/init.d/httpd restartIn order to allow OwnCloud to use the .htaccess functionalities, we need to edit the virtualhost or add a new one.
This file is located in the following locations:
Debian-based distributions
rokitoh@clouddesktop01:# vi /etc/apache2/sites-available/defaultRedHat-based distributions
rokitoh@clouddesktop01:# /etc/httpd/conf/httpd.confWe search AllowOverride none and we change it to AllowOverride all
<Directory /var/www/>

Options Indexes FollowSymLinks MultiViews

AllowOverride all

Order allow,deny

allow from all

</Directory>
We can also add a new one, which would look like this:
<Directory /var/www/owncloud>

Options Indexes FollowSymLinks MultiViews

AllowOverride All

Order allow,deny

allow from all

</Directory>
We enable the upload of large files
Debian-based distributions
rokitoh@clouddesktop01:# vi /etc/php5/apache2/php.inirokitoh@clouddesktop01:# vi /etc/php.iniupload_max_filesize = 2048M
post_max_size = 2458MWe create the database
rokitoh@clouddesktop01:# mysql -u root -p

Enter password:
mysql> create database owncloudbbdd;

Query OK, 1 row affected (0.00 sec)
We create a user to manage said database.
CREATE USER ‘owncloud’@’localhost’ IDENTIFIED BY ‘contraseña’;

GRANT ALL PRIVILEGES ON owncloudbbdd.* TO ‘owncloud’@’localhost’ IDENTIFIED BY ‘contraseña’ WITH GRANT OPTION ;

FLUSH PRIVILEGES;
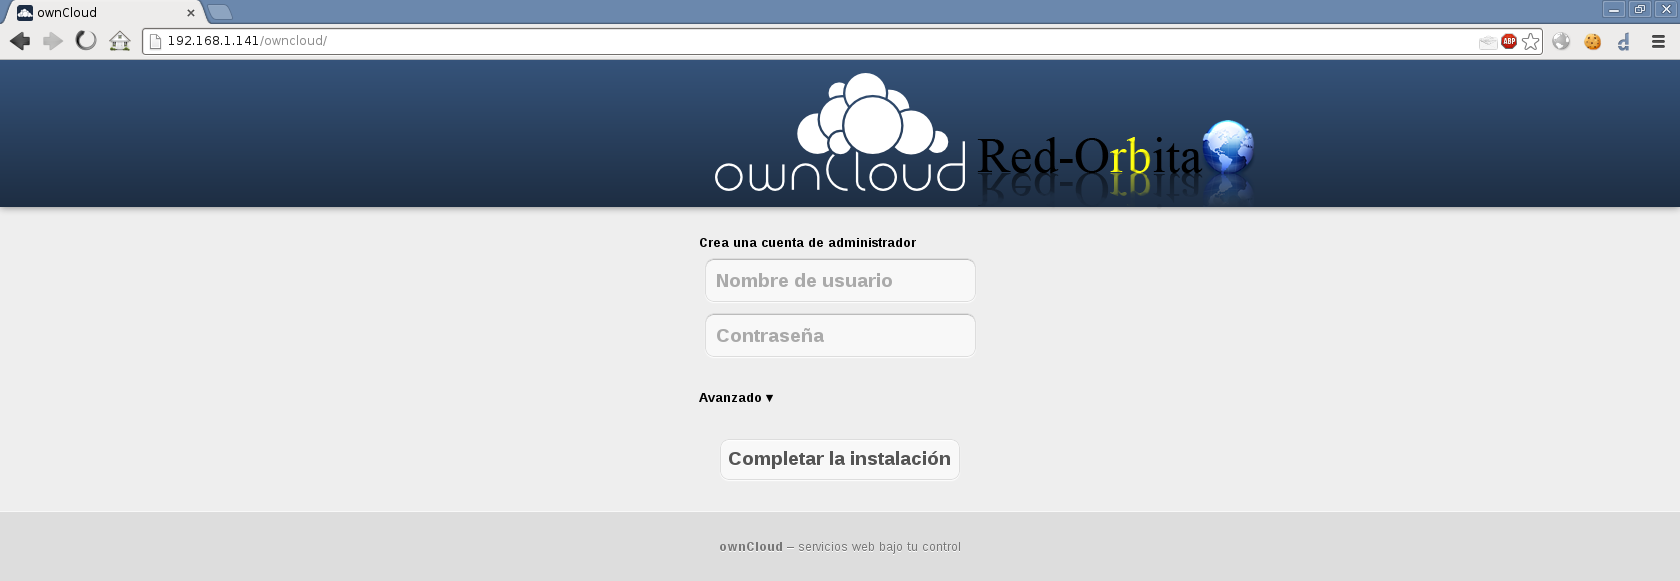
We access our web server through our browser. http://IP_ADDRESS/owncloud/
It shows us the following screen.
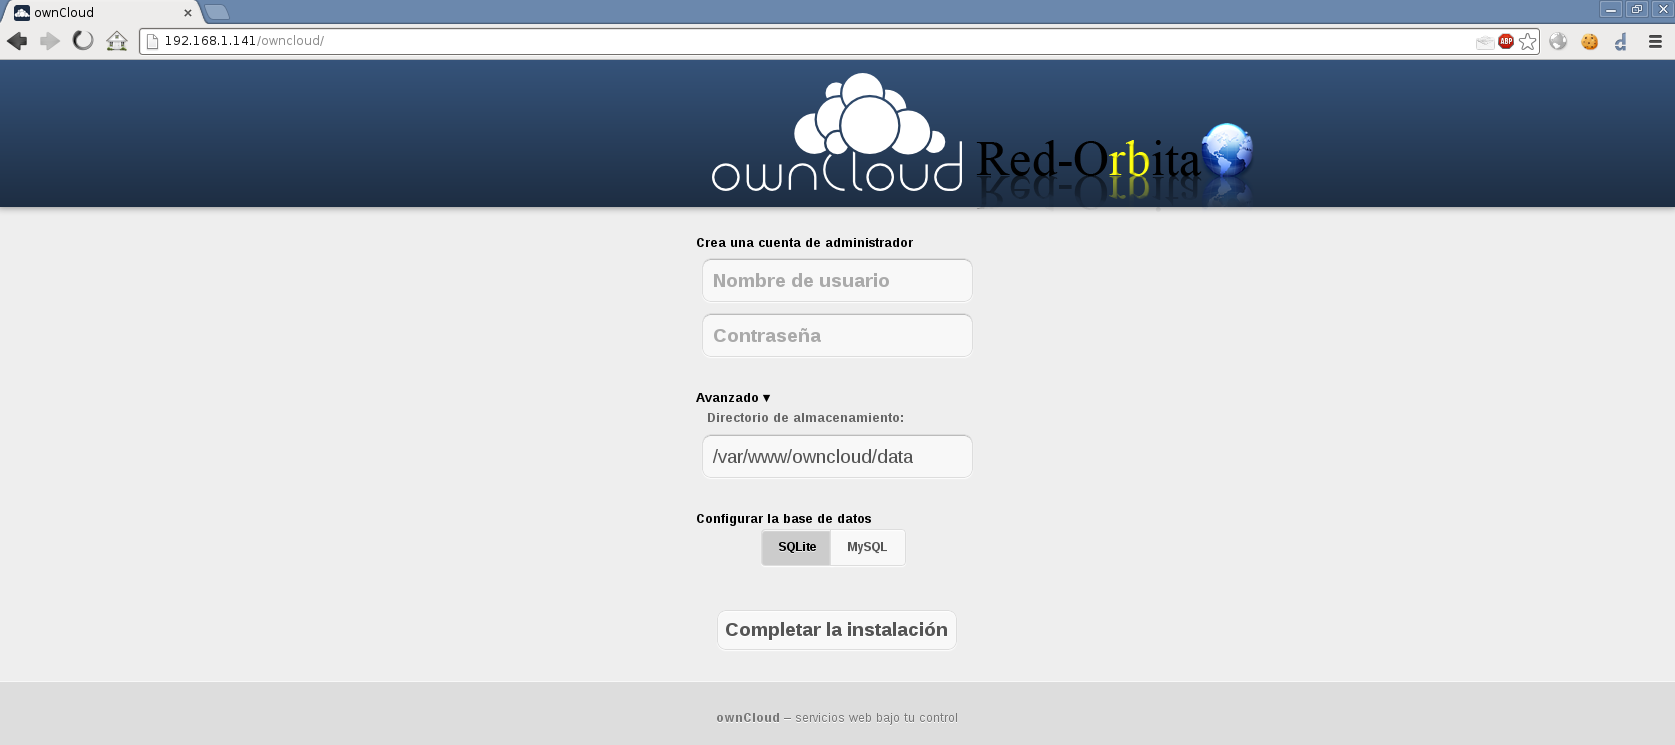
In we must set the storage directory. By default it is: /var/www/owncloud/data but we can assign any other File System to it.
We press the database, in this case MySQL.
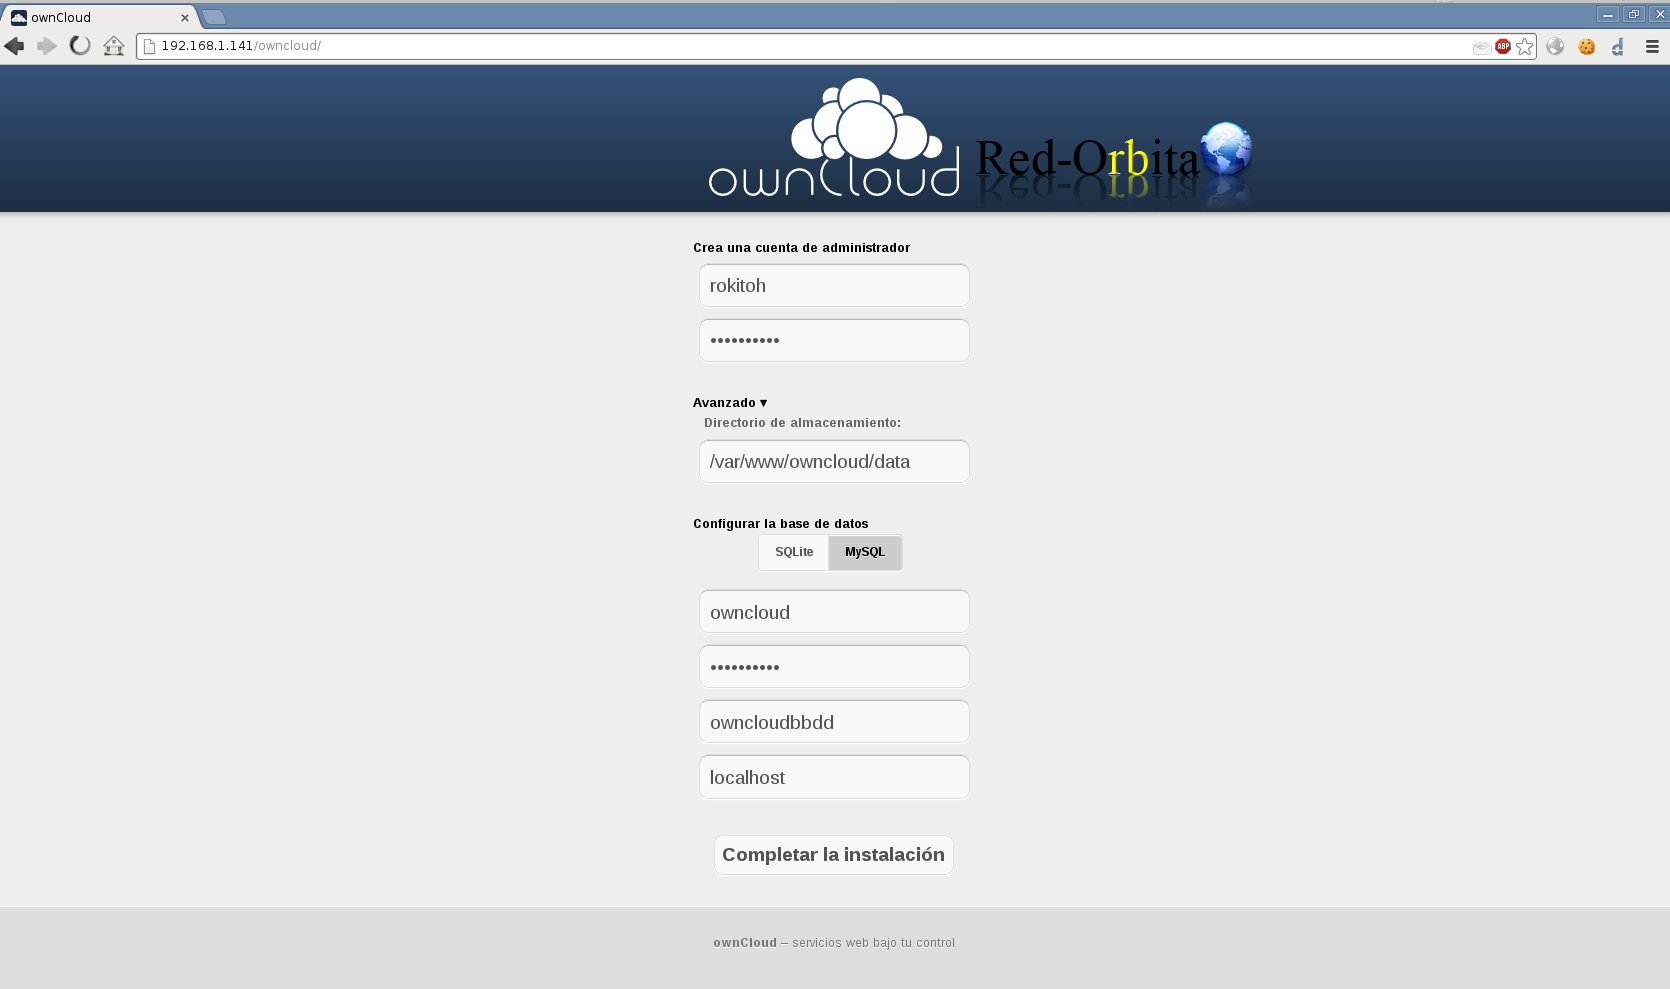
We fill out the form assigning the username, password and database created previously.
Once filled out, we complete the installation.
Installation completed!!!
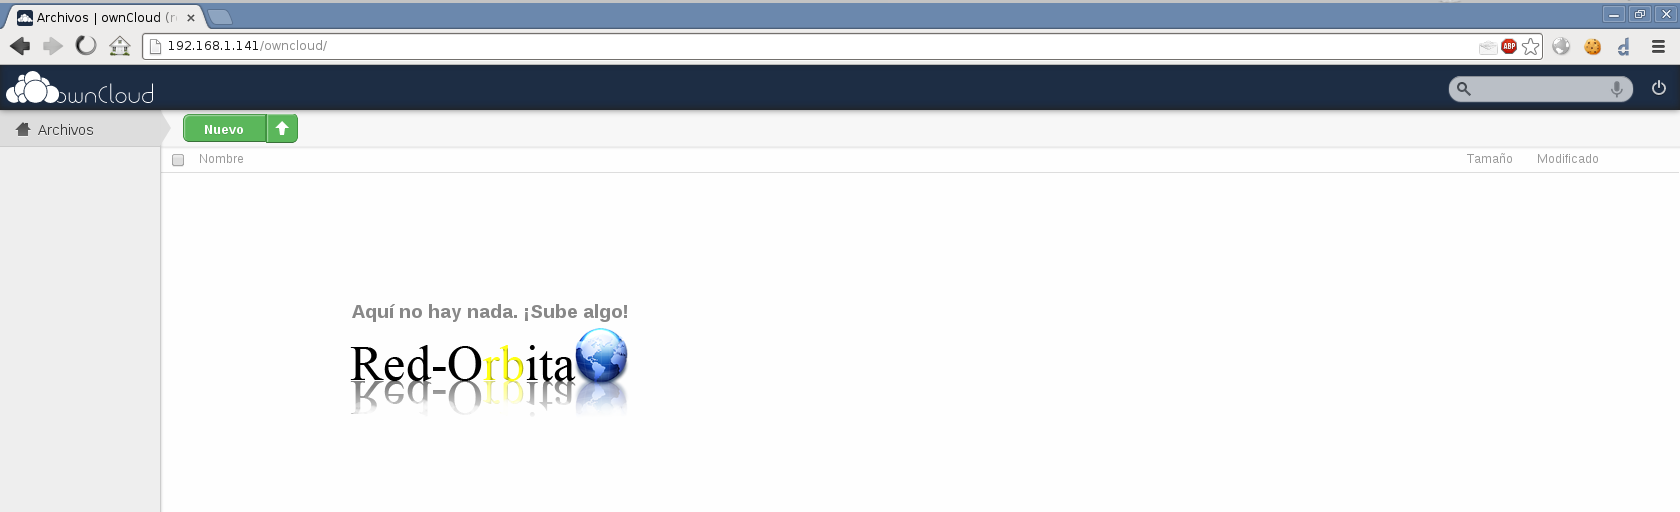
To upload content we can do it through the clients which are for various platforms, Windows, GNU/Linux, Mac, Android... in order not to make the tutorial any longer, I did not carry out the installation process of the clients... which on the other hand is not very complicated.
Regards, rokitoh
:wq!
Comments