
Back in Time is a software that allows us to make backups inspired by the famous Time Machine in the Mac environment, and offers the same type of protection. In addition, it has a very easy interface, which makes inexperienced users quickly feel comfortable, and good documentation on its main page.
The backup is performed by taking incremental snapshots of the directory or directories that we have indicated, immediately or every time a certain period of time passes, which can be hours, days, months or even years. All from the same window. In this way, Back in Time allows you to establish a copying schedule and forget about that responsibility.
We install Back in Time
GNOME environment:
sudo apt-get install backintime-gnomeKDE environment
sudo apt-get install backintime-kdeOnce installed we proceed to open the software that is located in the menu Administration
The first window that it shows us is the configuration of where we are going to host the backup. It can be saved locally or remotely using SSH and in both cases we can encrypt the copy.
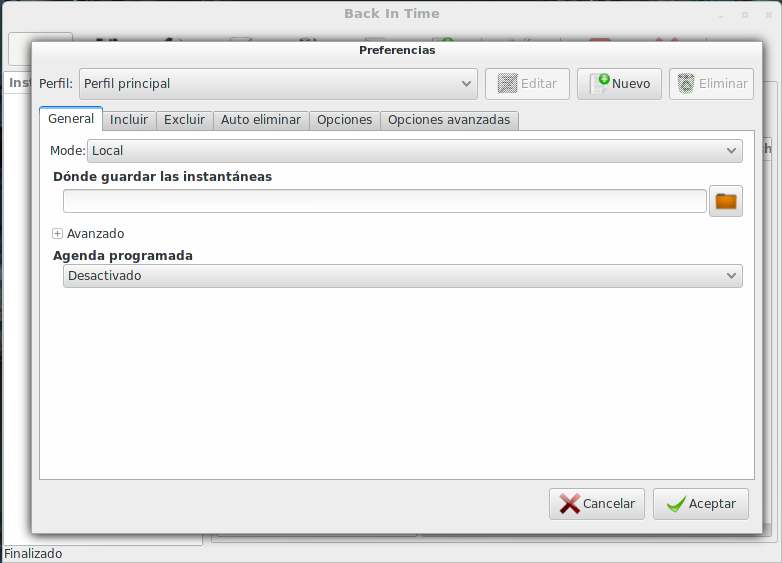
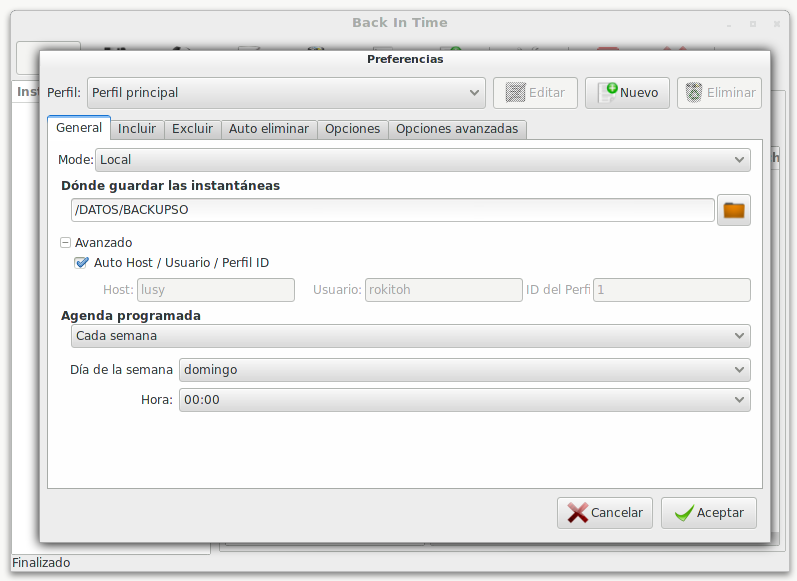
We configure where we want to save the backup, User and how often we want to make the backup
In case I will make the backup locally and weekly.
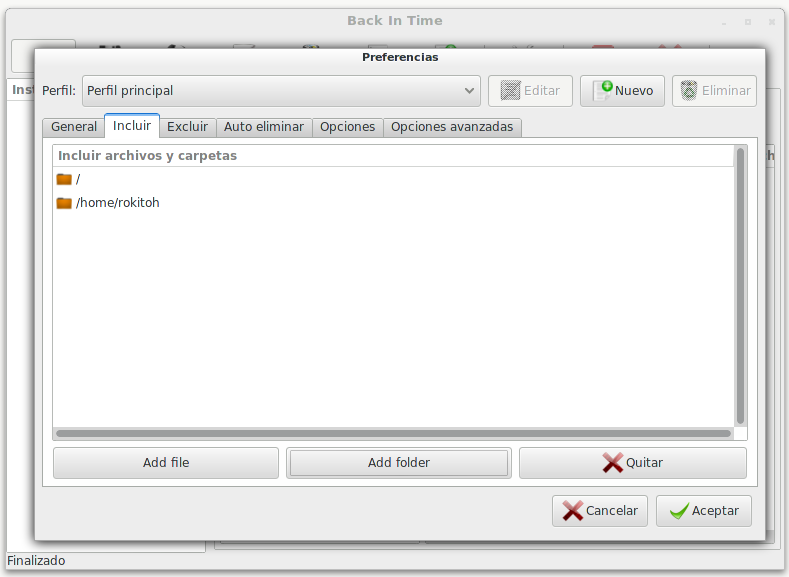
We go to the Include tab and add the files or directories that we want to backup.
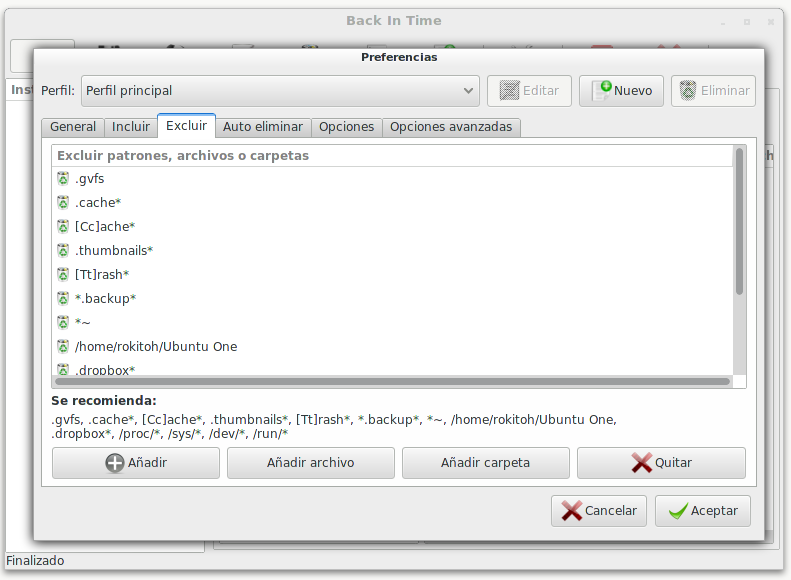
In exclude we have a series of directories which will not be backed up. We can delete or add new ones.
Auto Delete tab... here it is up to each individual... what they want to keep.
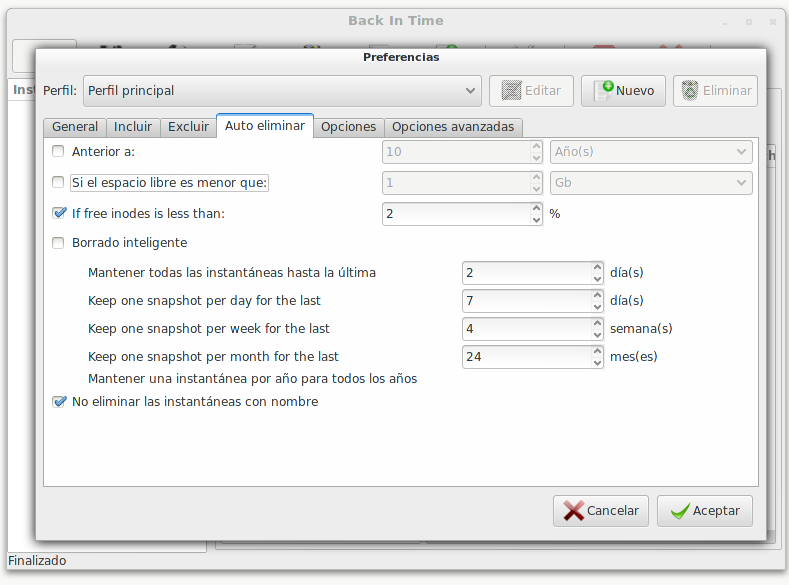
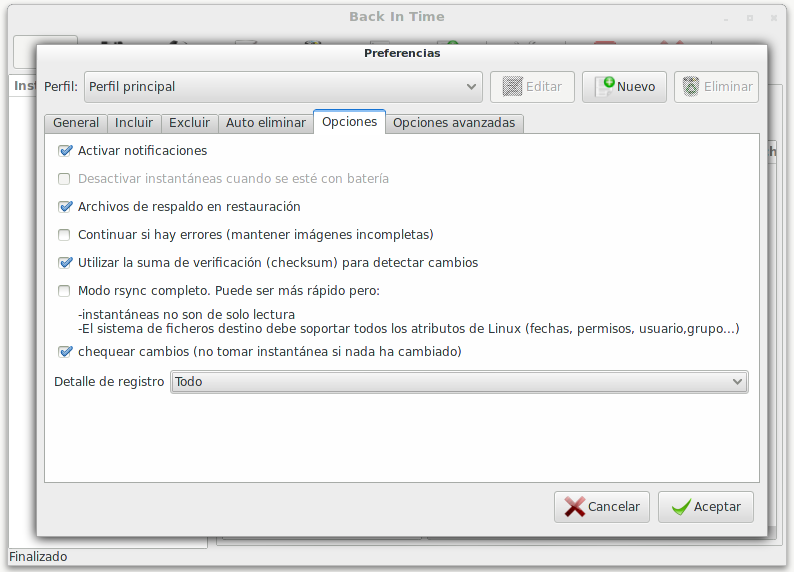
We go to the Options tab and configure how we want our backup to be performed.
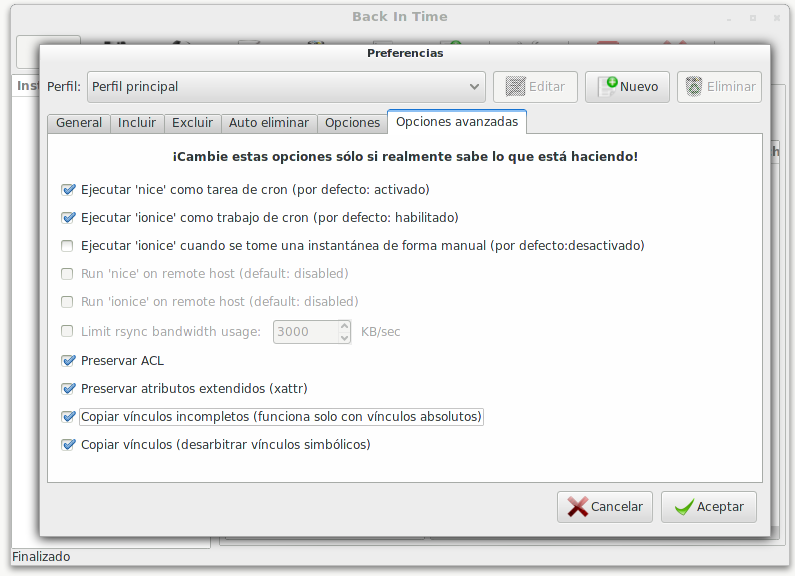
We finish our configuration in the Advanced Options tab and click OK.
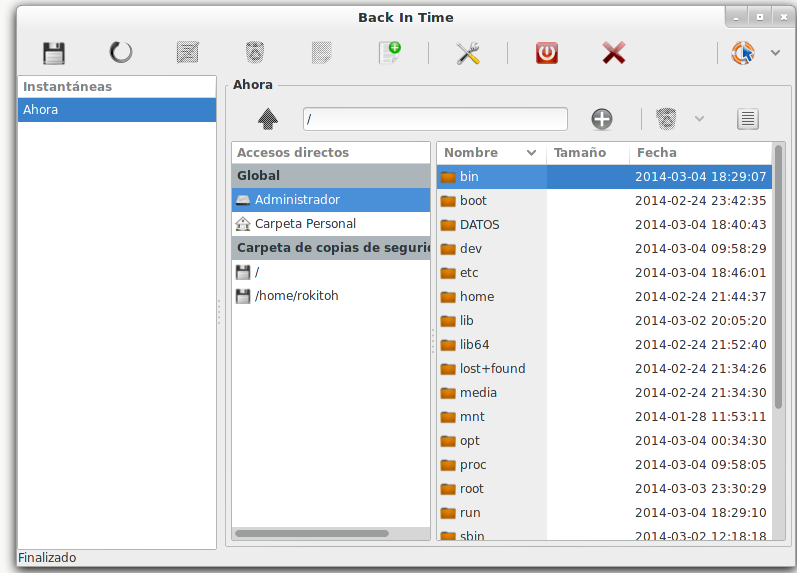
We have already made our configuration for the backup. If we go to the top left (Floppy Disk) we can take a snapshot
Greetings, rokitoh!
Comments