
In previous posts we already saw how to install, integrate with active directory and configure PROXMOX as a cluster. Once we have half configured the infrastructure, it is time to install a virtual machine under PROXMOX.
Install and configure Proxmox VE
Configure High-availability cluster in PROXMOX
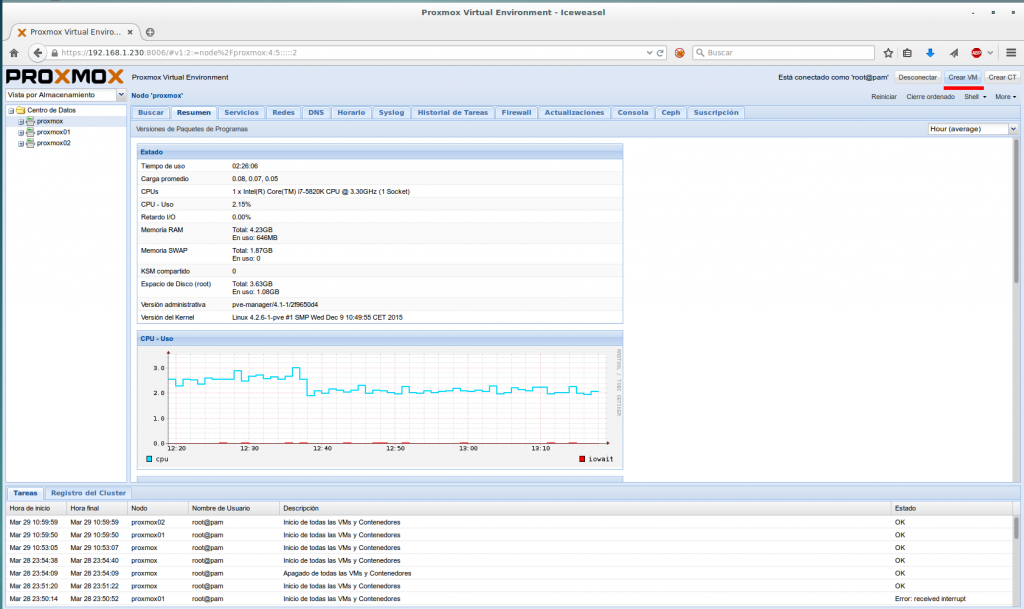
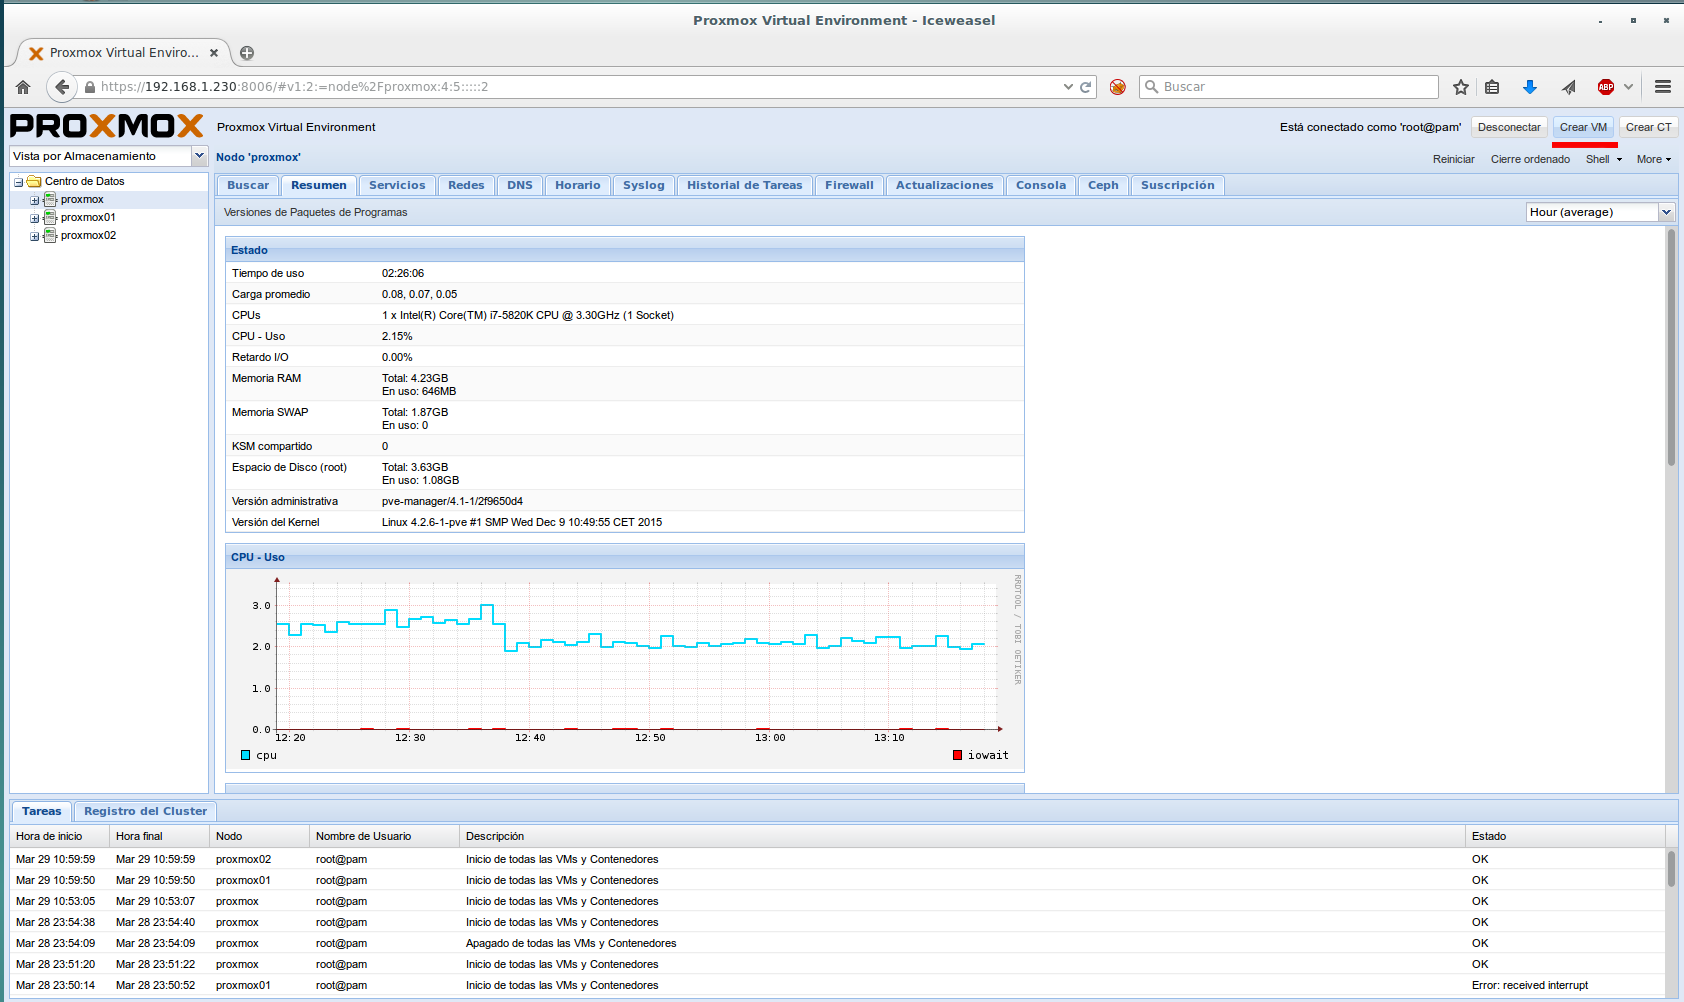
Click on Create VM located in the upper right.
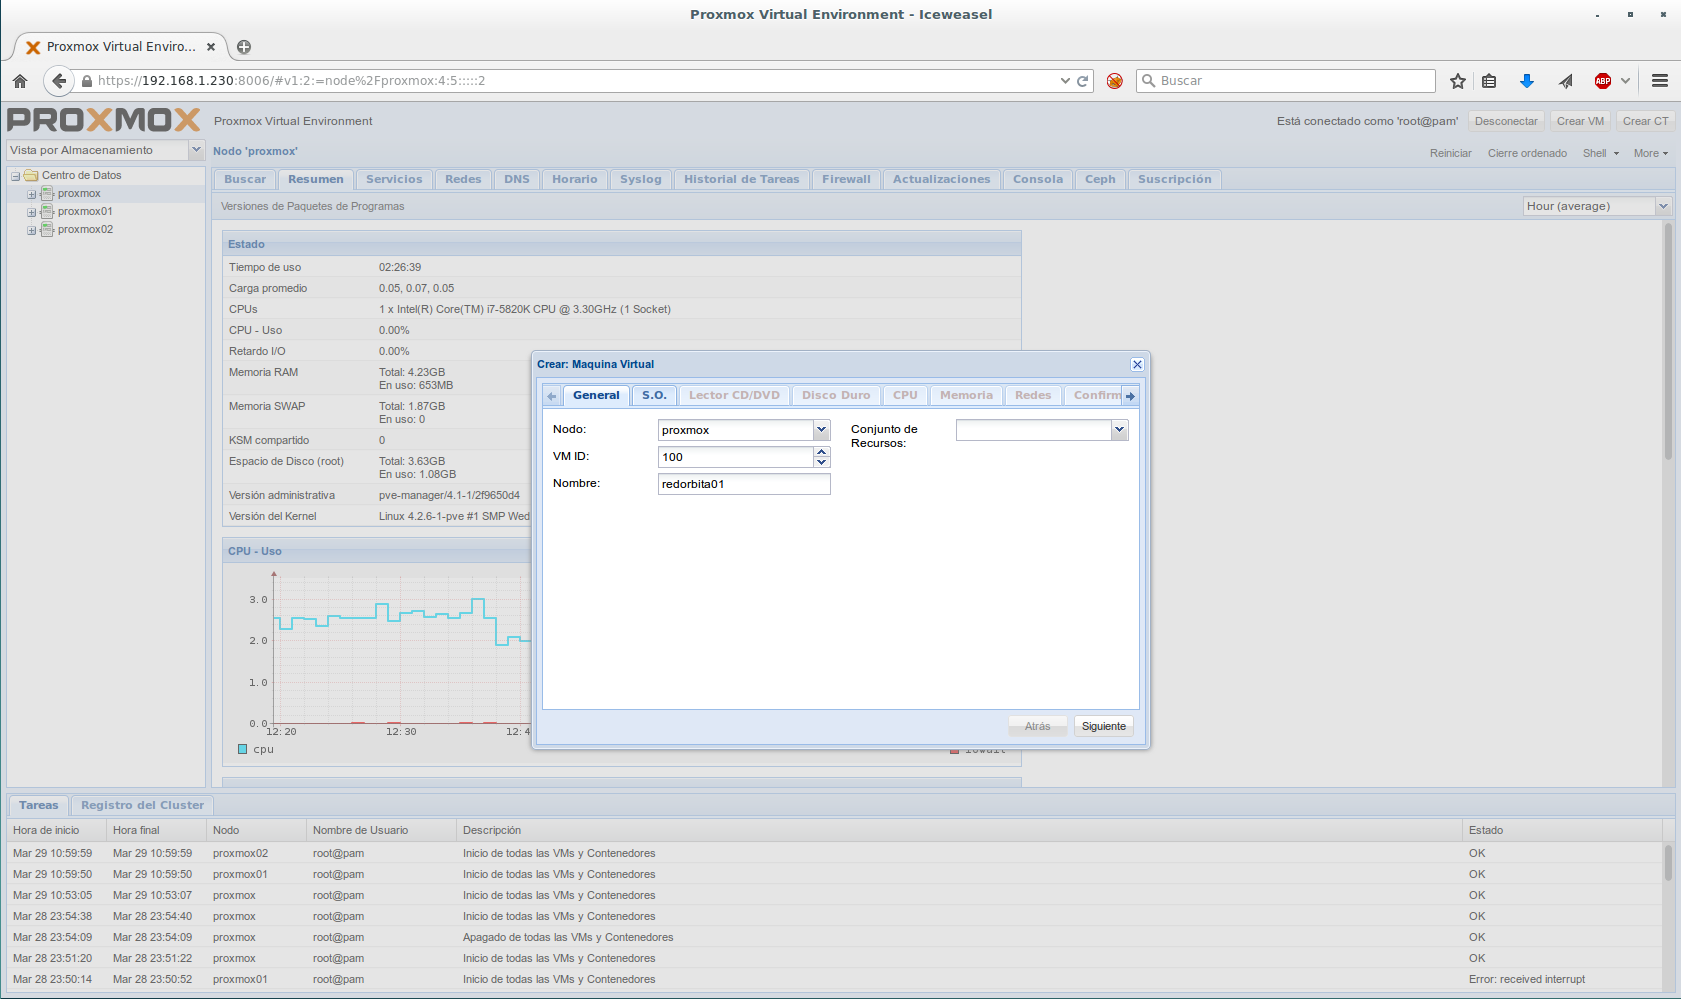
The configuration wizard opens, in which we indicate which node we are going to perform the installation on and the name of the server.
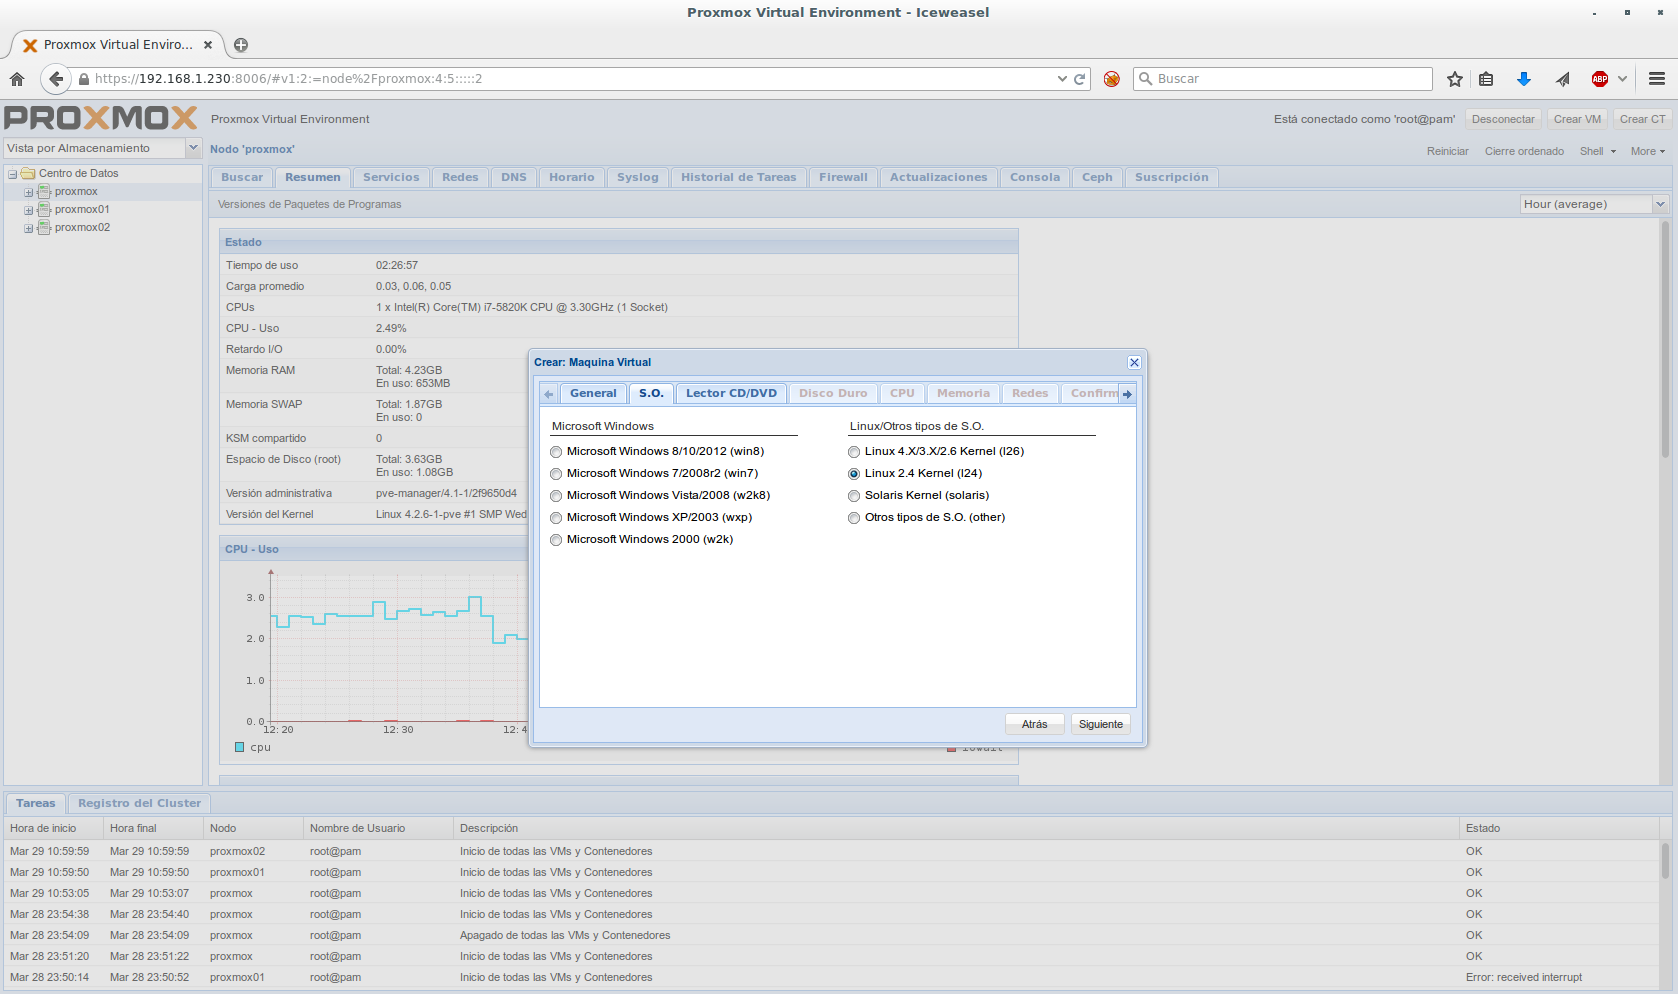
We select what type of OS we are going to implement.
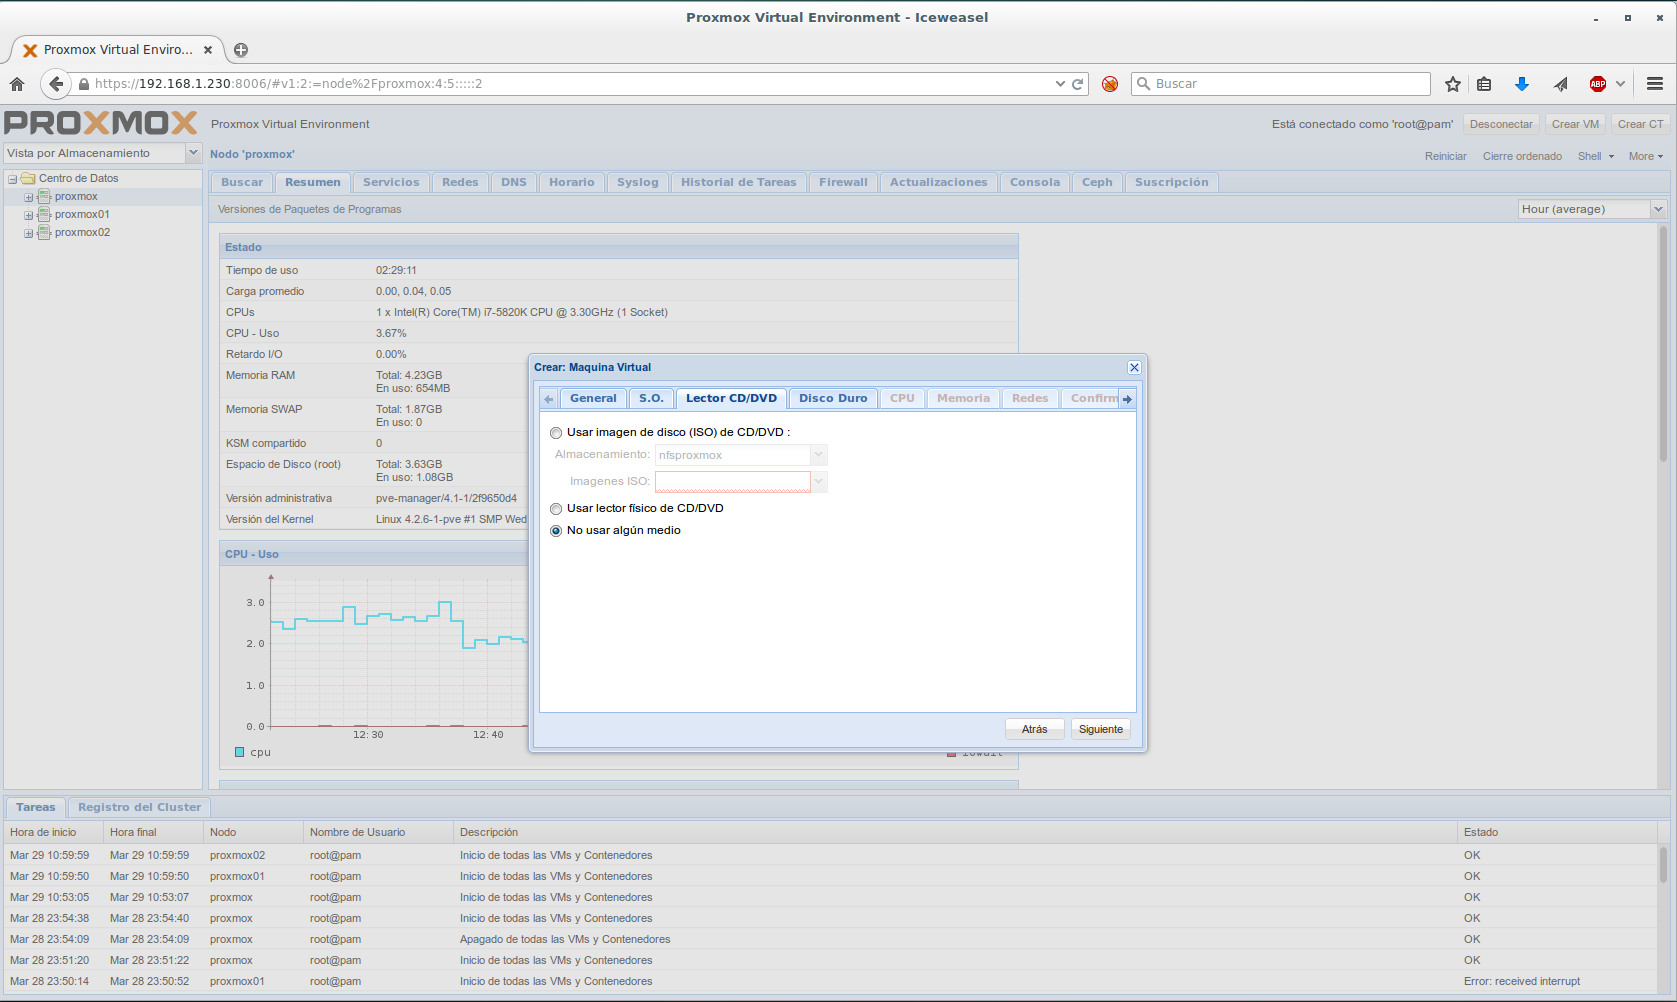
In this case we indicate: Do not use any media (we will configure it later)
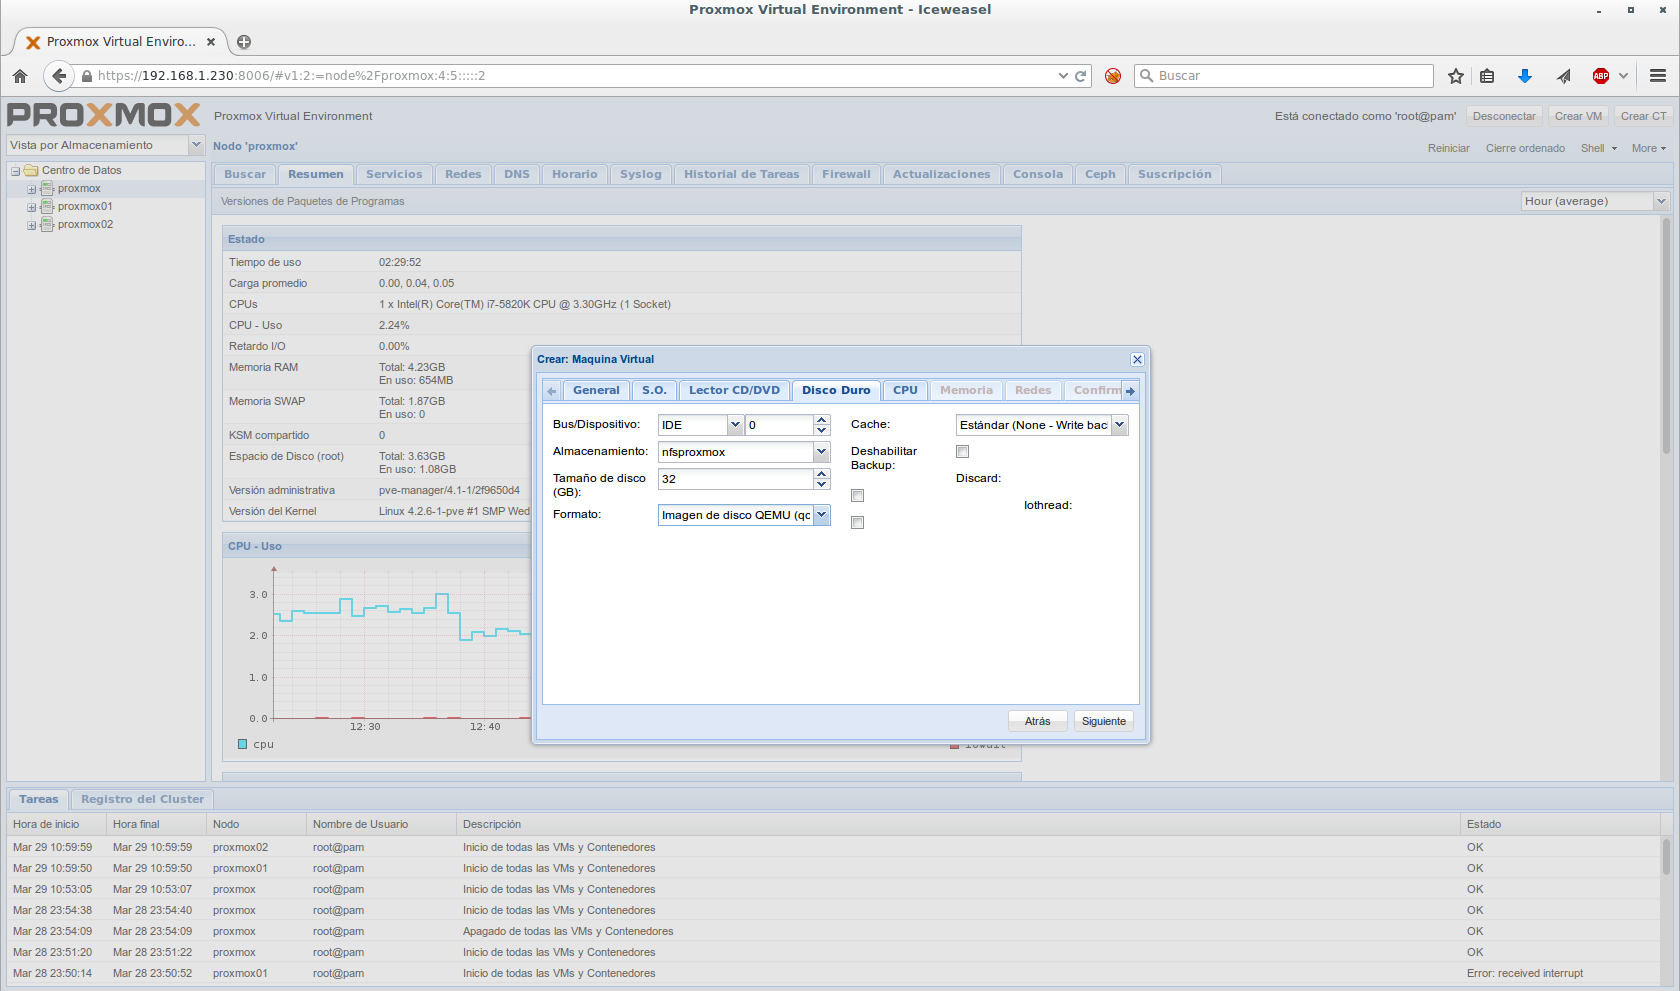
ID: SATA
Storage: This step is important, in previous posts, we already configured a shared file system through NFS, we use this for the installation of the server.
Size: Whatever we think is appropriate for our system.
Format: QEMU disk image
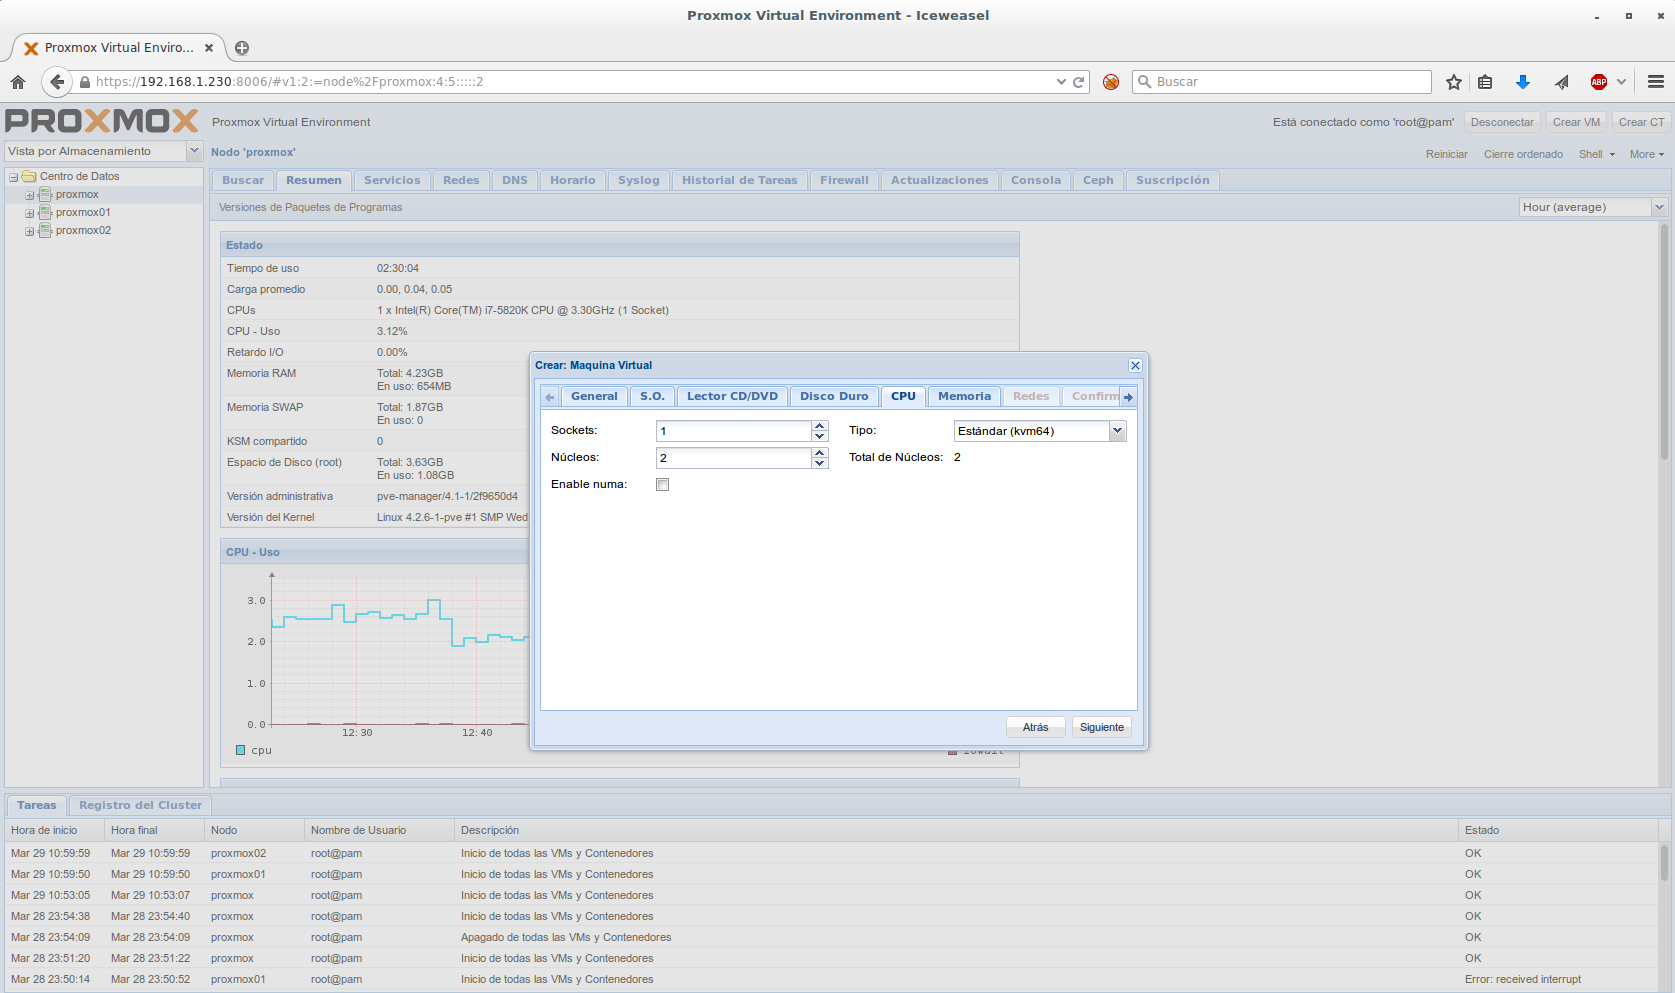
We configure the CPU parameters that we consider appropriate.
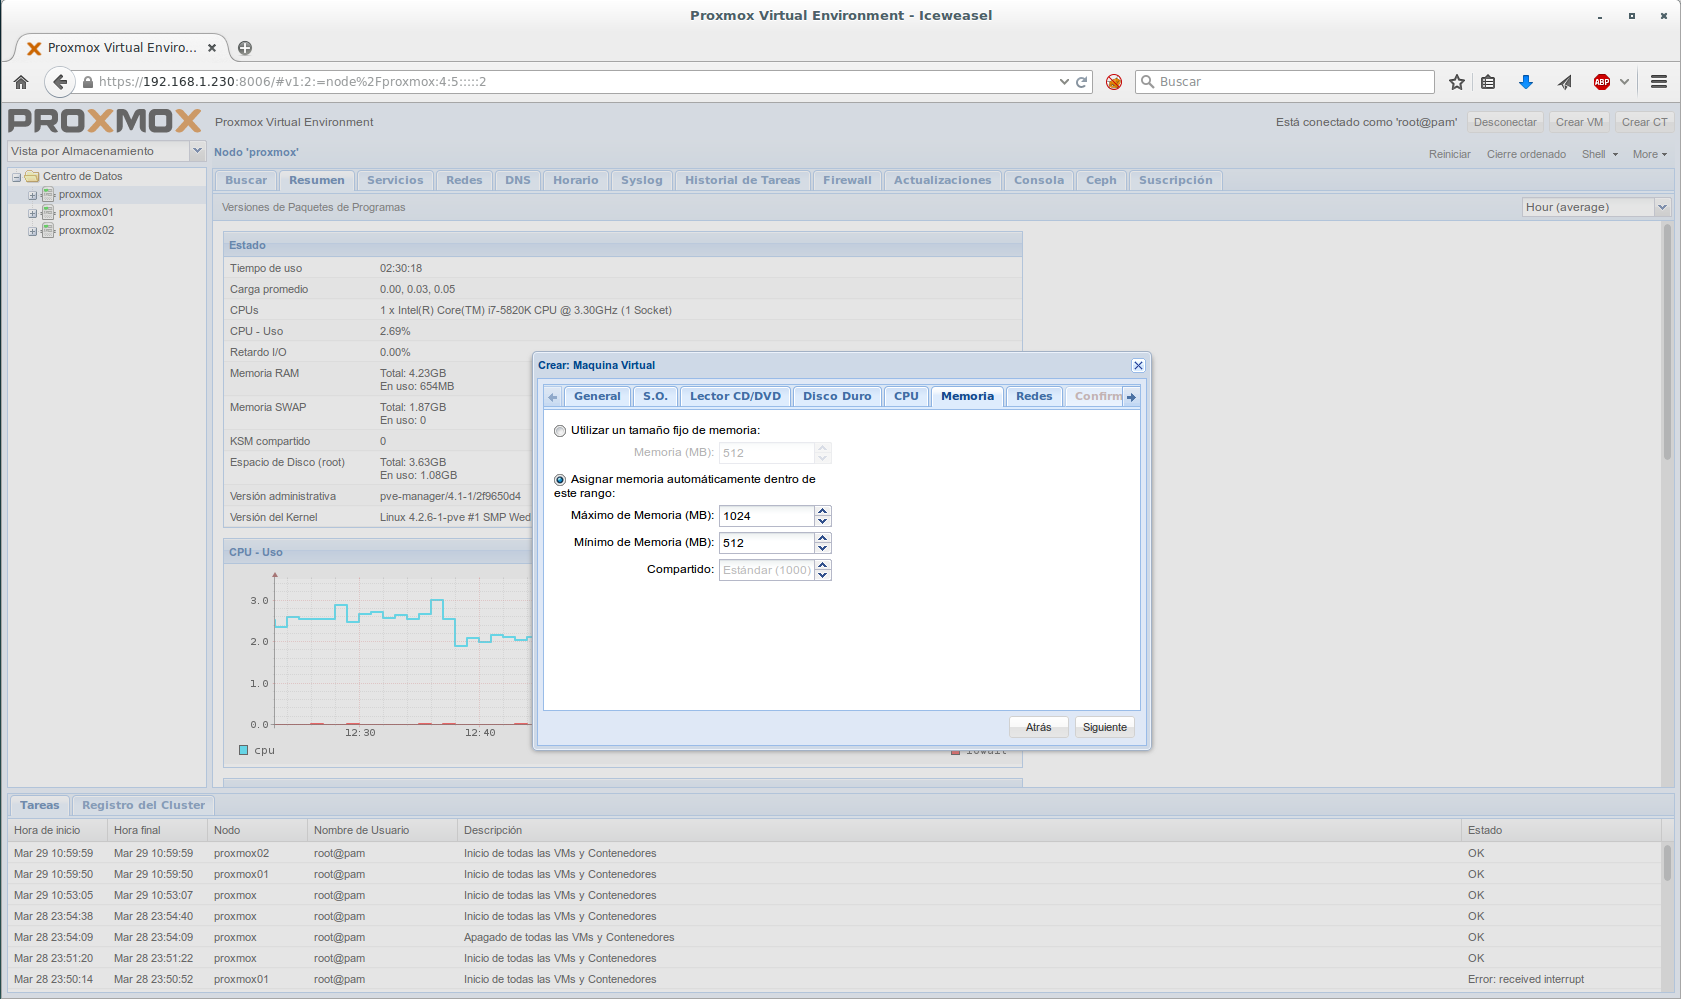
We configure the RAM Memory parameters that we believe are appropriate.
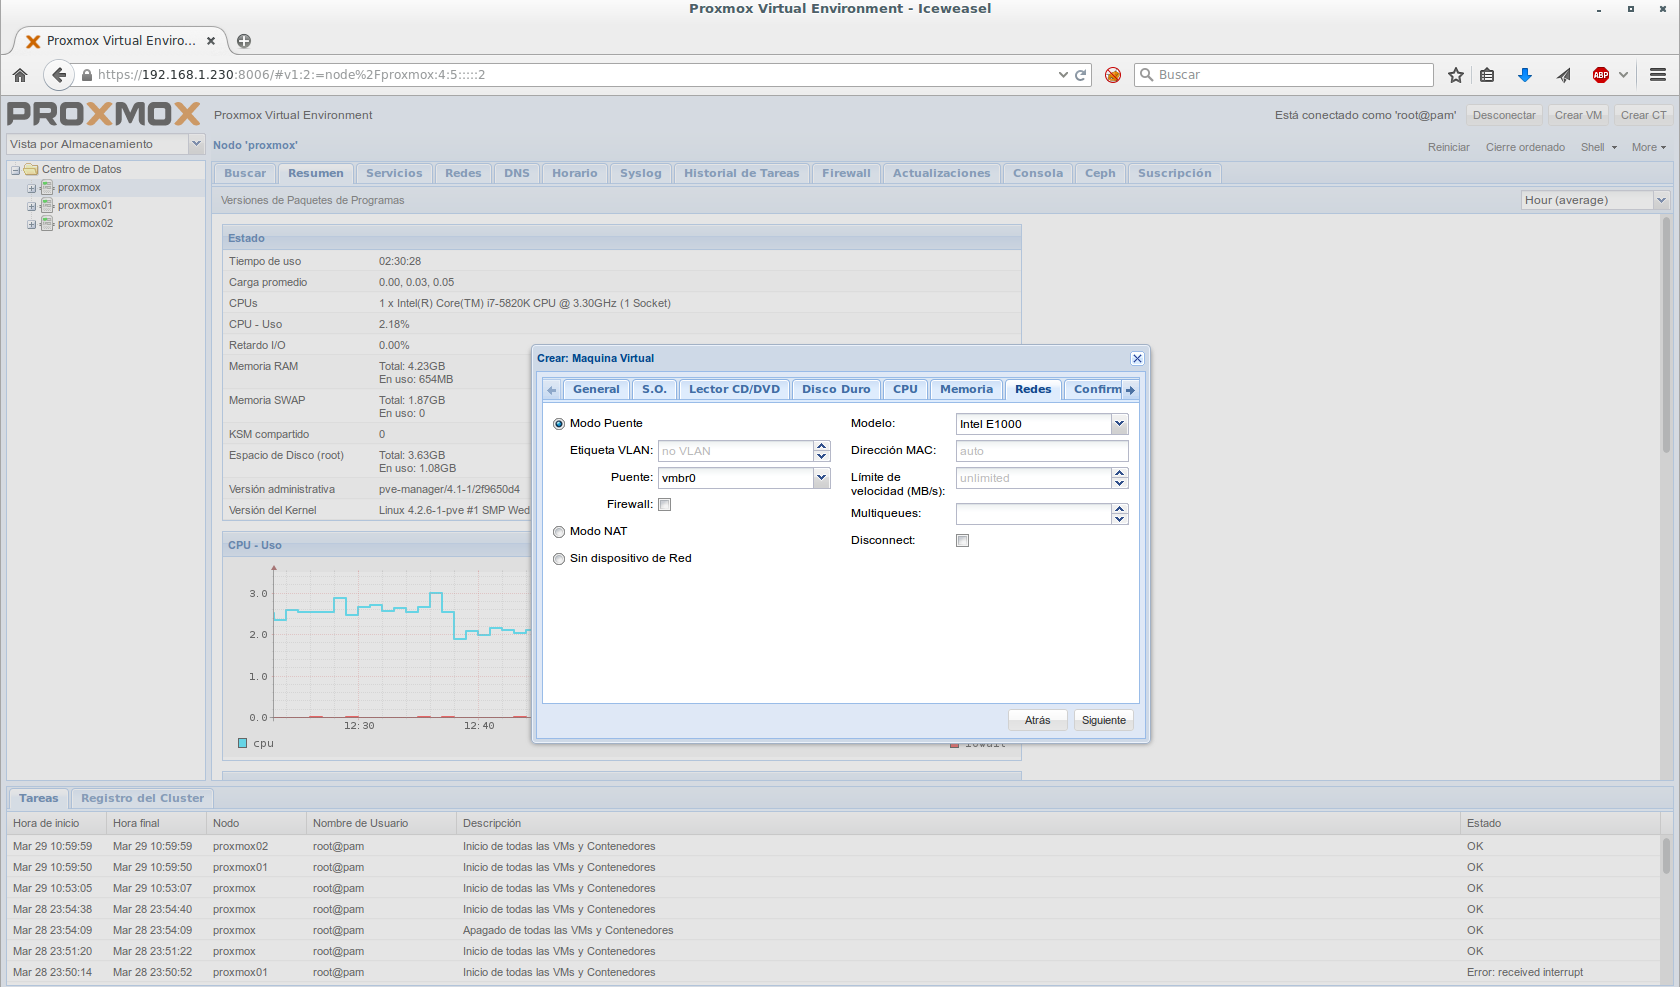
We must configure the network interface depending on our needs, by default it is always Bridge Mode.
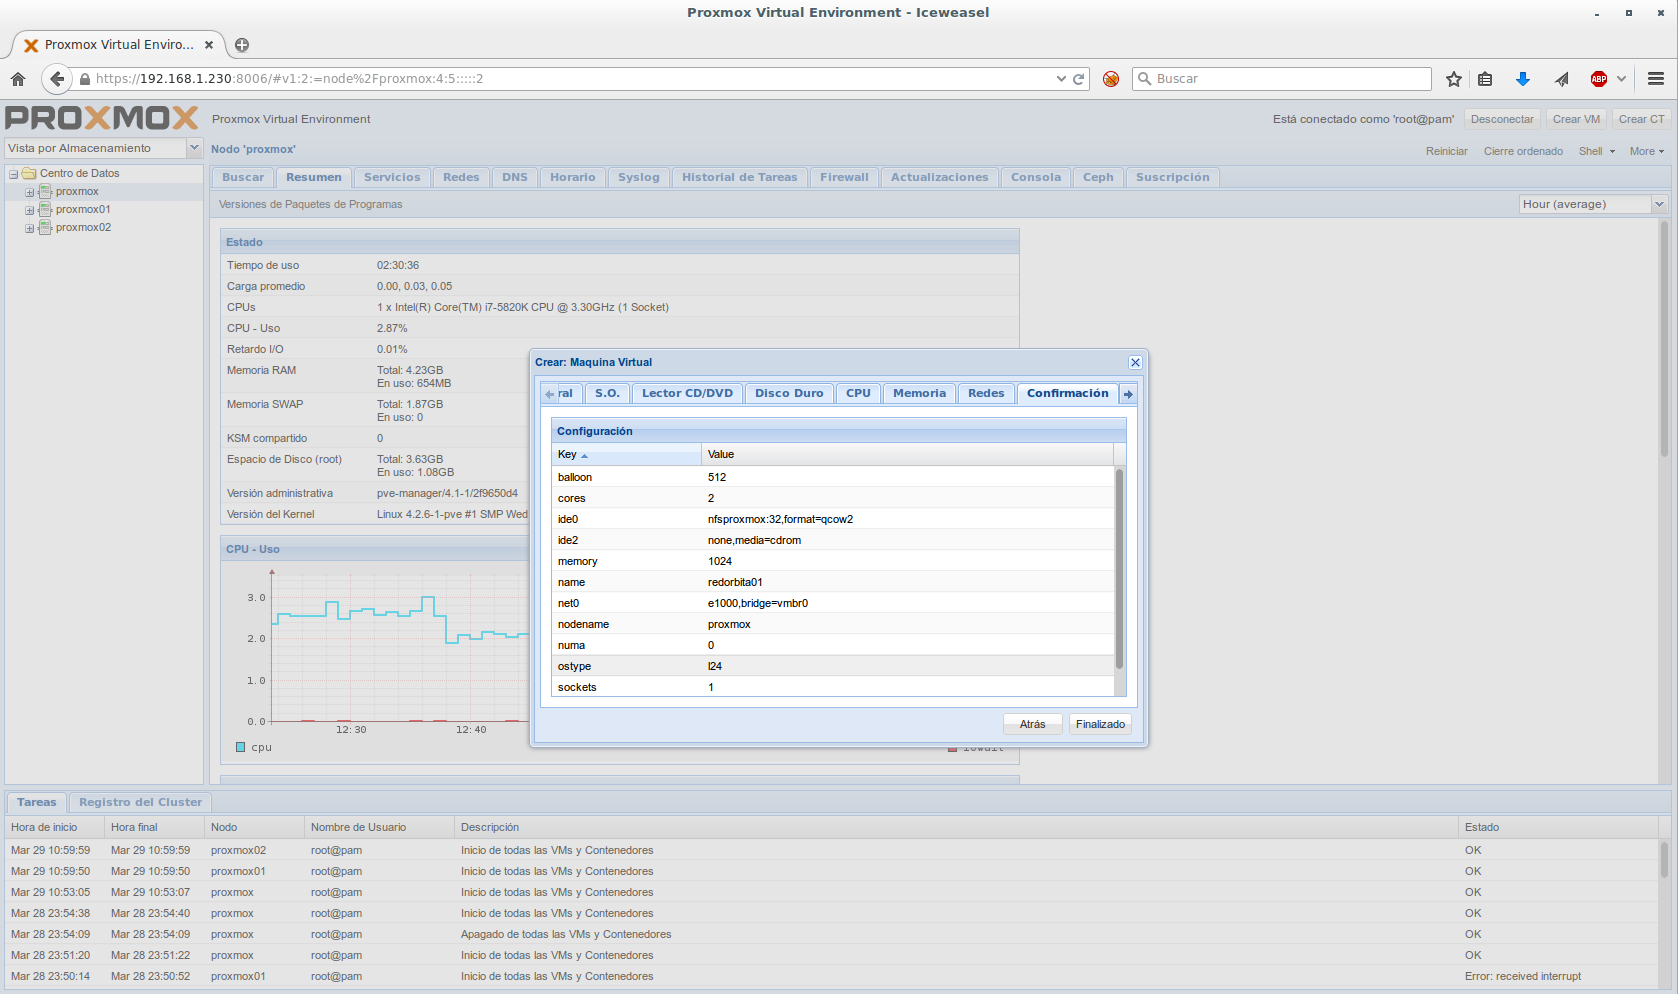
We finish the wizard.
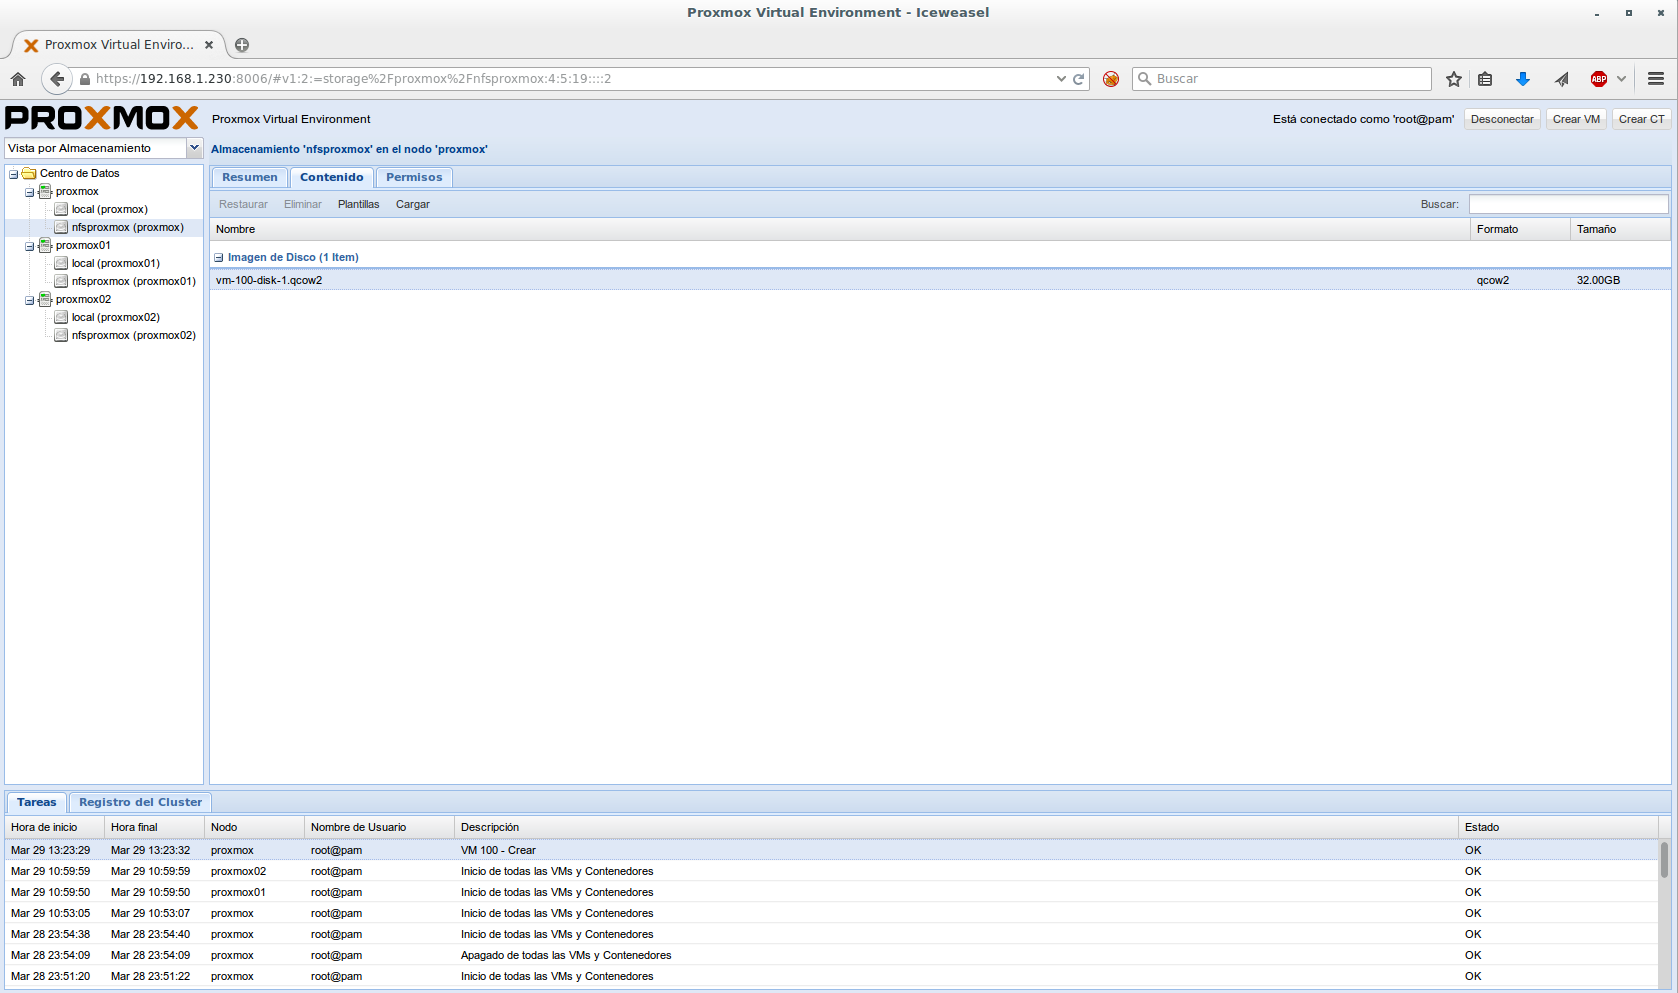
We load the ISO
For, we select our resource shared > content > and we press on Carry
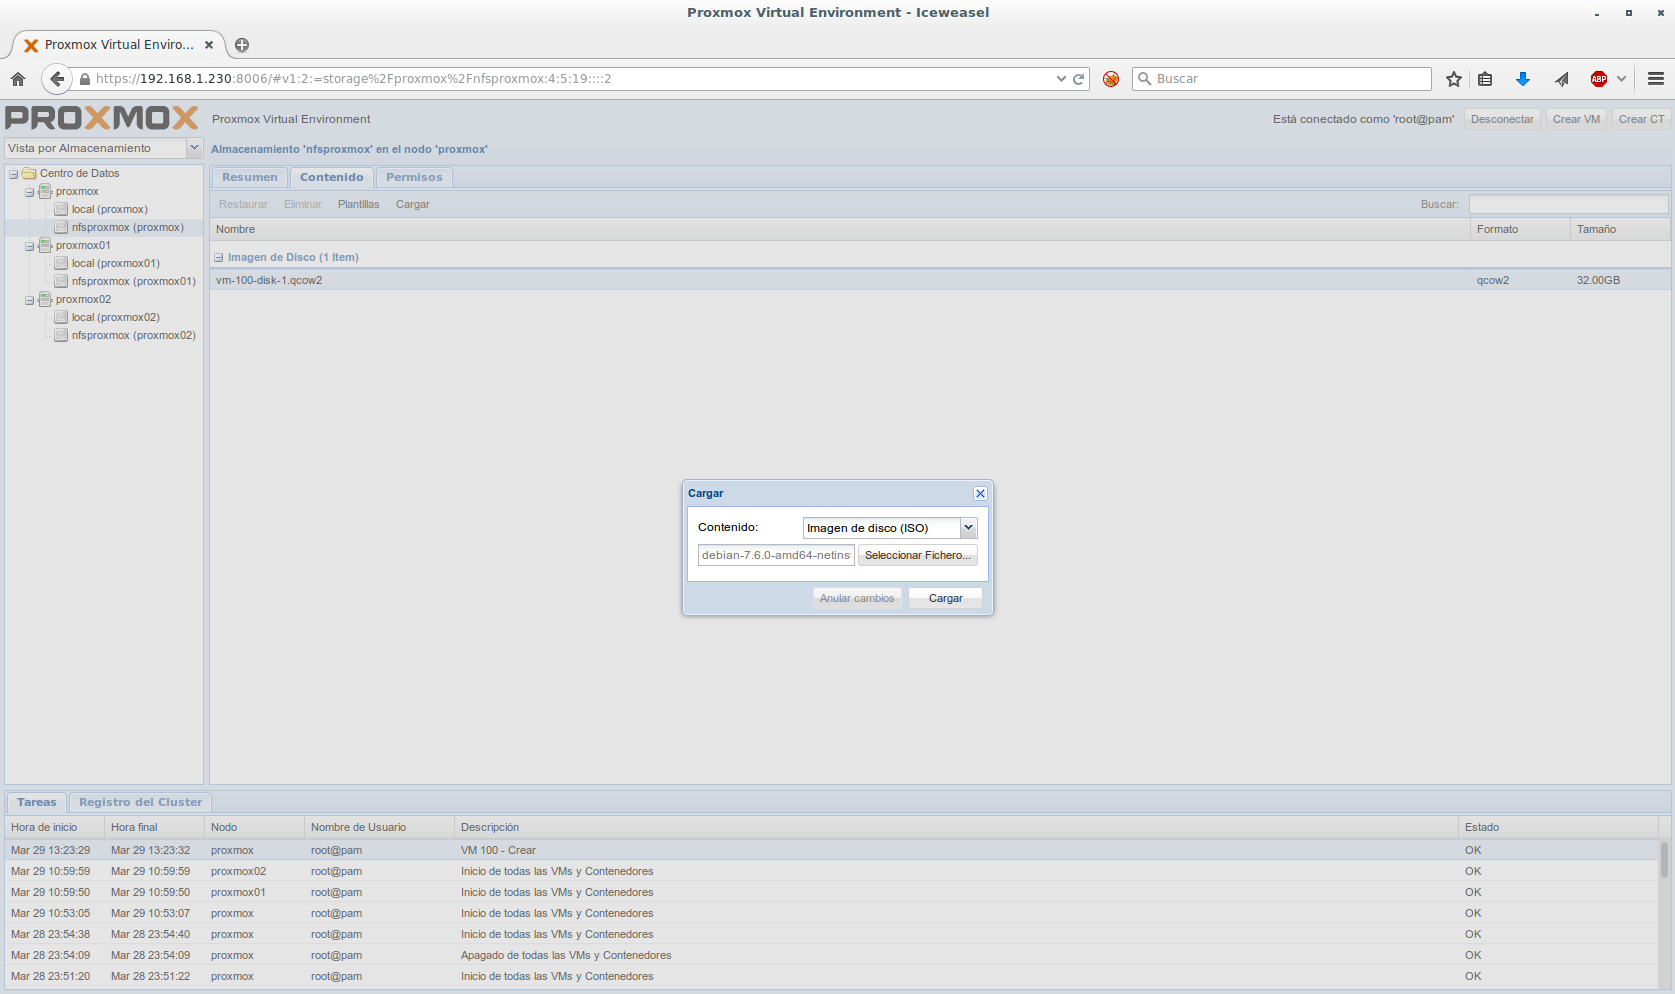
Here we must select an ISO that is on our computer and it will upload it to the shared resource.
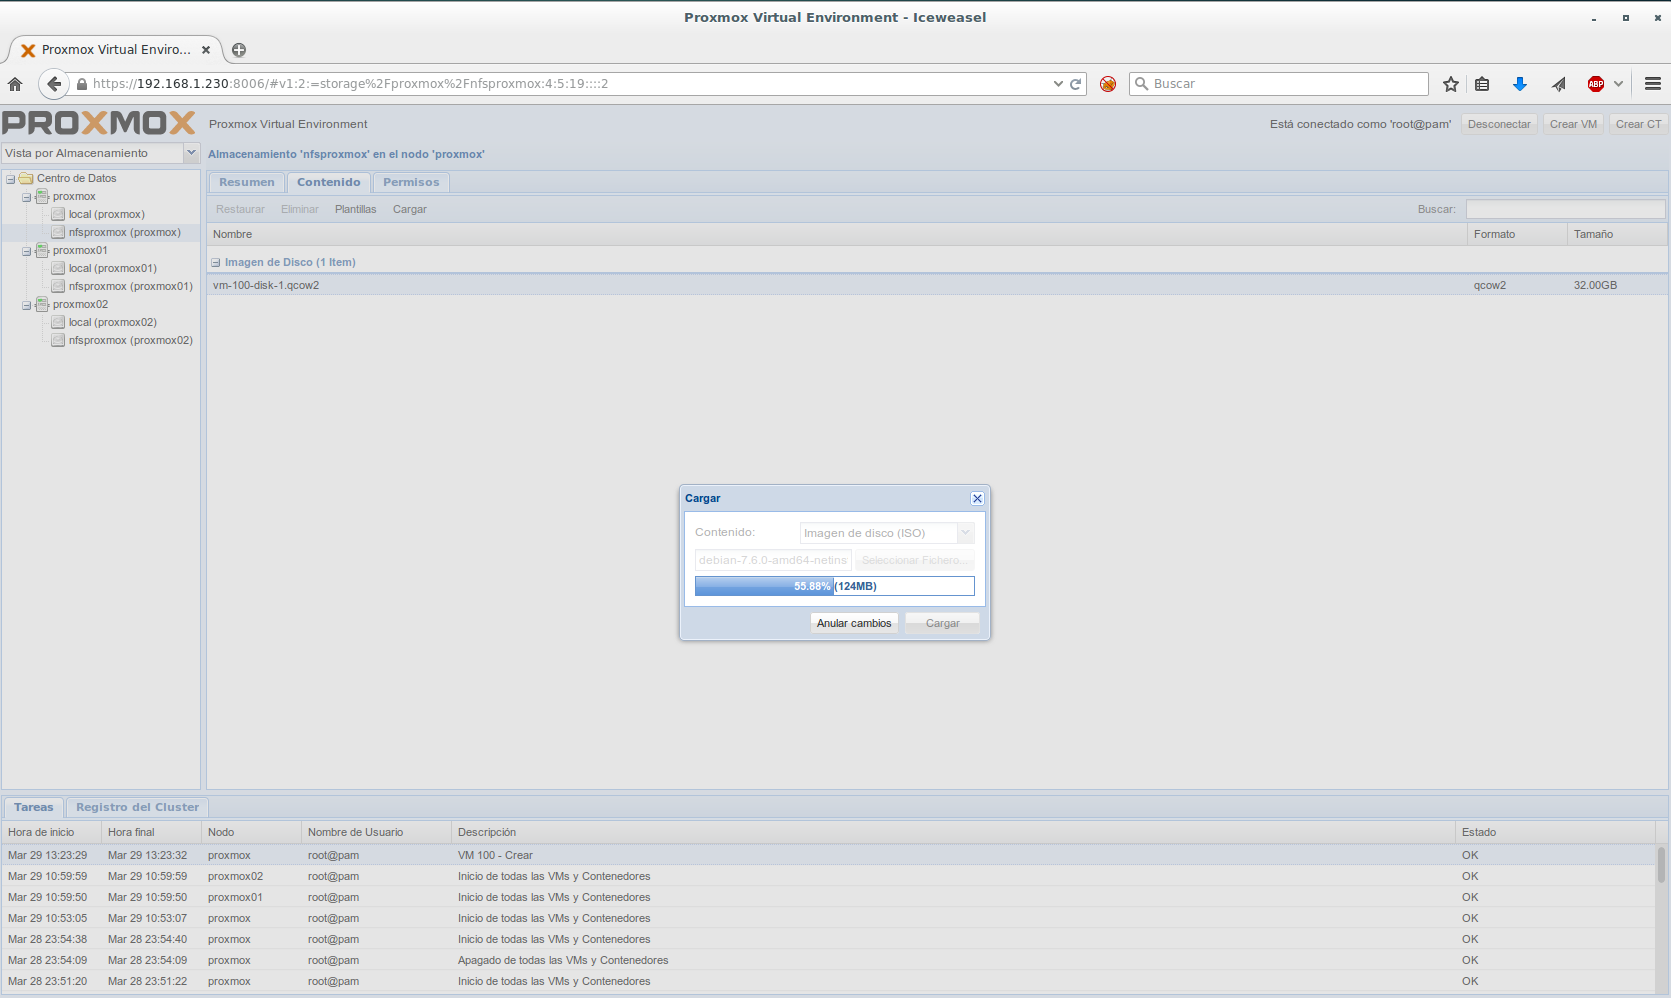
Now we return to the “View by Server > Hardware and we press edit he CD/DVD reader
We have to choose the shared storage (nfsproxmox) and the iso that we previously uploaded.
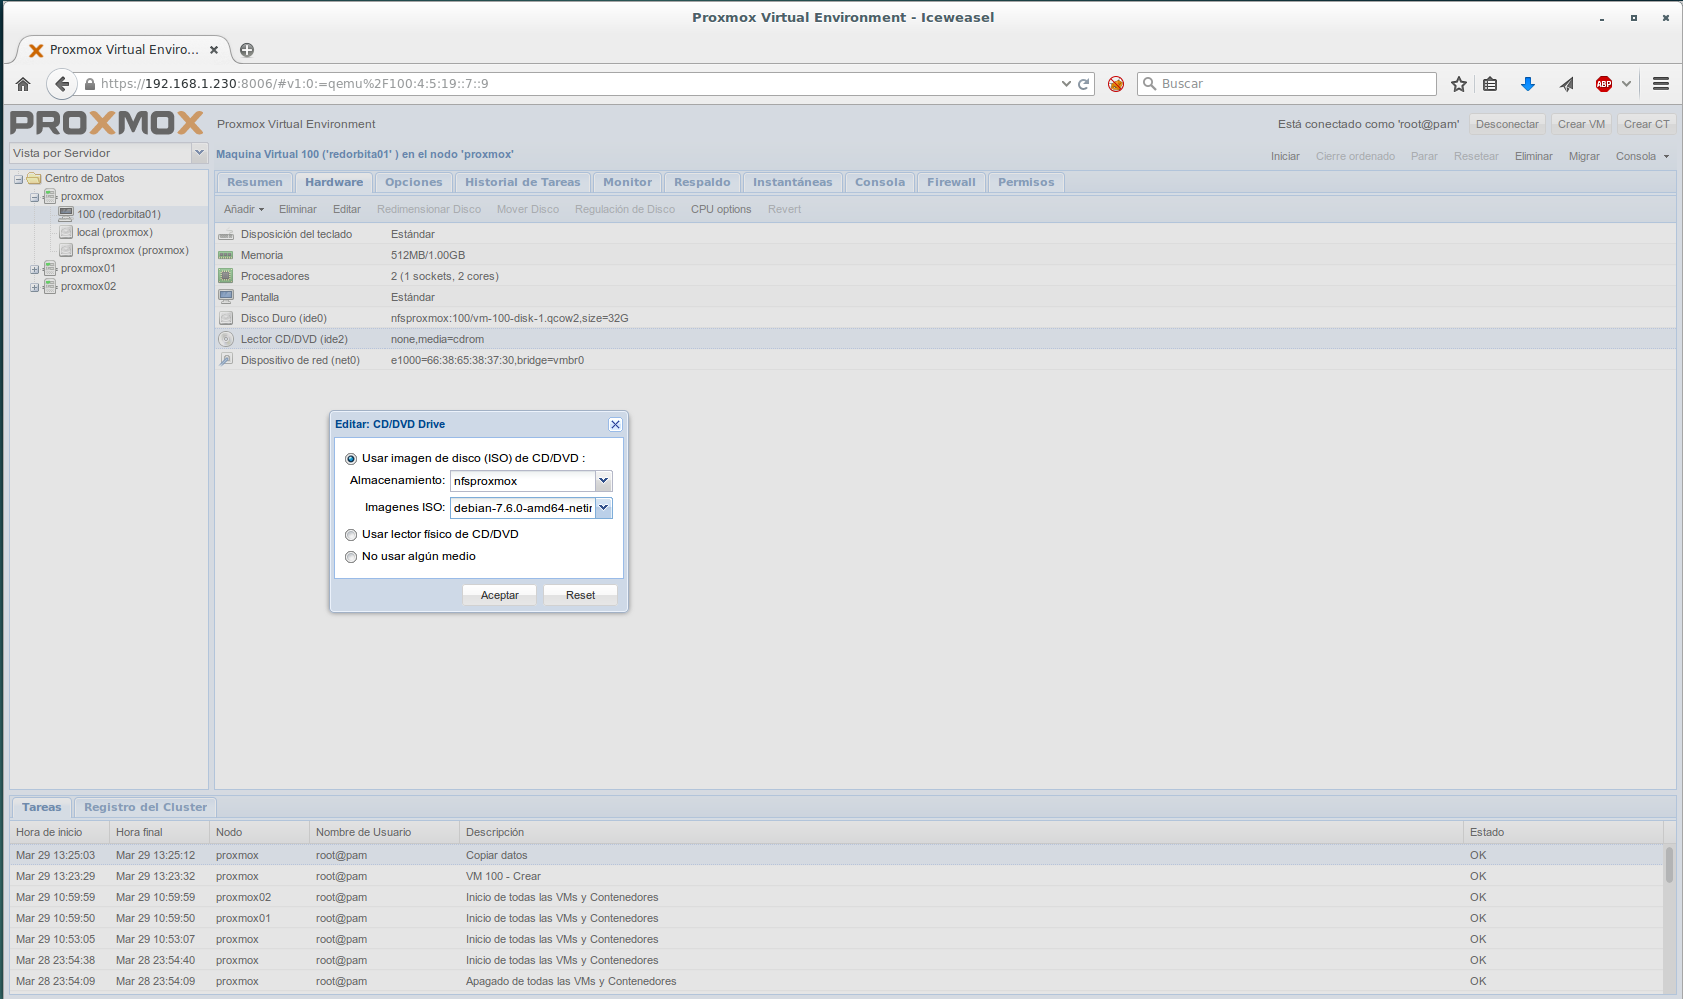
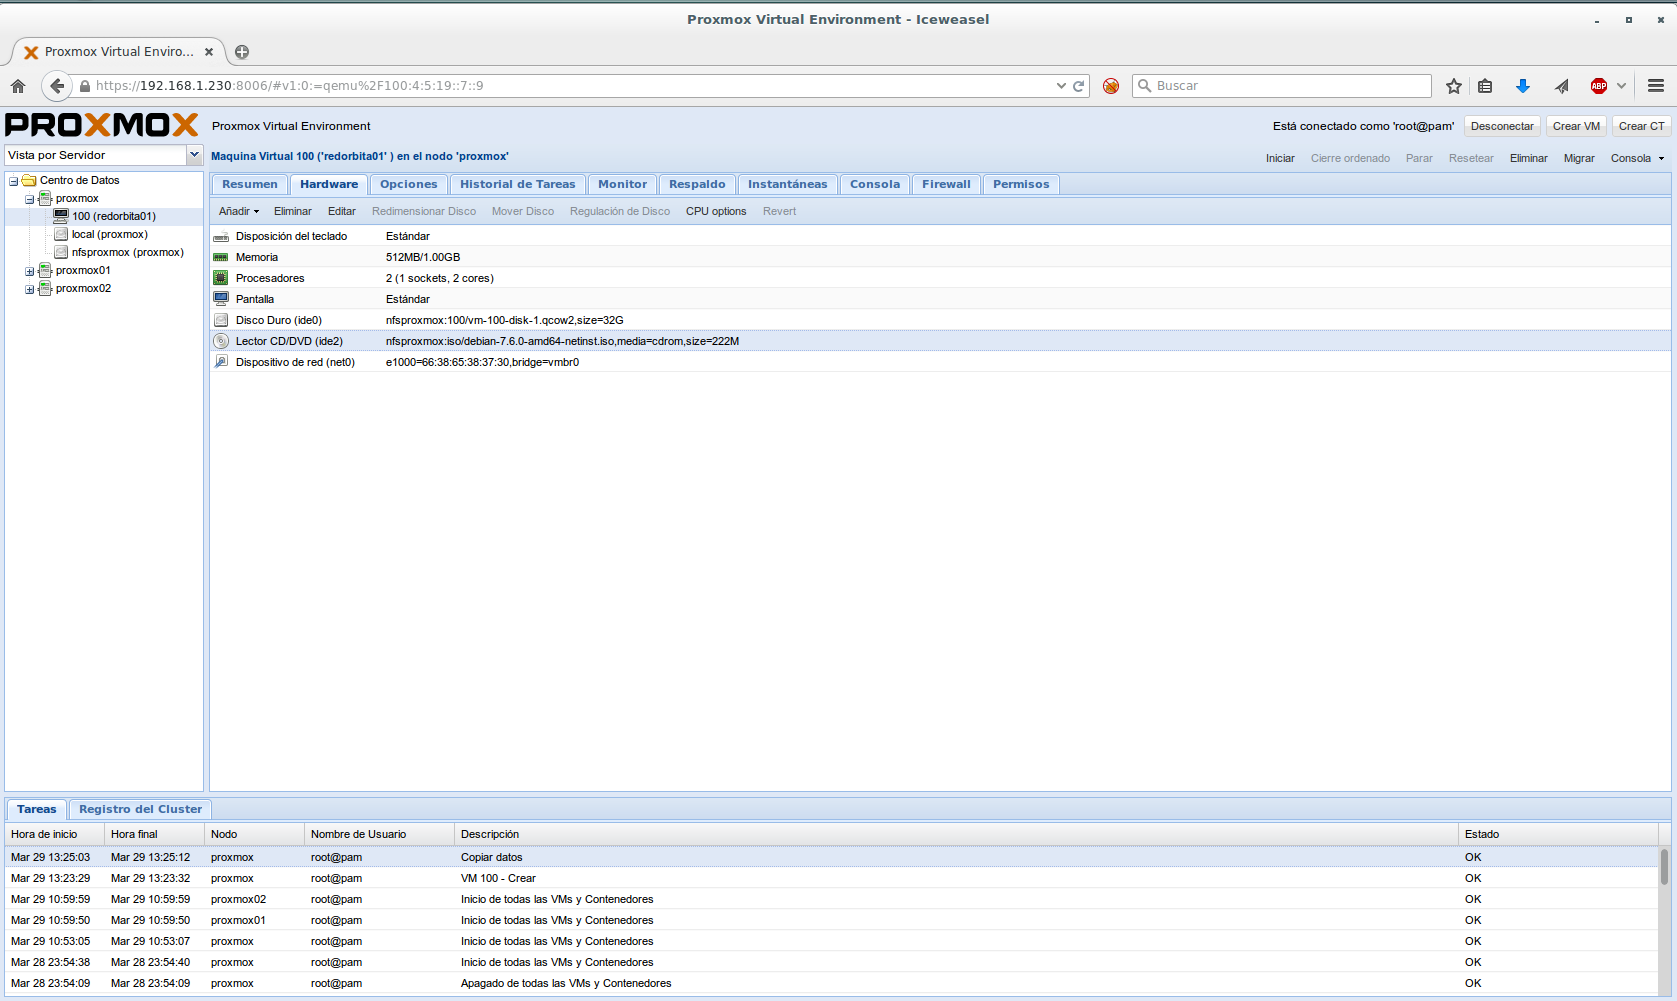
Once the reader is configured, press right button above server > Start
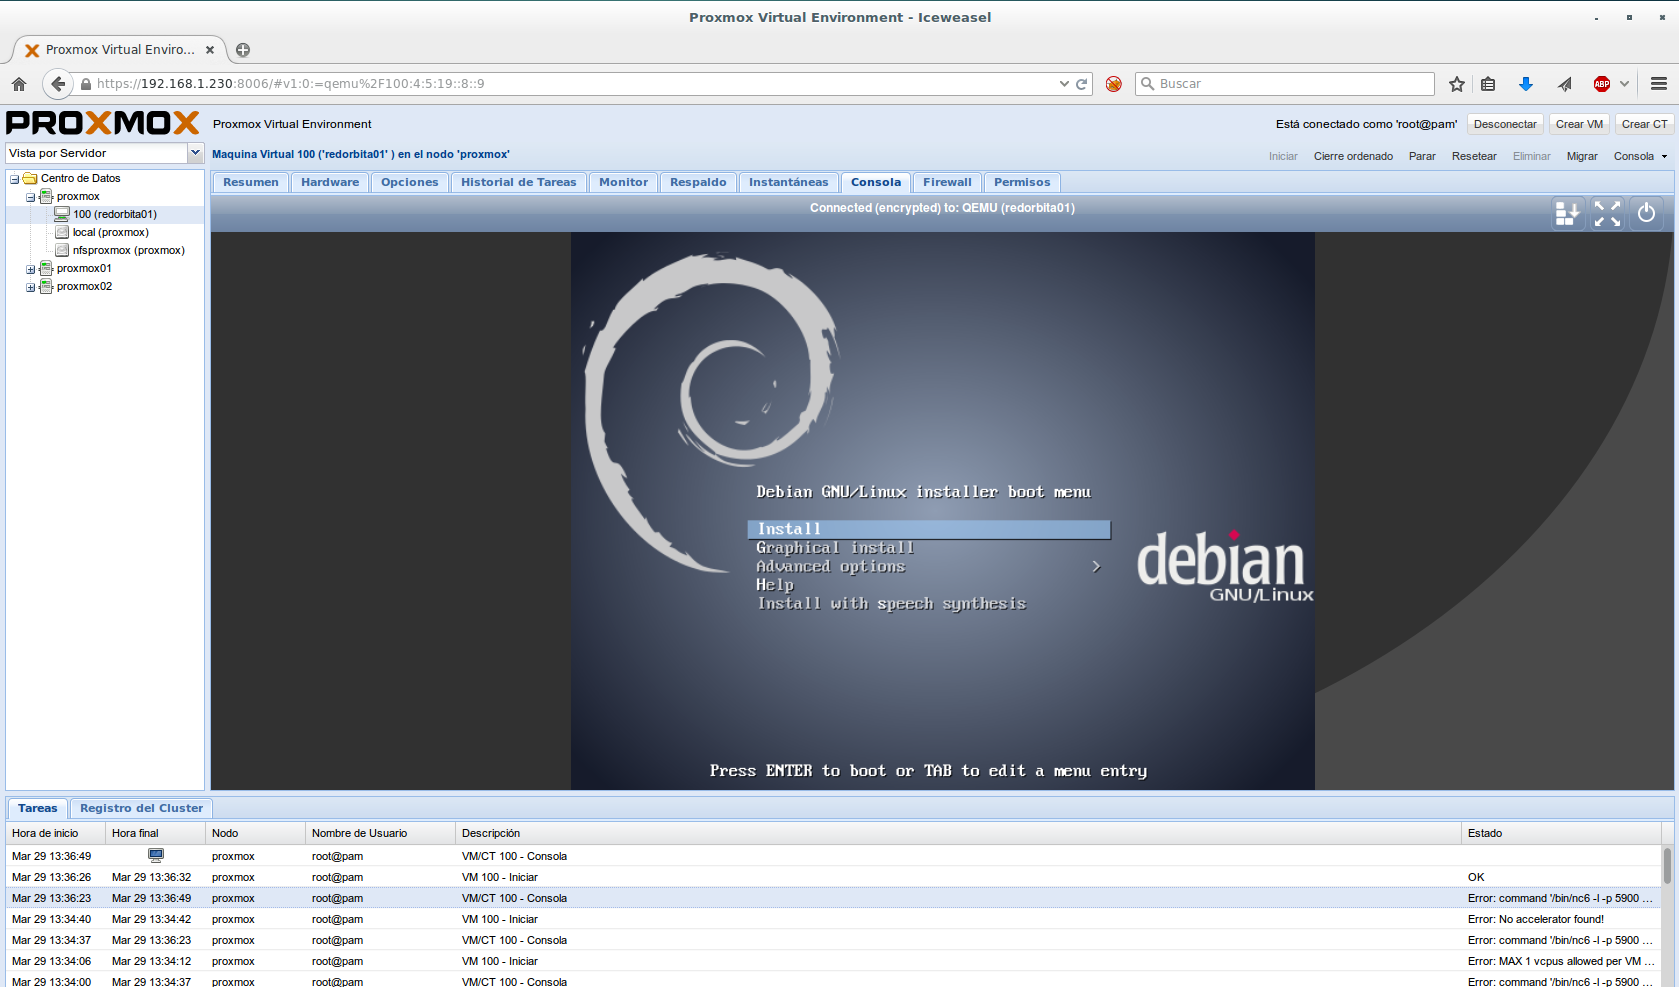
All the best
:wq!
Comments