
In this entry we will see how to configure the Zentyal email module, as well as allow access to our accounts from the external network using Webmail or email client.
Previously we saw how to basically install and configure Zentyal Server 5:
Installation and configuration of Zentyal Server 5
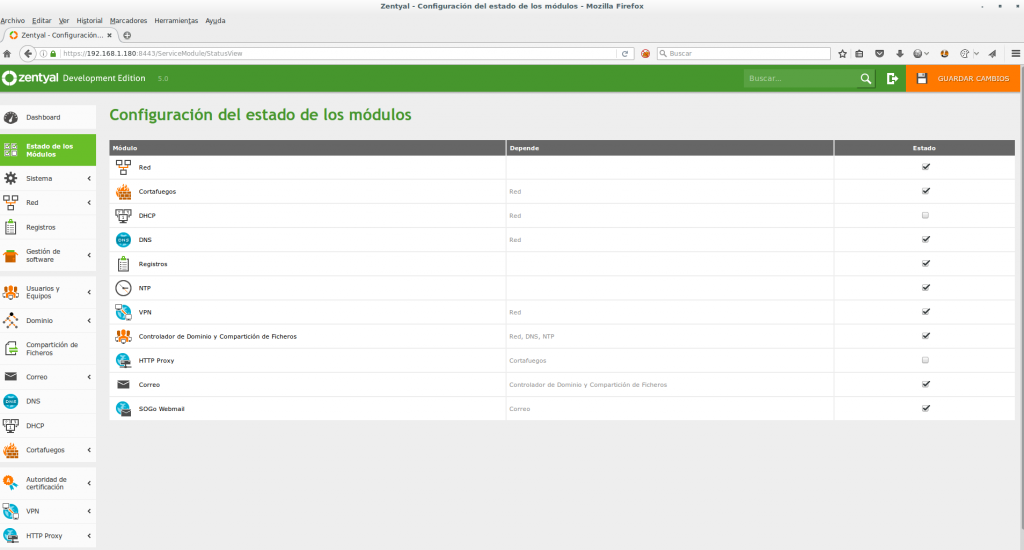
We access through our browser https://192.168.1.180:84 and we go to Status of the modules
There we activate Mail and SOGo Webmail
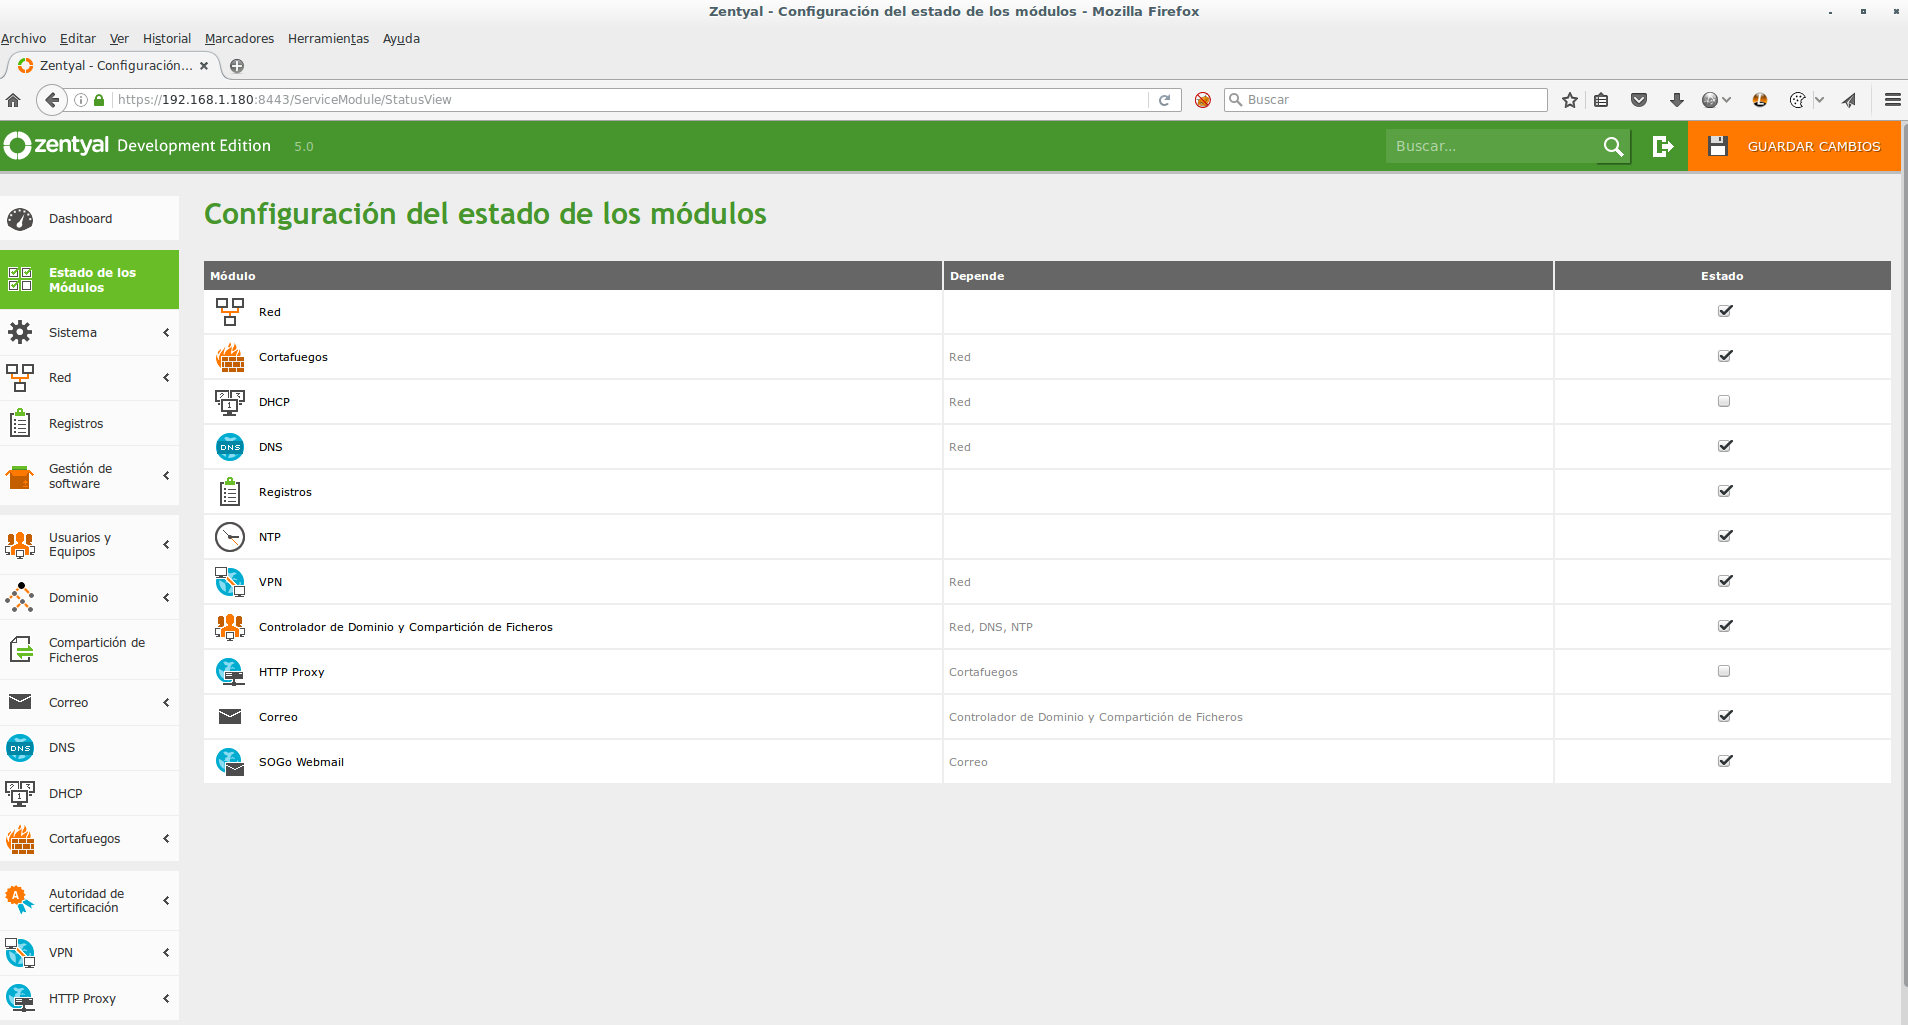
After activating the modules we are going to activate the rules to access from the external network.
*NOTE: The rules that we are going to make are used to enable any type of network, in our case I am going to do it from the external network since I have only configured one network interface as external for testing.
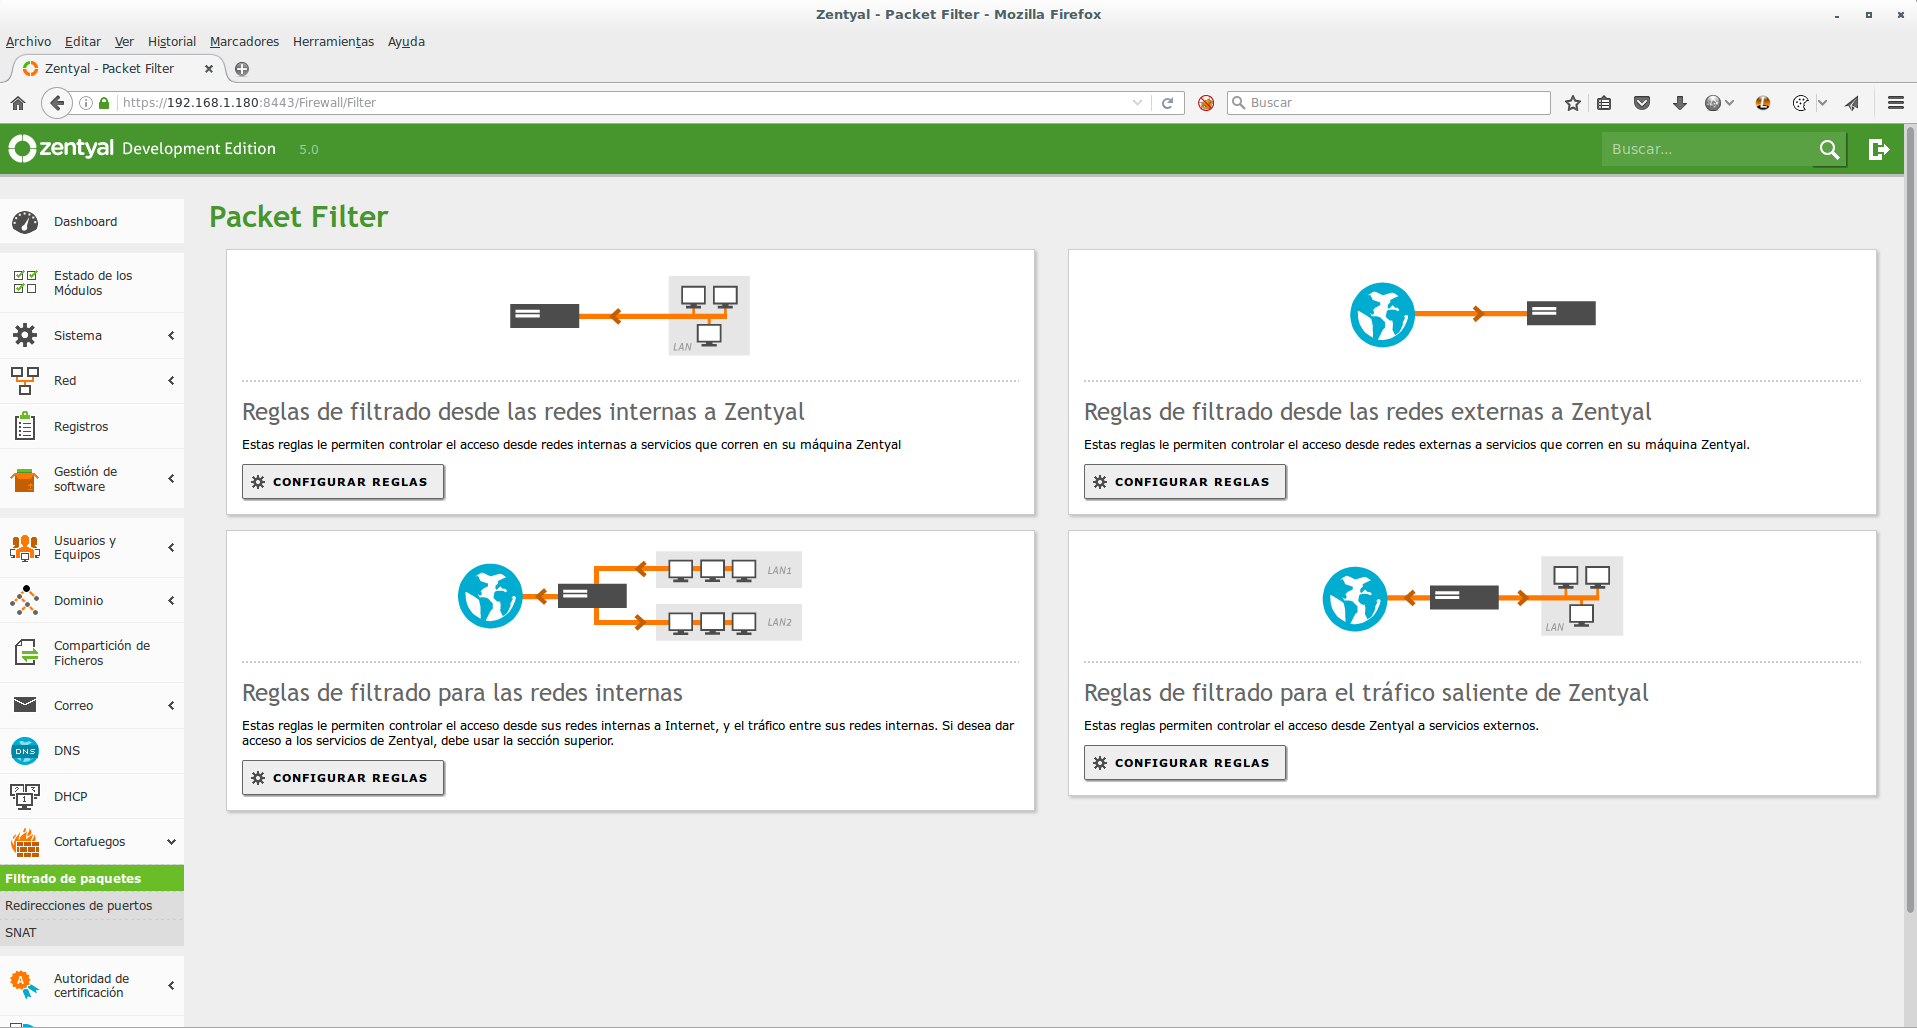
We enable HTTPS to be able to access the webmail server
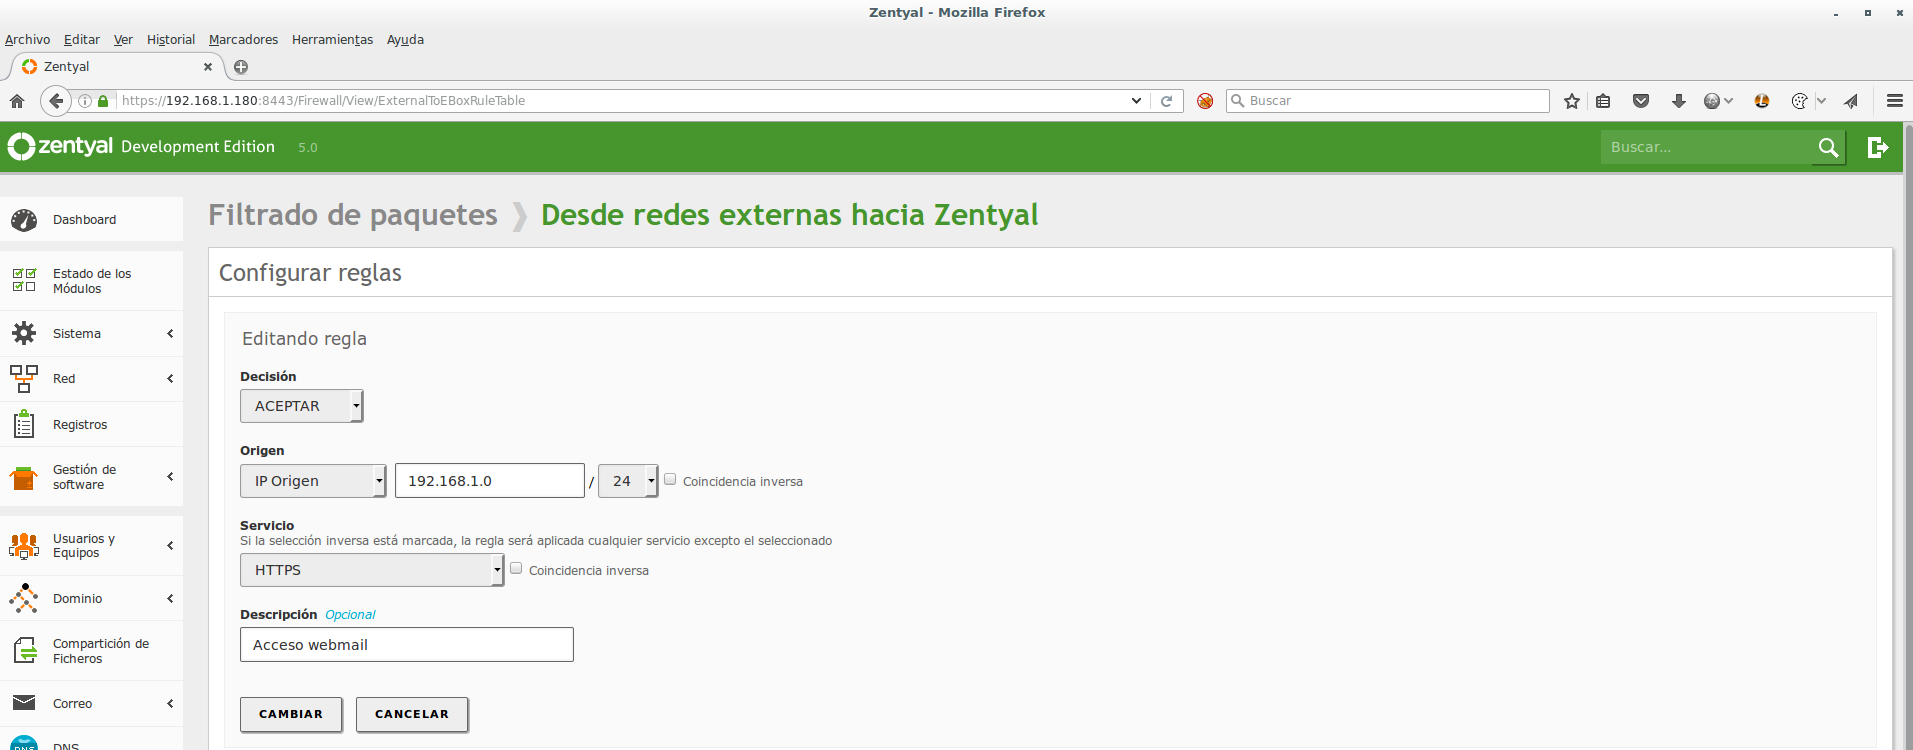
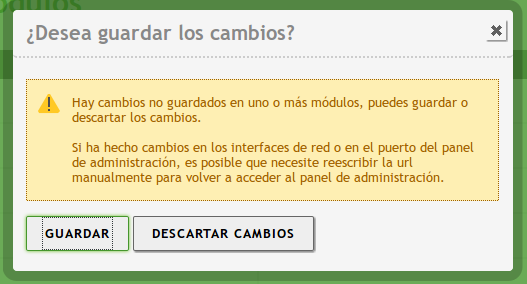
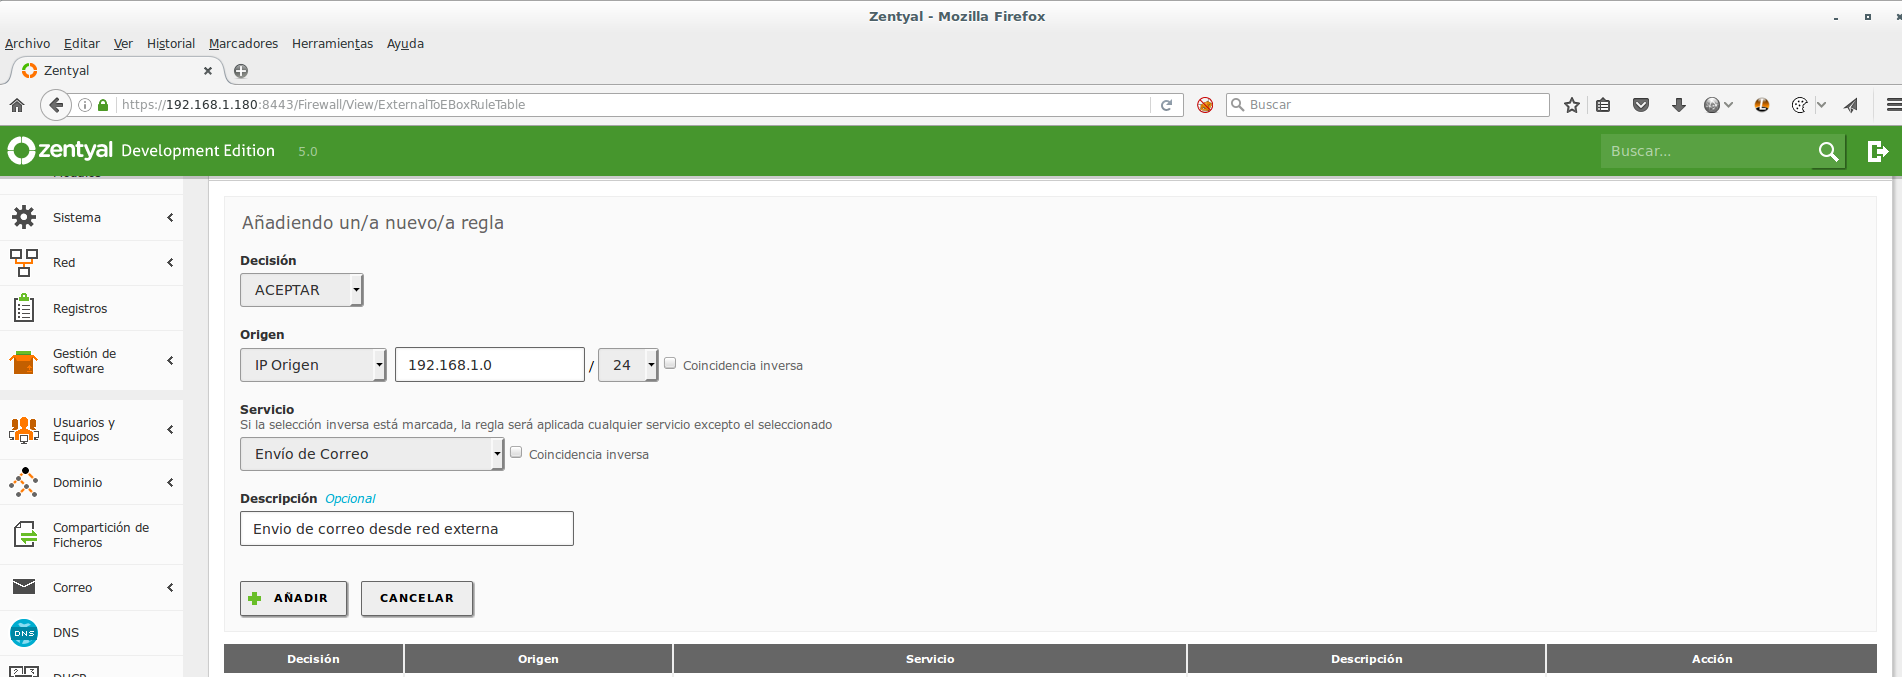
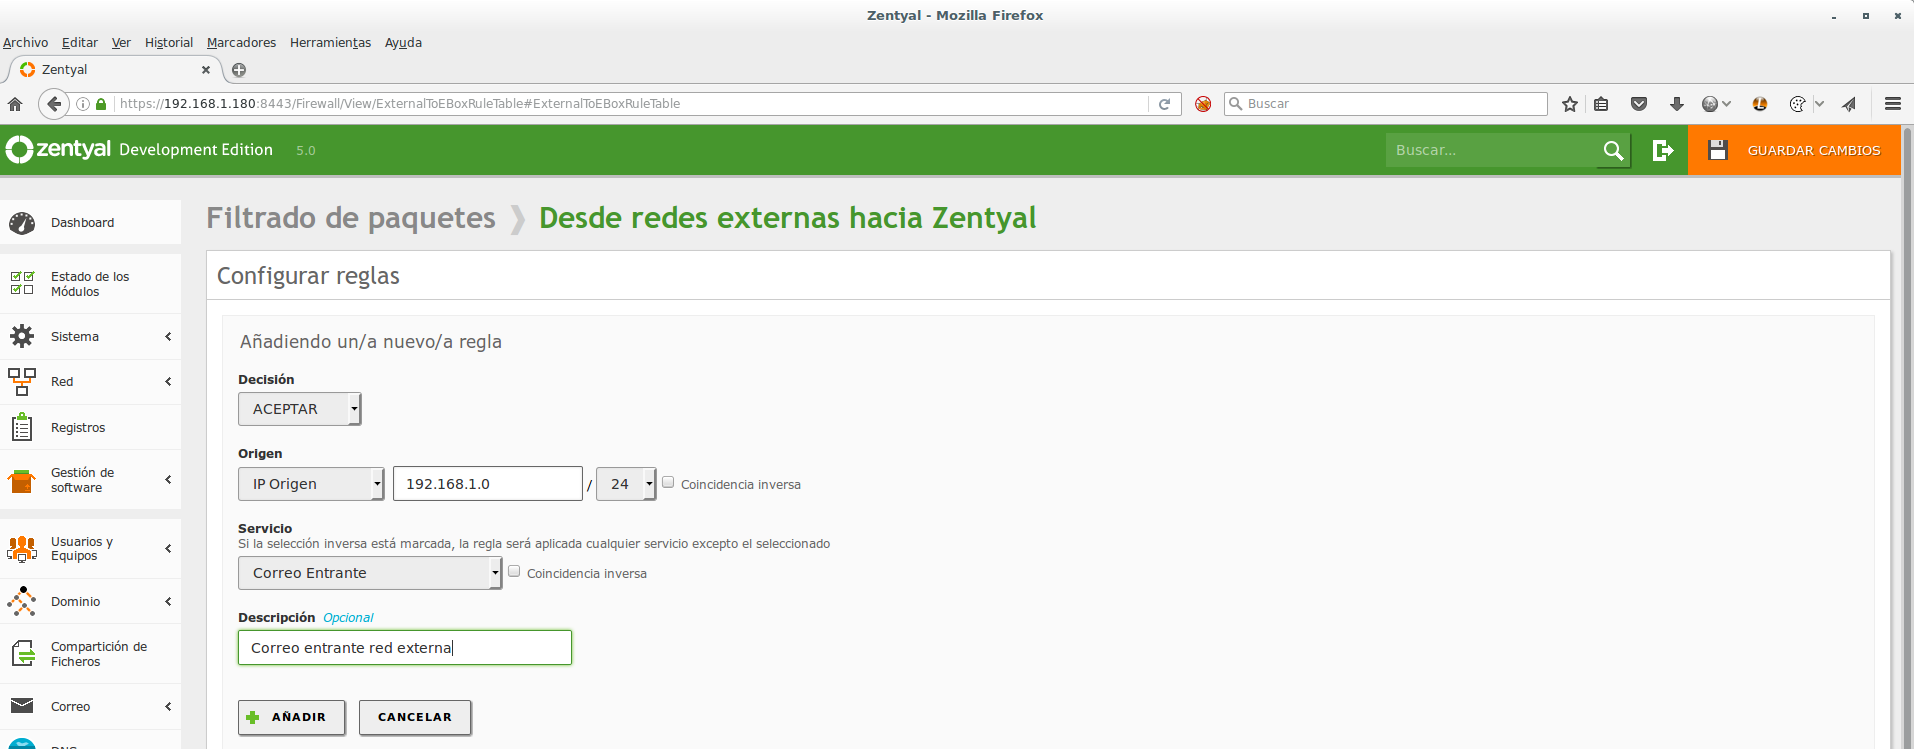
We enable the sending and receiving of emails, once the three rules have been created we click on SAVE CHANGES.
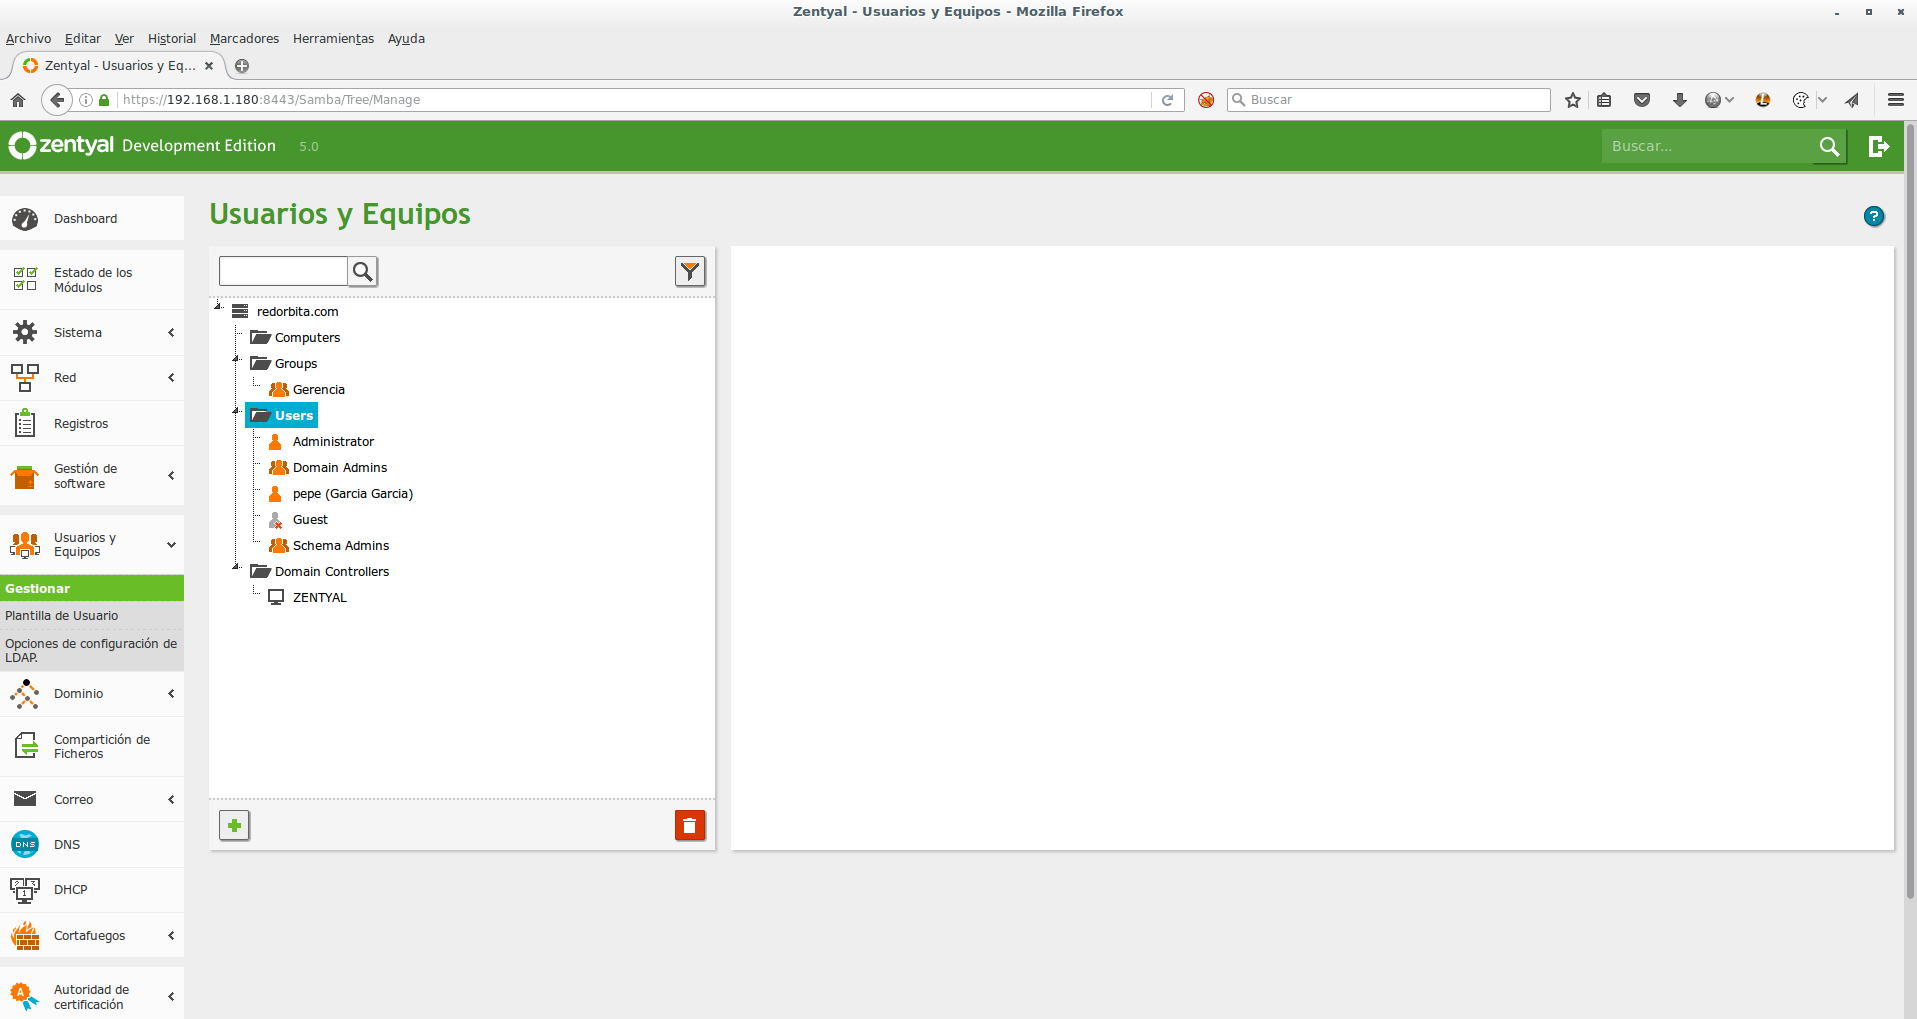
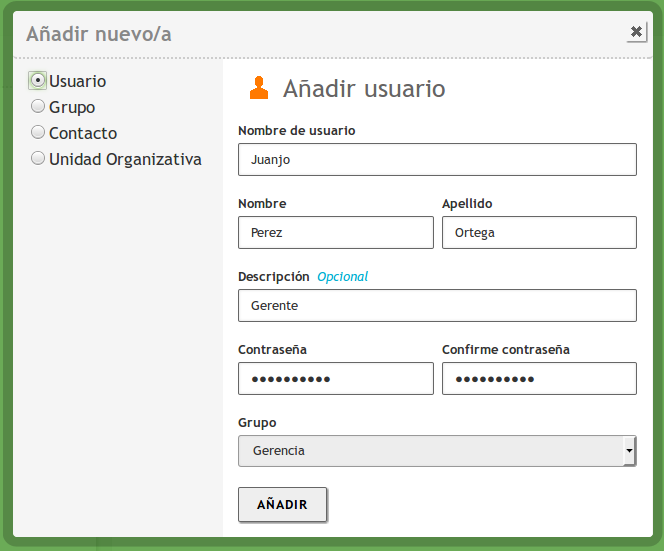
We create a user, to do this we go to Users and Teams > Manage, click on the most located in the left corner.
*NOTE: SOGo authentication is pointing to the Users organizational unit, if we want to change this since we want to group users into different organizational units we have to change it in: /etc/sogo/sogo.conf
We fill in the fields and click add
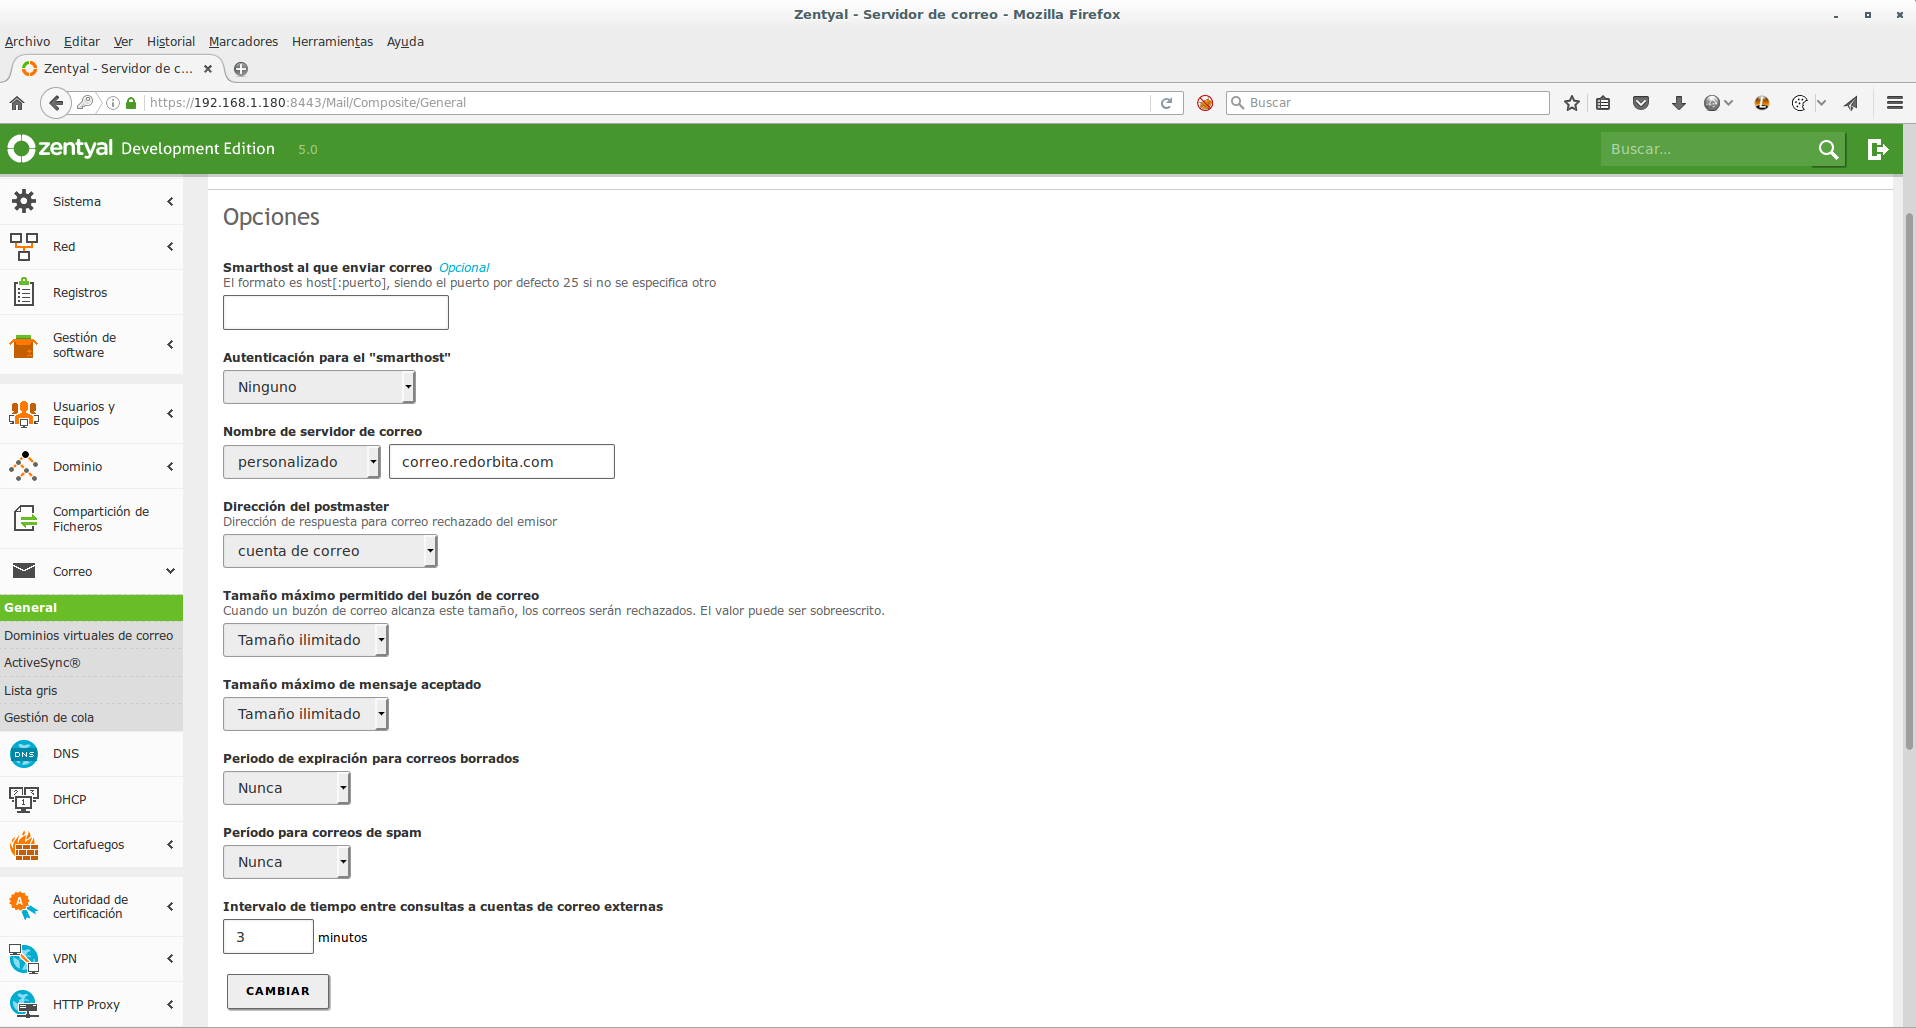
After making the preparations, we now begin to configure the mail server, we go to: Mail > General, in the section I have left almost everything by default, I have only changed the name of the server for now
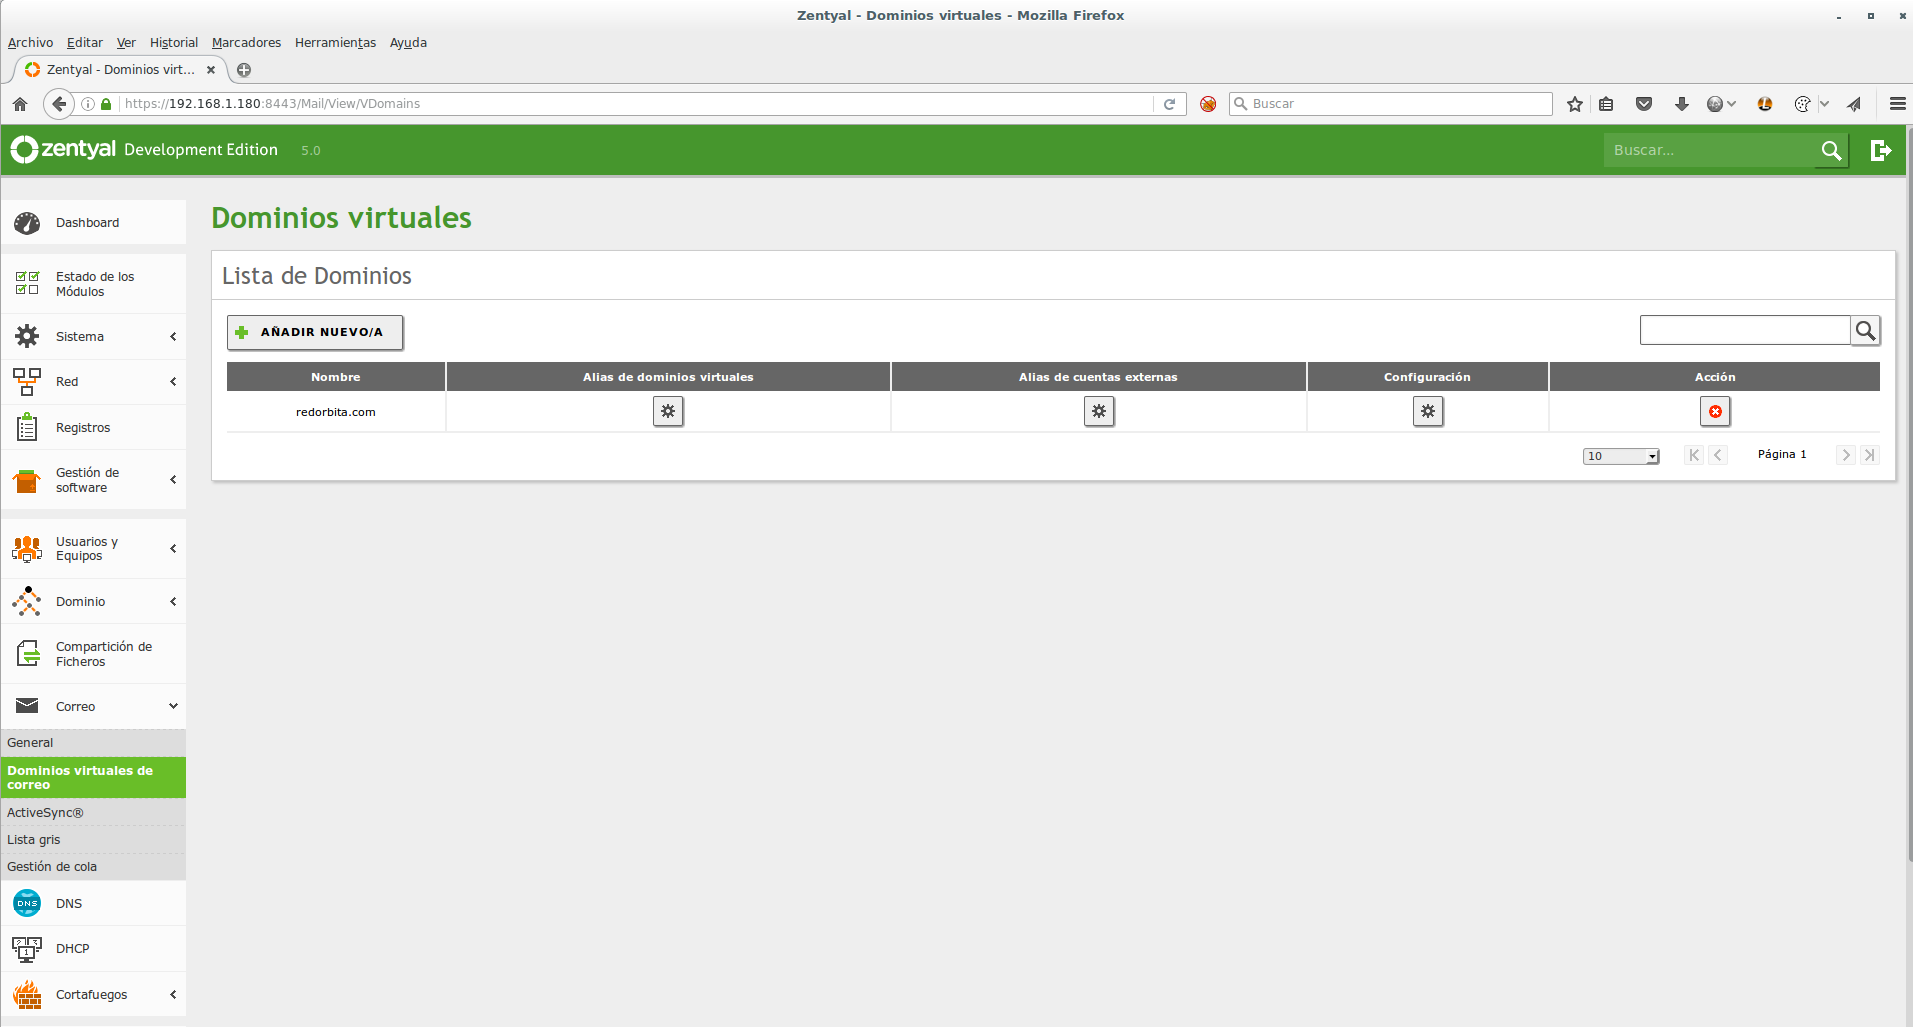
We create a virtual domain:
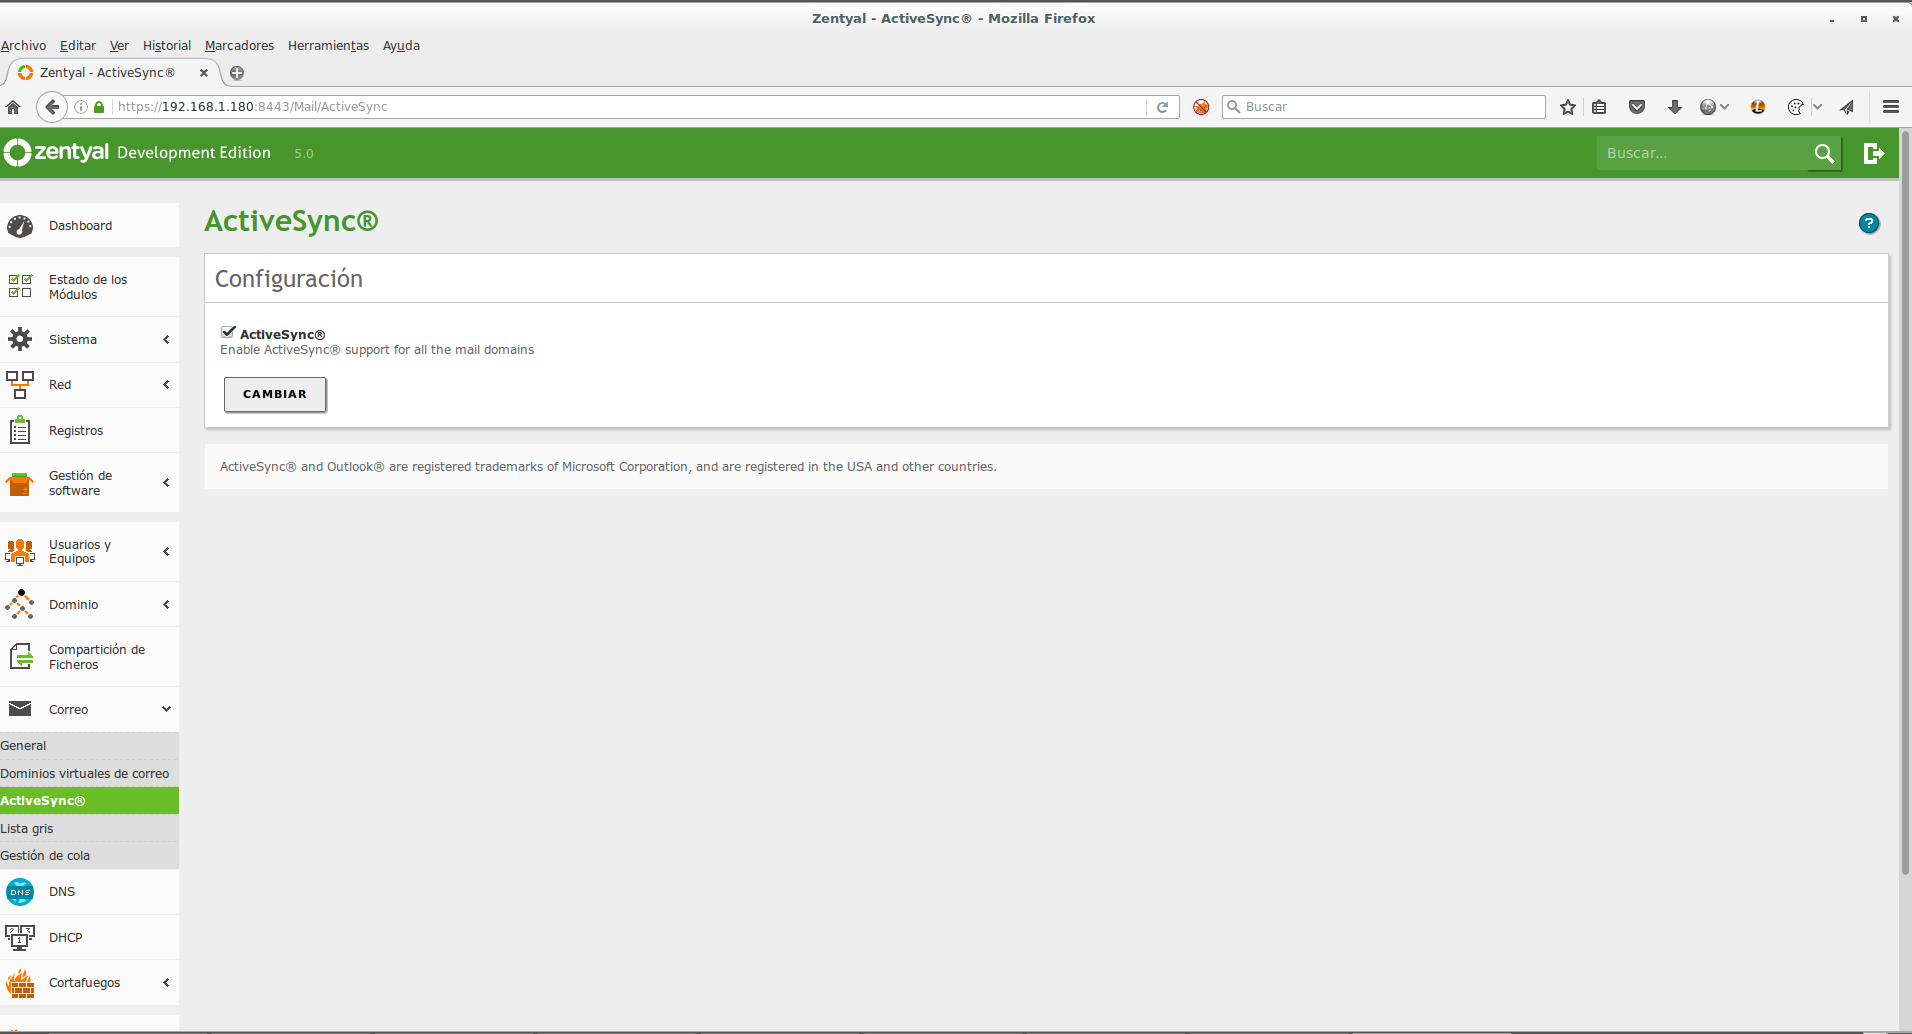
We activate ActiveSync, this allows us to synchronize emails with the outlook client.
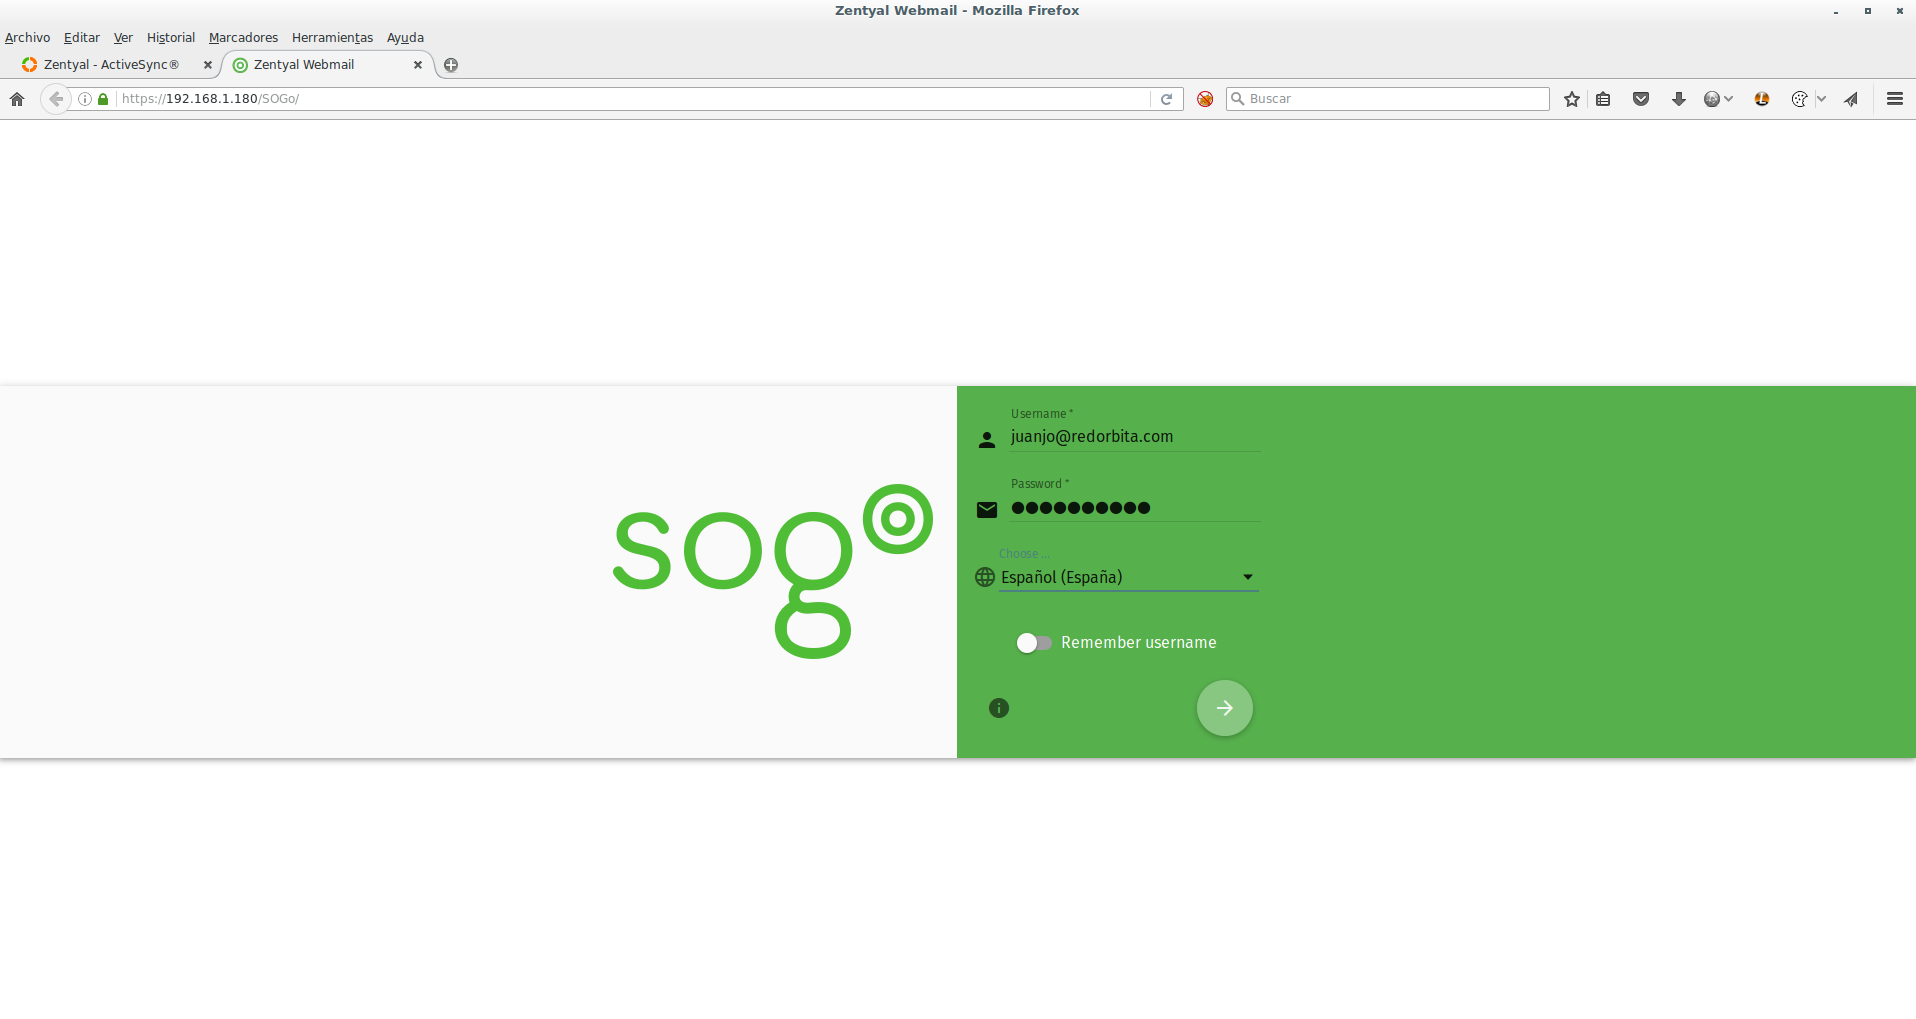
We access through our browser https://192.168.1.180/SOGo and try to access it with the user we created previously.
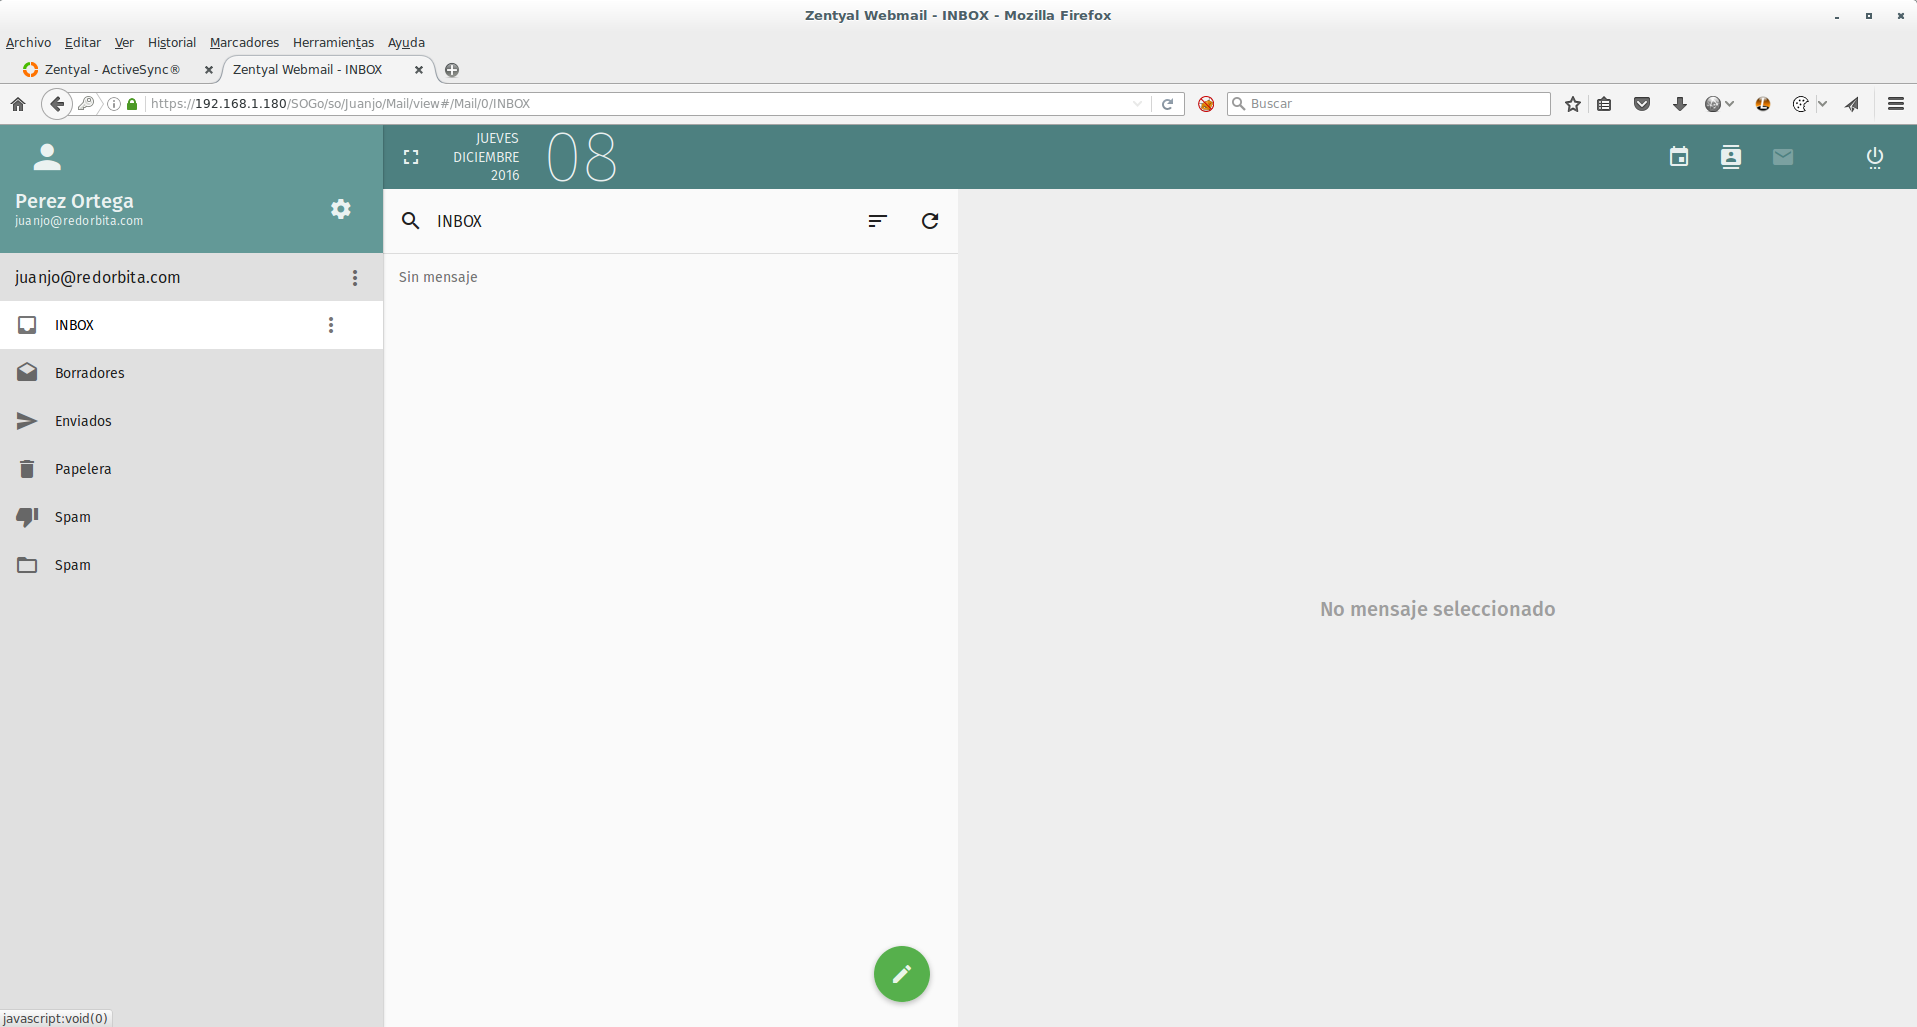
If everything went well we should be able to access correctly.
In future tutorials we will see how to configure Outlook and Thunderbird since they are the most used email clients.
All the best.
Comments