
What is Zentyal?
 Zentyal It is a solution email and groupware of open source, natively supported by Microsoft Outlook®. Zentyal implements protocols Microsoft® Exchange on standard open source components (such as Dovecot, Postfix, Samba, etc.) to provide native support for Microsoft Outlook® clients. The email and groupware protocols supported by Zentyal are MAPI, ActiveSync, EWS, SMTP, P.O.P., IMAP, CalDAV, CardDAV and Active Directory.
Zentyal is distributed in two packages: Zentyal Server for SMEs and Zentyal Cloud for hosting providers. Zentyal Server has a development edition that can be downloaded for free and whose source code is available under the terms of the GNU General Public License.
Characteristics:
- Native support for Microsoft® Exchange Server Protocols
- Support for Microsoft Outlook® 2007, 2010
- Native support for Microsoft Active Directory®
- Multiple Virtual Mail Domain
- Mail, calendars, contacts
- webmail
- Synchronization with mobile devices (ActiveSync support®)
- Antivirus and antispam
- Filtering by Extension and MIME type
Domain and Directory
- Central management of the directory domain
- Users, Security Groups, Distribution Lists, Contacts
- Multiple Organizational Units (OUs)
- Single Sign-On (SSO) Authentication
- Supported OS: Windows® XP, Windows Vista®, Windows® 7,Windows® 8
- File sharing in Windows environments® (CIFS)
- Access and modification permissions for Users & Groups (ACLs)
- Advanced domain management through RSAT tools
- Printer management
- Antivirus with integrated quarantine for the file server
Infrastructure
- DNS Server
- DHCP server
- NTP server
- Certification Authority
- VPN server and client
Network management
- Static and DHCP interfaces
- Objects and Services
- PacketFilter
- Port forwarding
Facility
Once we start using the CD-ROM, the first thing we have to configure is the language
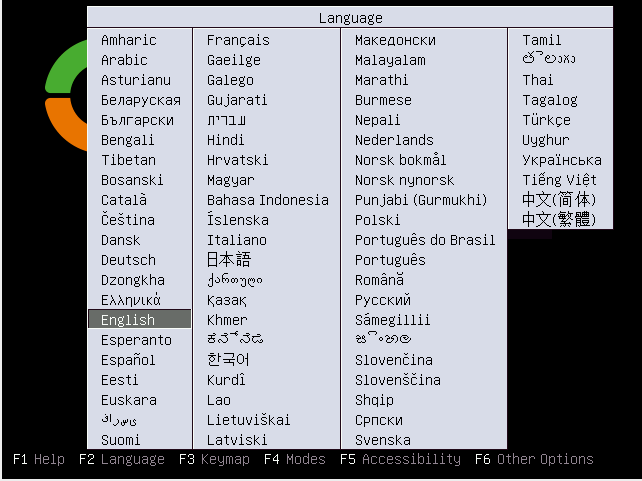
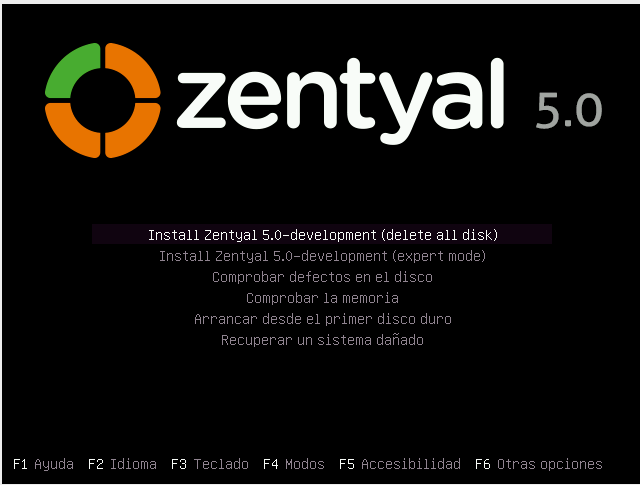
We start the installation wizard
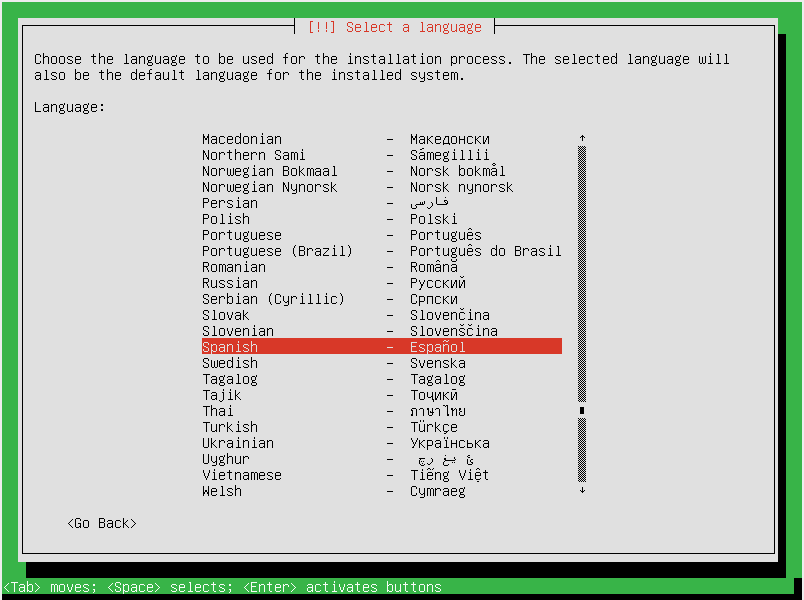
We select the language of the operating system.
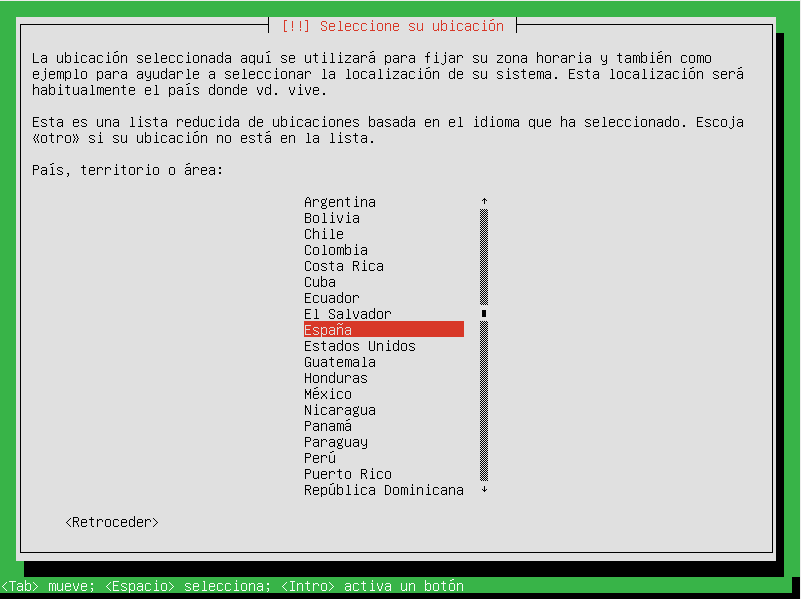
We indicate the geographical location.
We configure our keyboard
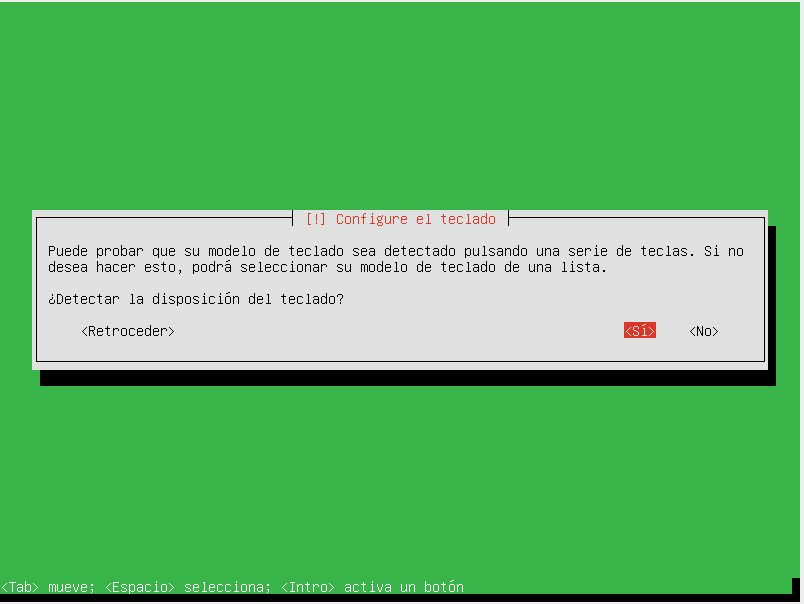
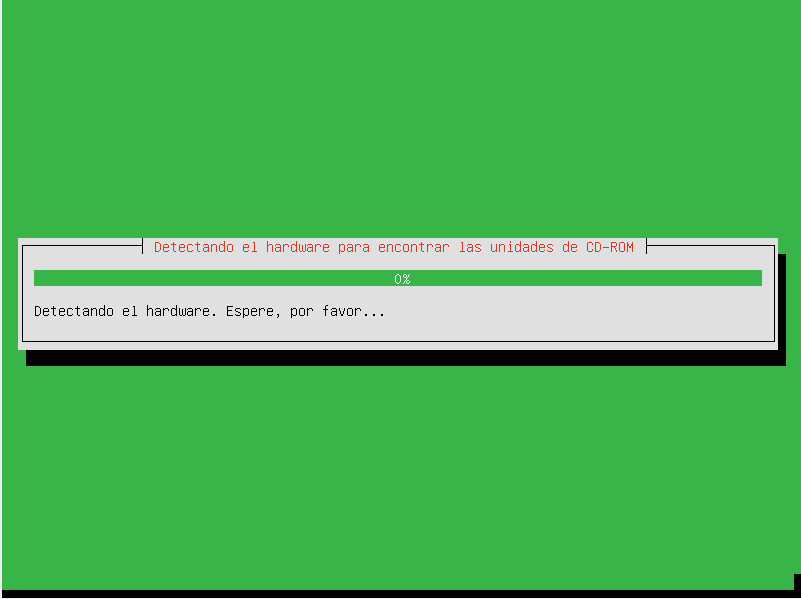
Start analyzing hardware components
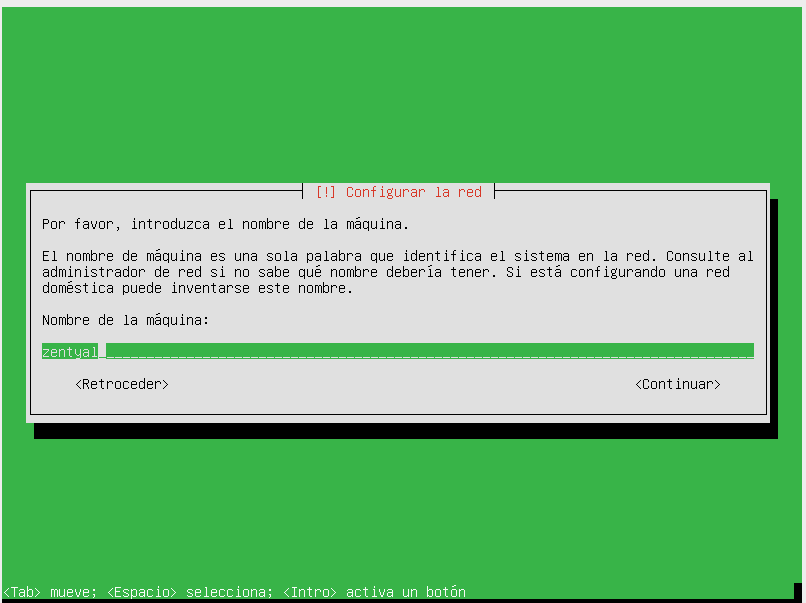
We add the name which our server will have.
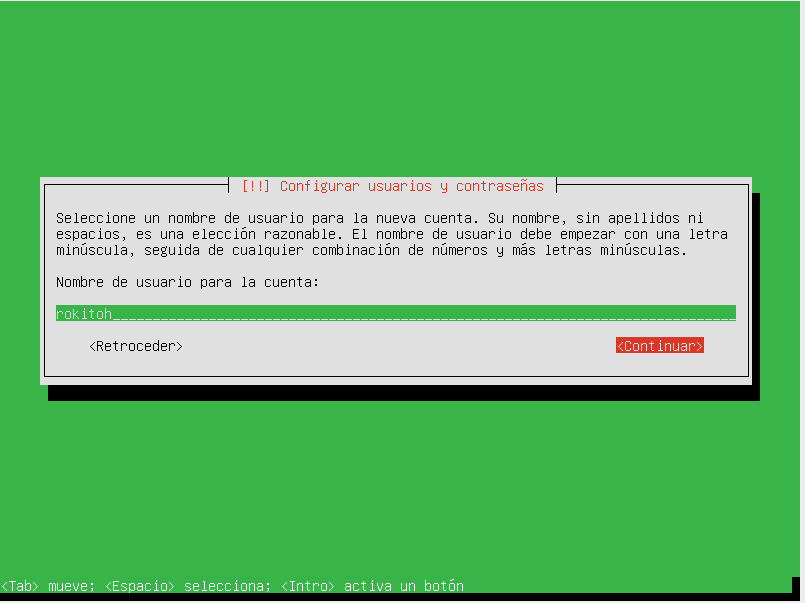
We create a user, with this user we will access the panel for configuration and administration.
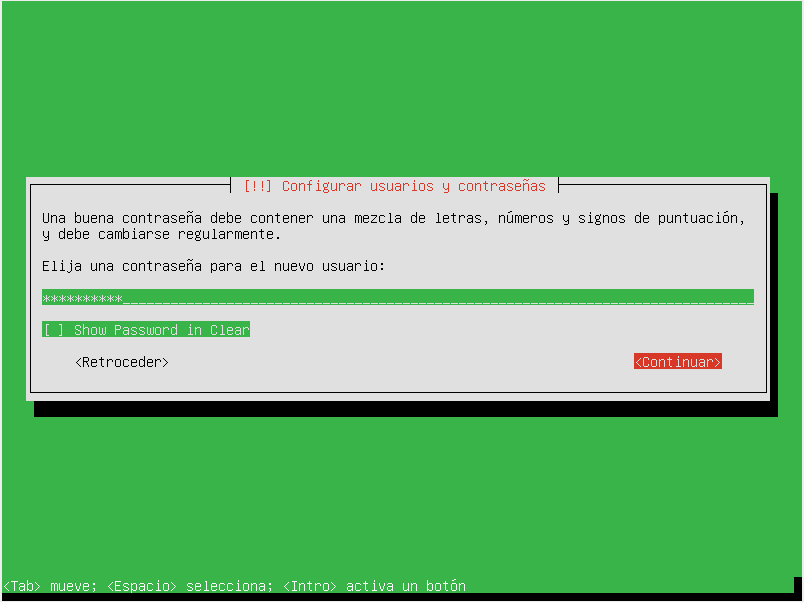
We add our geographical area
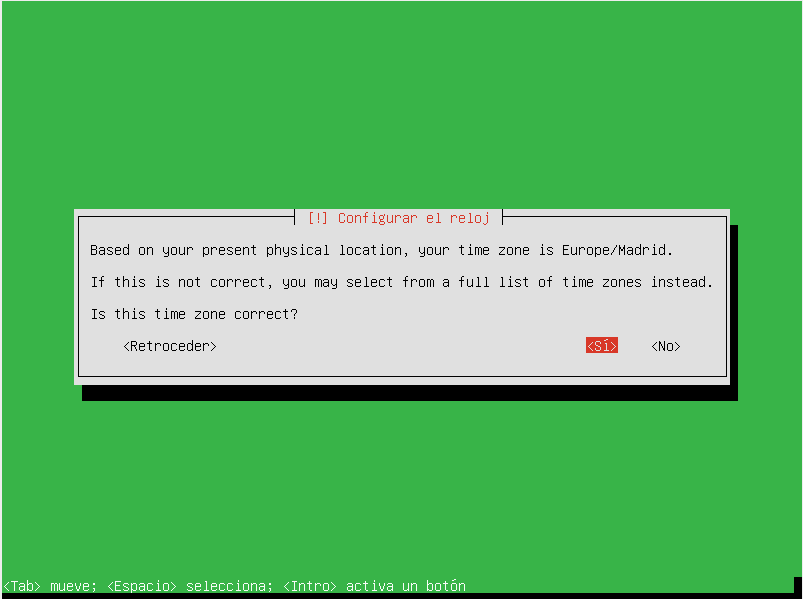
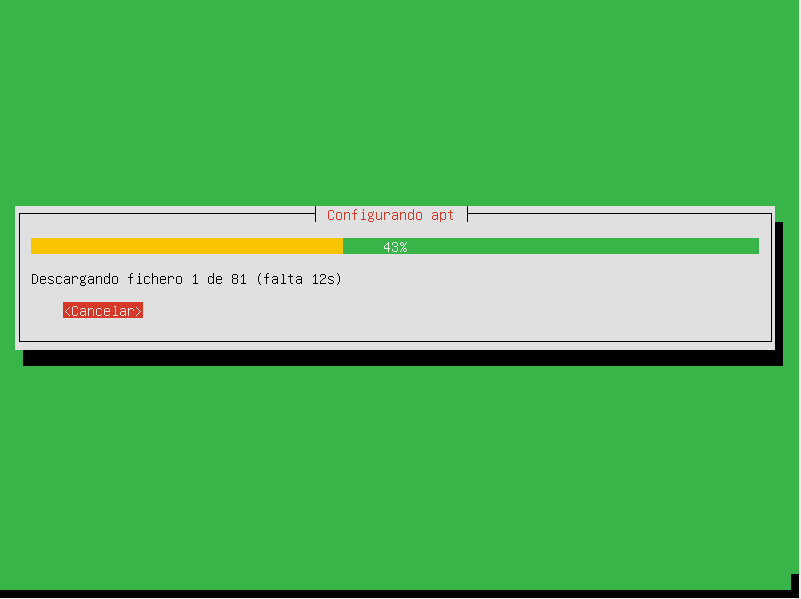
Once all the configuration is completed, the installation process of all the software begins.
Install the bootloader
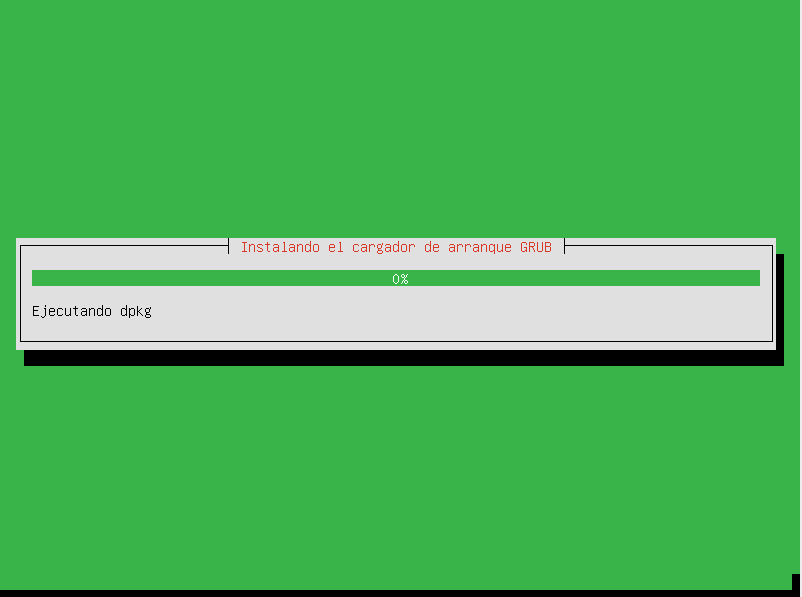
Once the installation of the bootloader is finished, we proceed to restart the server.
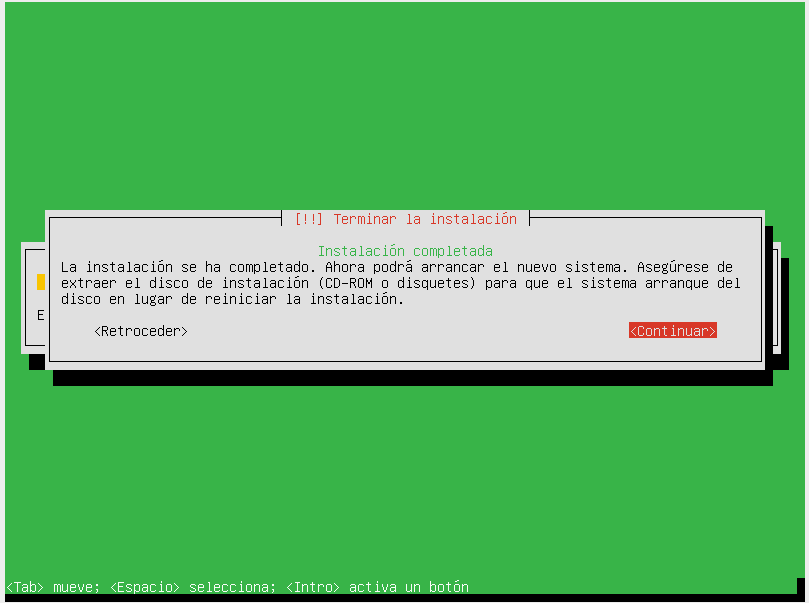
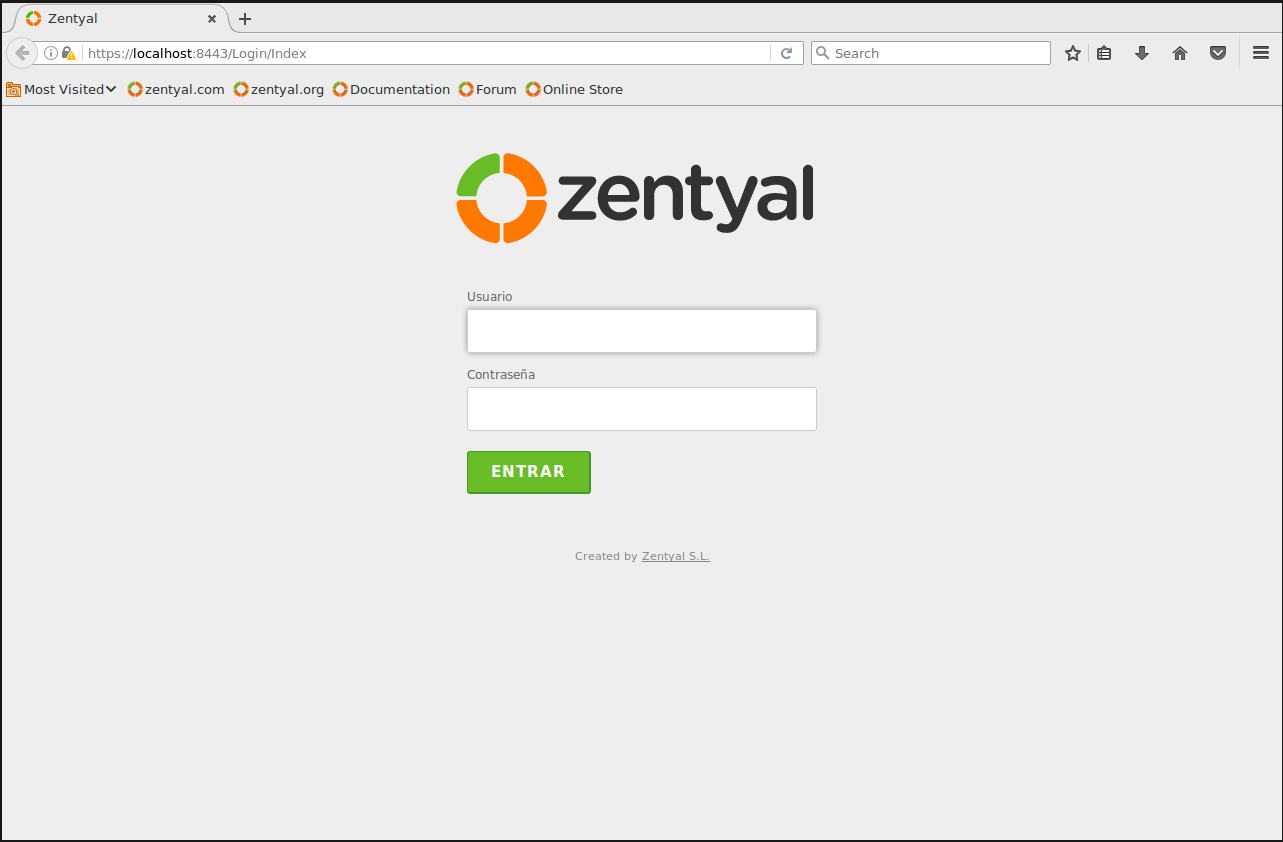
After starting our system, a browser will open where we have to log in with the username and password created previously.
The basic configuration process begins
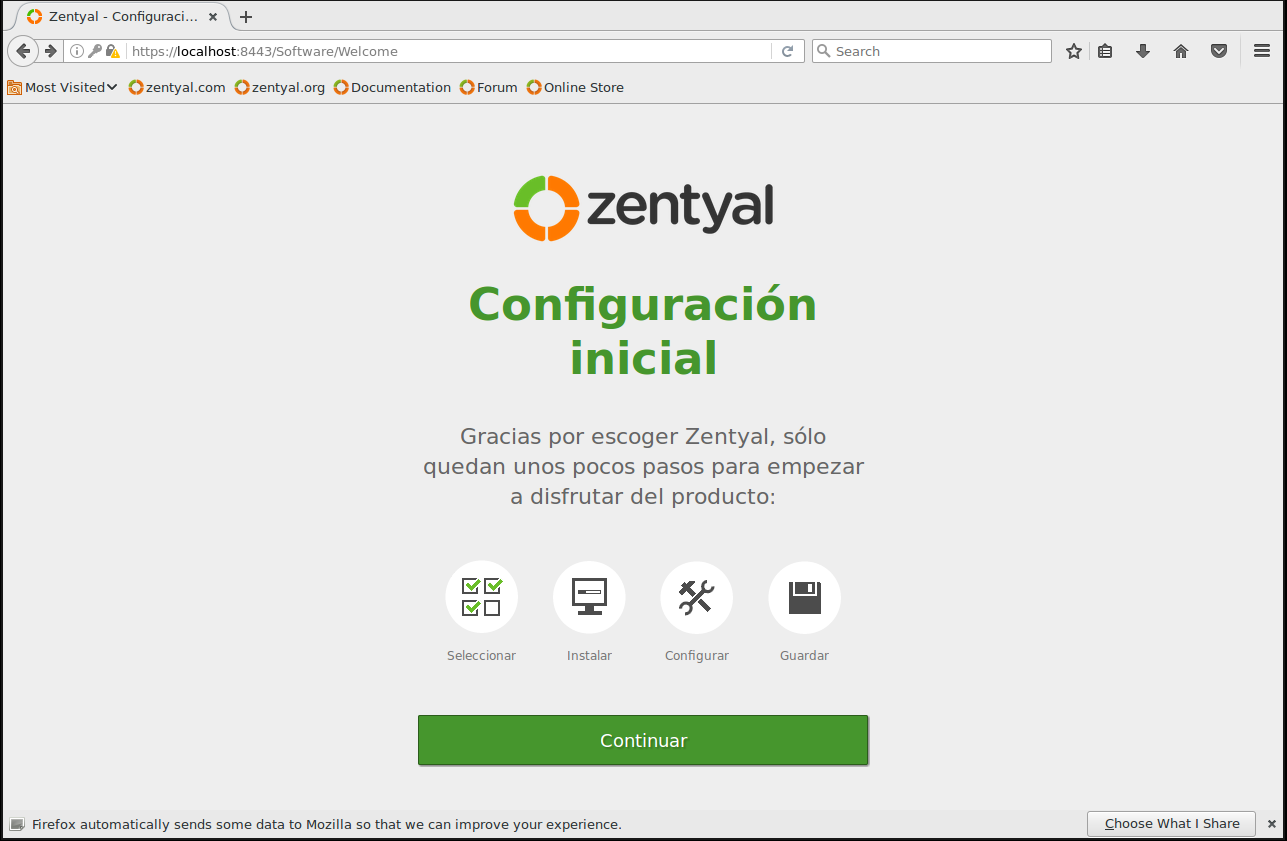
In my case, since I am going to use this server as the main domain controller and mail server, I am going to select all the components.
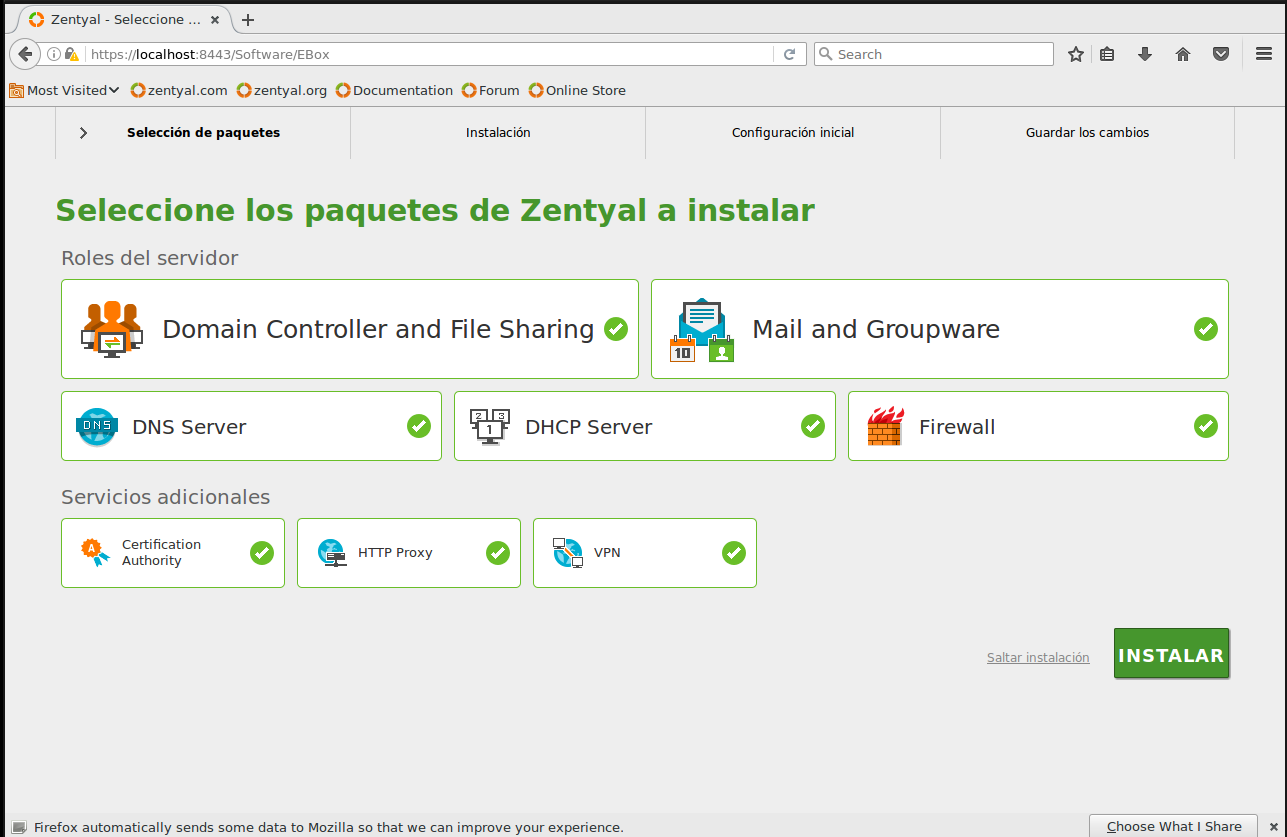
We confirm
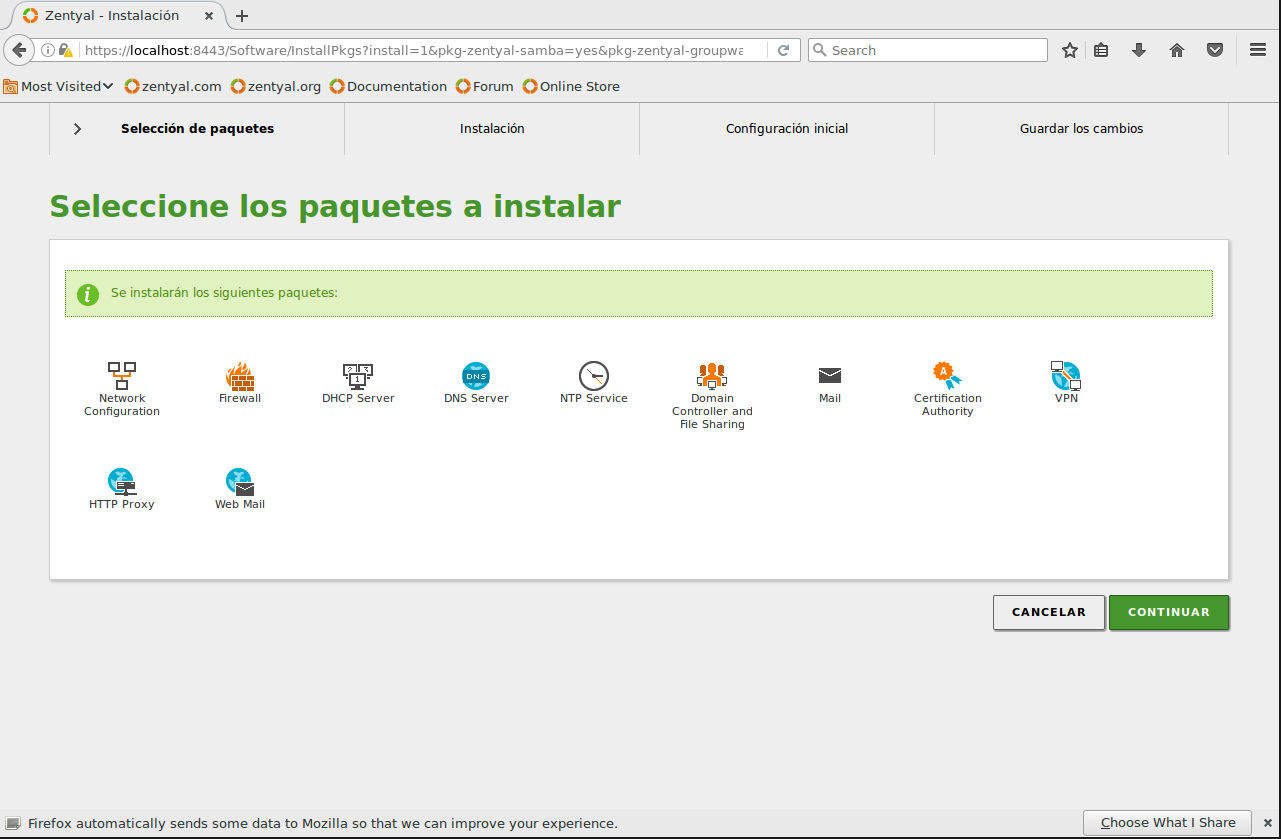
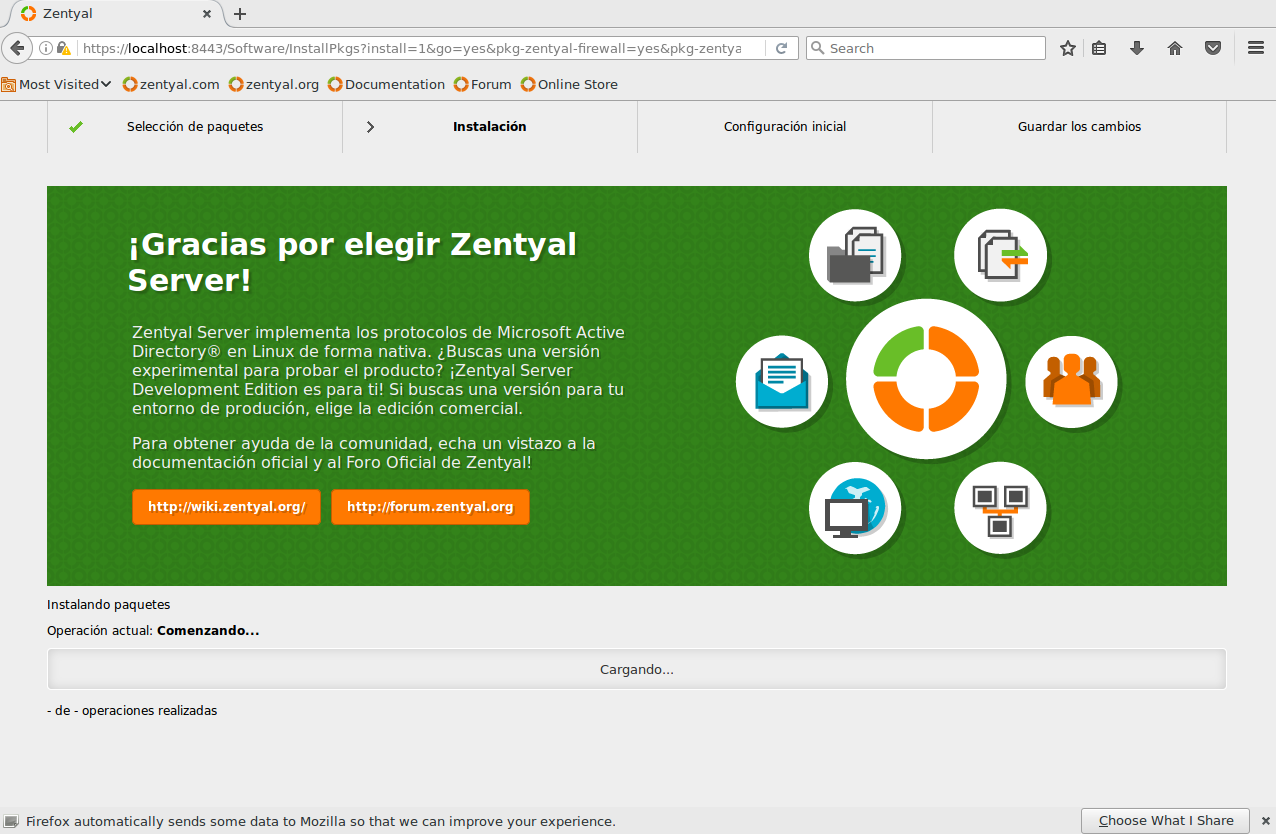
The software installation begins.
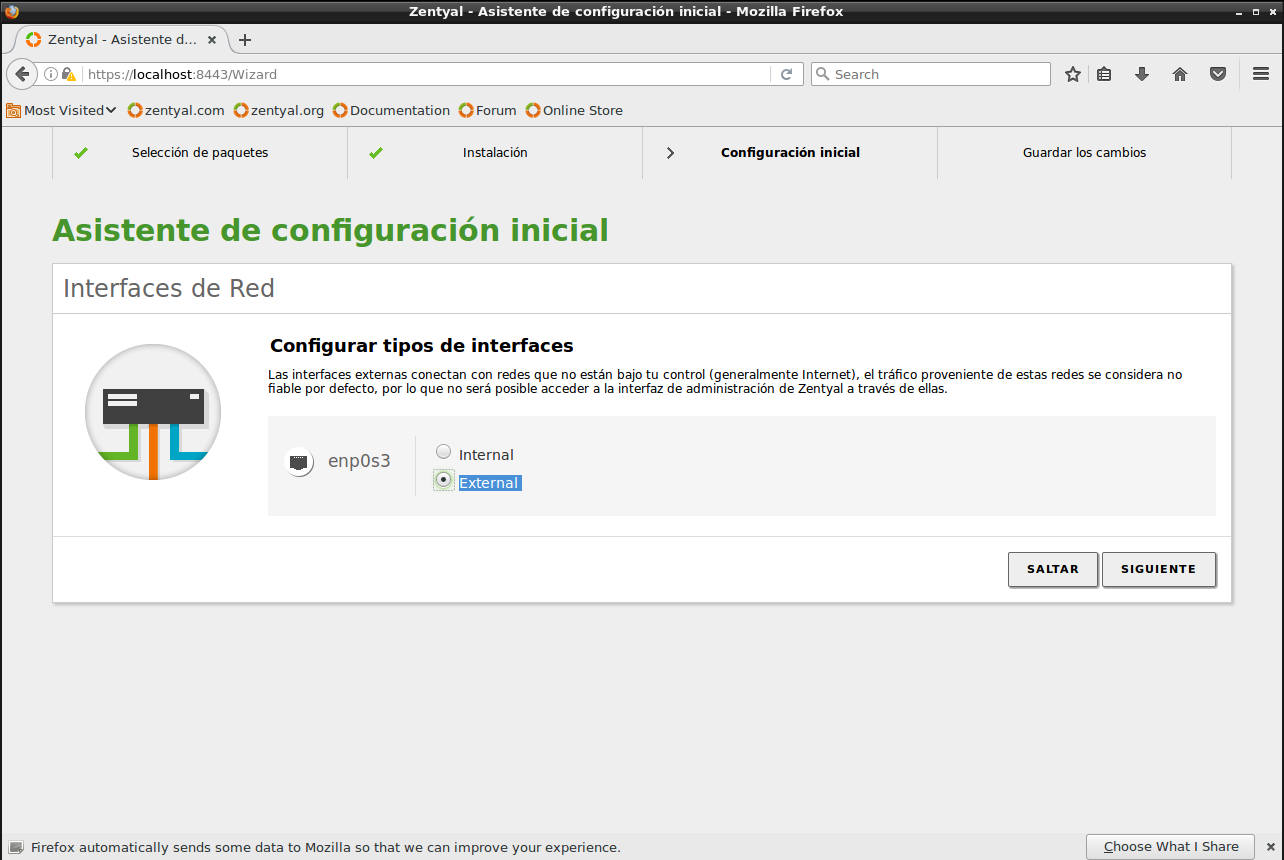
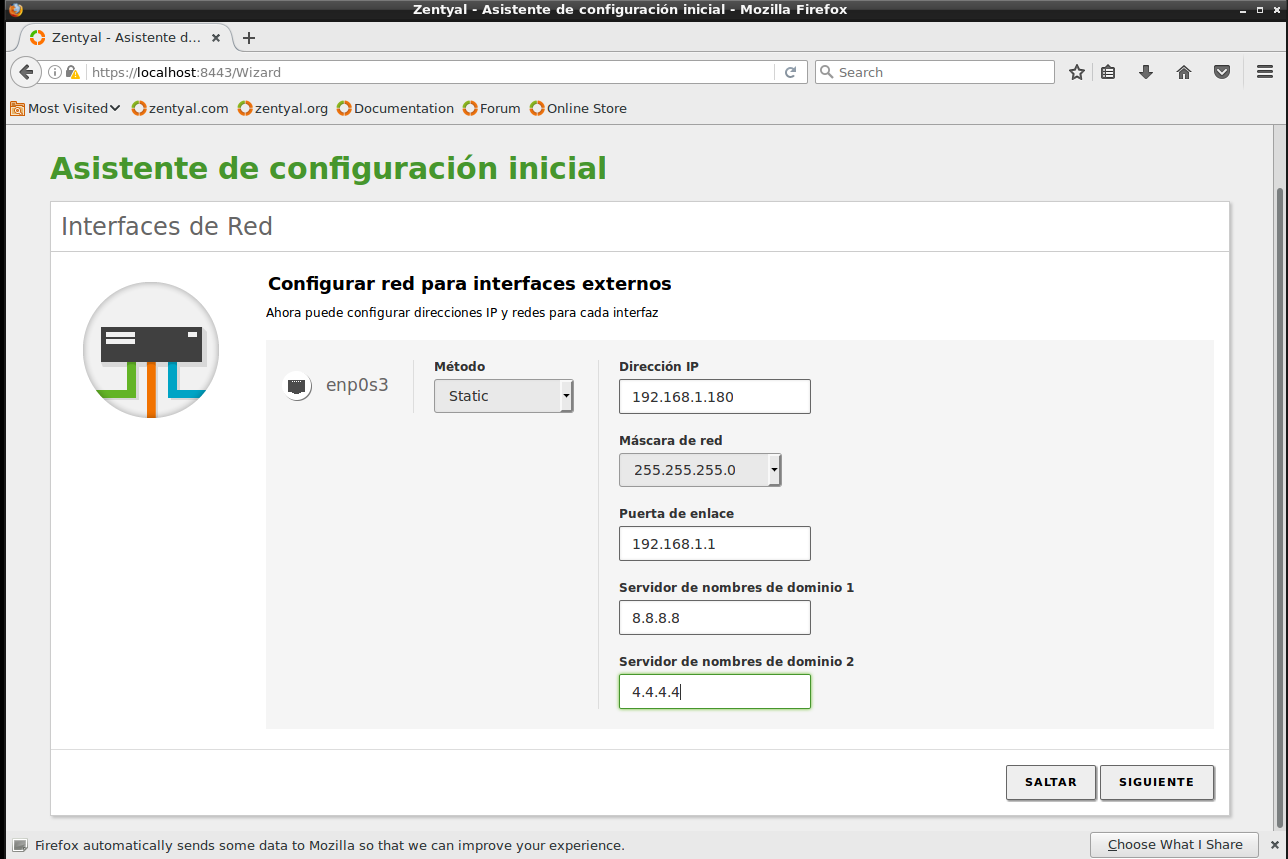
We configure the network interface, in our case this server will be accessible externally, therefore we select this option.
We add the IP addressing
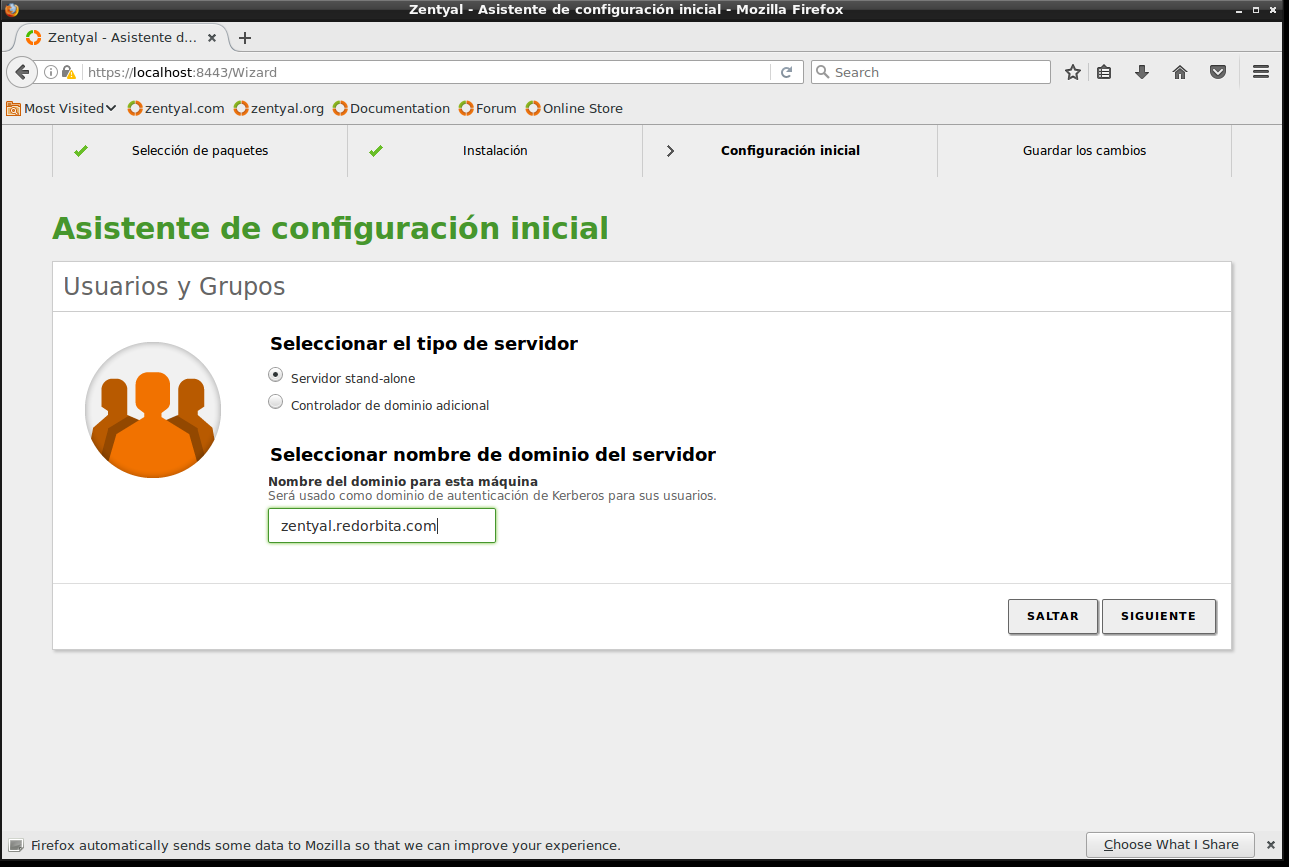
We select the type of server (in our case the first option) and indicate the domain name.
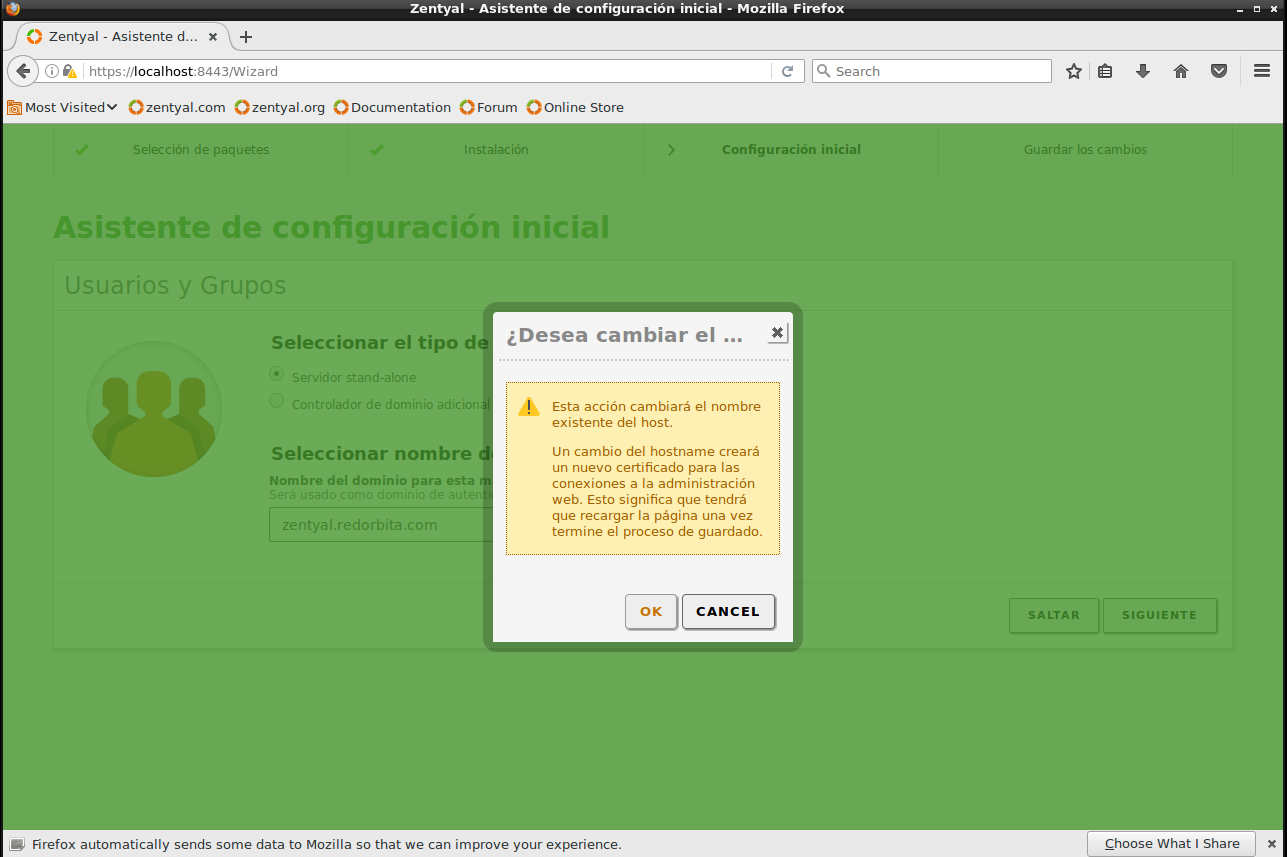
It gives us a warning that it will make a host name change.
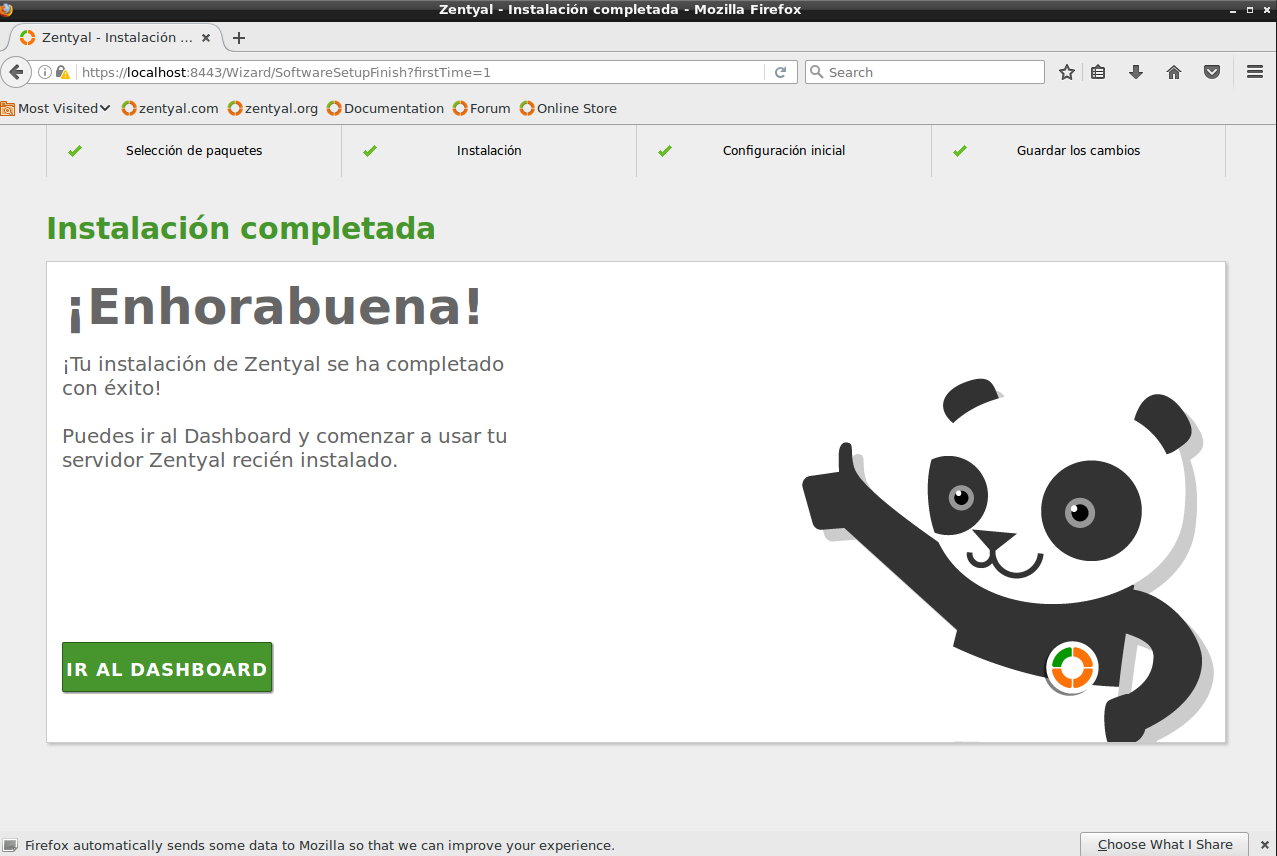
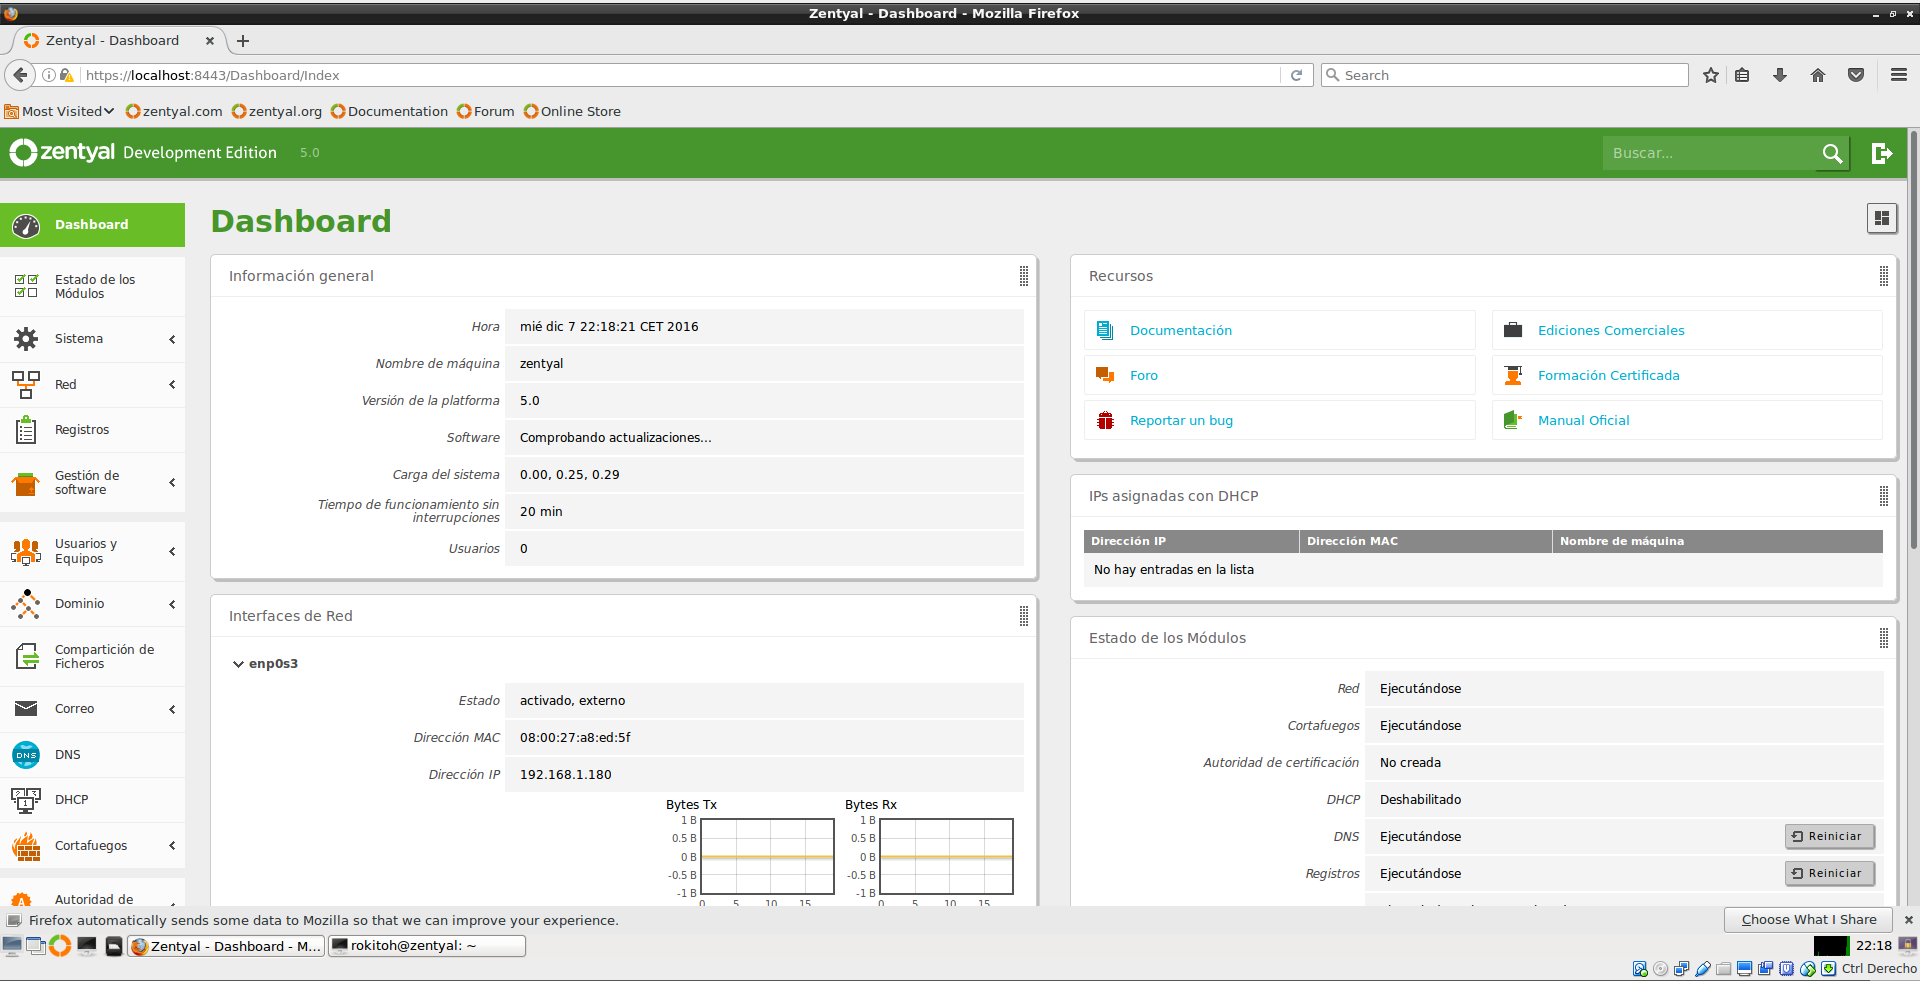
We have now finished making the basic configuration of our server.
All the best
:wq!
Comments