
RADIUS (acronym in English of Remote TOauthentication dial-Yon ORbe Yesservice). It is a protocol authentication and authorization for network access or IP mobility applications. Use port 1812 UDP to establish your connections.
When connecting to a ISP through modem, DSL, cable modem, ethernet either Wi-Fi, information is sent, which is generally a username and password. This information is transferred to a device Network Access Server (NAS) about the protocol PPP, who redirects the request to a RADIUS server over the RADIUS protocol. The RADIUS server verifies that the information is correct using authentication schemes such as PAP, CHAP either EAP. If accepted, the server will authorize access to the ISP's system and assign network resources as a IP address, and other parameters such as L2TP, etc.
In the previous entry we saw how to install an NPS server, this time we configured the NPS server to act as radius and log in with Active Directory users on our GNU/Linux servers
NPS server installation
NPS Settings
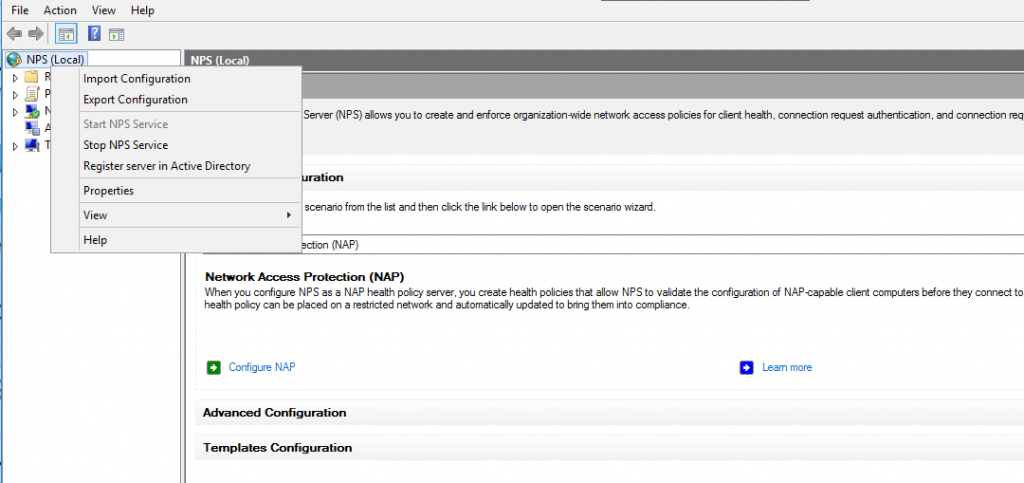
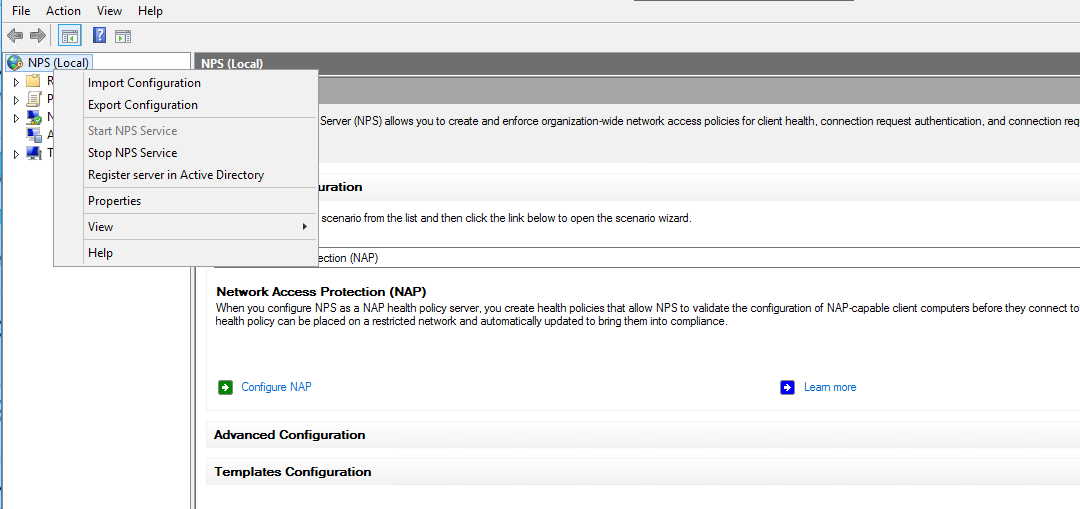
We access our NPS server, press with right click on NPS (Local) > Register server in Active directory
We accept.
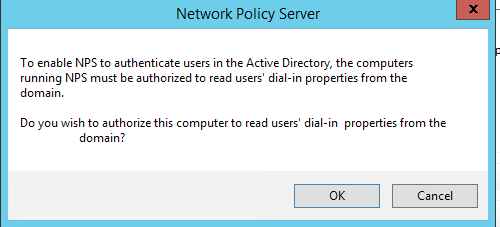
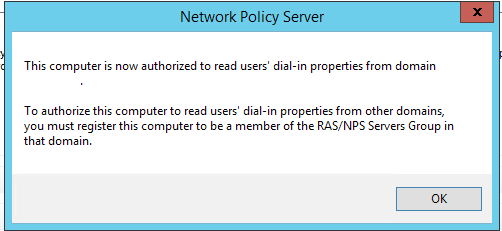
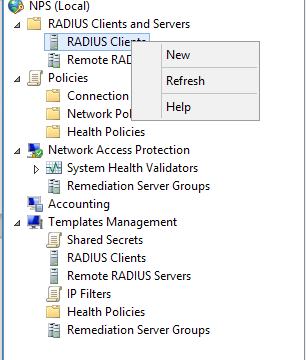
Once integrated with the domain we are going to create our first client, to do this right click on RADIUS Client > New
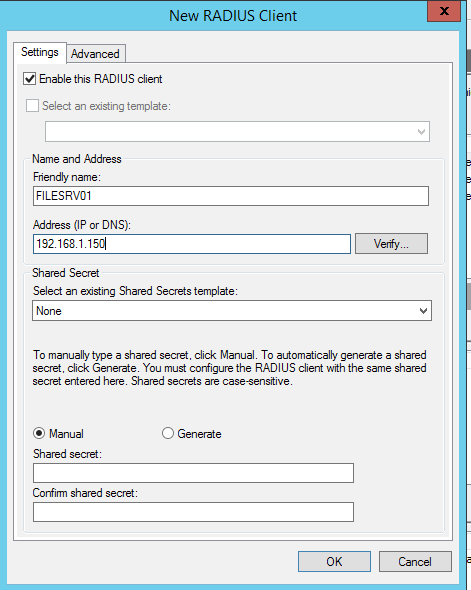
We complement all the fields without forgetting the Shared secret which we will use later.
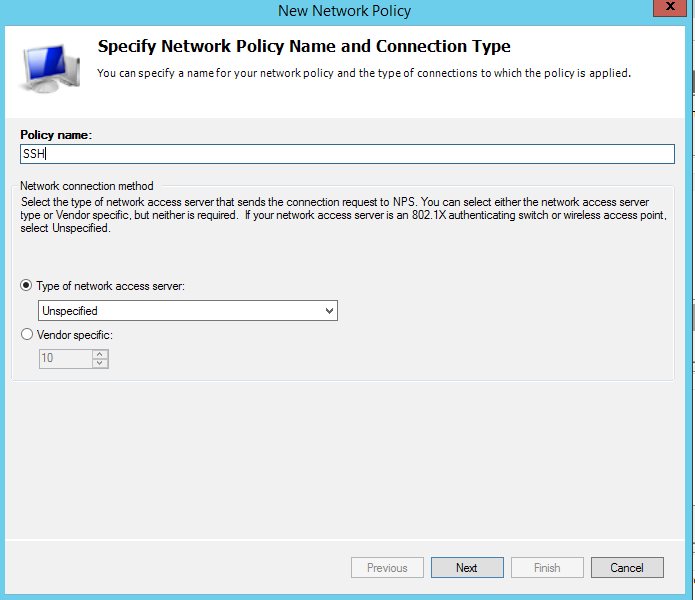
Now we are going to create a Police, to do this right click on Connection Request Policies > New
The policy creation wizard opens, we assign a name.
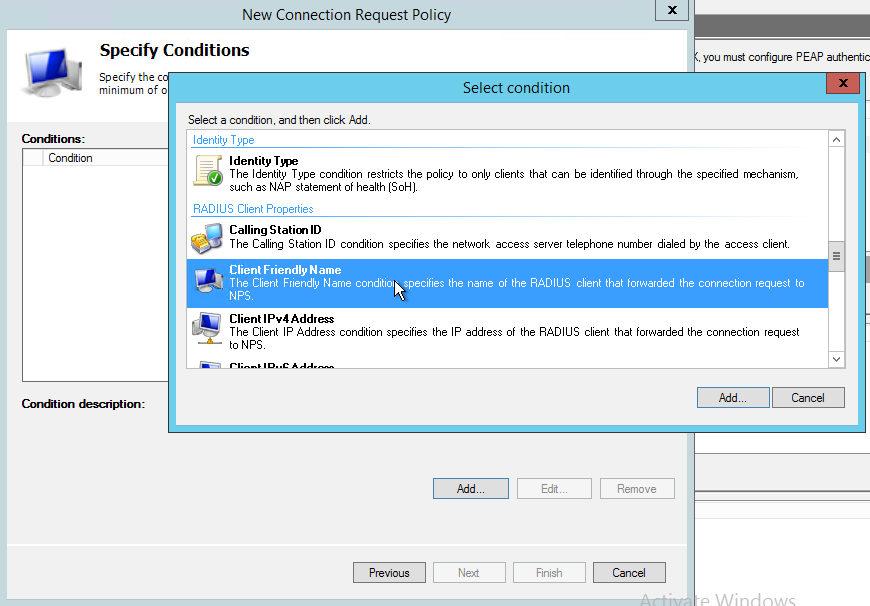
We specify a condition Client Friendly Name
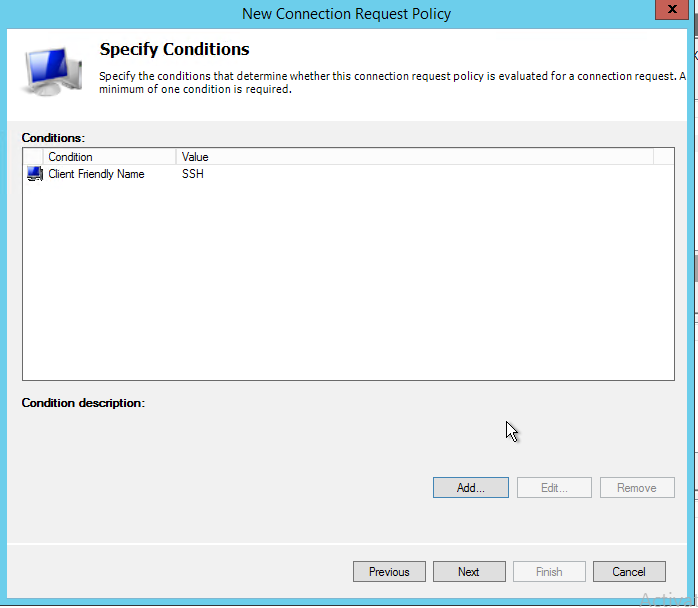
We leave the default configuration, next
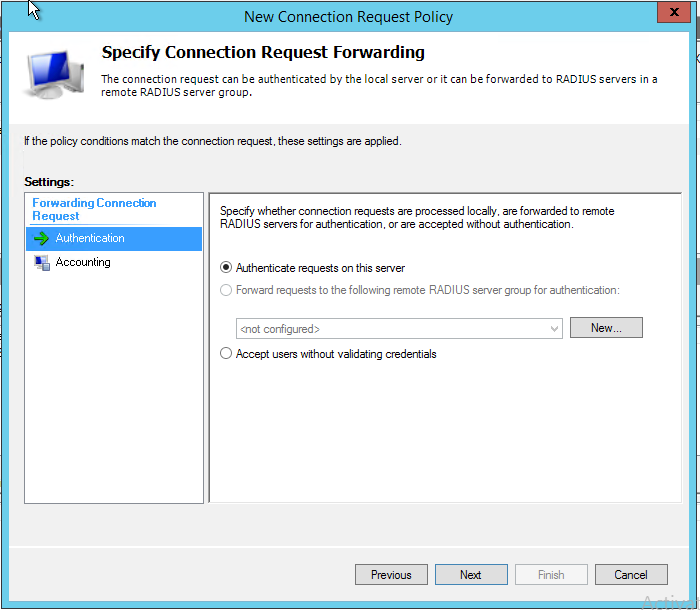
Following.
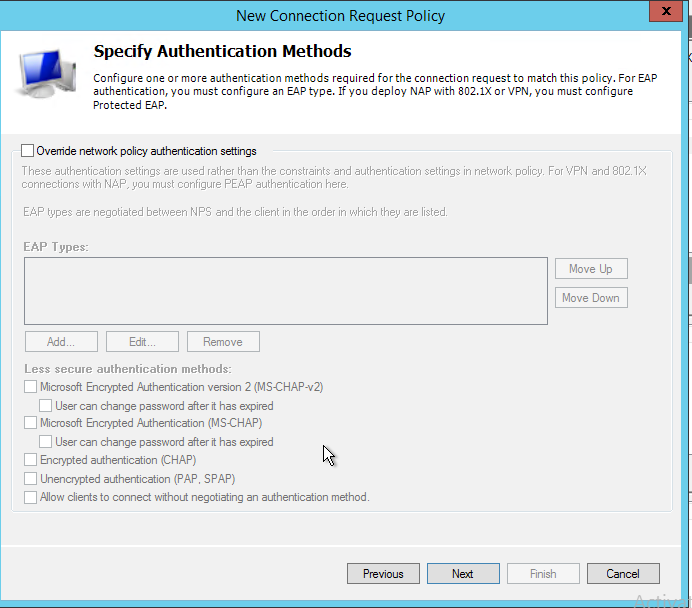
We change the attributes, we must set it to User-Name
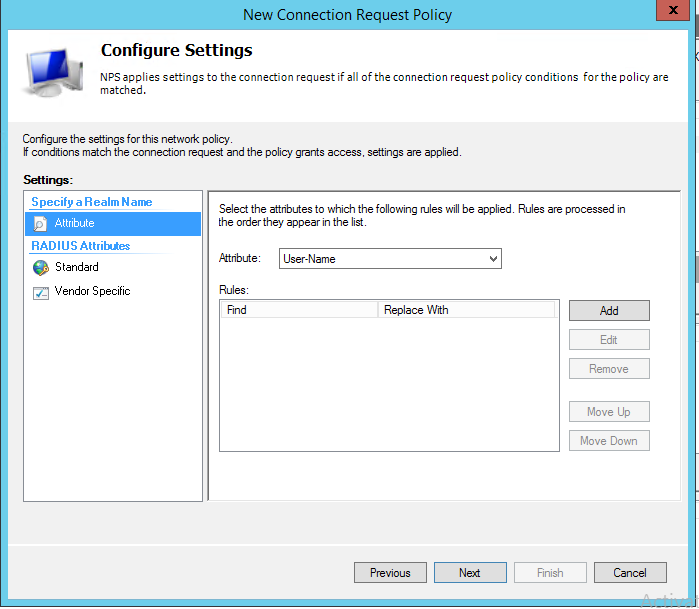
We finish the configuration.
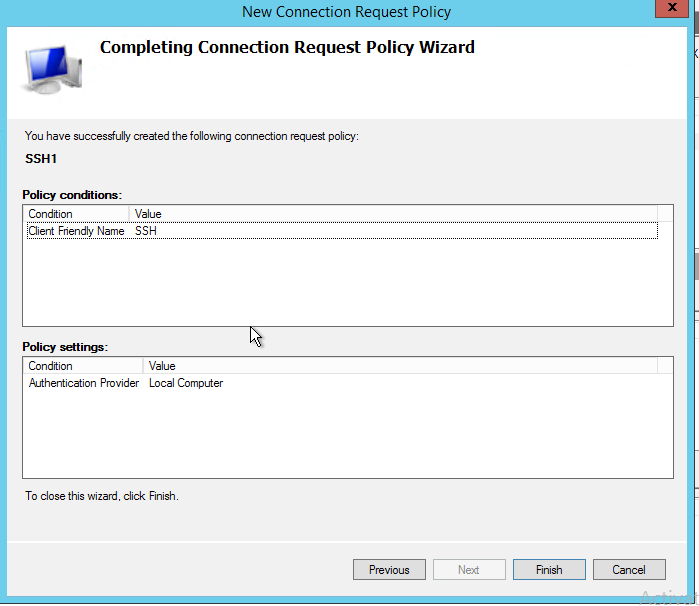
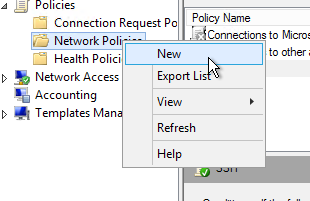
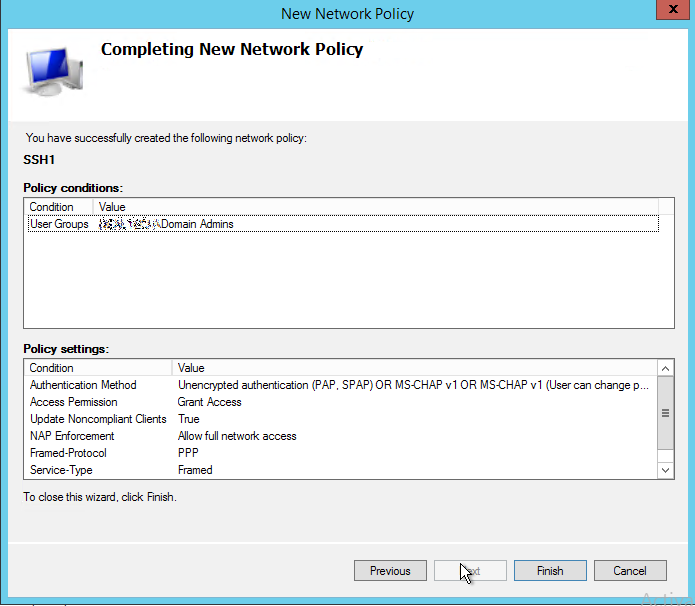
We created a new policy, Click on Network Police > New
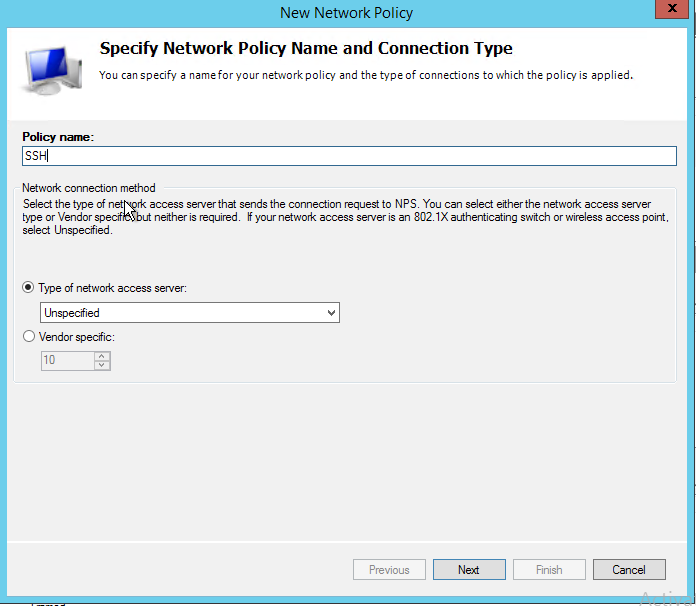
The configuration wizard opens, we assign a name for the policy.
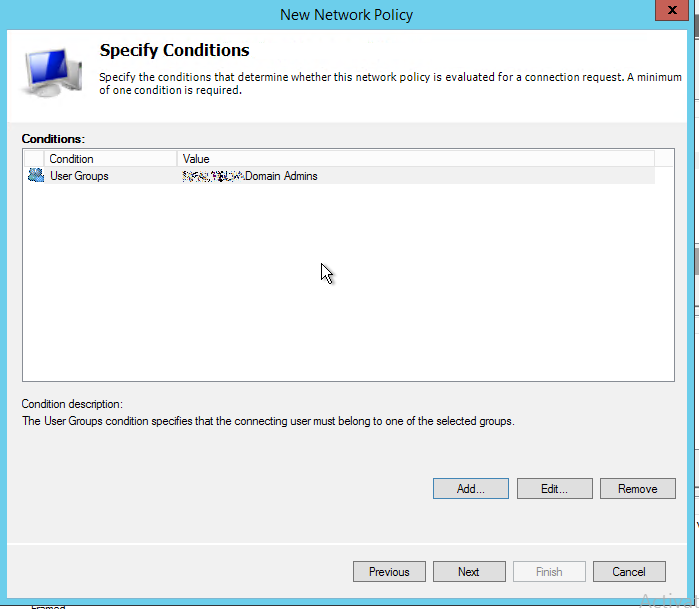
We assign a condition UserGroups
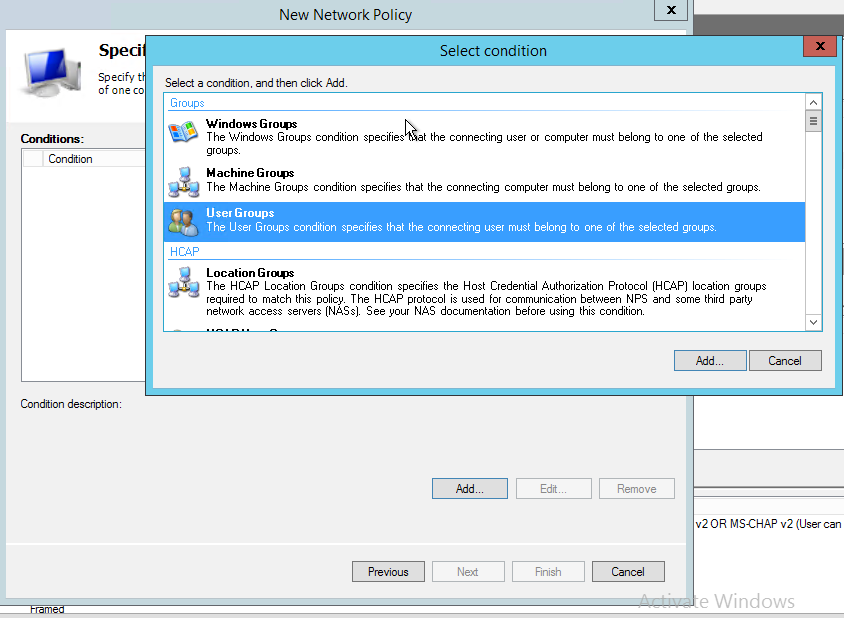
We add the groups of users that we want to have access.
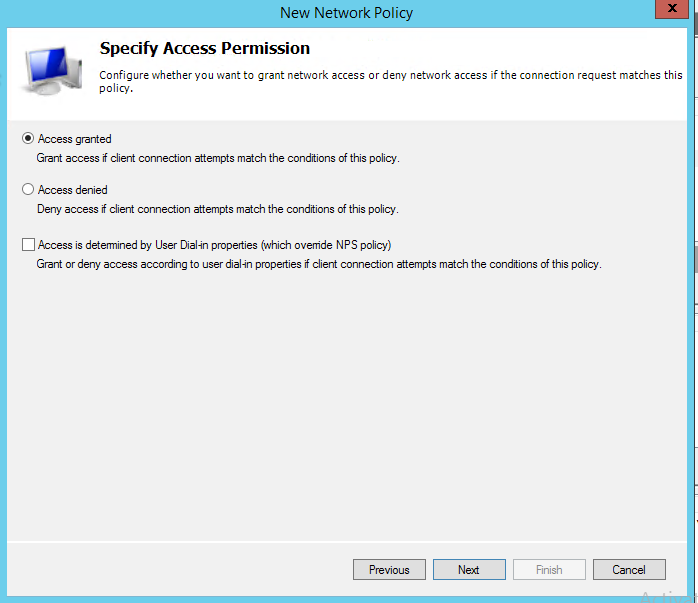
We leave the access permissions by default, Access granted.
In authentication method we select Unencrypted authenticaction (PAP, SPAP)
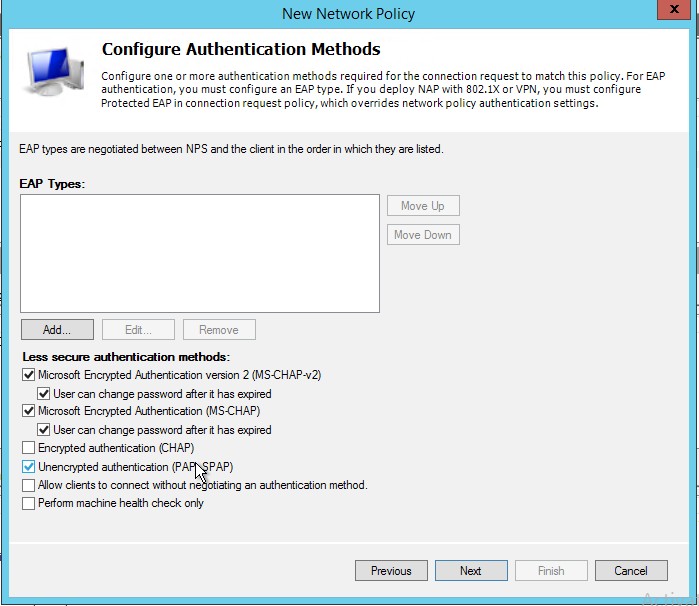
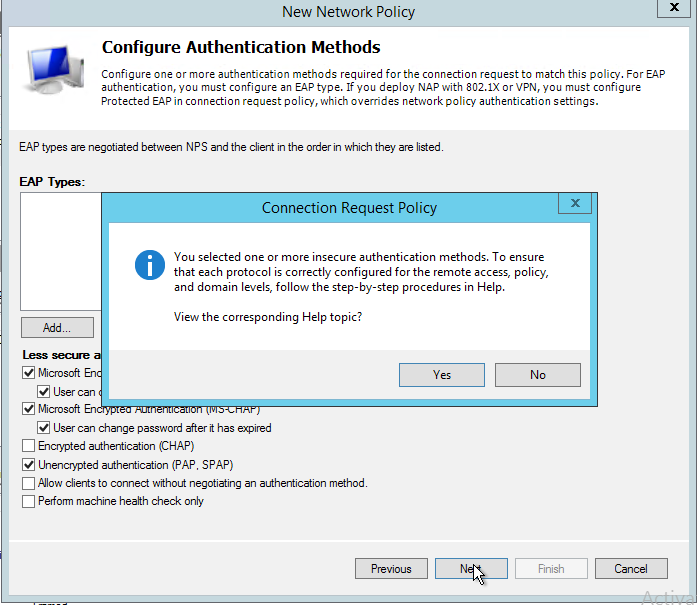
We leave the default configuration, next.
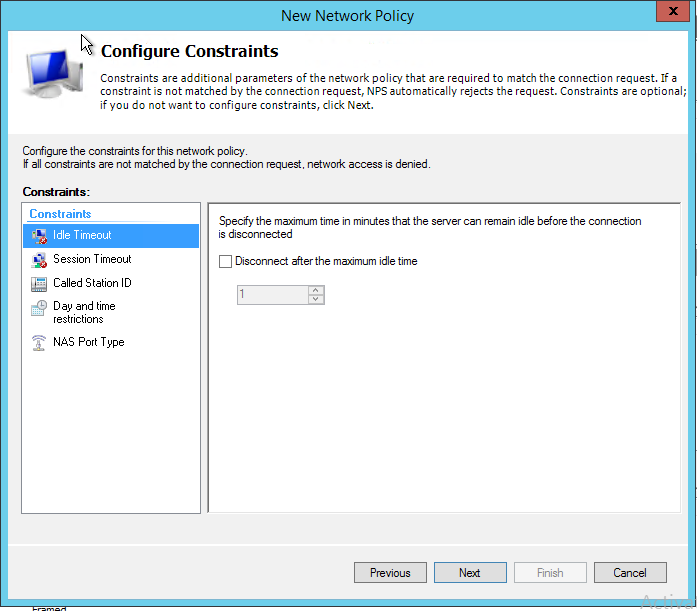
Following.
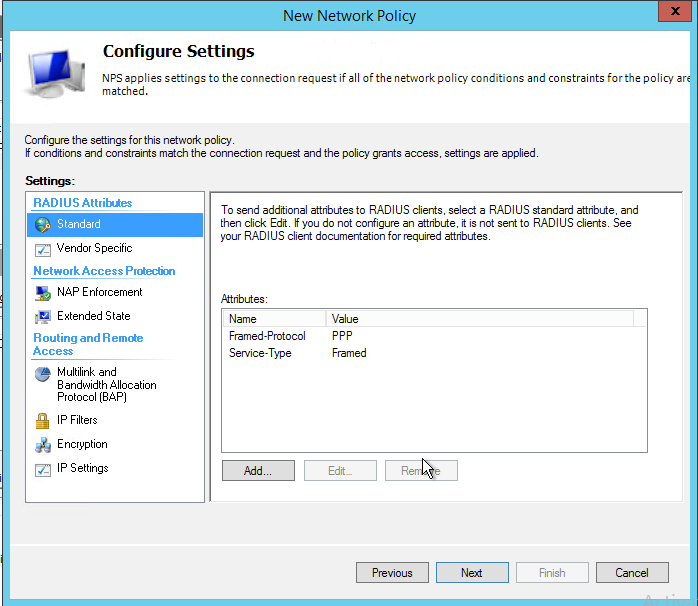
We finish.
Linux RADIUS Configuration
We install the necessary software
Redhat and derivatives:
yum install pam_radius freeradius-utilsDebian and derivatives:
apt-get install libpam-radius-auth freeradius-utilsSuse
zypper installl pam_radius freeradius-server-utilsConfiguring PAM_RADIUS on Redhat and Debian
We make a backup
cp /etc/pam_radius.conf /etc/pam_radius.conf-bckWe empty the configuration file
> /etc/pam_radius.confWe add the following configuration (we must enter the share secret previously configured on the NPS server)
cat /etc/pam_radius.conf
192.168.1.160 <share secret> 3
Configuring PAM_RADIUS in Suse
We make a backup
cp /etc/raddb/server /etc/raddb/server-bckWe empty the configuration file
> /etc/raddb/serverWe add the following configuration (we must enter the share secret previously configured on the NPS server)
cat /etc/raddb/server
192.168.1.160 <share secret> 3
Configuring pam.d/sshd and pam.d/sudo in Redhat and Suse
We add auth sufficient pam_radius_auth.so debug in the file /etc/pam.d/sshd
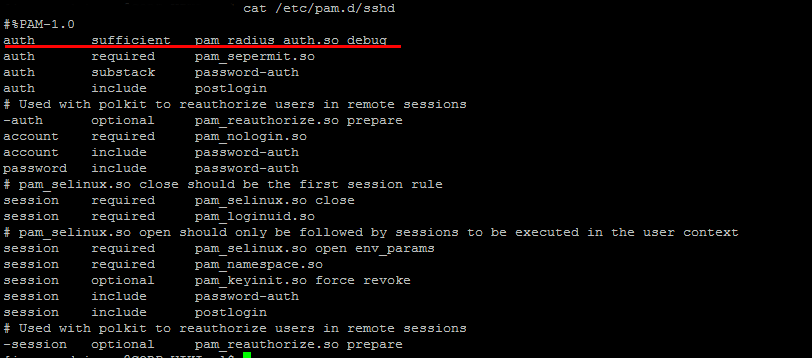
We add auth sufficient pam_radius_auth.so in the file /etc/pam.d/sudo
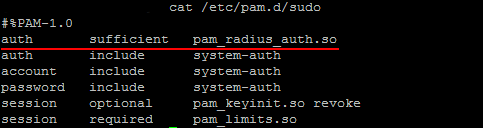
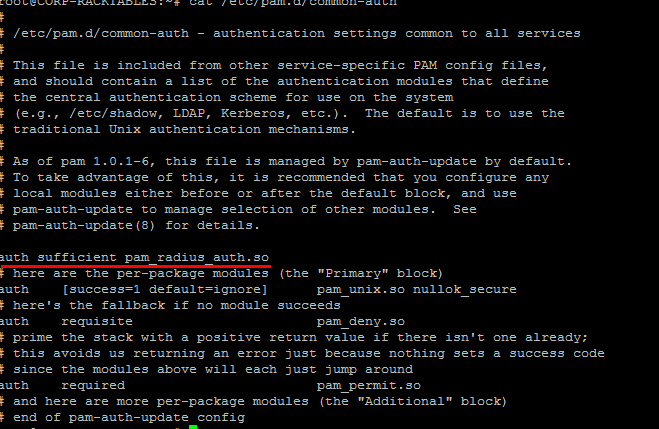
Configuration pam.d/sshd and pam.d/sudo in Debian
We add auth sufficient pam_radius_auth.so debug in the file /etc/pam.d/common-auth
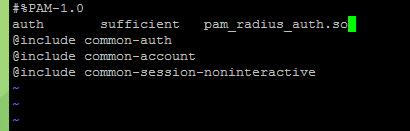
We add auth sufficient pam_radius_auth.so in the file /etc/pam.d/sudo
We create the users on the GNU/Linux server
useradd rokitoh
useradd juan
Once configured we can perform a connection test:
radtest <USUARIO> <CONTRASEÑA> <DIRECCIÓN IP> 10 <share secret>Example
radtest rokitoh temporal 192.168.1.160 10 sharesecret123456If everything went well, we can now access the server via SSH with an Active Directory user.
All the best
:wq!
Comments