¿Qué es Integria IMS?
Integria IMS es un software de help desk sencillo, potente y fácil de usar. Dispone de inventario automatizado y controlado desde un solo interfaz. Agiliza los procesos reduciendo los tiempos y costes de gestión en sus proyectos. Gracias a sus informes personalizados estará informado y podrá ver fácilmente la gestión y calidad del servicio dado en tiempo real.
Podemos realizar de dos formas la instalación, mediante la ISO que podemos encontrar en su repositorio https://sourceforge.net/projects/integria/files/ la cual se realiza como cualquier instalación de GNU/Linux y la instalación desde cero la cual vamos a ver acontinuación.
Preparación
Instalamos los repositorios epel
yum install epel-release*Instalación de los paquetes necesarios.
Para el funcionamiento de Integria IMS es necesario la instalación de un servidor LAMP, en nuestro caso lo vamos a realizar con CentOS 7
yum install php-imap php php-cli php-gd php-intl curl php-ldap php-imap php-mysql php-mbstring mariadb-server httpdDescargamos Integria IMS
wget https://sourceforge.net/projects/integria/files/5.0.79/Tarball/IntegriaIMS-5.0.79.tar.gz –no-check-certificateDescomprimimos y movemos
tar xvf IntegriaIMS-5.0.79.tar.gz

mv integriaims/ /var/www/html/
Otorgamos permisos
chown -R apache /var/www/html/integriaims/Confiugramos MariaDB
mysql_secure_installation
NOTE: RUNNING ALL PARTS OF THIS SCRIPT IS RECOMMENDED FOR ALL MariaDB

SERVERS IN PRODUCTION USE! PLEASE READ EACH STEP CAREFULLY!
In order to log into MariaDB to secure it, we’ll need the current

password for the root user. If you’ve just installed MariaDB, and

you haven’t set the root password yet, the password will be blank,

so you should just press enter here.
Enter current password for root (enter for none):

OK, successfully used password, moving on…
Setting the root password ensures that nobody can log into the MariaDB

root user without the proper authorisation.
Set root password? [Y/n] y

New password:

Re-enter new password:

Password updated successfully!

Reloading privilege tables..

… Success!
By default, a MariaDB installation has an anonymous user, allowing anyone

to log into MariaDB without having to have a user account created for

them. This is intended only for testing, and to make the installation

go a bit smoother. You should remove them before moving into a

production environment.
Remove anonymous users? [Y/n] Y

… Success!
Normally, root should only be allowed to connect from ‘localhost’. This

ensures that someone cannot guess at the root password from the network.
Disallow root login remotely? [Y/n] Y

… Success!
By default, MariaDB comes with a database named ‘test’ that anyone can

access. This is also intended only for testing, and should be removed

before moving into a production environment.
Remove test database and access to it? [Y/n] Y

– Dropping test database…

… Success!

– Removing privileges on test database…

… Success!
Reloading the privilege tables will ensure that all changes made so far

will take effect immediately.
Reload privilege tables now? [Y/n] Y

… Success!
Cleaning up…
All done! If you’ve completed all of the above steps, your MariaDB

installation should now be secure.
Thanks for using MariaDB!
Configuramos el virtualhost
cat /etc/httpd/conf.d/integria.conf
<VirtualHost *:80>

ServerName integria.red-orbita.com

ServerAdmin rokitoh@red-orbita.com

DocumentRoot /var/www/html/integriaims/
ErrorLog /var/log/httpd/integria-error.log

CustomLog /var/log/httpd/integria-access.log combined

</VirtualHost>
Iniciamos los servicios
systemctl start mariadb

systemctl start httpd

systemctl enable mariadb

systemctl enable httpd
Creamos el usuario y la base de datos
CREATE DATABASE integria;
CREATE USER ‘integria’@’localhost’ IDENTIFIED BY ‘zohtzhmh’;

GRANT ALL PRIVILEGES ON *.* TO ‘integria’@’localhost’;

FLUSH PRIVILEGES;
Configuramos firewalld
firewall-cmd –add-service=http –permanent
firewall-cmd –add-service=https –permanent
firewall-cmd –reload
Instalación Integria
En este punto deberiamos acceder mediante nuestro naveador para seguir la instalción a http://integria.red-orbita.com/install.php pero al llegar a la creación de la base de datos el instalador grafico no me funcionaba, por lo tanto decidi realizar la instalación manualmente.
Accedemos a al directorio donde hemos descargado Integria
cd /var/www/html/integriaAccedemos a la base de datos con el usuario creado anteriormente y cargamos los .sql
mysq -u integria -p

MariaDB [(none)]> use integria;

MariaDB [integria]> source integria_db.sql;

MariaDB [integria]> source integria_dbdata.sql;
Eliminamos el archivo de instalación
rm /var/www/html/integria/install.phpAgregamos los datos de configuración de la base de datos:
cat /var/www/html/integria/include/config.inc.php
$config[«dbname»] = «integria»; // MySQL DataBase name

$config[«dbuser»] = «integria»;

$config[«dbpass»] = «zohtzhmh»; // DB Password

$config[«dbhost»] = «localhost»; // DB Host
Opcional:
Dado que a mi no me gustaba que me redirigiese a la carpeta http://integria.redorbita.com/integria/ y lo tenia puesto a fuego en el codigo he sustituido /integria/index.php por /index.php en las siguientes lineas:
Fichero: /var/www/html/integria/general/home.php
Linea 165:       echo «window.location.href=(‘/integria/index.php?sec=incidents&sec2=operation/incidents/incident_detail’);»;
Linea 168:       echo «window.location.href=(‘/integria/index.php?sec=incidents&sec2=operation/incidents/incident_search’);»;
Linea 171:            echo «window.location.href=(‘/integria/index.php?sec=customers&sec2=operation/leads/lead’);»;
Fichero: /var/www/html/integria/operation/inventories/manage_external_tables.php
Linea 230: var url = «http://»+window.location.hostname+»/integria/index.php?sec=inventory&sec2=operation/inventories/manage_external_tables&external_table=»+external_table+»&id=»+id_object_type;
Linea 245: var url = «http://»+window.location.hostname+»/integria/index.php?sec=inventory&sec2=operation/inventories/manage_external_tables&update_row=1&key=»+key+»&key_value=»+key_value+»&external_table=»+external_table+»&id=»+id_object_type;
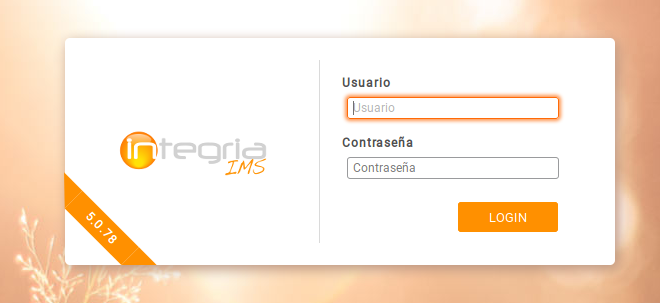
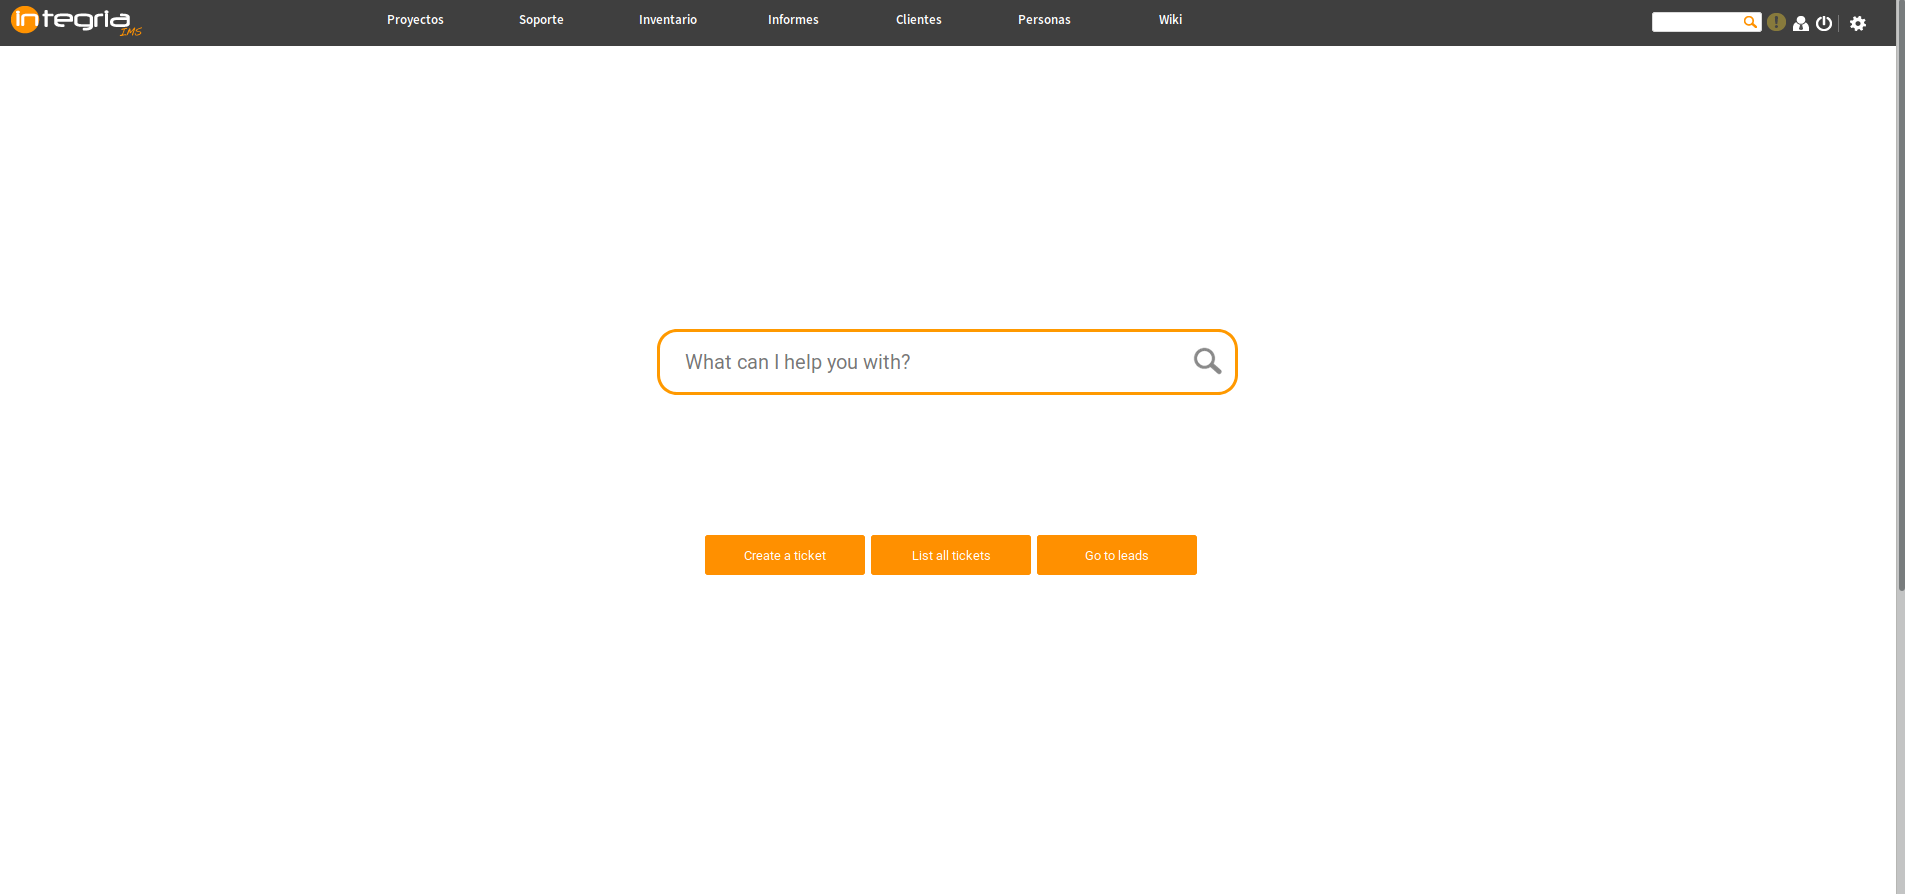
Accedemos mediante nuestro navegador
Una vez modificado todo, accedemos esta vez si accedemos mediante nuestro navegador (Usuario y contraseña por defecto: admin:integria)
:wq!

Comentarios